1991 HONDA CIVIC glove box
[x] Cancel search: glove boxPage 10 of 136
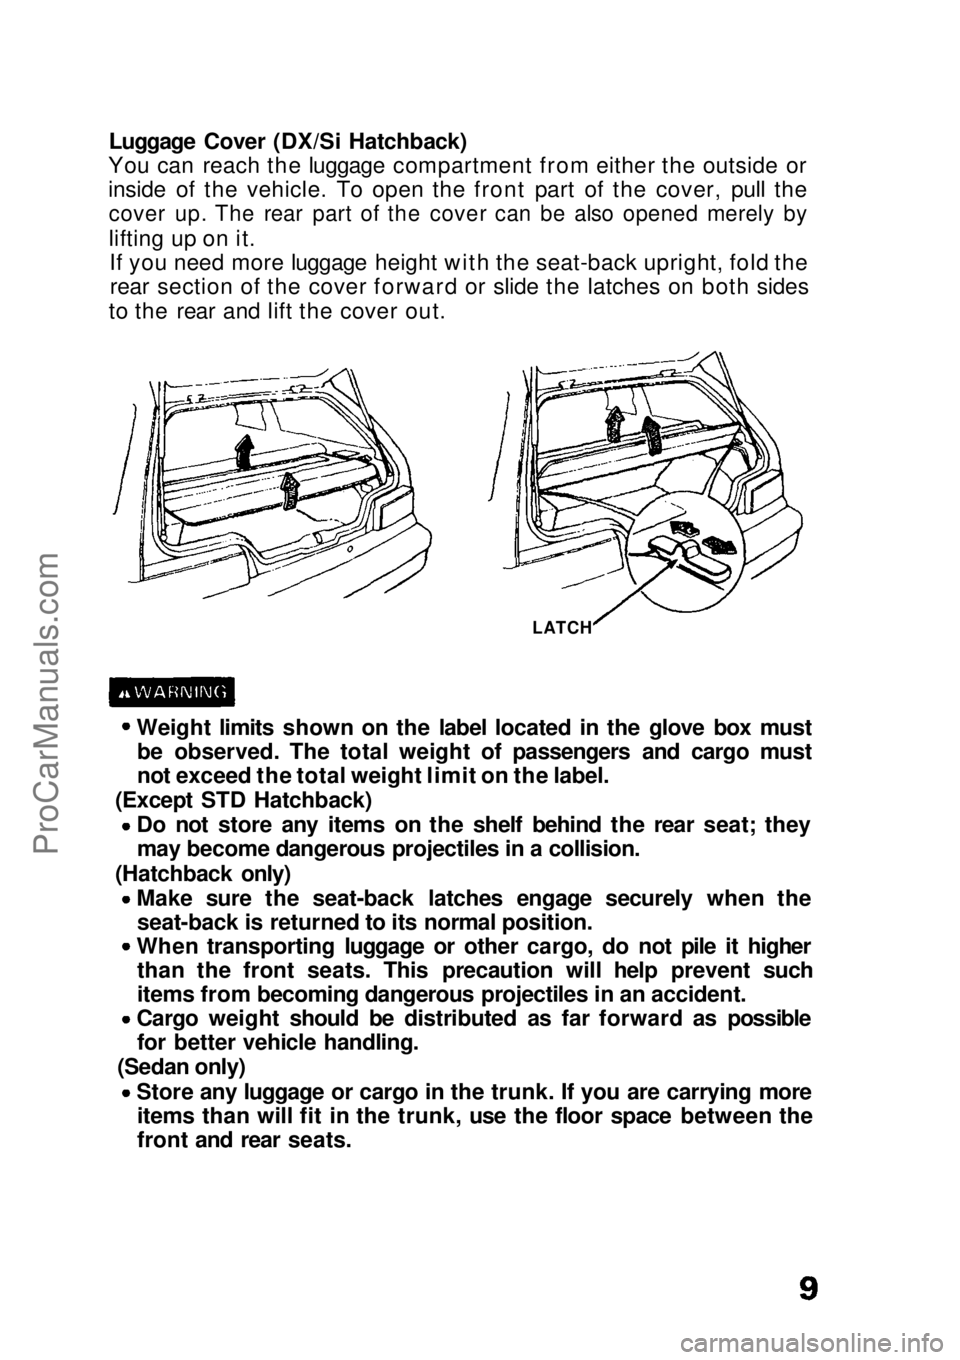
Luggage Cover (DX/Si Hatchback)
You can reach the luggage compartment from either the outside or
inside of the vehicle. To open the front part of the cover, pull the
cover up. The rear part of the cover can be also opened merely by
lifting up on it.If you need more luggage height with the seat-back upright, fold therear section of the cover forward or slide the latches on both sides
to the rear and lift the cover out.
LATCH
Weight limits shown on the label located in the glove box must be observed. The total weight of passengers and cargo must
not exceed the total weight limit on the label.
(Except STD Hatchback) Do not store any items on the shelf behind the rear seat; theymay become dangerous projectiles in a collision.
(Hatchback only) Make sure the seat-back latches engage securely when theseat-back is returned to its normal position.
When transporting luggage or other cargo, do not pile it higher than the front seats. This precaution will help prevent such
items from becoming dangerous projectiles in an accident. Cargo weight should be distributed as far forward as possible
for better vehicle handling.
(Sedan only)
Store any luggage or cargo in the trunk. If you are carrying moreitems than will fit in the trunk, use the floor space between the
front and rear seats.ProCarManuals.comMain Menu s t
Page 27 of 136
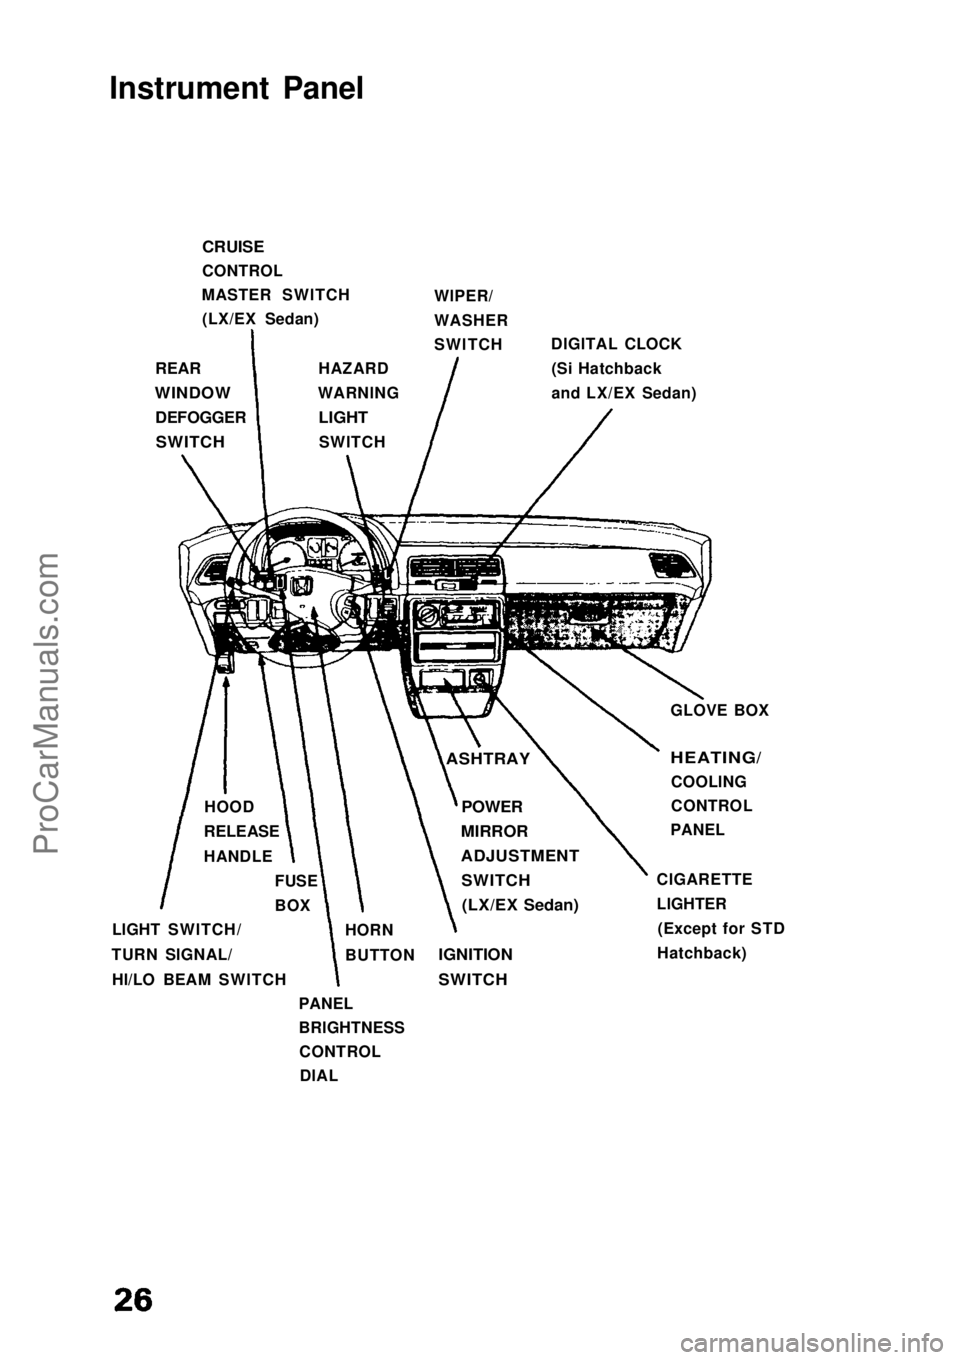
Instrument Panel
CRUISE
CONTROL
MASTER SWITCH (LX/EX Sedan) WIPER/
WASHER
SWITCH
DIGITAL CLOCK
(Si Hatchback
and LX/EX Sedan)
REAR
WINDOW
DEFOGGER
SWITCH
HAZARD
WARNING
LIGHT
SWITCH
GLOVE BOX
ASHTRAY
HEATING/
COOLING
CONTROL
PANEL
CIGARETTE
LIGHTER (Except for STD
Hatchback)
POWER
MIRROR
ADJUSTMENT
SWITCH
(LX/EX Sedan)
IGNITION
SWITCH
HORN
BUTTON
PANEL
BRIGHTNESS CONTROLDIAL
LIGHT SWITCH/
TURN SIGNAL/ HI/LO BEAM SWITCH FUSE
BOX
HOOD
RELEASE
HANDLEProCarManuals.comMain Menu s t
Page 43 of 136
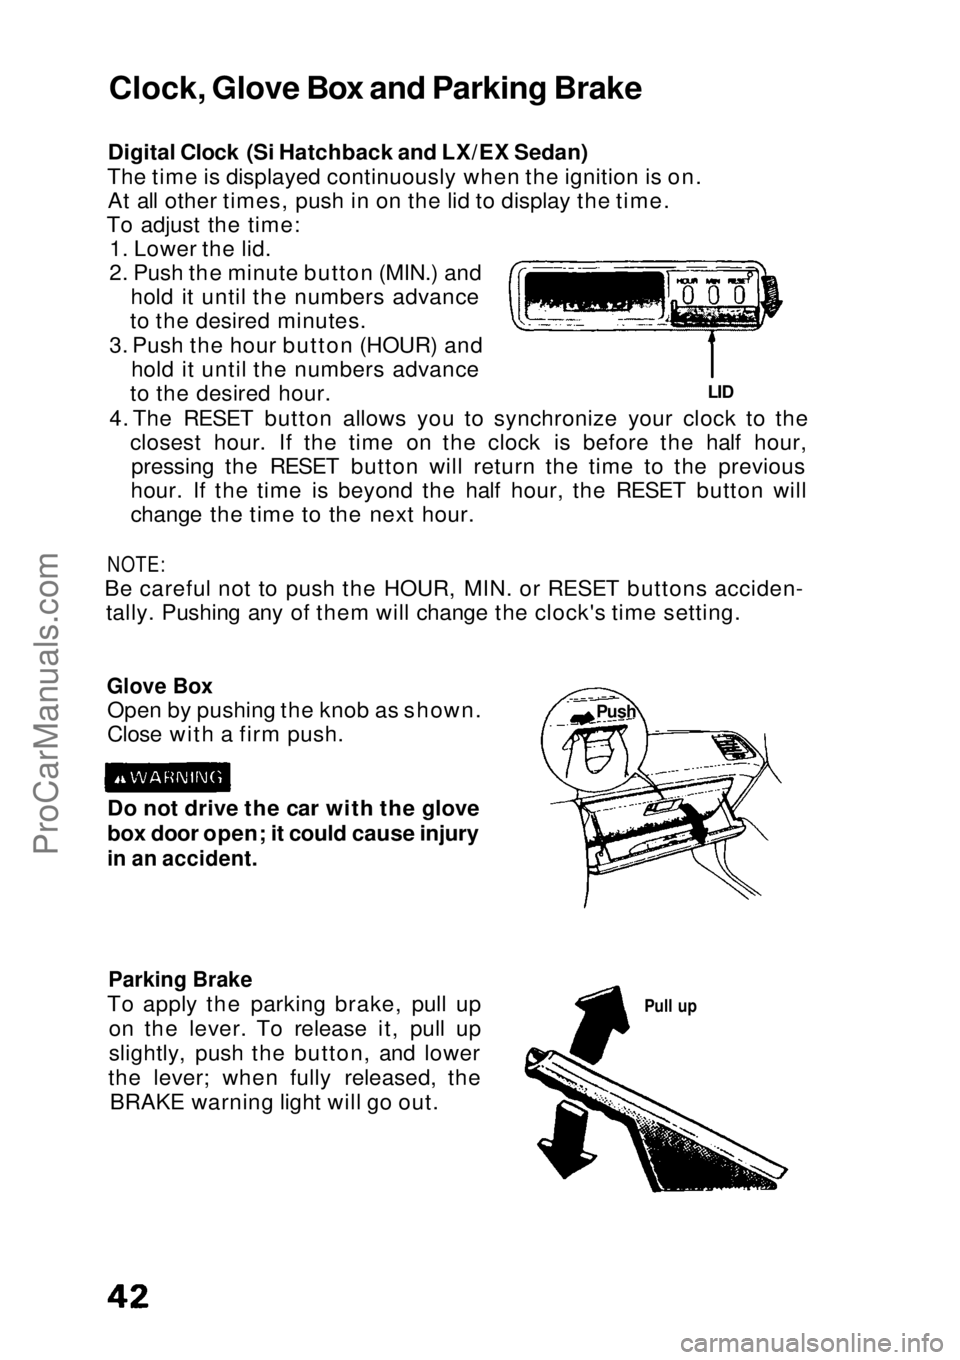
Digital Clock (Si Hatchback and LX/EX Sedan)
The time is displayed continuously when the ignition is on. At all other times, push in on the lid to display the time.
To adjust the time: 1. Lower the lid.
2. Push the minute button (MIN.) and hold it until the numbers advance
to the desired minutes.
3. Push the hour button (HOUR) and hold it until the numbers advance
to the desired hour.
4. The RESET button allows you to synchronize your clock to the closest hour. If the time on the clock is before the half hour,pressing the RESET button will return the time to the previous
hour. If the time is beyond the half hour, the RESET button will
change the time to the next hour.
NOTE:
Be careful not to push the HOUR, MIN. or RESET buttons acciden- tally. Pushing any of them will change the clock's time setting.
Glove Box
Open by pushing the knob as shown.
Close with a firm push.
Parking Brake
To apply the parking brake, pull up on the lever. To release it, pull up
slightly, push the button, and lower
the lever; when fully released, the BRAKE warning light will go out.
Pull up
Do not drive the car with the glove
box door open; it could cause injury
in an accident.
LID
Clock, Glove Box and Parking Brake
PushProCarManuals.comMain Menu s t
Page 68 of 136

Your Honda automobile must be properly maintained to ensure that
it is in peak operating condition and the emission levels are within
the standards set by the Federal Clean Air Act. The following instructions and maintenance procedures are basedon the assumption that your car will be used exclusively for thepurpose for which it was designed:
1.To carry passengers and cargo within the load limits shown on the label in the glove box.
2. To be driven on reasonable road surfaces within legal limits.
3. To generally be driven daily over a distance of several miles.
4. Use gasoline from pumps labeled unleaded, with a pump octane number of 86 or higher. The pump octane number is an average of
the Research (R) octane and Motor (M) octane numbers.
NOTE: Failures which occur due to a lack of maintenance will not be
covered under warranty.
The Required Maintenance Schedule* specifies all maintenance
required to keep your car in peak operating condition. Work should
be done by a Honda dealer but may be done by any qualified service
facility or individual who is competent in this type of work.
Maintenance, replacement, or repair of emission control devices
and systems may be done by any automotive repair establishment
or individual using parts that are "certified" to EPA standards.
After the maintenance has been done, be sure to complete theMaintenance Records on pages 71 — 73. All required maintenance is
considered normal owner operating cost and you will be charged for it by your dealer.
* For vehicles sold in California, maintenance operations indicated by *3 on page 70 are recommended by the manufacturer. Othermaintenance operations are required by California regulations and
condition the emission warranty.
Maintenance Schedule and RecordsProCarManuals.comMain Menu s t
Page 94 of 136
The factory installed tires on your car were selected to match the
car's performance capabilities and to provide the best combination
of handling, ride comfort and tread wear.
We recommend that you get the same size, type, and grade of tires when replacement is necessary. If your tires have an all-season
tread design, the model name will be followed by the marking: "M + S" (mud and snow) or "all-season".
If you decide not to get the same brand of tires as those originally
installed, you should make sure that the replacements are the radial
type, of the same size, load range and speed rating as the original
tires.
If you have any questions about your car's tires, please contact
your Honda dealer.
Inflation Pressures
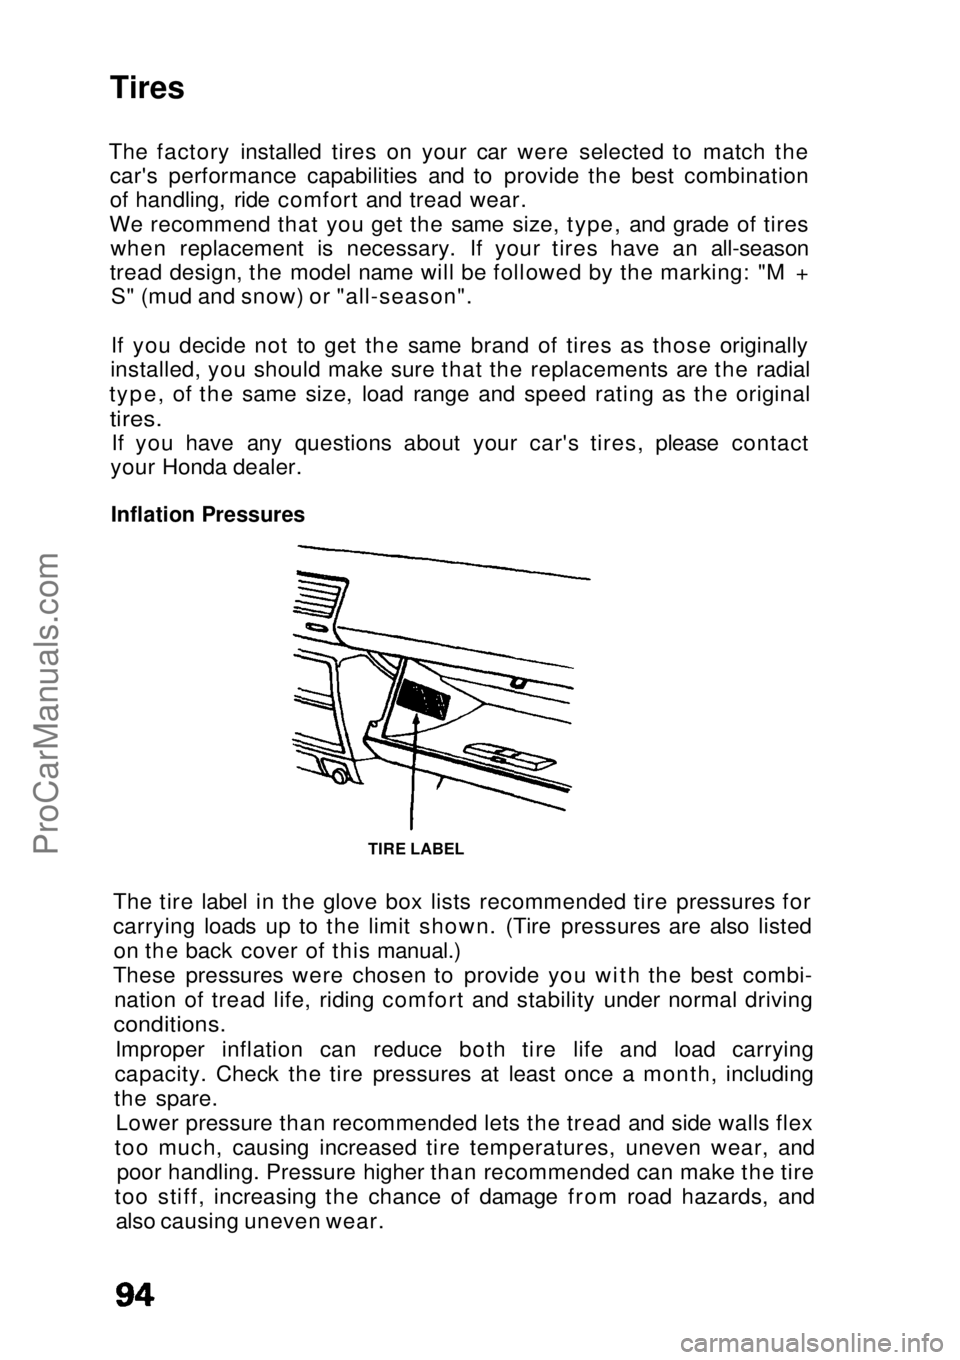
The tire label in the glove box lists recommended tire pressures for
carrying loads up to the limit shown. (Tire pressures are also listedon the back cover of this manual.)
These pressures were chosen to provide you with the best combi- nation of tread life, riding comfort and stability under normal driving
conditions.
Improper inflation can reduce both tire life and load carrying
capacity. Check the tire pressures at least once a month, including
the spare. Lower pressure than recommended lets the tread and side walls flex
too much, causing increased tire temperatures, uneven wear, and poor handling. Pressure higher than recommended can make the tire
too stiff, increasing the chance of damage from road hazards, and also causing uneven wear.
Tires
TIRE LABELProCarManuals.comMain Menu s t
Page 130 of 136
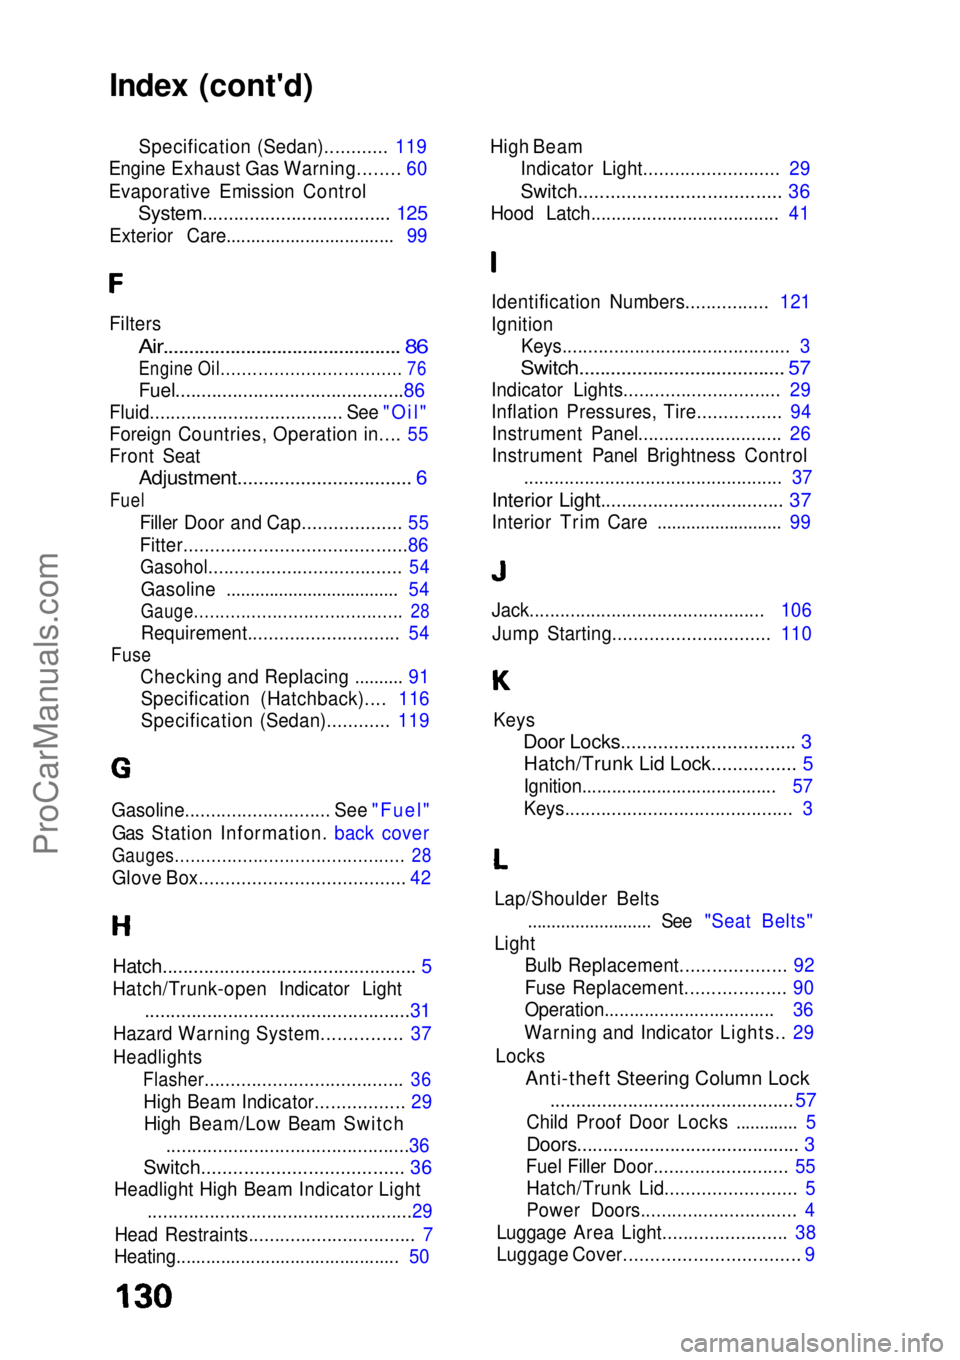
Index (cont'd)
Specification (Sedan)............ 119
Engine Exhaust Gas Warning........ 60
Evaporative Emission Control
System.................................... 125
Exterior Care.................................. 99
Filters
Air.............................................. 86
Engine Oil.................................. 76
Fuel........................................... .86
Fluid..................................... See "Oil"
Foreign Countries, Operation in.... 55
Front Seat
Adjustment................................. 6
Fuel
Filler Door and Cap................... 55
Fitter..........................................86
Gasohol..................................... 54
Gasoline .................................... 54
Gauge........................................ 28
Requirement............................. 54
Fuse
Checking and Replacing .......... 91Specification (Hatchback).... 116
Specification (Sedan)............ 119
Hatch................................................. 5
Hatch/Trunk-open Indicator Light
...................................................31
Hazard Warning System............... 37
Headlights
Flasher...................................... 36
High Beam Indicator................. 29High Beam/Low Beam Switch ...............................................36
Switch...................................... 36
Headlight High Beam Indicator Light
...................................................29
Head Restraints................................ 7
Heating............................................. 50 High Beam
Indicator Light.......................... 29
Switch...................................... 36
Hood Latch..................................... 41
Identification Numbers................ 121
Ignition Keys............................................ 3
Switch....................................... 57
Indicator Lights.............................. 29
Inflation Pressures, Tire................ 94 Instrument Panel............................ 26
Instrument Panel Brightness Control ................................................... 37
Interior Light................................... 37
Interior Trim Care .......................... 99
Keys
Door Locks................................. 3
Hatch/Trunk Lid Lock................ 5
Ignition....................................... 57
Keys............................................ 3
Lap/Shoulder Belts .......................... See "Seat Belts"
Light Bulb Replacement.................... 92
Fuse Replacement................... 90
Operation.................................. 36
Warning and Indicator Lights.. 29
Locks
Anti-theft Steering Column Lock...............................................57
Child Proo f
Door Locks ............. 5
Doors........................................... 3
Fuel Filler Door.......................... 55 Hatch/Trunk Lid......................... 5
Power Doors.............................. 4
Luggage Area Light........................ 38
Luggage Cover................................. 9
Gasoline............................ See "Fuel"
Gas Station Information. back cover
Gauges............................................ 28
Glove Box....................................... 42 Jack.............................................. 106
Jump Starting.............................. 110ProCarManuals.comMain Menu s t