1990 VOLVO 240 heating
[x] Cancel search: heatingPage 5 of 143

Volvo 1990 240 Model
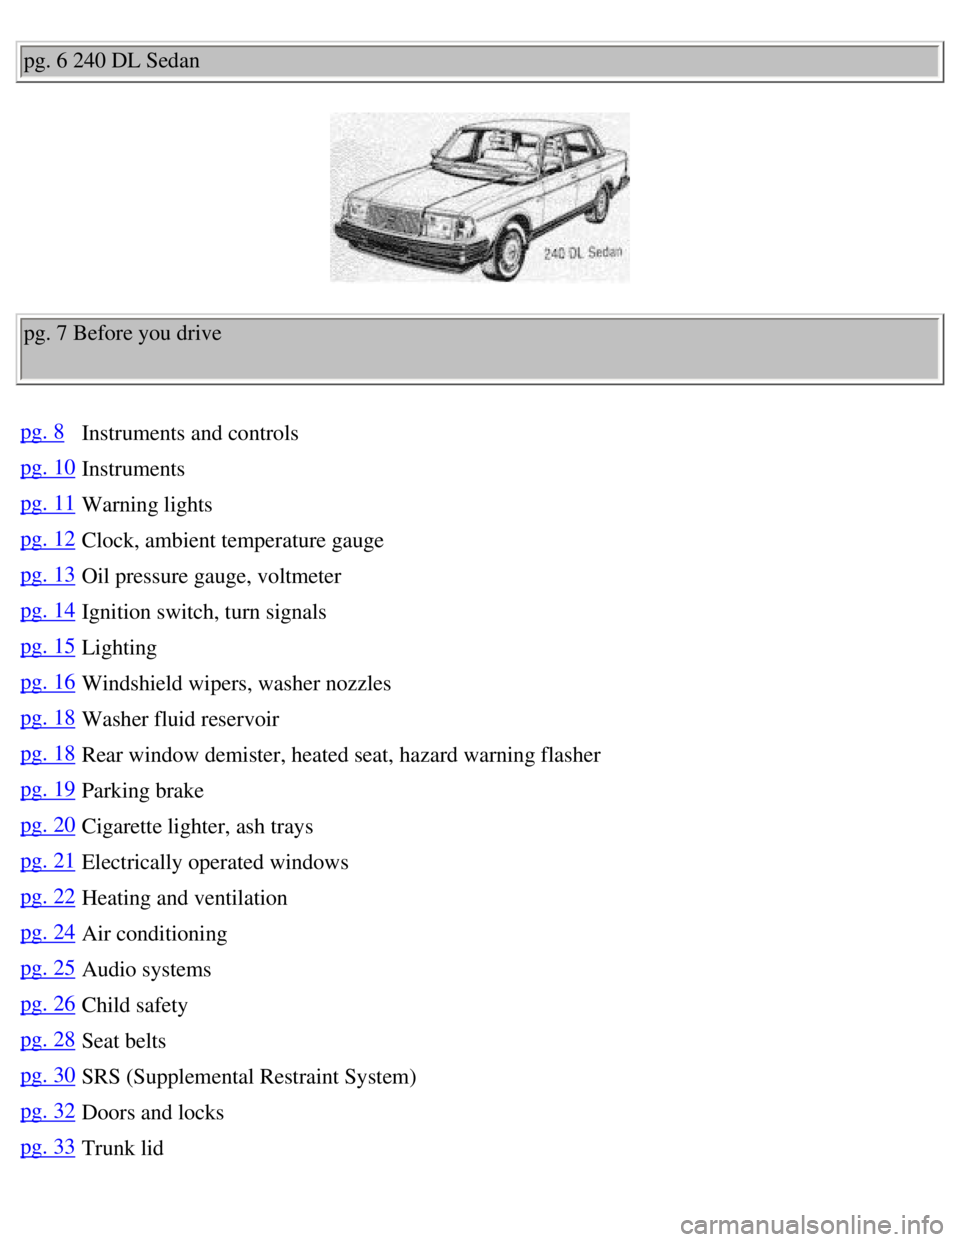
pg. 6 240 DL Sedan
pg. 7 Before you drive
pg. 8Instruments and controls
pg. 10Instruments
pg. 11Warning lights
pg. 12Clock, ambient temperature gauge
pg. 13Oil pressure gauge, voltmeter
pg. 14Ignition switch, turn signals
pg. 15Lighting
pg. 16Windshield wipers, washer nozzles
pg. 18Washer fluid reservoir
pg. 18Rear window demister, heated seat, hazard warning flasher
pg. 19Parking brake
pg. 20Cigarette lighter, ash trays
pg. 21Electrically operated windows
pg. 22Heating and ventilation
pg. 24Air conditioning
pg. 25Audio systems
pg. 26Child safety
pg. 28Seat belts
pg. 30SRS (Supplemental Restraint System)
pg. 32Doors and locks
pg. 33Trunk lid
file:///K|/ownersdocs/1990/1990_240/90240_01.htm (1 of 5)12/30/2006 8:\
25:01 AM
Page 7 of 143

Volvo 1990 240 Model
5 Instruments 10
6 Wiper/washer, tailgate window wiper/washer (wagon) 16
7 Starting (ignition) switch/steering wheel lock 14
8 Air louver 23
9 Radio location 25
10 Air louver 23
11 Glove box -
12 Air louver 23
13 Fuse box 81
14 Hood release handle 34
15 Horn -
16 Cigarette lighter 20
17 Rear window demister 18
18 Hazard warning flashers 18
19 Air conditioning (some models) 24
20 Seat belt reminder light 28
21 Heating and ventilation 22
22 Gear lever or gear selector 45, 46
23 Ash tray 20
24 Storage compartment -
25 Electrically-operated windows (certain models only) 21
26 Control for electrically operated side mirrors (certain models only)\
-
27 Parking brake 19
28 Electrically-operated window, right front door (certain models only)\
21
29 Seat belt release buttons 28
30 Seat heaters 19
31 Seat belt reminder light 28
32 Ash tray 20
The pages in this section provide a detailed description of the vehicle'\
s instruments and controls.
Note that some vehicles may be equipped differently, depending on model,\
special legal requirements,
etc. pg. 10 Instruments
file:///K|/ownersdocs/1990/1990_240/90240_01.htm (3 of 5)12/30/2006 8:\
25:01 AM
Page 23 of 143

Volvo 1990 240 Model
Seat heaters
The front seats are equipped with electrically-heated backrests and seat\
cushions. The switches engage
the heating which then is thermostatically controlled. It switches on au\
tomatically when the temperature
drops below 60°F (15°C) and switches off at approx. 95°F (35\
°C). pg. 20 Cigarette lighter, Ash trays
Cigarette lighter
To operate, depress the knob fully. When the knob automatically releases\
, the cigarette lighter is ready
for use.
The starting (ignition) switch must be ON for the cigarette lighter to\
function.
file:///K|/ownersdocs/1990/1990_240/90240_04.htm (3 of 5)12/30/2006 8:\
25:02 AM
Page 26 of 143

Volvo 1990 240 Model
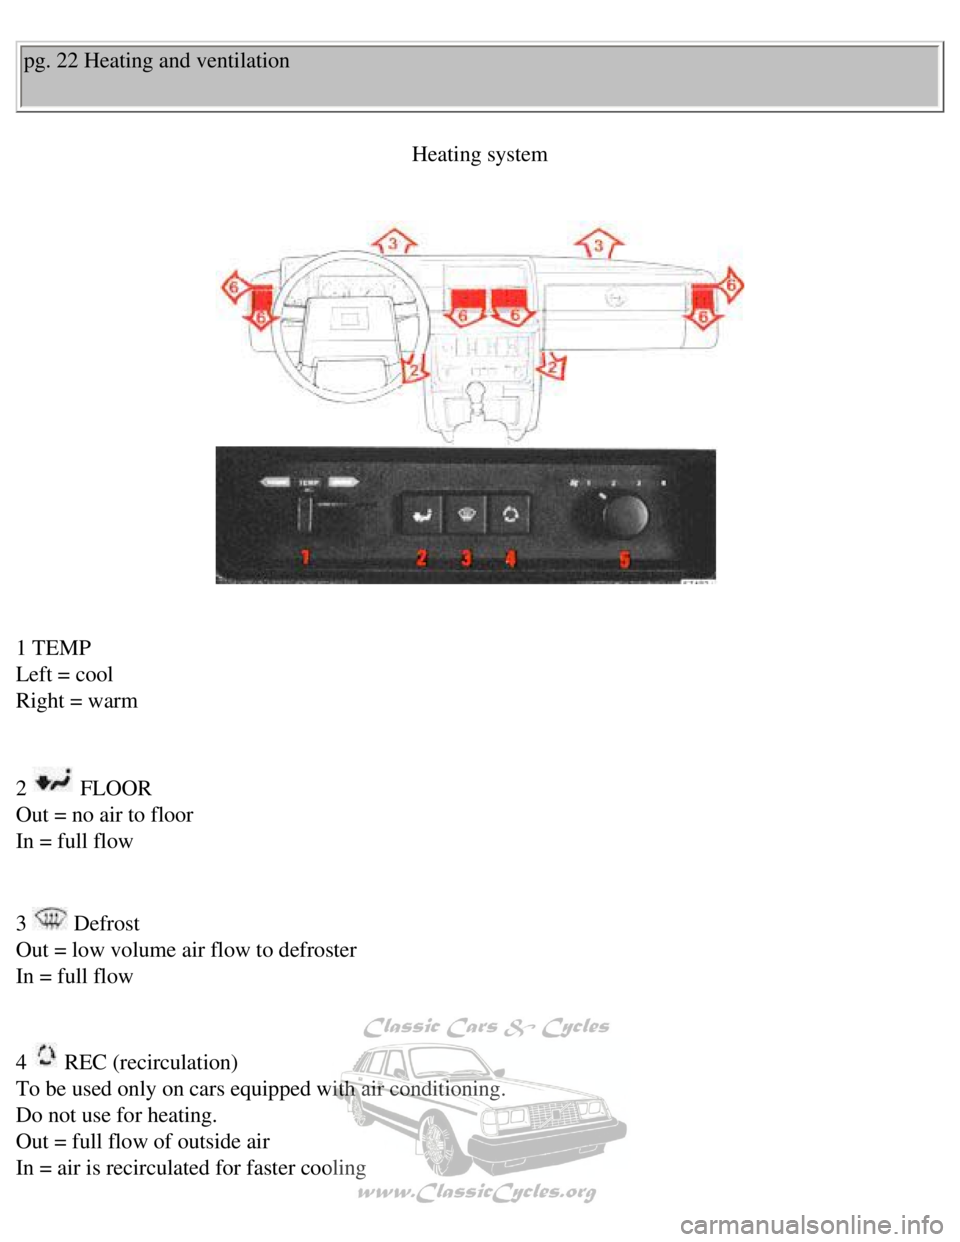
pg. 22 Heating and ventilation Heating system
1 TEMP
Left = cool
Right = warm
2
FLOOR
Out = no air to floor
In = full flow
3
Defrost
Out = low volume air flow to defroster
In = full flow
4
REC (recirculation)
To be used only on cars equipped with air conditioning.
Do not use for heating.
Out = full flow of outside air
In = air is recirculated for faster cooling
file:///K|/ownersdocs/1990/1990_240/90240_05.htm (1 of 6)12/30/2006 8:\
25:03 AM
Page 27 of 143

Volvo 1990 240 Model
5
Blower motor
Has 4 speeds and is shut completely off when the knob is turned to the l\
eft.
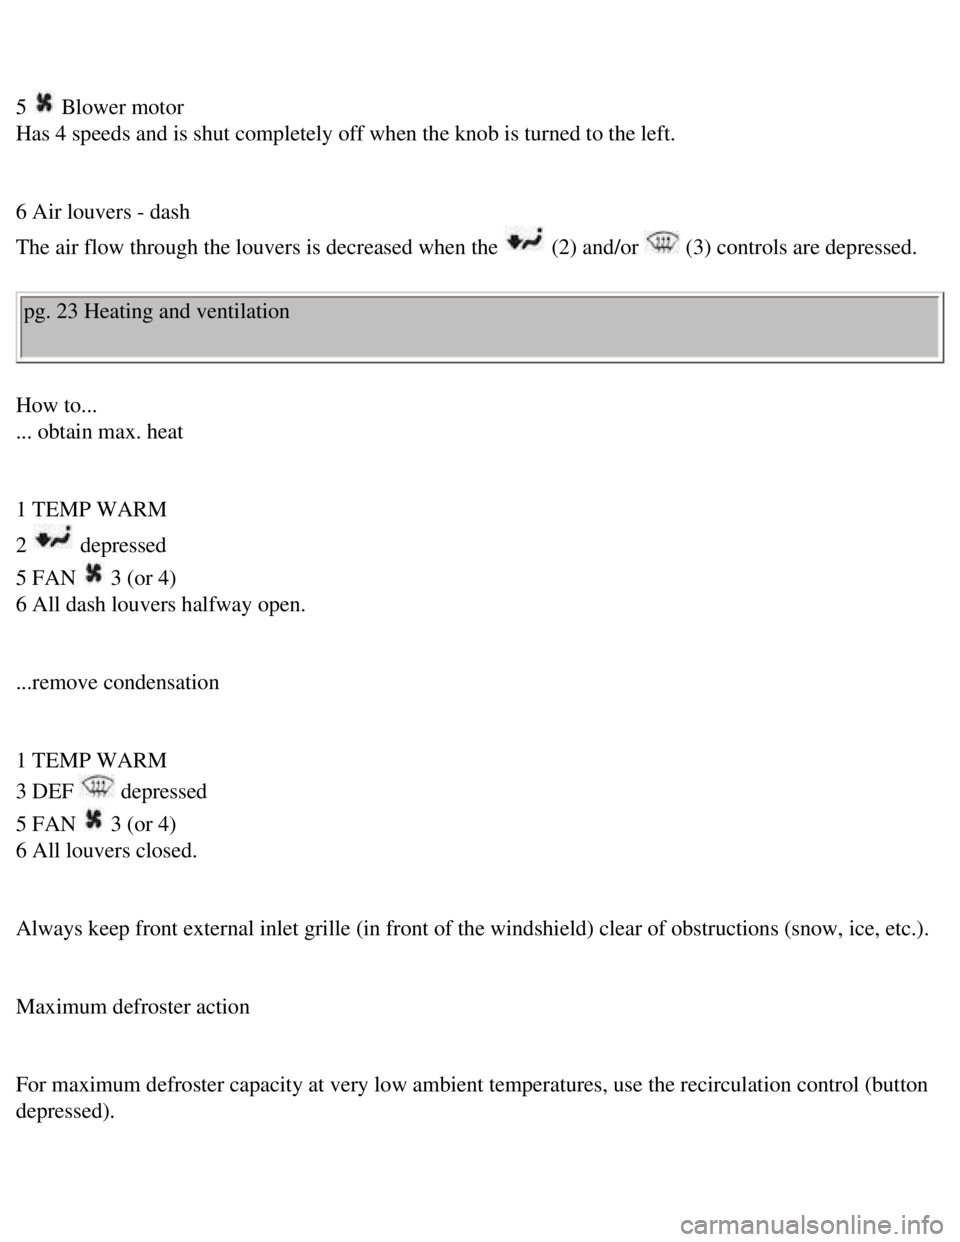
6 Air louvers - dash
The air flow through the louvers is decreased when the
(2) and/or (3) controls are depressed.
pg. 23 Heating and ventilation
How to...
... obtain max. heat
1 TEMP WARM
2
depressed
5 FAN
3 (or 4)
6 All dash louvers halfway open.
...remove condensation
1 TEMP WARM
3 DEF
depressed
5 FAN
3 (or 4)
6 All louvers closed.
Always keep front external inlet grille (in front of the windshield) c\
lear of obstructions (snow, ice, etc.).
Maximum defroster action
For maximum defroster capacity at very low ambient temperatures, use the\
recirculation control (button
depressed).
file:///K|/ownersdocs/1990/1990_240/90240_05.htm (2 of 6)12/30/2006 8:\
25:03 AM
Page 61 of 143

Volvo 1990 240 Model
1. Enter the car and check that the seat is adjusted properly. Make sure\
that the brake pedal can be
depressed completely. Move the seat closer if necessary.
2. Fasten the seat belt.
3. Apply the parking brake if not already set. Depress the brake pedal w\
ith your right foot.
4. Place the gear selector in Park (or neutral).
5. Without touching the accelerator pedal, turn the ignition key to the \
starting position. Release the key
as soon as the engine starts.
6. Select the desired gear. There is a slight delay before the gear enga\
ges which is most notable when
selecting Reverse. Do not accelerate until you have felt the gear engage\
!
Note: Too-rapid acceleration immediately after selecting a gear will cau\
se harsh engagement and
premature transmission wear.
7. Release parking brake, then foot brake, and accelerate. To stop the c\
ar release the accelerator and
apply the brakes with your right foot.
It is not necessary to move the gear selector as the transmission will d\
ownshift automatically.
When idling for extended periods of time, select position N to prevent u\
nnecessary heating of the
transmission.
WARNING! Always place gear selector in Park and apply parking brake befo\
re leaving vehicle. Never
leave car unattended with engine running.
pg. 48 Emergency towing (pulling)
Front eyelet Rear eyelet
file:///K|/ownersdocs/1990/1990_240/90240_10.htm (5 of 7)12/30/2006 8:\
25:05 AM
Page 65 of 143

Volvo 1990 240 Model
l It is necessary to balance trailer brakes with the towing vehicle brakes\
to provide a safe stop (check
and observe State regulations).
l More frequent vehicle maintenance is required.
l Remove the ball and drawbar assembly when the hitch is not being used.
l Increase tire pressure to recommended full-load pressure. See section 'W\
heels and Tires."
Note: Refer to section entitled "Automatic transmission" for additional \
trailer hauling
tips.
Warning: Do not drive with trunk lid or tailgate
open!
Poisonous exhaust gases may enter via the open trunk lid or tailgate. (\
This is especially true for wagon
models.)
If the trunk lid or tailgate for any reason must be open, proceed as fol\
lows:
l Close the windows.
l Set the heating system controls for floor and defroster to max. and the \
blower to full speed (4). See
section titled "Heating and Ventilation".
Handling, roadholding
Vehicle load, tire design and inflation pressure are important for prope\
r handling. Therefore check that
the tires are inflated to the recommended pressure according to the vehi\
cle load.
Loads should be distributed so that capacity weight or maximum permissib\
le axle loads are not
exceeded.
It is recommended to use tires of the same make and dimensions on all fo\
ur wheels.
Warning: Do not mix radial ply and bias ply tires as this will adversely\
alter the vehicle handling
characteristics.
Roof rack
Permanent and removable roof racks are available from Volvo Accessories.\
file:///K|/ownersdocs/1990/1990_240/90240_11.htm (2 of 6)12/30/2006 8:\
25:06 AM
Page 66 of 143

Volvo 1990 240 Model
l Observe the following points when in use.
l Avoid point loads. Distribute the load evenly.
l Place the heavy cargo at bottom of load.
l Observe that center of gravity and handling are influenced by the load w\
eight.
l Increasing load size increases wind resistance.
l Anchor the cargo correctly with a cord.
l Drive carefully. Avoid rapid starts, heavy cornering and heavy braking. \
l Max. roof load is 220 lbs (100 kg); use a root rack with a sufficient \
load rating.
pg. 51 Automatic transmission, Brake system
The following "Special Tips" apply to cars with automatic transmission
l For steep hills and when driving for prolonged periods at low speeds, po\
sition 1 should be selected.
Avoid, however, repeated changes since this can cause overheating of the\
transmission oil. For driving
on mountain roads with long persistent uphill gradients, select position\
2.
l When negotiating long, steep, downhill slopes, position 1 should be sele\
cted and position 2 for less
severe inclines, in order to obtain the best possible engine braking eff\
ect.
Do not hold the car stationary on an incline by using the accelerator pe\
dal. Instead, engage the hand
brake. This prevents the transmission oil from becoming overheated.
l 4th gear must be disengaged when hauling a trailer!
l If an additional transmission oil cooler is installed you can haul a tra\
iler with the overdrive engaged.
See next "special tip".
l When driving with heavy trailers, it is recommended that an additional o\
il cooler be installed. This
applies especially when driving under severe conditions e.g. mountain dr\
iving or prolonged driving at
high speeds without breaks. The additional oil cooler is available as a \
genuine Volvo accessory.
Regarding oil change, see section titled "Transmission oil".
Moisture on brake discs and brake pads affects braking.
Driving in rain and slush or passing through a normal car wash can cause\
water to collect on the brake
discs and pads. This will cause a delay in braking effect when the pedal\
is depressed. To avoid such a
delay, when the brakes are needed, depress the pedal occasionally when d\
riving in rain or slush.
This will remove the water from the brakes.
This should also be done after washing or starting in very damp weather.\
If the brake power assist does not function --
file:///K|/ownersdocs/1990/1990_240/90240_11.htm (3 of 6)12/30/2006 8:\
25:06 AM