1990 HONDA PRELUDE maintenance
[x] Cancel search: maintenancePage 1 of 143

1990 Prelude Online Reference Owner's Manual
Use these links (and links throughout this manual) to navigate through\
this reference.
For a printed owner's manual, click on authorized manuals or go to www.h\
elminc.com.
Features & Safety ........................................................................\
........................................................ 2
What you should know before driving your car.
Starting & Driving........................................................................\
.....................................................
55
What gas to use, how to change gears, etc.
Maintenance
........................................................................\
............................................................... 76
The Required Maintenance Schedule and some items you can service.
Emergency Service
........................................................................\
................................................ 116
Changing a flat, jump starting, towing.
Specifications
........................................................................\
......................................................... 125
Dimensions, weights and capacities.
Consumer Information
........................................................................\
.......................................... 127
Reporting Safety Detects, warranty service, vehicle identification numbe\
rs, etc.
Index ........................................................................\
....................... .................................................
137
Gas Station Information
Contents
Owner's Identification Form
ProCarManuals.com
Page 2 of 143

Introduction
This manual contains important information about the safe
operation and maintenance of your car.
We urge you to read it carefully, become familiar with the controls it
describes, and follow its recommendations, to help make your
driving trouble-free and enjoyable.
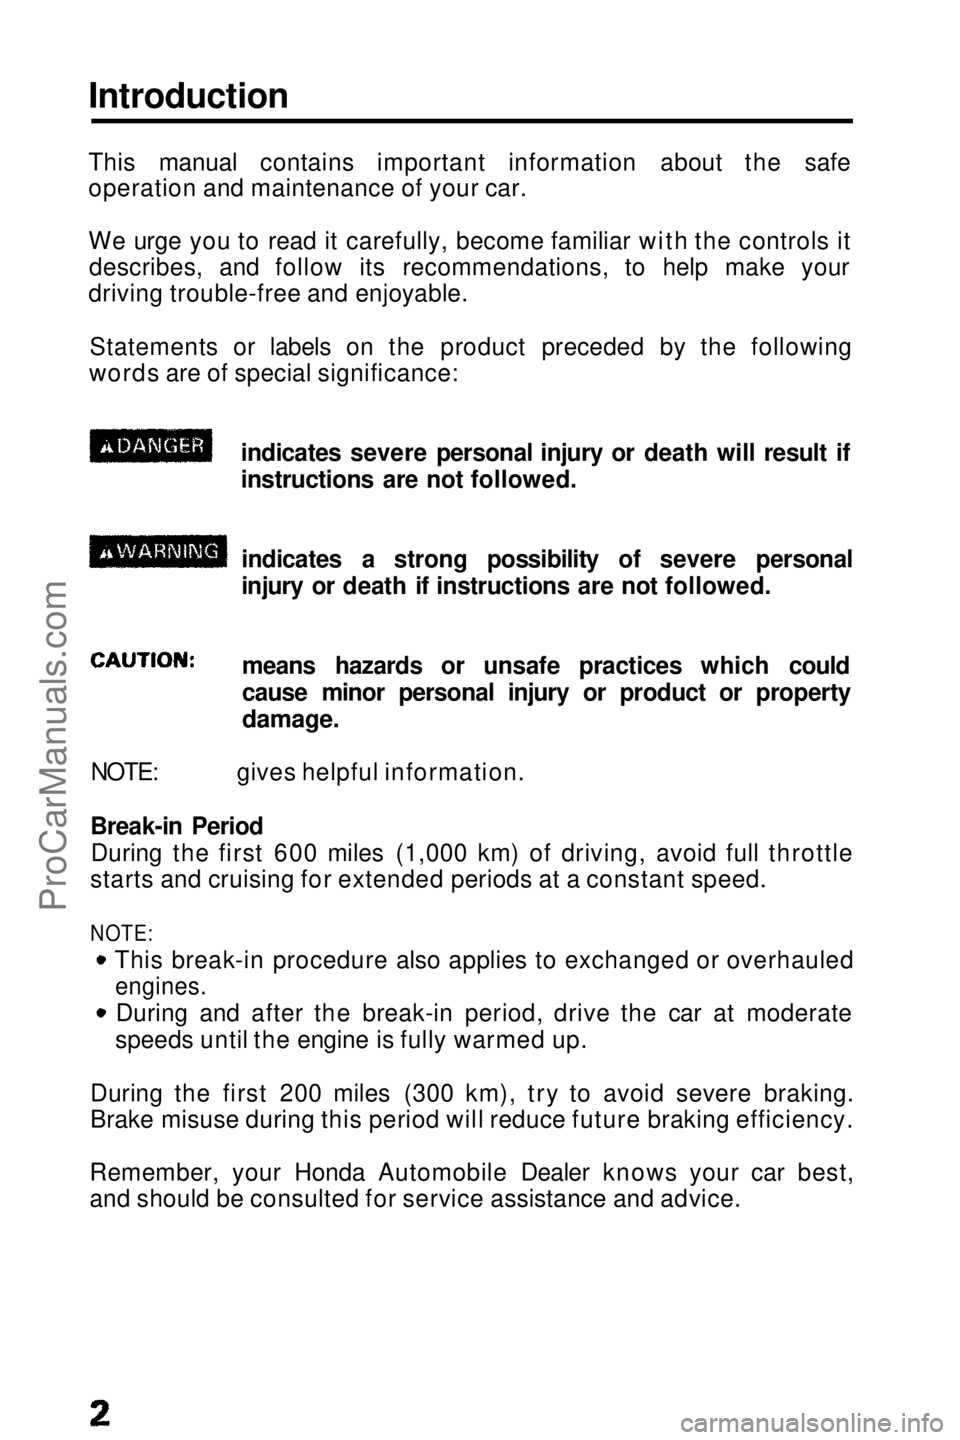
Statements or labels on the product preceded by the following
words are of special significance:
indicates severe personal injury or death will result if
instructions are not followed.indicates a strong possibility of severe personal
injury or death if instructions are not followed.means hazards or unsafe practices which could
cause minor personal injury or product or property
damage.
NOTE: gives helpful information.
Break-in Period During the first 600 miles (1,000 km) of driving, avoid full throttle
starts and cruising for extended periods at a constant speed.
NOTE:
This break-in procedure also applies to exchanged or overhauled
engines.
During and after the break-in period, drive the car at moderate
speeds until the engine is fully warmed up.
During the first 200 miles (300 km), try to avoid severe braking.
Brake misuse during this period will reduce future braking efficiency.
Remember, your Honda Automobile Dealer knows your car best,
and should be consulted for service assistance and advice.ProCarManuals.comMain Menu t s
Page 20 of 143

Speedometer
The speed is indicated in miles per hour (outside scale) and
kilometers per hour (inside).
Odometer
The numbers on the odometer indicate miles.
The odometer registers total distance traveled, and serves as your
guide for determining when periodic maintenance is due. Federal law makes it illegal to alter the odometer of any motor vehicle with the
intent to change the number of miles indicated.
Trip Meter
The numbers on the trip meter indicate miles.
The trip meter can be returned to zero by pushing in the resetbutton. Use it for checking fuel consumption or distance traveled per trip.
Tachometer
The tachometer indicates engine speed in revolutions per minute.The beginning of the RED ZONE indicates the maximum allowable
engine R.P.M. Do not run the engine with the tachometer indicator
needle in the RED ZONE.
Fuel Gauge
FUEL TANK CAPACITY: 60 l (15.9 US gal, 13.2 Imp gal)
As a convenience, the gauge continues to show the same fuel level as when the ignition was last on. After refueling, the gauge will
slowly change to the new fuel level when the ignition is switched on.
When the needle first indicates E (empty), you have a usable reserve left in the tank of about:
4 l
(1.1
US gal, 0,9 Imp gal)
Coolant Temperature GaugeCAUTION:
The needle should stay within the white range. If the needle reaches the red line at "H" (Hot), pull safely off the road, stop the
engine and check the coolant level in the reserve tank on the passenger side of the radiator under the hood.
Do not remove the radiator cap when the engine is hot. The
coolant is under pressure and may blow out and scald you.
GaugesProCarManuals.comMain Menu t s
Page 52 of 143

Stereo Sound System (cont'd)
CLEAN Indicator Light
After 50 hours of cassette tape play, the light will come on as a reminder to clean the tape heads. If the light comes on and the tape
heads were not cleaned at the recommended 30 hours of usage (see maintenance section below), they should be cleaned immediately.
To reset, push the indicator for a minimum of five seconds until the light goes off.
Defective Tape Eject
The tape player includes a protection mechanism to automatically eject defective tapes (warped housing, loose label, faulty tape movement) immediately upon insertion, if a tape malfunctions while
in play, the tape direction will change back and forth and then e|ect
the cassette. Tapes ejected before play should be considered faulty and discarded; tapes ejected during play may only be unevenly
wound and could be re-usable if fully rewound, manually, outside the player.
NOTE:
The tape player may repeat cycle through the loading and unloading
motion several times in an effort to eject a faulty tape. During this
process the tape will either eject fully or rise to the loading level and
have to be pulled out manually. In either case, discard the tape; re-
use may damage the tape player.
Maintenance
The head in the cassette tape player can pick up dirt or tape
deposits each time a cassette is played. The result is low or "muddy" sound from one or both channels, as if the treble tone
control were turned all the way down. To prevent this, you should periodically clean the head with a commercially available cleaning
cassette.
As preventive maintenance, clean the head about every 30 hours of
use. If you wait until the head becomes very dirty (noticeably poor
sound), it may not be possible to remove all deposits with a simple
cleaning cassette.
The use of 120 minutes tape is not recommended.
CAUTION:
Storing cassettes out of their cases, or touching the magnetic
tape with your fingers will increase the amount of dirt that gets to
the tape head. Using low-quality "off-brand" tape will increase the
amount of tape deposits that get on the head. Both of these
practices may eventually lead to damage of the head and playing
mechanism.ProCarManuals.comMain Menu t s
Page 54 of 143

Sunroof (cont'd)
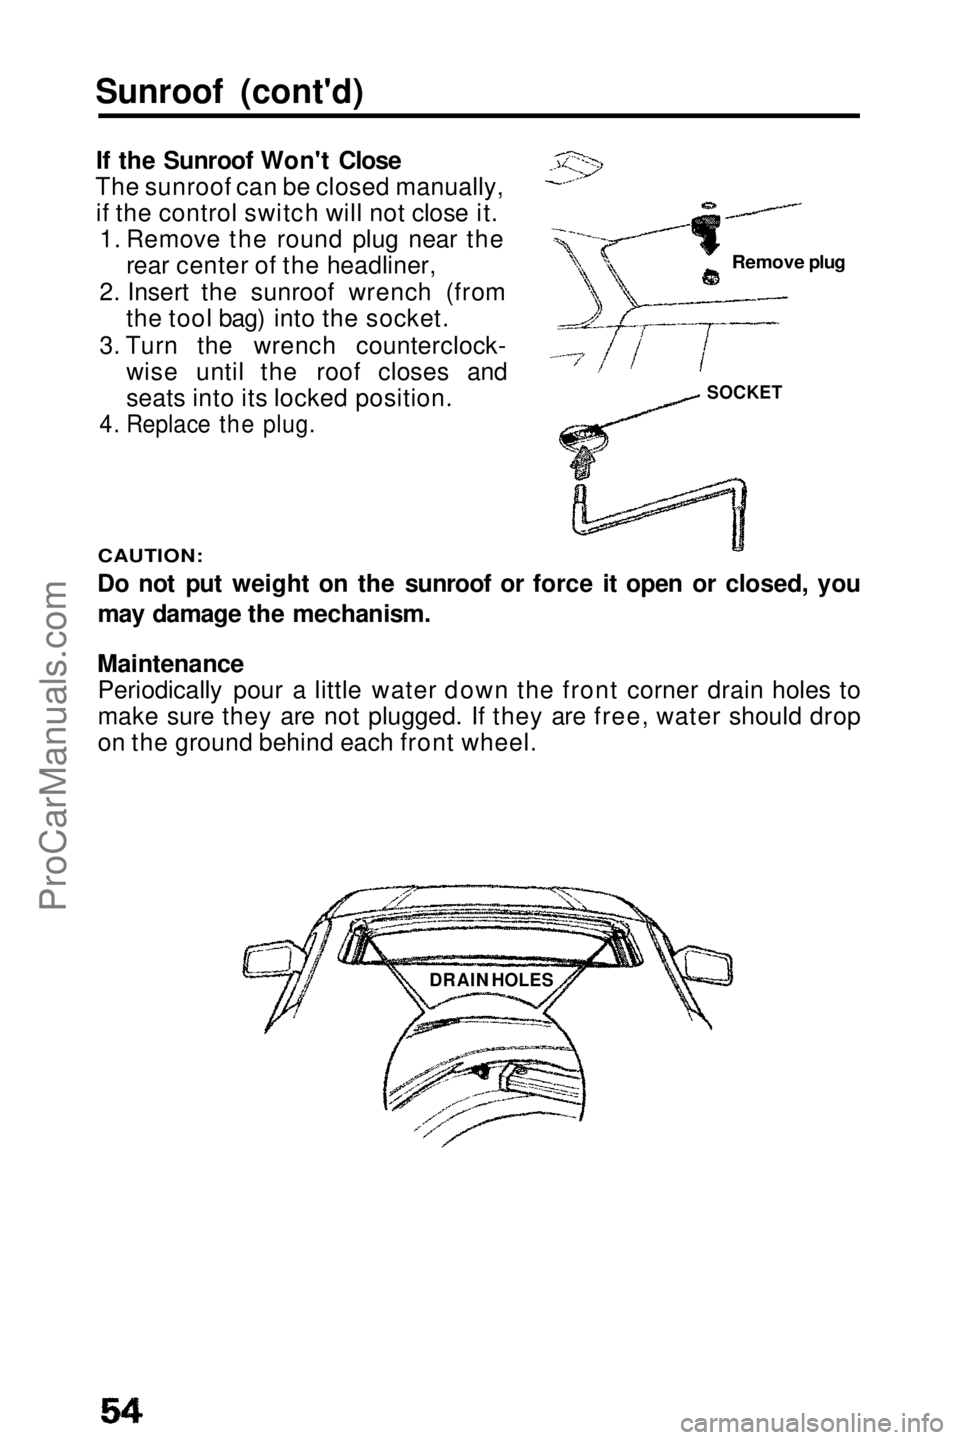
If the Sunroof Won't Close
The sunroof can be closed manually, if the control switch will not close it. 1. Remove the round plug near the rear center of the headliner,
2. Insert the sunroof wrench (from the tool bag) into the socket.
3. Turn the wrench counterclock- wise until the roof closes and
seats into its locked position.
4. Replace the plug.
CAUTION:
Do not put weight on the sunroof or force it open or closed, you
may damage the mechanism.
Maintenance
Periodically pour a little water down the front corner drain holes to
make sure they are not plugged. If they are free, water should drop
on the ground behind each front wheel.
Remove plug
SOCKET
DRAIN HOLESProCarManuals.comMain Menu t s
Page 57 of 143

Open
Close
Fuel vapor is extremely hazardous under certain conditions.
Always stop the engine before refueling, and never refuel near
sparks or open flames.
CAUTION:
When reinstalling the fuel cap, be sure both tabs on the cap are engaged in the slots of the filler neck and turn the cap until it stops.
If you replace the cap, use only a genuine Honda replacement part
or Its equivalent. Failure to use the proper part could cause serious
fuel system problems.
How to Improve Your Gas Mileage:
Drive at a smooth, steady pace to avoid unnecessary
decelerations and stops — accelerating back to speed uses more
fuel.
Plan trips to avoid rush hour traffic if possible.Make sure the parking brake is completely released.
Consolidate trips whenever possible.
Keep vehicle weight to a minimum by removing unnecessary
items from the luggage area.
Whenever possible, use fresh air from the dash vents to keep
cool when driving; open windows, or use of the air conditioningboth affect fuel economy.
Keep the tires adjusted to the recommended pressure.
Tire Pressure (measured cold)
Front: 195 kPa (28 psi)
Rear: 180 kPa (26 psi)
195 kPa (28 psi) : (Si with 4WS)
Condition of Your Car
You can only get maximum fuel economy if your car is in top running condition. Have all required maintenance done at theproper intervals. Check tire pressures and tire wear frequently. If
tire wear is uneven, have the alignment checked by your Honda dealer. Proper alignment saves gasoline and prolongs tire life.
RELEASE LEVER
Pull upProCarManuals.comMain Menu t s
Page 73 of 143

Break-in Schedule
Do not tow a trailer during the 600 mile (1,000 km) break-in period:
see page 2.
Maintenance
If you tow a trailer, your vehicle will require more frequent
maintenance due to the additional load. Refer to the "Maintenance
Schedule under severe driving conditions" on page 80 for specific
information.
Before Towing
With the car and trailer completely loaded and parked on a level surface, confirm that the tongue loading is correct. If the car has an
abnormal nose-up or nose-down attitude, check for improper cargo
distribution. Check also for excessive cargo weight, worn
suspension or other causes and correct the problem before driving.
Be sure the cargo is secured so it will not shift while driving. Check
that your rearview mirrors conform to any federal, state, or local regulations. If not, install rearview mirrors designed for towing.Before towing a trailer, practice turning, stopping and reversing with
a trailor in an area away from traffic until you learn the technique.
(cont'd)
ProCarManuals.comMain Menu t s
Page 76 of 143

Your Honda automobile must be properly maintained to ensure that
it is in peak operating condition and the emission levels are within
the standards set by the Federal Clean Air Act, The following instructions and maintenance procedures are based
on the assumption that your car will be used exclusively for the purpose for which it was designed:
1. To carry passengers and cargo within the load limits shown on the label on the edge of the driver's door.
2. To be driven on reasonable road surfaces within legal limits.
3. To generally be driven daily over a distance of several miles.
4. Use gasoline from pumps labeled unleaded, with a pump octane number of 68 or higher. The pump octane number is an average of
the Research (R) octane and Motor (M) octane numbers.
NOTE:
Failures which occur due to a lack of maintenance will not be
covered under warranty.
The Required Maintenance Schedule * specifies all maintenance required to keep your car in peak operating condition. Work should
be done by an authorized Honda dealer but may be done by any qualified service facility or individual who is competent in this type
of work.
Maintenance, replacement, or repair of emission control devicesand systems may be done by any automotive repair establishment
or individual using parts that are "certified" to EPA standards.
After the maintenance has been done, be sure to complete the Maintenance Records on pages 79 — 81 . All required maintenance is
considered normal owner operating cost and you will be charged for it by your dealer.
* For vehicles sold in California, maintenance operations indicated
by * 3 on page 78 are recommended by the manufacturer.
Other maintenance operations are required by California
regulations and condition the emission warranty.
Maintenance Schedule and RecordsProCarManuals.comMain Menu t s