1990 HONDA PRELUDE flat tire
[x] Cancel search: flat tirePage 72 of 143

Towing a Trailer (cont'd)
Hitches
Use only a hitch recommended by your Honda dealer. The hitch
should be bolted securely to the car and installed by a qualified
technician. Do not use a hitch designed for temporary installation
and never use one that attaches only to the bumper.
Trailer Brakes and safety chains
The Honda Automobile Division recommends that trailers equippedwith brakes, should conform to any applicable federal and stateregulations, When using a trailer equipped with electric brakes, a
trailer brake controller that connects to the car's electrical system is recommended. Installing a brake controller that connects to the car's
brake hydraulic system could result in brake fluid contamination or
leaks, A safety chain must always be used between the car and the
trailer. Leave sufficient slack in the chain so that it does not bind in
sharp turns. The chain should cross under the trailer tongue to prevent the tongue from dropping to the ground.
Tires
Make sure your car's are properly inflated. Adjust tire pressure
to the recommended tire pressure indicated on the label attached to
the edge of the driver's door.The trailer tires should be of the proper size, load rating and inflated to the pressure recommended
by the trailer manufacturer.
Trailer Lights
Trailer light must comply with federal, state and local regulations. See your local recreation vehicle dealer or rental agency for the
correct type of lighting and wiring for your trailer, Check for correct
operation of the turn signals and stop lights each time you hitch up.
CAUTION:
Connections to your car's electrical system should be made by
your Honda dealer or a qualified electrician.Improper installation
may damage your vehicle's electrical system and cause a
malfunction of the lights.
ProCarManuals.comMain Menu t s
Page 105 of 143

The factory-installed tires on your car were selected to provide the
best performance for normal driving.
Inflation Pressures
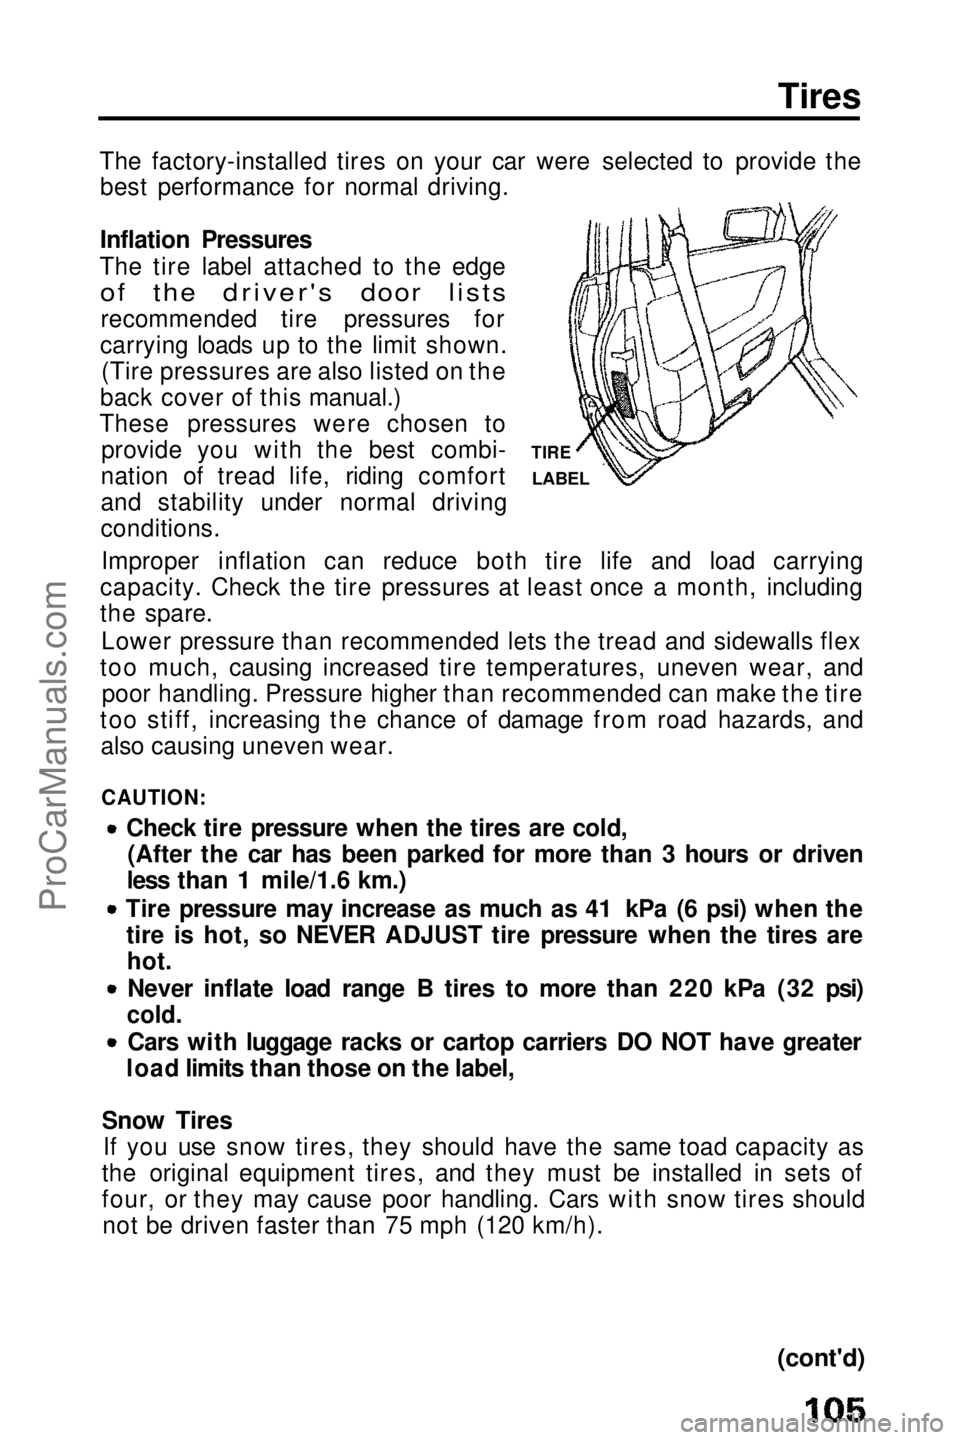
The tire label attached to the edge
of the driver's door lists
recommended tire pressures for
carrying loads up to the limit shown. (Tire pressures are also listed on the
back cover of this manual.)
These pressures were chosen to provide you with the best combi-
nation of tread life, riding comfort
and stability under normal driving
conditions.
Improper inflation can reduce both tire life and load carrying
capacity. Check the tire pressures at least once a month, including
the spare.
Lower pressure than recommended lets the tread and sidewalls flex
too much, causing increased tire temperatures, uneven wear, and poor handling. Pressure higher than recommended can make the tire
too stiff, increasing the chance of damage from road hazards, and also causing uneven wear.
CAUTION: Check tire pressure when the tires are cold,(After the car has been parked for more than 3 hours or driven
less than 1 mile/1.6 km.) Tire pressure may increase as much as 41 kPa (6 psi) when the
tire is hot, so NEVER ADJUST tire pressure when the tires arehot.
Never inflate load range B tires to more than 220 kPa (32 psi)
cold.
Cars with luggage racks or cartop carriers DO NOT have greater
load limits than those on the label,
Snow Tires If you use snow tires, they should have the same toad capacity as
the original equipment tires, and they must be installed in sets of
four, or they may cause poor handling. Cars with snow tires should not be driven faster than 75 mph (120 km/h).
(cont'd)Tires
TIRE
LABELProCarManuals.comMain Menu t s
Page 107 of 143

NOTE:
Brake pads should be inspected for wear whenever the tires are
rotated.
Tire Traction
Worn tires or slippery road surfaces can reduce driving, cornering and braking traction. To reduce the possibility of losing traction,
slow down when the road gets slippery, replace tires when wearindicators are visible, and KEEP TIRES PROPERLY INFLATED.
Tire Replacement
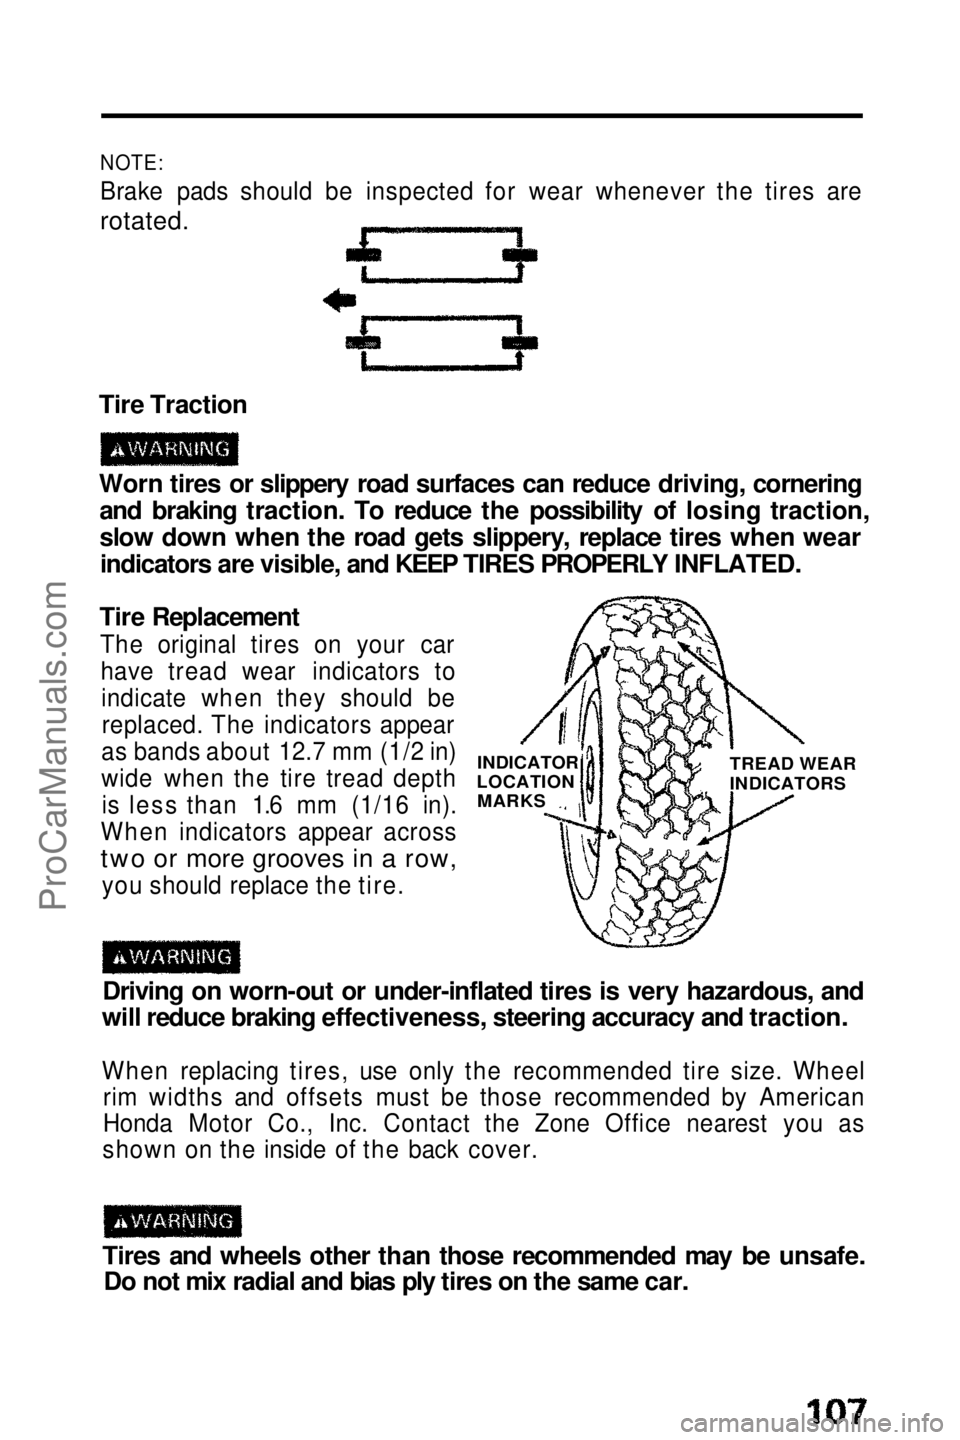
The original tires on your carhave tread wear indicators toindicate when they should bereplaced. The indicators appear
as bands about 12.7 mm (1/2 in)
wide when the tire tread depth is less than 1.6 mm (1/16 in).
When indicators appear across
two or more grooves in a row,
you shoul d
replace the tire.
Driving on worn-out or under-inflated tires is very hazardous, and
will reduce braking effectiveness, steering accuracy and traction.
When replacing tires, use only the recommended tire size. Wheel rim widths and offsets must be those recommended by American
Honda Motor Co., Inc. Contact the Zone Office nearest you as
shown on the inside of the back cover.
Tires and wheels other than those recommended may be unsafe. Do not mix radial and bias ply tires on the same car. INDICATOR
LOCATION MARKS TREAD WEAR
INDICATORSProCarManuals.comMain Menu t s
Page 114 of 143

Spare Tire
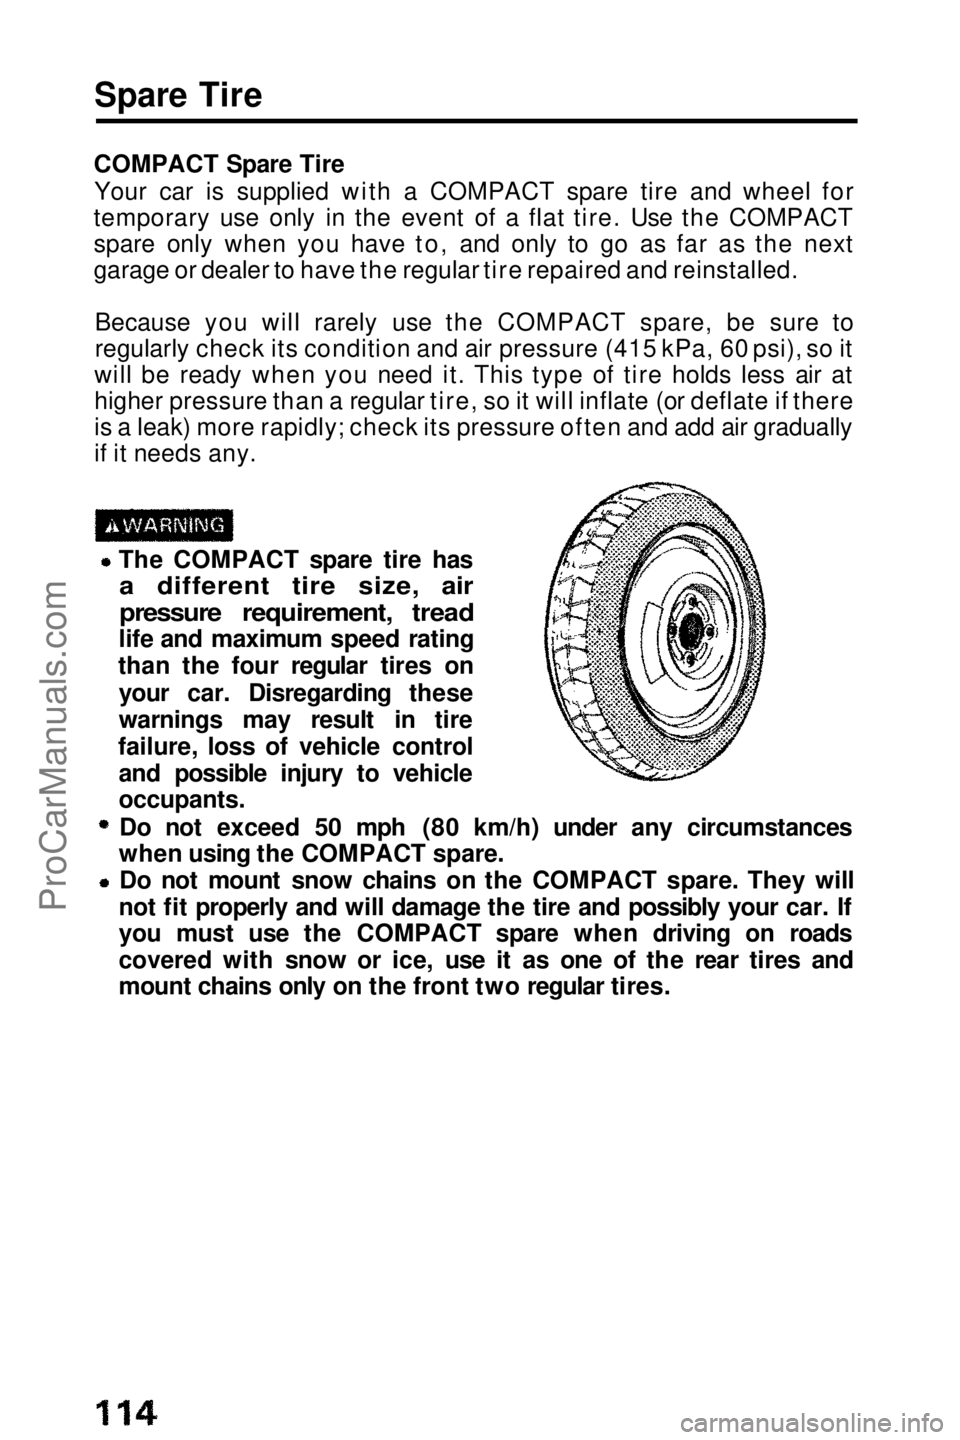
COMPACT Spare Tire Your car is supplied with a COMPACT spare tire and wheel for
temporary use only in the event of a flat tire. Use the COMPACT
spare only when you have to, and only to go as far as the next
garage or dealer to have the regular tire repaired and reinstalled.
Because you will rarely use the COMPACT spare, be sure to
regularly check its condition and air pressure (415 kPa, 60 psi), so it
will be ready when you need it. This type of tire holds less air at
higher pressure than a regular tire, so it will inflate (or deflate if there
is a leak) more rapidly; check its pressure often and add air gradually
if it needs any. The COMPACT spare tire has
a different tire size, air
pressure requirement, tread
life and maximum speed rating
than the four regular tires on
your car. Disregarding these
warnings may result in tire
failure, loss of vehicle control and possible injury to vehicle
occupants.
Do not exceed 50 mph (80 km/h) under any circumstances
when using the COMPACT spare. Do not mount snow chains on the COMPACT spare. They will
not fit properly and will damage the tire and possibly your car. If
you must use the COMPACT spare when driving on roads
covered with snow or ice, use it as one of the rear tires and
mount chains only on the front two regular tires.ProCarManuals.comMain Menu t s
Page 116 of 143

Changing a Flat Tire
Do not attempt to change a tire unless the car is on firm, level
ground and well out of the flow of traffic.
Park the car on a firm, level surface, apply the parking brake, turn
on the hazard warning switch and put the transmission in gear (Park
for automatic).
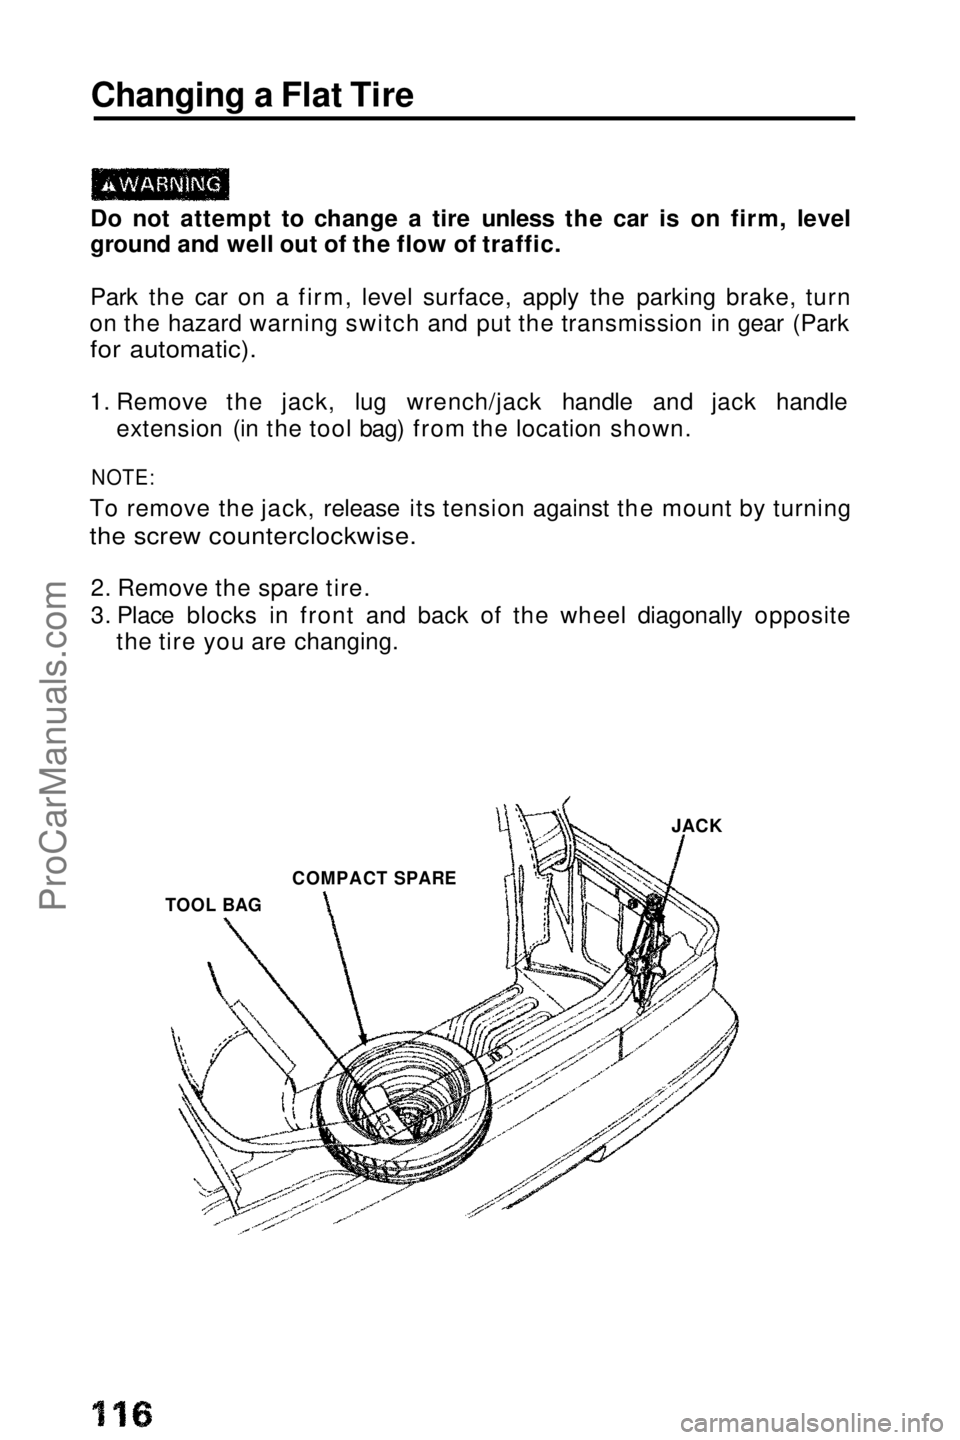
1. Remove the jack, lug wrench/jack handle and jack handle extension (in the tool bag) from the location shown.
NOTE:
To remove the jack, release its tension against the mount by turning
the screw counterclockwise.
2. Remove the spare tire.
3. Place blocks in front and back of the wheel diagonally opposite the tire you are changing.
JACK
COMPACT SPARE
TOOL BAGProCarManuals.comMain Menu t s
Page 117 of 143

4. (2.0 Si,Si)
Remove the center cap from the wheel cover by turning the lock
to 90°.
(Si with 4WS or ALB)
Remove the center cap from the wheel by prying it out with a
common flat screwdriver (not provided in the tool bag).
(2.0 Si,Si)
CAUTION:
(On the Si model with 4WS or ALB)
Hold the center cap with your hand then pry it off using a rag to
protect the
cap and the wheel.
5. Use the lug wrench to loosen the wheel lug nuts
counterclockwise one-half turn.
Follow tire changing preparations and procedures carefully to
reduce the possibility of injury. The jack
is designed for changing
tires only.
STAND CLEAR, DO NOT get under the car and DO NOT
run the engine when the car Is supported only by the jack.
6. Place the jack under the jack point nearest the wheel you are removing; align the jack head so the car frame will fit in the recess
as you raise the jack.
To reduce the possibility of injury, be sure to use the jack provided with the car and the correct jacking points; never use any otherpart of the car for jack support.
RAG
(cont'd)
CENTER CAP
CENTER CAP
(Si with 4WS or ALB)
FLAT
SCREWDRIVERProCarManuals.comMain Menu t s
Page 118 of 143

Changing a Flat Tire (cont'd)
7. Set the jack handle extension in the connector on the end of the jack and install the lug wrench/jack handle. Turn the lug wrench/jack handle clockwise until the tire is slightly off the ground.
8. Remove the lug nuts, wheel cover and wheel.
(Wheel cover is not equipped
with 4WS or ALB models)
9. Install the spare tire; and install the lug nuts hand tight.
10. Lower the car, remove the jack,
then tighten the lug nuts
securely in an "X" pattern as
shown.11. Tighten the lug nuts securely.
The recommended torque is:
110 N .
m(11 kg-m,80 Ib-ft)
If a torque wrench was not
used, ask an authorized Honda
dealer to verify the torque as
soon as possible.
12. Repai
r or replace the damaged tire as soon as you can, then
reinstall it in its original position on the car, and put the spare back
in the car.
CAUTION:
Always stow the jack, tools and tire securely to prevent them
from becoming dangerous projectiles in an accident.
NOTE:
Secure the tire and the spacer as shown in the illustration.
COMPACT SPARE
DAMAGED TIRESPACER
SPACER TIGHTENING TORQUE
110 N.m (11 kg-m, 80 Ib-ft)
VALVE
NUT
WHEEL COVER
LUG WRENCH/JACK HANDLE JACK HANDLE EXTENSIONProCarManuals.comMain Menu t s
Page 121 of 143

If towing is necessary, contact a professional towing service. Your
authorized Honda dealer can assist you with detailed towing
instructions.
Never use tow chains or rope to tow a car; your ability to safety
control the car may be adversely affected.
We recommend the following:
Flat Bed Equipment — Entire car is winched on a flat bed vehicle.
This is the best way of transporting your Honda.
Wheel Lift Type — Tow with the front wheels off the ground.
If the
car can only be towed with the front wheels on the ground:
make sure the transmission is full of fluid (see page 86 — 87)
and tow with the transmission in neutral (N) and the ignition key in
the I position.
CAUTION:
To avoid serious damage on automatic transmission cars, first start the engine and shift to D, then to N and shut the engine off. If
the engine does not run or the transmission cannot be shifted
while the engine is running, the car must be transported on flatbed equipment.
Check local regulations for towing.
CAUTION:
Do not exceed 35 mph (55 km/h) or tow for distances of more
than 50 miles (80 km). If a Sling Type tow is used, the tow truck driver should position
wood spacer blocks between your car's frame and the chains
and lift straps to avoid damaging the bumper and the body. Do not use the bumpers to lift the car or to support the car's
weight while towing.
When towing a car with 4WS even with the front wheels off the ground, turn the wheels straight ahead and tie the steering wheel in place. TowingProCarManuals.comMain Menu s t