1986 CHEVROLET CORVAIR horn
[x] Cancel search: hornPage 5 of 56

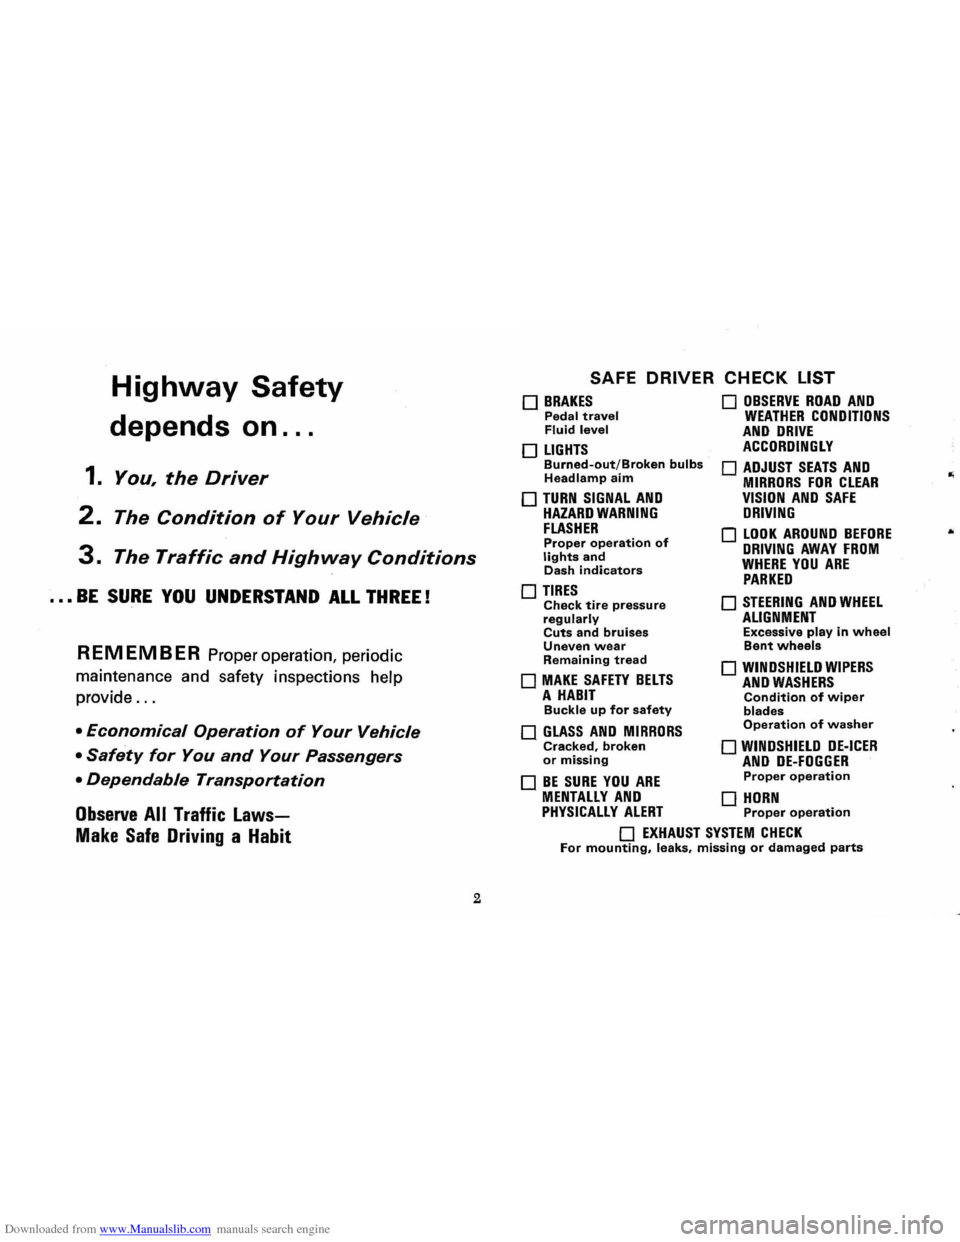
Downloaded from www.Manualslib.com manuals search engine Highway Safety
depends on ...
1. You, the Driver
2. The Condition of Your Vehicle
3. The Traffic and Highway Conditions
••• BE SURE YOU UNDERSTAND ALL THREE!
REMEMBER Proper operation, periodic
maintenance and safety inspections help
provide
...
• Economical Operation of Your Vehicle
• Safety for You and Your Passengers
• Dependable Transportation
Observe All Traffic Laws
Make Safe Driving a Habit
2
SAFE DRIVER CHECK LIST
o BRAKES Pedal travel Fluid level
o LIGHTS Burned-out/Broken bulbs Headlamp aim
o TURN SIGNAL AND HAZARD WARNING FLASHER Proper operation of lights and Dash indicators
o TIRES Check tire pressure regularly Cuts and bruises Uneven wear Remaining tread
o MAKE SAFETY BELTS A HABIT Buckle up for safety
o GLASS AND MIRRORS Cracked, broken or missing
o BE SURE YOU ARE
o OBSERVE ROAD AND WEATHER CONDITIONS AND DRIVE ACCORDINGLY
o ADJUST SEATS AND MIRRORS FOR CLEAR VISION AND SAFE DRIVING
o LOOK AROUND BEFORE DRIVING AWAY FROM WHERE YOU ARE PARKED
o STEERING AND WHEEL ALIGNMENT Excessive play in wheel Bent wheels
o WINDSHIELD WIPERS AND WASHERS Condition of wiper blades Operation of washer
o WINDSHIELD DE-ICER AND DE-FOGGER Proper operation
MENTALLY AND 0 HORN PHYSICALLY ALERT Proper operation
o EXHAUST SYSTEM CHECK For mounting, leaks, missing or damaged parts
Page 30 of 56

Downloaded from www.Manualslib.com manuals search engine deflect or collapse under certain impacts. The soft vinyl
cover over the mirror support base further protects the occupants.
CAUTION: It is important that the driver check the
mirrors
for proper positioning, and that he make frequent
use of the mirrors to be constantly aware of the rearward
aspect
of his total driving situation.
The windshield wiper arms and blades, inside wind
shield moldings,
horn and steering wheel ornamentation,
inside rearview mirror frame and mounting bracket
incorporate low-gloss finishes. This reduces annoying
glare in the driver's forward field of view and provides
a
safer, more comfortable driving environment.
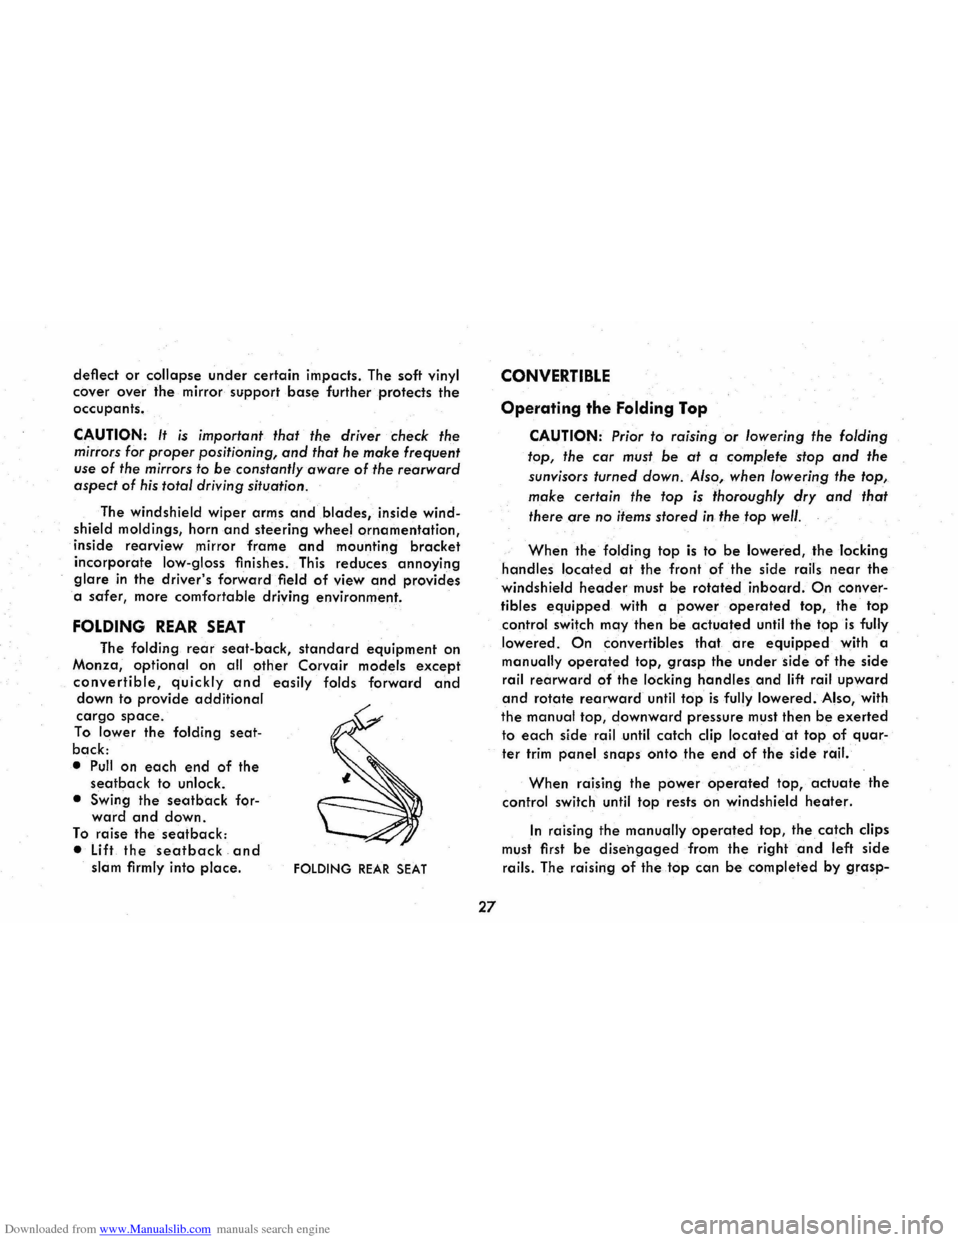
FOLDING REAR SEAT
The folding rear seat-back, standard equipment on
Monza,
optional on all other Corvair models except
convertible, quickly and easily folds forward and down to provide additional
cargo space.
To lower the folding seat
back:
• Pull on each end of the seatback to unlock.
• Swing
the seatback forward and down.
To raise the seatback:
• Lift the seat back and slam firmly into place. FOLDING REAR SEAT
27
CONVERTIBLE
Operating the Folding Top
CAUTION: Prior to raising or lowering the folding
top, the
car must be at a complete stop and the
sunvisors turned down. Also, when lowering the top,
make certain the top is thoroughly dry and that
there are
no items stored in the top well.
When the folding top is to be lowered, the locking
handles located at the front of the side rails near the
windshield header must be rotated inboard. On conver
tibles
equipped with a power operated top, the top
control switch may then be actuated until the top is fully
lowered.
On convertibles that are equipped with a
manually operated top, grasp the under side of the side
rail rearward of the locking handles and lift rail upward
and rotate rearward until top is fully lowered. Also, with
the manual top, downward pressure must then be exerted
to each side rail until catch clip located at top of quar
ter trim panel snaps onto the e.nd of the side rail.
When raising the power operated top, actuate the
control switch until top rests on windshield heater.
In raising the manually operated top, the catch clips
must first
be disehgaged from the right and left side
rails. The raising of the top can be completed by grasp-
Page 51 of 56

Downloaded from www.Manualslib.com manuals search engine and blocked AIR CLEANER ELEMENTS. Replace the air cleaner ele
ments
if necessary. Idle adjustment should be performed by your
Chevrolet Dealer.
If the above Fuel System checks and the checks suggested under
the Electrical System following do not correct the malfunction, it is
recommended that you turn to your Authorized Chevrolet Dealer
for further checks, adjustments
or repairs.
ELECTRICAL SYSTEM
If, when the ignition key is turned to START, the engine will not
turn over, you have
good reason to suspect electrical trouble.
(F) When there is no response at all to attempts to start the car,
check the obvious-your AUTOMATIC TRANSMISSION SELECTOR
LEVER must be in neutral position before the engine can be started.
Turning the IGNITION SWITCH rapidly back and forth several
times
will sometimes correct a poor internal switch contact.
(G) The BATTERY may be discharged. If so, lights will be dim and
the horn will have a poor tone if it will blow at all.
Usually
a garage recharge will be necessary to return the battery
to operotion. Occasionally, however, a long drive will recharge
the battery.
NOTE:
If the battery is determined to be dead, and for no apparent
reason, have
your Authorized Chevrolet Dealer check the
battery, the GENERATOR and the
VOLTAGE REGULATOR.
GENERATOR trouble should already have been indicated
by
the indicator on the instrument panel. Never remove generator
"BAT" lead without first disconnecting battery ground cable.
48
POOR BATTERY CONNECTIONS may be suspected if the car has operated properly a short time before and now not even the horn
will operate. Check both ends of both battery cables. If the con
nections are corroded, a car may sometimes be restored to operation by removing all cable ends, scraping all contacting surfaces
clean with a pen knife, and reassembling. If the cables are broken,
they must be replaced. The power supply should now be restored
unless the battery is dead.
(H) If, however, the lights and horn work properly but the starter will still not turn over, check the STARTER connections. A "click" from the starter solenoid indicates that the wiring to the starter is properly installed. If the wiring seems to be clean and tightly installed, the trouble is probably in the starter itself and should be referred to your Authorized Chevrolet Dealer.
When the engine will "turn over" but will not start, the following
items may be checked along with Fuel System Checks listed previously.
(I) With a clean dry cloth wipe the ceramic portions of the spark plugs dry. In particularly damp or rainy weather dampness may be the cause of not sta rting, especially when the engine is cold.
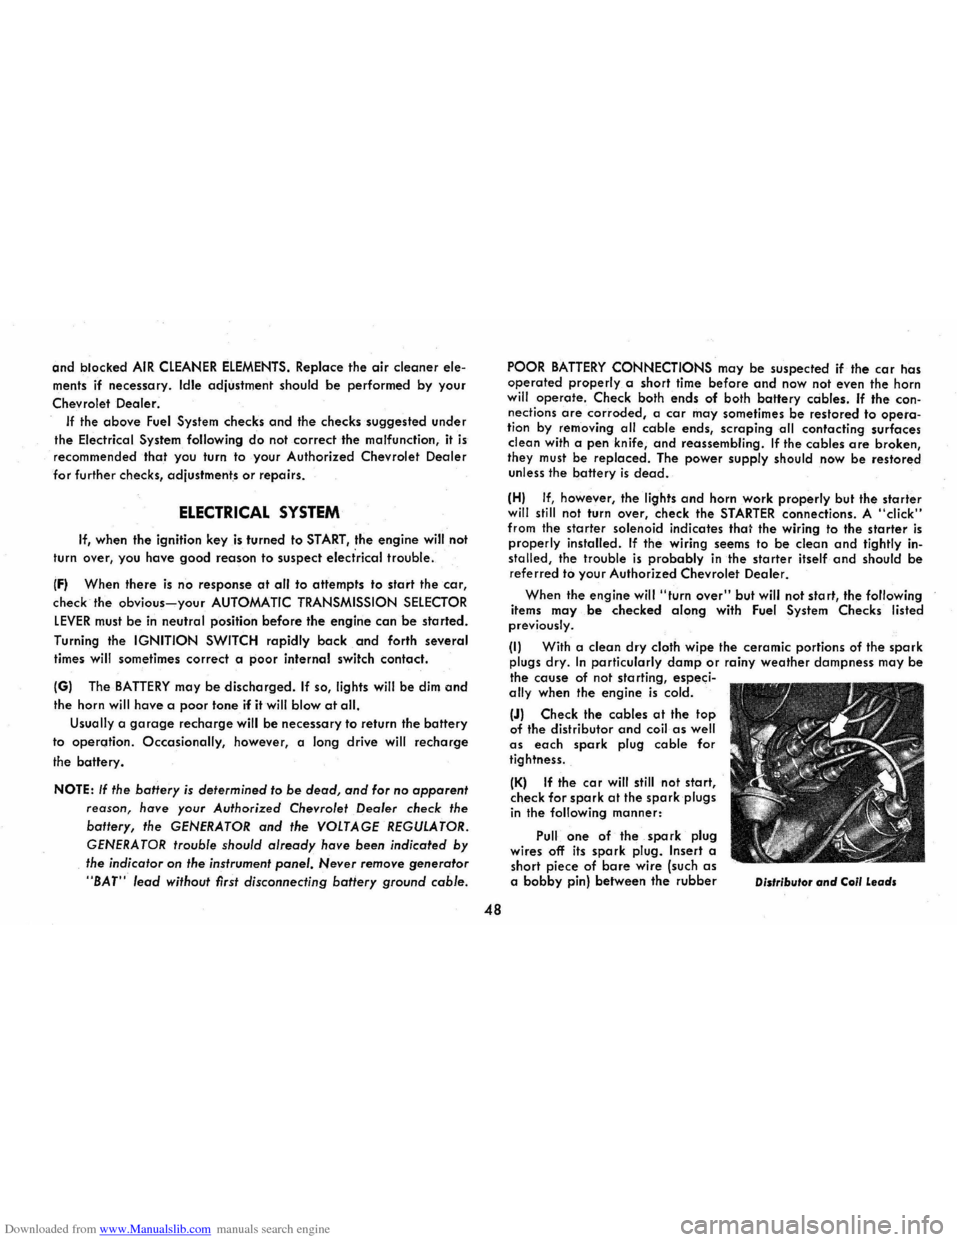
(J) Check the cables at the top of the distributor and coil as well as each spark plug cable for
tightness.
(K) If the car will still not start, check for spark at the spark plugs in the following manner:
Pull one of the spark plug
wires off its spark plug. Insert a
short piece of bare wire (such as a bobby pin) between the rubber Distributor and Coil Leads