Page 19 of 99
REMOVAL AND INSTALLATION
installation (Cont'd)
Check inhibitor switch for operation
Check fluid level
in transmission.
Move selector lever through
all positions to be
sure that transmission operates correctly.
With parking brake applied, rotate engine
at
idling Move selector lever through "N" to
"D", to "2". to "1" and to "R" A slight shock
should
be felt by hand gripping selector each
time transmission
is shifted.
Check to be sure
that line pressure is correct.
To do this, refer to Line Pressure Test
Perform stall test.
AT-I 9,
Page 63 of 99

TROUBLE-SHOOTING AND DIAGNOSES
Preliminary Checks
(Prior to Road Testing)
FLUID LEAKAGE
To detect a fluid leak
1) Raise vehicle
2) Clean area suspected of leaking
3) Start engine, apply foot brake, place control
lever in drive, and wait a few minutes
4) Stop engine
5) Check for fresh leakage
FLUID CONDITION
Examine the AT F and note its color, texture,
and odor
1) Dark of Black Fluid
With a burned odor
- Worn friction material
2) Milky Pink Fluid Water Contamination
- Road water entering through filler
tube or breather
3) Varnished Fluid, light to dark brown and
tacky Oxidation
- Over or Underfilling
- Overheating
- Road Testing
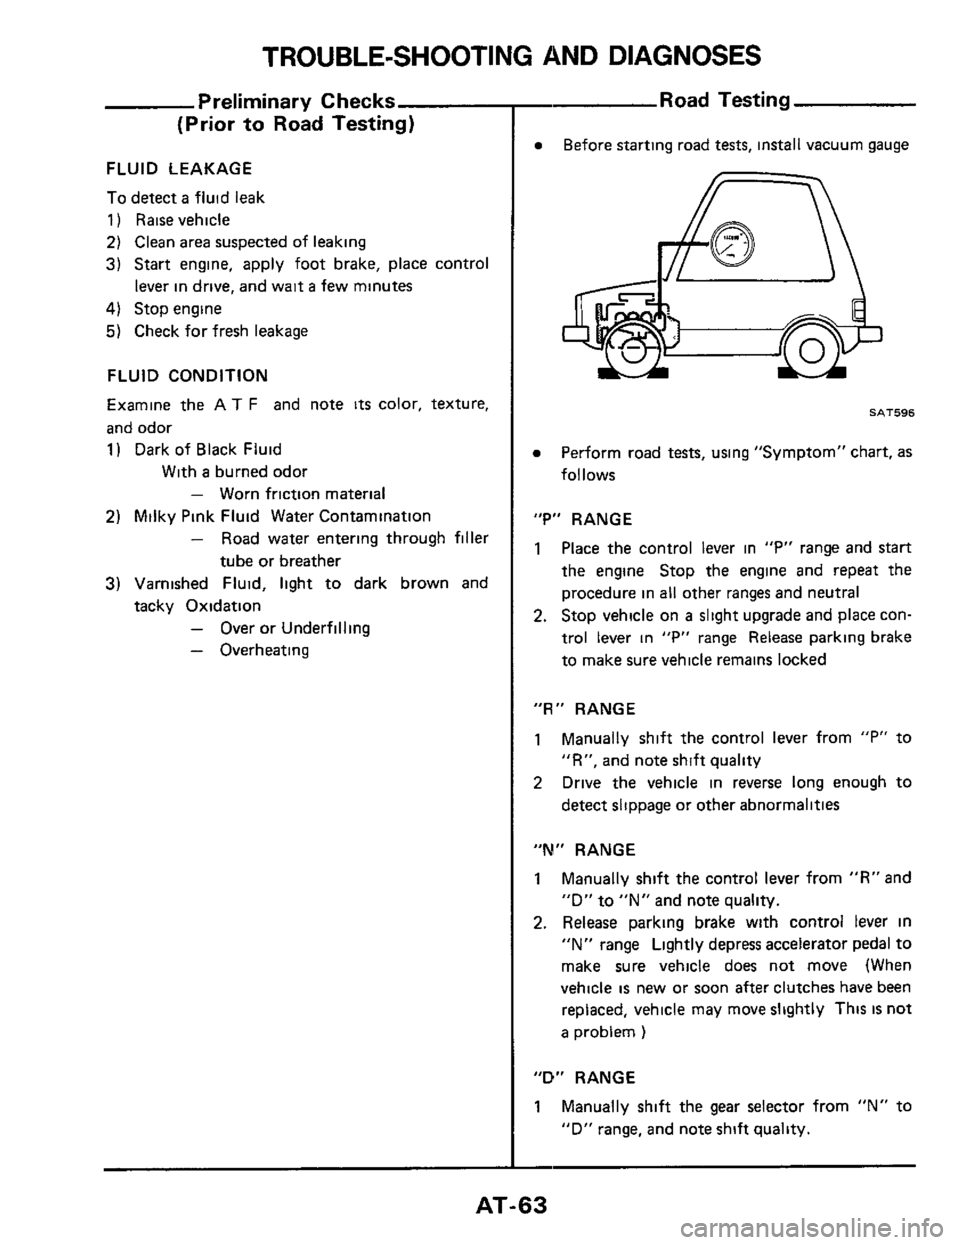
Before starting road tests, install vacuum gauge
SAT596
Perform road tests, using "Symptom" chart, as
follows
"P" RANGE
1 Place the control lever in "P" range and start
the engine Stop the engine and repeat the
procedure in all other ranges and neutral
2. Stop vehicle on a slight upgrade and place con-
trol lever
in "P" range Release parking brake
to make sure vehicle remains locked
"R" RANGE
1 Manually shift the control lever from "P" to
"R", and note shift quality
2 Drive the vehicle in reverse long enough to
detect slippage or other abnormalities
"M" RANGE
1 Manually shift the control lever from "R" and
"D"
to "N" and note quality.
2. Release parking brake with control lever in
"N" range Lightly depress accelerator pedal to
make sure vehicle does not move (When
vehicle
is new or soon after clutches have been
replaced, vehicle may move slightly This
IS not
a problem )
"D" RANGE
1 Manually shift the gear selector from "N" to
"D" range, and note shift quality.
-
AT-63
Page 64 of 99

TROUBLE-SHOOTING AND DIAGNOSES
Road Test
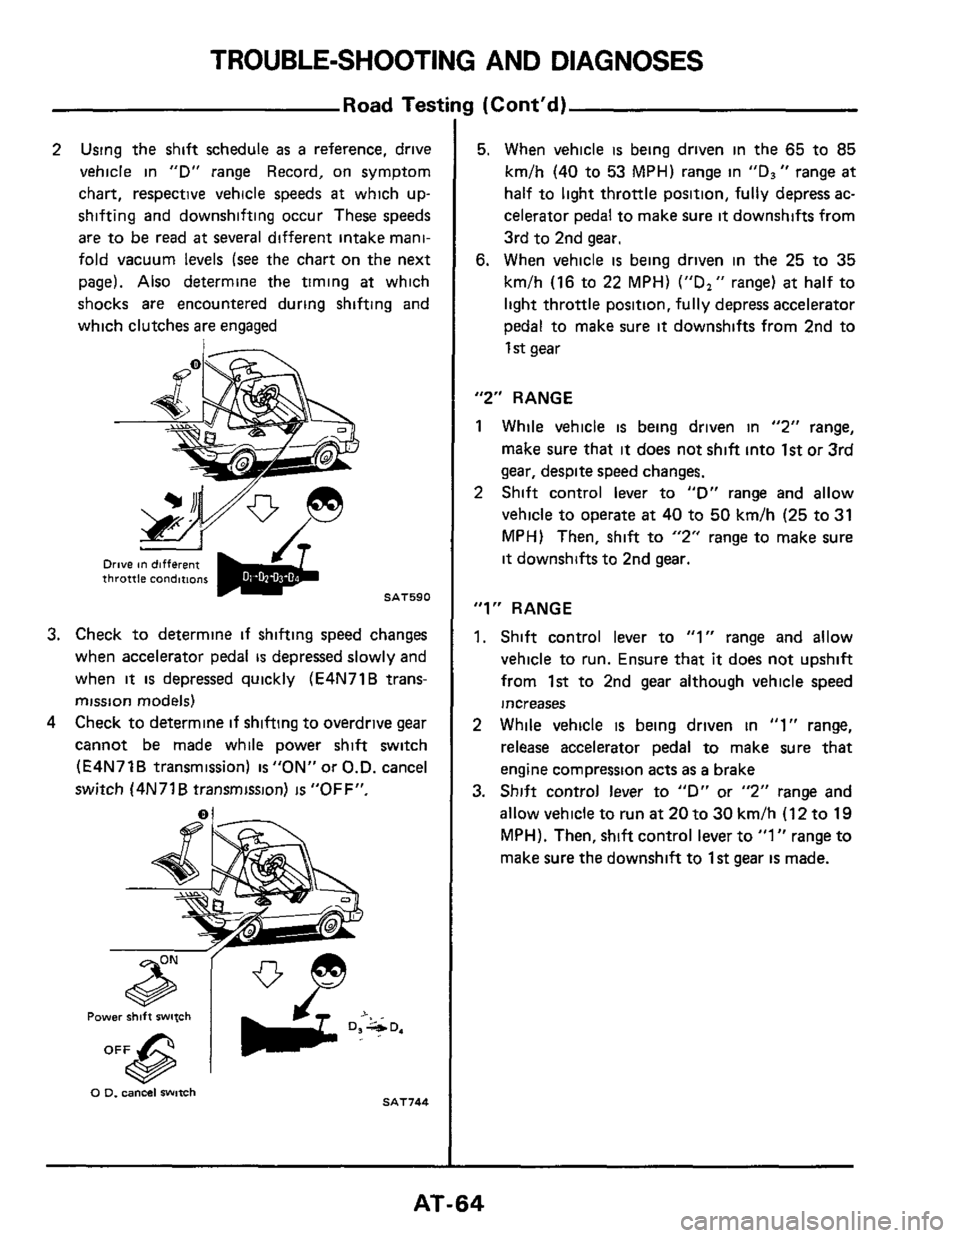
2 Using the shift schedule as a reference, drive
vehicle in
"D" range Record, on symptom
chart, respective vehicle speeds
at which up-
shifting and downshifting occur These speeds
are to be read at several different intake mani-
fold vacuum levels
(see the chart on the next
page). Also determine the timing
at which
shocks are encountered during shifting and
which clutches
are engaged
Drive on different throttle condirtom
SAT590
3. Check to determine if shifting speed changes
when accelerator pedal
is depressed slowly and
when
it is depressed quickly (E4N71B trans-
mission models)
4 Check to determine if shifting to overdrive gear
cannot be made while power shift switch
(E4N71B transmission) is"0N" or
O.D. cancel
switch (4N71
B transmission) is "OFF".
0 0. cancel witch SAT744
3 (Cont'd)
5. When vehicle is being driven in the 65 to 85
km/h (40 to 53 MPH) range in "Ds" range at
half to light throttle position, fully depress ac-
celerator pedal to make sure
it downshifts from
3rd to 2nd
gear.
6. When vehicle is being driven in the 25 to 35
km/h (16 to 22 MPH) ("D," range) at half to
light throttle position, fully depress accelerator
pedal to make sure
it downshifts from 2nd to
1 st gear
"2" RANGE
1 While vehicle is being driven in "2" range,
make sure that
it does not shift into 1st or 3rd
gear, despite speed changes.
2 Shift control lever to "D" range and allow
vehicle to operate
at 40 to 50 km/h (25 to 31
MPH) Then, shift to "2" range to make sure
it downshifts to 2nd gear.
"1" RANGE
1. Shift control lever to "1" range and allow
vehicle to run. Ensure
that it does not upshift
from 1st to 2nd gear although vehicle speed
increases
2 While vehicle is being driven in "1" range,
release accelerator pedal
to make sure that
engine compression acts
as a brake
3. Shift control lever to "D" or "2" range and
allow vehicle to run
at 20 to 30 km/h (12 to 19
MPH). Then, shift control lever to "1" range to
make sure the downshift to 1st gear is made.
AT-64