Page 11 of 105

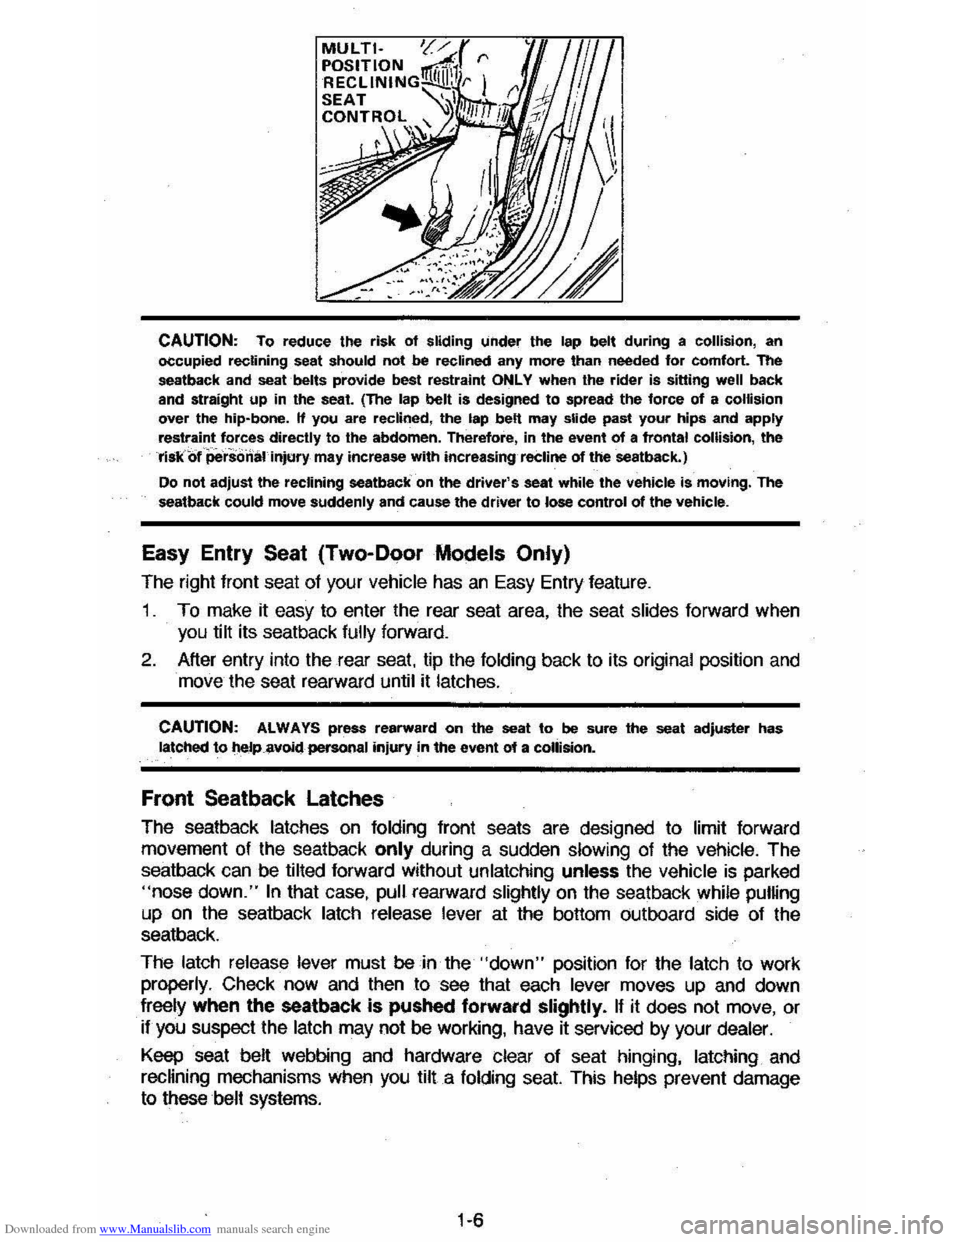
Downloaded from www.Manualslib.com manuals search engine CAUTION: To reduce the risk of sliding under the lap belt during a collision, an
occupied reclining seat should not be reclined any more than needed for comfort. The
seatback and seat belts provide best restraint ONLY when the rider is siuing well back
and straight up in the seat. (The lap belt is designed to spread the force of a collision over the hip-bone. If you are reclined, the lap belt may slide past your hips and apply restraint forces directly to the abdomen. Therefore, in the event of a frontal collision, the riskof 'personal Injury may increase with increasing reCline of theseatback.)
Do not adjust the reclining seatback on the driver's seat while the vehicle is moving. The
seatback could move suddenly and cause the driver to lose control of the vehicle.
Easy Entry Seat (Two-Door Models Only)
The right front seat of your vehicle has an Easy Entry feature.
1 . To make it easy to enter the rear seat area, the seat slides forward when
you tilt its seatback
fully forward.
2. After entry into the rear seat. tip the folding back to its original position and
move the seat rearward until it latches.
CAUTION: ALWAYS press rearward on the seat to be sure the seat adjuster has latched to t\eJp.8voidpersonal injury in the event of a collision.
Front Seatback Latches
The seatback latches on folding front seats are designed to limit forward
movement of the seatback
only during a sudden slowing of the vehicle. The
seatback can be tilted forward without unlatching unless the vehicle
is parked "nose down." In that case, pull rearward slightly on the seatback while pumng
up on the seatback latch release lever at the bottom outboard side of the
seatback.
The latch release lever must
be in the "down" position for the latch to work
properly. Check now and then to see that each lever moves up and down
freely when the seatback
is pushed forward slightly. If it does not move, or
if you suspect the latch may not be working, have it serviced by your dealer.
Keep seat belt webbing and hardware clear of seat hinging, latching and
recHning mechanisms When you tilt a folding seat. This helps prevent damage
to these belt systems.
1·6
Page 53 of 105

Downloaded from www.Manualslib.com manuals search engine To store the sunshield when rennoved from the car, always select a place
where the sunshade can lay flat without anything stored on top of it or leaned against it. Hanging the sunshade flat on a wall by its hinges is an excellent way
to store it.
As with any decorative surface. washing with a mild soap and water solution is
recommended . Abrasive materials or chemical solvents may adversely affect
the finish of the sunshade.
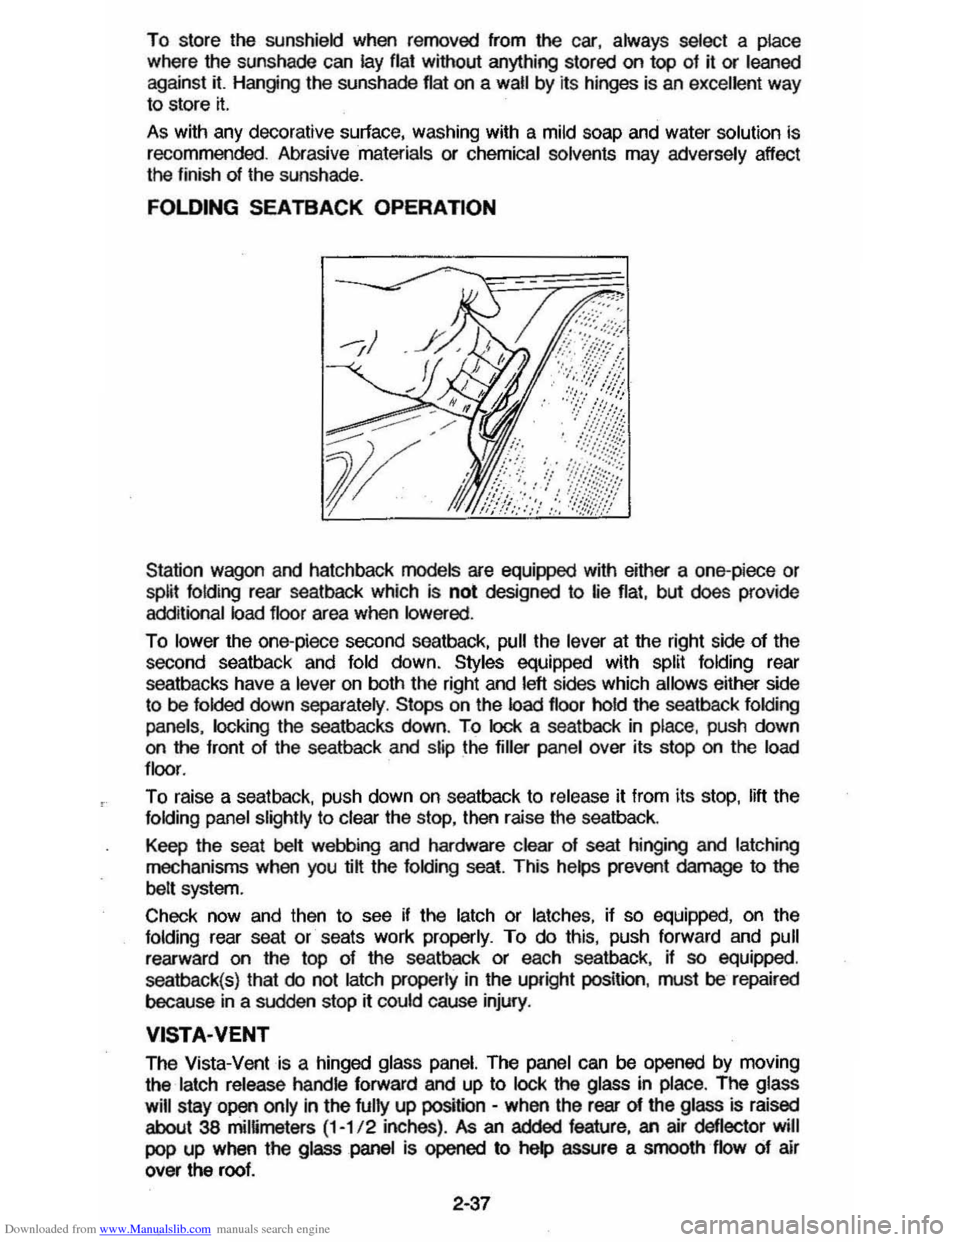
FOLDING SEATBACK OPERATION
Station wagon and hatchback models are equipped with either a one-piece or split folding rear seatback which is not designed to lie flat, but does provide
additional load floor area when lowered .
To lower the one-piece second seatback, pull the lever at the right side of the
second seatback and fold down. Styles equipped with split folding rear
seatbacks have a
lever on both the right and left sides which allows either side
to be folded down separately . Stops on the load floor hold the seatback folding
panels. locking
the seatbacks down. To lock a seatback in place, push down on the front of the seatback and slip the filler panel over its stop on the load
floor .
To raise a seat back. push down on seatback to release it from its stop. lift the folding panel slightly to clear the stop, then raise the seatback.
Keep the seat
belt webbing and hardware clear of seat hinging and latching
mechanisms when you @ the folding seat. This helps prevent damage to the
belt system.
Check now and then
to see if the latch or latches, if so equipped, on the folding rear seat or seats work properly. To do this, push forward and pull
rearward on the top of the seatback or each seatback, if so equipped.
seatback(s) that
do not latch properly in the upright position. must be repaired
because
in a sudden stop rt could cause injury.
VISTA·VENT
The Vista-Vent is a hinged glass panel. The panel can be opened by moving
the
latch release handle forward and up to lock the glass in place. The glass
will
stay open only in the fully up position -when the rear of the glass is raised
about 38 mimmeters (1-1/ 2 inches) . As an added feature, an air deflector will
pop up when the glass panel is opened to help assure a smooth flow of air
over the roof.
2·37
Page 79 of 105

Downloaded from www.Manualslib.com manuals search engine AUTOMATIC TRANSAXLE FLUID RECOMMENDATIONS
Use the Proper Fluid
Use only automatic transmission fluid labeled DEXRON'" II. You can buy this
fluid from your dealer or other service outlets.
Check the Fluid Level with Care
Check the automatic transaxle fluid level at each engine oil change. Driving
with too much or too
little fluid can damage the transaxle.
To check the fluid
level, first set the parking brake, then start the engine in
"P"(Park), and let idle for two minutes . You must check the fluid level with the
engine running at slow
idle and the vehicle level.
You cannot read the correct fluid level if you have just driven the vehicle for a
long time at high speed, in city traffic in hot weather, or if the vehicle has been
pulling a trailer. Wait
until the fluid has cooled down (about 30 minutes).
Remove the dipstick located
On the driver's side forward of the cowl. Carefully
touch the wet end of the dipstick to find out if the fluid is cool, warm or hot. Wipe it clean and push it back in until the cap seats. Pull out the dipstick and
read the fluid level.
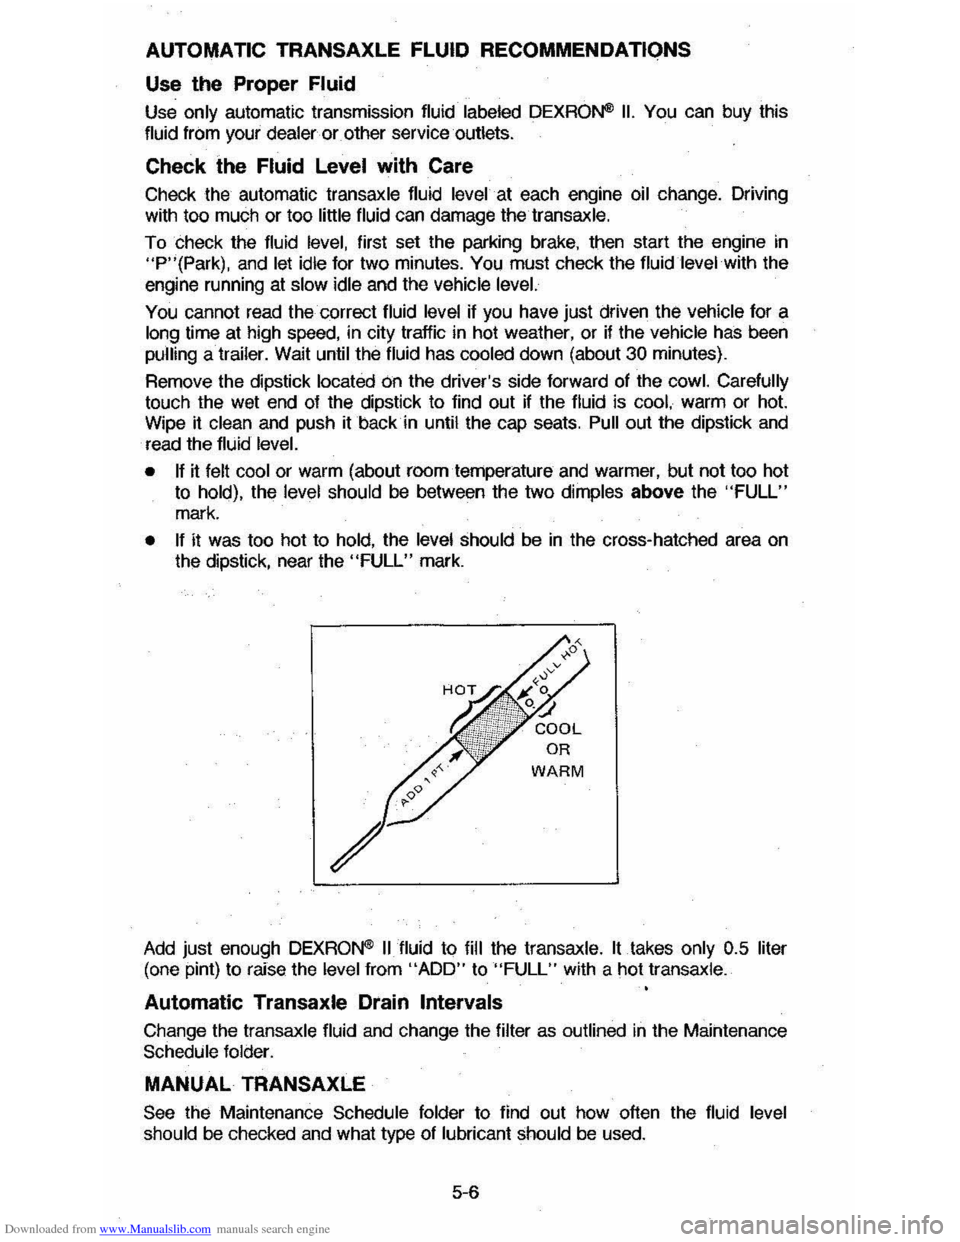
• If it felt cool or warm (about roomternperature and warmer, but not too hot
to hold), the level should be between the two dimples above the "FULL"
mark.
• If it was too hot to hold, the level should be in the cross-hatched area on the dipstick, near the "FULL" mark.
Add just enough DEXRON'" II fluid to fill the transaxle. It takes only 0.5 liter
(one pint) to raise the level from "ADD" to "FULL" with a hot transaxle.
Automatic Transaxle Drain Intervals
Change the transaxle fluid and change the filter as outlined in the Maintenance Schedule folder.
MANUAL TRANSAXLE
See the Maintenance Schedule folder to find out how often the fluid level should be checked and what type of lubricant should be used.
5-6