1976 CHEVROLET MONTE CARLO tow
[x] Cancel search: towPage 7 of 102

Downloaded from www.Manualslib.com manuals search engine • The front seat shoulder belts in
this vehicle are equipped with
a
"vehicle sensitive retractor"
which
is de!\,igned to grip the belt
-only during a sudden stop or im
pact. At other times it is de
signed to move freely with the
occupant. .:
• For best restrainUhe slight ten
sion on the shoulder caused by
the shoulder belt retractor
is de
sirable.
• A comfort clipis provided for
those who
find the shoulder belt
tension a
source of discomfort. If
the shoulder belt tension becomes
uncomfortable ;. pull down on the
shoulder belt
to provide the least
amount of
slaek necessary to re
lieve tension (hot more than one
inch). Then
push the comfort
clip snugly against the guide
loop.
To unfasten button
in center
of buckle.
• When no longer in use, front seat
lap-shoulder belts can be stowed
by allowing
them to rewind into
their retractors. The comfort clip
can be adjusted when removing
belts,
so shoulder belt slack will
be fully taken up by retractor.
NOTE: Take care not to let the
pOlrtio,rl-of the belt twist while
1-5
it is being rewound into the retrac
tor. The bulk of the twisted belt
m .ay cause
t~e retractor to jam so it
WIll not reWind further, while at the
same time the retractor locking
mechanism may. prevent the belt
from being withdrawn. To release
a jammed belt, open the cover on
the rear of the retractor and rotate
the key slot while pulling the belt
upward. This should allow the belt
to be untwisted.
lfyour retractor
does not have such a key slot or for
some reason the lap belt portion
re
mains ' jammed, orother parts of
the restraint system do not operate
properly take the
ve!).ic1e to your
dealer
for service .
Page 9 of 102

Downloaded from www.Manualslib.com manuals search engine o To fasten the· detachable shoul
der belt,
unstow it and place the
knob on the shoulder belt end
into the keyhole on the lap belt
latch plate.
(The latch is de
signed
so that this attachment
can only be completed before
fastening the lap belt.) Tilt the
knob as necessary , to pass it
through the slot.
Pull the knob
firmly upward to seat it at the
narrow end of the keyhole, then fasten
the lap belt. Reverse this
procedure when removing and
restowing the shoulder belt.
o The detachable shoulder belts
are lengthened and shortened in
the same manner as center seat
lap belts.
o The detachable shoulder belt
should have sufficient slack to
in
sert a fist's width between your
chest and the belt. This can be
checked
by inserting a clenched
fist between · the belt and your
chest with thumb against chest
and
back of hand facing upward.
Belt Restraint Inspection
o Periodically inspect belts,
buckles, adjustable latch plates,
1-7
retractors, reminder systems,
guide loops, clips,
and anchors
for damage that could lessen the
effectiveness
of the retraint
system.
o Keep sharp edges and damaging
objects away from belts, and
other parts of restraint system.
o Replace belts if cut, weakened,
frayed,
or subjected to collision
loads.
o Check that anchor mounting
bolts are tight.
o Have questionable parts re
placed.
o Keep belts clean and dry.
o Clean only with mild soap solu
tion and lukewarm water.
o Do not bleach or dye belts since
. this may severely weaken belts.
Head Restraints
o Head restraints are designed to
help reduce injuries due to
"whiplash".
Page 12 of 102

Downloaded from www.Manualslib.com manuals search engine Trailer Halllihg
Since passenger cars are designed
and
i~ended to be used primarily
as passenger conveyances, towing
a
trailer will effect handling , dura-
" bility and economy. Maximum
safety and satisfaction depends
upon proper use of correct equip
ment and avoiding overloads and
other abusive operation.
The maximum loaded trailer
weight which you can pull with
your car depends on what special
equipment has been installed
on
your car. Chevrolet does not rec-ommend
towing any trailer
over
1,000 pounds gross trailer weight
unless the car has the proper (!quip
ment .
Information on trailer haul
ing capabilities, special equipment
required , and optional equipment
offered by Chevrolet
is available
from your Chevrolet Dealer or by
writing Chevrolet Motor Division,
Detroit, Michigan
48202 (or in
Canada by writing to General
Motors of Canada Limited,
Owner
Relations Department, Oshawa,
Ontario LlJ 5Z6).
To assist in attaining good han
dling of the car-trailer combination,
it is important that the trailer
1-10
tongue load be maintained at ap
proximately
10% of the loaded
trailer weight. Tongue loads can
be adjusted by proper distribution
of the load in the trailer, and can
be checked
by weighing separately
the loaded trailer and then the
tongue.
When towing trailers, tires should
be inflated to the highest inflation
pressures
shown :on the placard
affixed to
the left' front door. The
allowable passenger and cargo
load , also shown
on the same pla
card,
is reduced by an amount
eq ual to the trailer tongue load on
the trailer hitch.
Page 13 of 102

Downloaded from www.Manualslib.com manuals search engine . . "
Maintenance
More frequent vehicle mainte
nance
is required when using your
car
to pull a trailer. Change. the:
• Automatic transmission fluid
and filter each 15,000 miles,
(see Trai/ering brochure foraddi
tional information).
.• Rear axle fluid each 15,000
miles,
• Engine oil each 90 days or 3,000
miles , whichever occurs first,
• Positive crankcase ventilation
valve each
12 months or 15,000
miles, whichever occurs first.
• See index for important informa
tion on belts, cooling system care
and automatic brake
adjuslrilent.
Break·in Schec;!ule
In addition to the new car break-in
instructions in this manual, it
is
recommended that your new car
be operated for 500 miles before
trailer towing.
If it is necessary to
tow during this period, avoid speeds
over
50 MPH and full throttle
starts. The same precautions should
be observed whenever a new
en
gine , transmission or axle is in
stalled in your car.
1·11
Page 16 of 102

Downloaded from www.Manualslib.com manuals search engine STEERING COLUMN CdNTROLS
Anti-. Steering
Column Lock
The
anti-th eft lock, located on
the right side of the stee ring col
umn, has five positions:
• Accessory -Permits operation
of electr i
cal accessories when
engine is not running. To
en
gage, push key in and turn
toward you (counterclockwise).
• Lock-Normal parking position.
L
ock s igniti on and provides added
theft protection
by prevent
ing normal operation of steering
wheel and shift controls . to
"lock"
po sition and removed until trans
mission is placed in "park".
• Off
-Permits turning engine off
without locking steering wheel and
shift controls.
• Run (ON) -Normal operating
position
. .
•
Start -Permits engagement of
starter.
NOTE: The ontl-theft otee,lng column lock is not 8:,lubltItUte tor· the parking brake. Always let the , parking brak, when leaving the car una"ended.
If difficulty is experienced in
turning the ignition key and lock
knob to unlock the ignition,
at
tempt to turn the steering wheel lIS
hard as possible in the direction the
wheels are turned.
At the same
time turn the ignition-lock knob in
2-2
a clockwise direction wi(h as.much
effort
as you can apply with your
own hand. Do not attempt to
use
a tool of any kind to apply addi
tional force on the lock knob, as
this could break the knob.
Parking
When leaving your car unattended:
• Set parking brake.
• Place automatic transmission se
lector in Park.
•
Turnkey to LOCK position.
• Remove key (the buzzer will re
mind you).
• Lock all doors.
IMPORTANT : Do not park your car over combustible materials, such 8S grlss or leaves, which can come Inlo contact with the hot exhaust system and cause such materials to Ignite under certain wind and weather condition ••
NOTICE:
Do not I.ave your car unattended with ~ engine running. If the engine
should overheat While your car is -unat·
tended , the temperature warning light or gauge would go unheed9d, which could result in extensive damage to your car.
Page 27 of 102

Downloaded from www.Manualslib.com manuals search engine If the light comes oQ:
• The :parking brake control is not
fully
relea sed or, ,,:
• The service brake system is
partially inoperative .
What to do :
1. Check that the parking brake
is released. If it is ...
2.
Pull off the road and stop, care
fully-remembering that:
'
•
Stoppin g "distances may be
greater. ' '0:
• Greater pMal effort may be
required .: ;
• Pedal
travel may be greater.
3. Try out b~ake operati on by start
ing and
stopping on road shoul
der-then :
• If you judge such operation to
be safe , proceed cautiously at
a safe speed to neare st dealer
for repair.
• Or have car towed to dealer
}or repair .
Continued operation ' of the car in '
this condition
is dangerous.
Headlight High Beam
Indicator Light
The headlights of your ' car have '
high and
low, beams to provi(je you
with proper night-time visibility
for most . driving
conditioQs. The
"low" beams are used during most
city driving. The
"high" beams are
especially useful when
drh;ing on
dark roads since
they provide ex
cellent long range illumination.
The headlight beam
indicator will
be on whenever the high beams or
"brights" are in use. The Headlight
Beam
Switch controls the headlight
beams (see
Page 2-9).
Light Switch
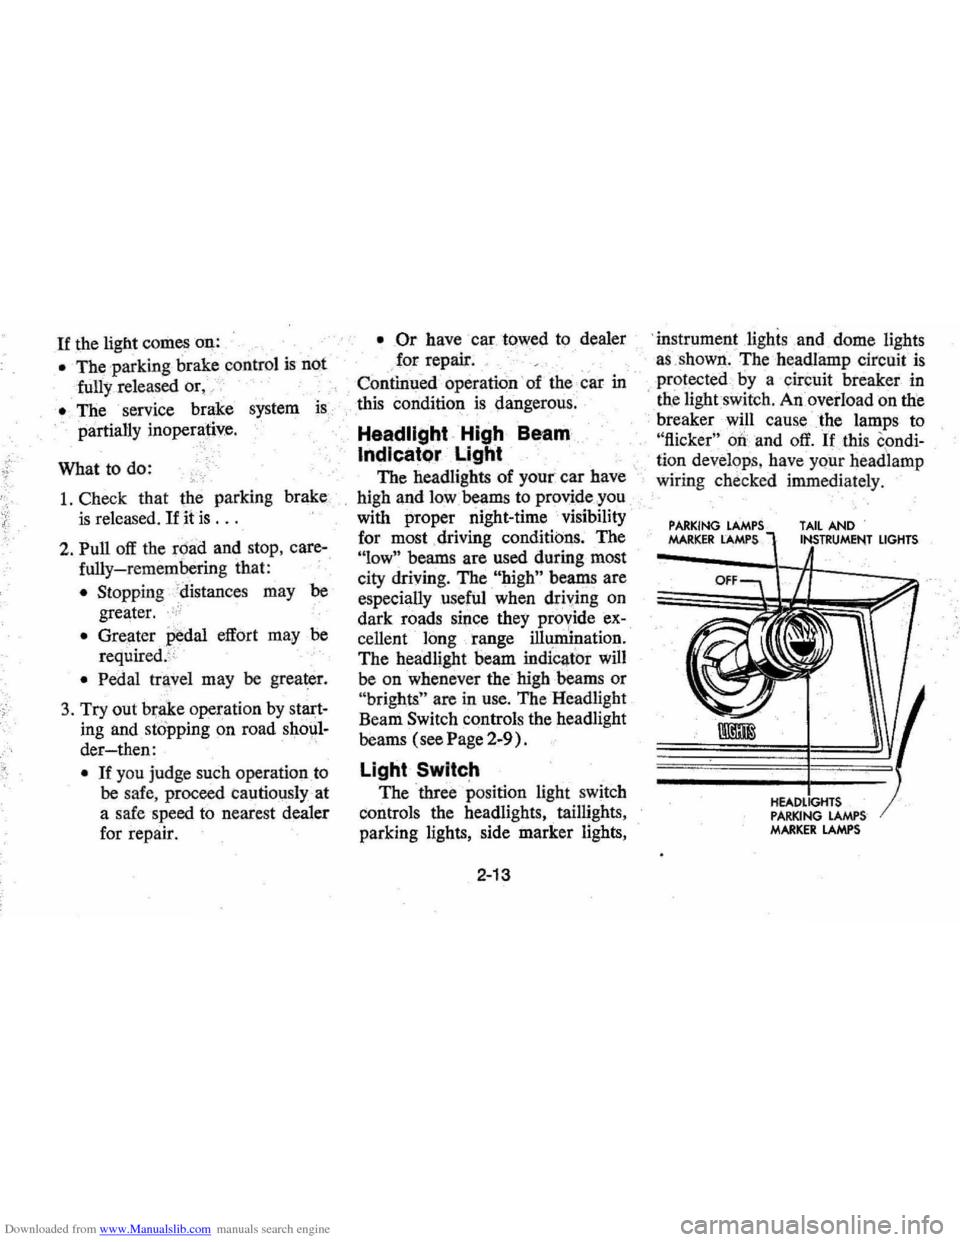
The three position light switch
controls the headlights " taillights,
parking lights, side marker lights,
2-13
'i nstrument lighis and dome lights
a s ,shown . The headlamp circuit
is
protected·· by a circuit breaker in
, tne lightswit ch . An overload on the
breaker will cause the lamps to
"flicker" 00 and off. If this condi
ti on develop s, hav e your headlamp
wiring check ed immedi ately.
PARKING MARKER LAMPS TAIL AND
PARKING LAMPS MARKER LAMPS
LIGHTS
Page 48 of 102

Downloaded from www.Manualslib.com manuals search engine l,nCase of Emergency '
Four Way Hazard
Warning Flasher
• Use the warningJlashe~ to warn
othe~ drivers allY time your ve
hicle becomes a traffic hazard,
day
ornight. ",
•
A void stopping on the roadway
if possible, .
.' Turn on the hazard warning
flasher
by pt\'shing in on the but,
ton located on the column just
below the steering
wheeL Flasher
can
be actuated with engine igni
tion either off
or on.
• Turn signals do not work with
hazard flashers operating.
• If the brake pedal is depfessed,
the lights will not flashbutre
main continuously lit
• To cancel the flasher, pull the
button out.
'':.',
Freeing Car From Sand; etc.
If it becomes 'neces sary to rock
the car to free it from sand, mud
or snow, move the selector lever
on automatic transmission models
from '~D" to "R" in a repeat pat
tern while simultaneously applying
moderate pressure to the accelera-
3-1
tor. Do not race engine. For best
possible traction, avoid spinning
wheels while
trying to free the car.
The use of AC Liquid Tire Chain
is recommended for temporary as
sistance when traction is lost on ice
or snow.
Towing
Proper lifting and towing equip
ment
is necessary to prevent dam
age to the vehicle during any
tow
ingoperation. State (Provincial in
Canada) and local
laws applicable
to vehicles in tow must be followed.
Detailed towing instructions are
available at your Chevrolet dealer.
Page 49 of 102

Downloaded from www.Manualslib.com manuals search engine Your Chevrolet may be towed
on all four wheels , at speeds of less
than
35 mph, for distances up to
50 miles, provided the driveline,
axle , tranSmission, and steering
sys
tem are otherwise normally oper
able.
Use only towing equipment
specifically designed for this
pur'
pose following the instructions of
the
towing equipment manufac
turer.A separllte safety chain sys
tem must be used. For such towing
the steeringi;Dust be unlocked,
' transmission in neutral
an~ the
parking brake released. Attach
ments must
oe made to mai!1 ,struc
tural members of the car. Do not
attach to bumpers or
,aSsociated
brackets. ' Remember that power
brake and power steering assists
will not be ,available when engine
is inoperative,
EMERGENCY STARTING
NOTE: Do not push or low this
vehicle to start. Damage to the cata
lytic converter and / or to other parts
of the vehicle may result.
• A car with a discharged 'battery
may be started by using energy
from a battery
in' another car
call<:!d "jump starting ".
Jump Starting
Jump starting may be dangerous
and should
be attempted only if the
followi!1g three , ,~onditions are met.
If they are not, we strongly,~ecom
mend that you leave the starting to
a competent mechanic.
• The battery in the OTHER vehi
cle must be
12 volt and negatively
3-2
grounded, like the, one in TillS
car. (Check the' other car's
owner's manual
to see if it is.)
• The battery in THIS car must be
equipped with
flame arrestor
type
filler / venl caps on all filler
openings (as
was the original
equipment
De ,lco battery), or it
, must be a sealed-type battery
which does not have
fi'tler open
ings or
caps, (Each Delco bat
tery flame arrestor cap has a grey
disc rather than a small hole-see
illustration. )
•. If thebatiery is a Delco sealed
type battery without filler open
ings or
caps"its charge indicator
must be dark, with or without
green dot showing, see illustra
tion. Do
NOT attempt jump start
ing
if the charge indicator has a
light or bright center.