1976 CHEVROLET MONTE CARLO tire type
[x] Cancel search: tire typePage 55 of 102
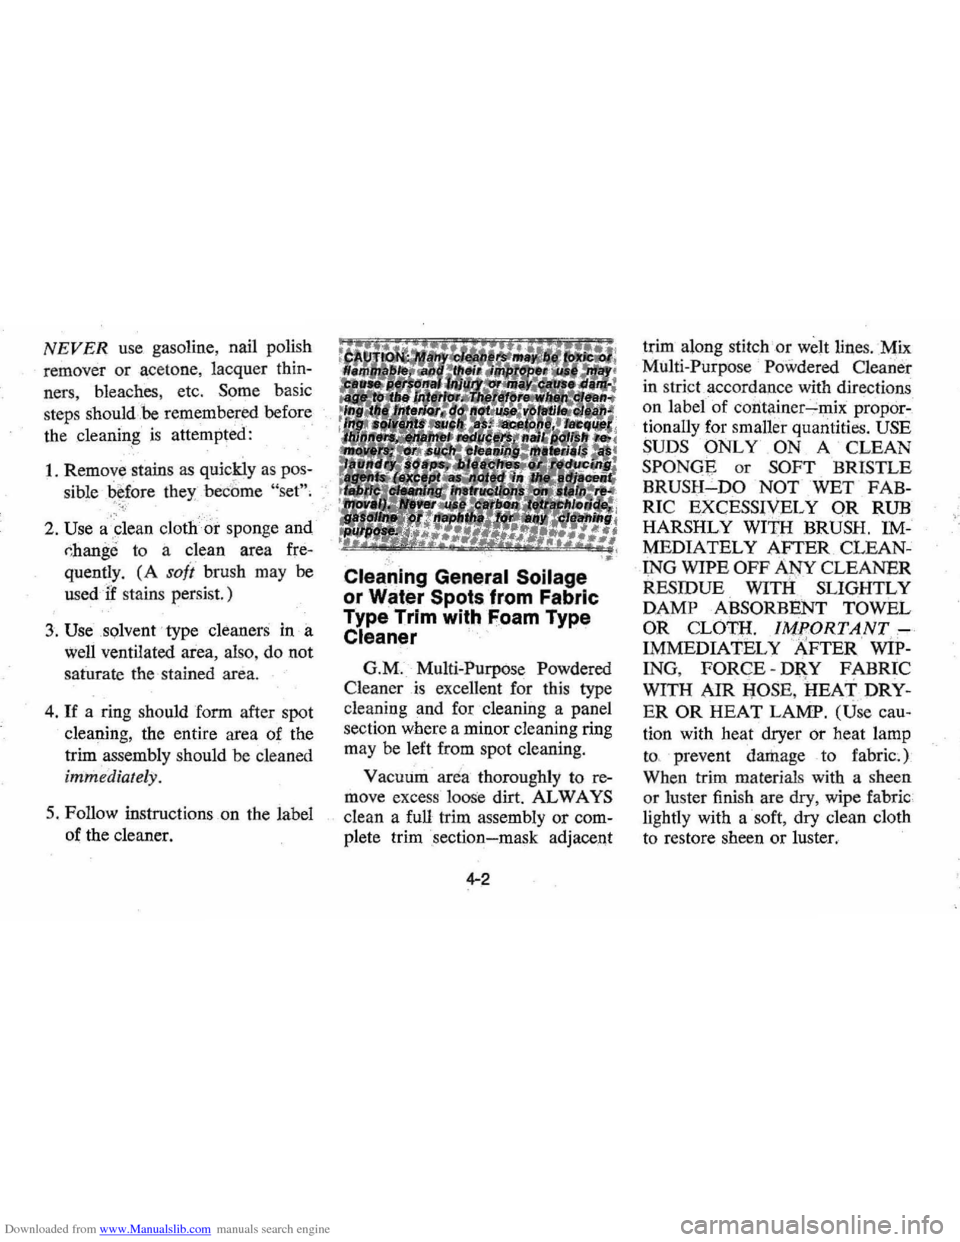
Downloaded from www.Manualslib.com manuals search engine NEVER use gasoline, nail polish
remover or acetone , lacquer thin
ners, bleaches, etc, Some basic
steps should .be remember .
ed before
the cleaning
is attempted:
1. Removt! stains as quickly as pos
sible
before they become "set'" -':"..
2. Use a clean cloth or sponge and
r,hange to a clean area fre
quently.
(A soli brush may be
used it stains persist.)
3.
Use s<:llvent· type cleaners in a
well ventilated area, also, do not
saturate the stained area.
4.
If a ring should form after spot
cleaning, the entire area of the
trim assembly should be cleaned
immediately.
5. Follow instructions on the label
of the cleaner.
Cleaning General Soilage
or Water Spots from Fabric
Type Trim with Foam Type
Cleaner
G.M. Multi-Purpose Powdered
Cleaner
is excellent for this type
cleaning and for cleaning a panel
section where a minor cleaning ring
may be left from spot cleaning.
Vacuum
aria thoroughly to re
move excess loose dirt.
AL WAYS
clean a full trim assembly or com
plete trim section-mask adjacent
4-2
trim along stitch or welt lines. Mix
Multi-Purpose
Powdered Cleaner
in strict accordance with directions
on label of coritainer-mix propor
tionally for smaller quantities.
USE
SUDS ONLY ON
A CLEAN
SPONGE or SOFT BRISTLE
BRUSH-'-DO NOT WET FAB
RIC EXCESSrYEL
Y OR RUB
HARSHLY
WI1JI BRUSH. IM
MEDIATELY
AFTER CLEAN
ING WIPE
OFF ANY CLEANER
RESIDUE
WITH SLIGHTLY
DAMP ABSORBENT TOWEL
OR CLOTIi.
IMPORTANT
IMMEDIATELY AFTER wip
ING, FORCE-DR,Y FABRIC
WITH AIR
IiOSE, HEAT DRY
ER OR HEAT LAMP. (Use cau
tion with heat dryer or heat lamp
to, prevent damage to fabric,)
When trim materials with a sheen
or luster finish are dry, wipe fabric
lightly with a soft, dry clean cloth
to restore sheen
or luster.
, ,~
Page 56 of 102
Downloaded from www.Manualslib.com manuals search engine Spot Cleaning Fabric Type
Trim
Materials with Solvent
Type Cleaner
Before attempting to remove
spots or stain s from fabric, deter
mine as accurately
as possible the
nature and age of the spo t
or stain.
Some spo ts or st.ains can be re
moved sa
tisfactorily with water or
mild soap
solution (refer to ac
companying
'' It'emoval of Specific
Stains"). For best results, spots or
stains should
be removed as soon
as possible . S9rne types of stains
or soilage such
as lipstick, some
inks , certain typ
es of grease etc.,
are extrem ely difficult and, in some
cases , impossible to completely re
move. When cleaning this type .of
stain or soilage, care must be taken
not to enlarge the soiled area.
It is
sometimes more desirable to have
a small stain than an enlarged stain
a s a result of careless cleaning.
~
G.M. Spot Lifter (Solvent Type)
is excellent .for spot cleaning stains
containing grease, oil or fats from
fabric type trim. Exces s stain
should be gently scraped off trim
material with a clean
DULL knife
or
scraper. USE VERY LITTLE
CLEANER, light pressure , and
clean cloths (preferably cheese
cloth). Cleaning action should
be
from outside of stain FEATHER
ING toward s center of stain and
constantly changing to a clean sec
tion of cloth. When stain
is cleaned
from fabric, immediately dry area
with an
air hose, heat dryer or heat
lamp to
helppreverit a cleaning
ring (use caution with heat dryer
or heat lamp
to prevent damage to
fabric materi
al). If a ring forms,
immediately repeat the cleaning
operation over
a slightly larger
area with special emphasis on
FEA THERlNG towards center of
area.
If ring still persists, mark
off adjacent trim sections and clean
4-3
entire affected trim panel sectIOn
with G.M. Multi-Purpose Powdered
Cleaner
as previously described
under "Cleaning General Soilage
or Water
Spots with Foam Type
Cleaner."
Removal of Specific Stains
Grease or 011 Stains-Includes
grease, oil, butter , margarine shoe
polish , coffee with cream,
ch~wing
gum, cosmetic creams, vegetable
oils, wax crayon; tar and asphalts.
Carefully scrape
off excess stain;
then us.e Spot. Lifter (Solvent
Type) as previously described.
Shoe polish, wax crayons, tar and
asphalts will stain
if allowed to
remain on trim; they should
be
removed as soon as· possible-use
caution
as cleaner will dissolve
them and may cause them to bleed.
Non-Greasy StaIns-Includes cat
sup, coffee (black), egg, fruit, fruit
Page 60 of 102
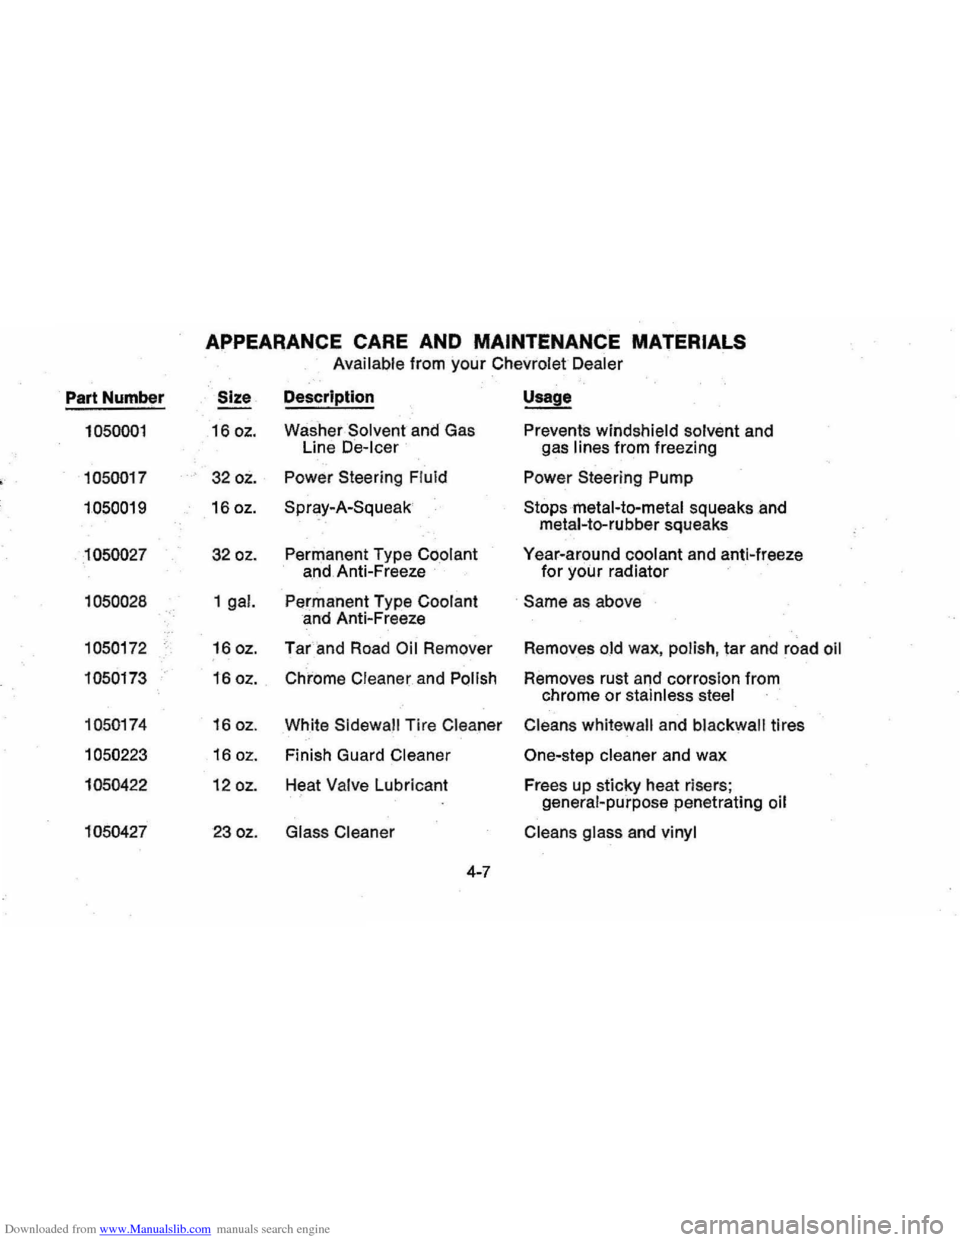
Downloaded from www.Manualslib.com manuals search engine APPEARANCE CARE AND MAINTENANCE MATERIALS
Available from your Chevrolet Dealer
Part Number Size
Description Usage
1050001 16 oz. Washer Solvent and Gas Prevents windshield solvent and
Line
De-Icer gas lines from freezing
, 1050017 32 oz. Power
Steering Fluid Power Steering Pump
1050019 16 oz. Spray-A-Squeak
Stopsmetal-to-metal squeaks .and
metal-ta-rubber squeaks
1050027 32 oz. Permanent Type Coolant Year-around coolant and anti-freeze
and . Anti-Freeze for your radiator
1050028 1 gal. Permanent Type Coolant . Same as above
and Anti-Freeze
1050172 16 oz. Tar and Road Oil Remover Removes old wax, polish , tar and road oil
1050173 16 oz. Chrome Cleaner and Polish Removes rust and corrosion from
chrome
or stainless steel
1050174 16 oz
.
White Sidewall Tire Cleaner Cleans whitewall and blackwall tires
1050223 16 oz. Finish Guard Cleaner One-step cleaner and wax
1050422 12 oz. Heat Valve Lubricant
Frees up sticky heat risers ;
genera l-purpose penetrating oil
1050427 23 oz. Glass Cleaner Cleans glass and vinyl
4-7
Page 68 of 102
Downloaded from www.Manualslib.com manuals search engine ENGINE COOLING
SYSTEM
The recovery type cooling sys
tem is standard on all Chevrolet
pasSenger cars. The coolant ex~
pands with rising temperature and
the overflow
is dOllected in the
recovery tank.
When the system
temperature drops, the coolant is
drawn back
intocthe radiator. The
cooling system has been filled at
the factory with a high-quality, in
hibited , year-around coolant that
meets the standards
of General
Motors Specification I
899"M. This
coolant solution provides freezing
protection
to -20oP (-28°C),
and in Canada to _35°P
( -37°C), and it h~s been formu
lated to be used without replace
ment for two years or 30,000 miles.
After two years
or 30,000 miles,
the coolant should be drained to
prevent rust or corrosion in the
radiator and engine.
Cooling System Care
Do not remove radiator cap to
check coolantlevel , but
checkvisu
ally in the "see 'thru " coolant re
covery tank at least as frequently
as ,needed. LeveL should be at the
"full cold" mark on the recovery
tank when the system
is cold and
at the
"full hot" roark at Iiormal
operating temperature. Add'~ 501
50 mixture of high-quality ethylene
glycol antifreeze and
waler for
coolant additions.
If frequent addi
tionsare required, see your dealer
for
a cooling system check.
NOTE: If recommended quality
antifreeze
is used,supplemental in
hibitors or additives claiming to
provide increased capability are
not
necessary. They may be detrimen
tal to the efficient operation of the
system, and represent an
unneces
sary operating expense.
5-7
The cooling system should be
serviced every year as follows:
1. Wash radiator cap and filler neck
with clean water.
2. Check coolant for proper level
and freeze protection.
3. Test system
and radiator cap for
, properpresslire holding capacity
(15 psi).
Ifreqitired, use cap
designed by
AC for coolant re
co~ery systems, and specified for
your model.
4, Tighten hose clamps and
inspect
all hoses. Replace hoses if swol
len, checked or otherwise deteri
orated.
5. Clean frontal area of radiator
, qcire and air conditioning con
denser.
Page 75 of 102
Downloaded from www.Manualslib.com manuals search engine TIRES
The factory installed tires on
your
vehicl ,e , shown in · the Tire
Usage Ch
per
formance'characteristics
for normal
vehicle
~peration:
• Endu tiLnce '.~"
• Handling . ,'c'
• Noise·'
• Ride; .. /.
• Roaa Hazard ~esistance
• Rol~!1g Re~l$tiLnce
• Traction .'. .. ,
• Tread
Mileage .
This section contains some tips
on
how you can obtain maximum
benefit from these tires and your
investment in them.
Vehicle Loading
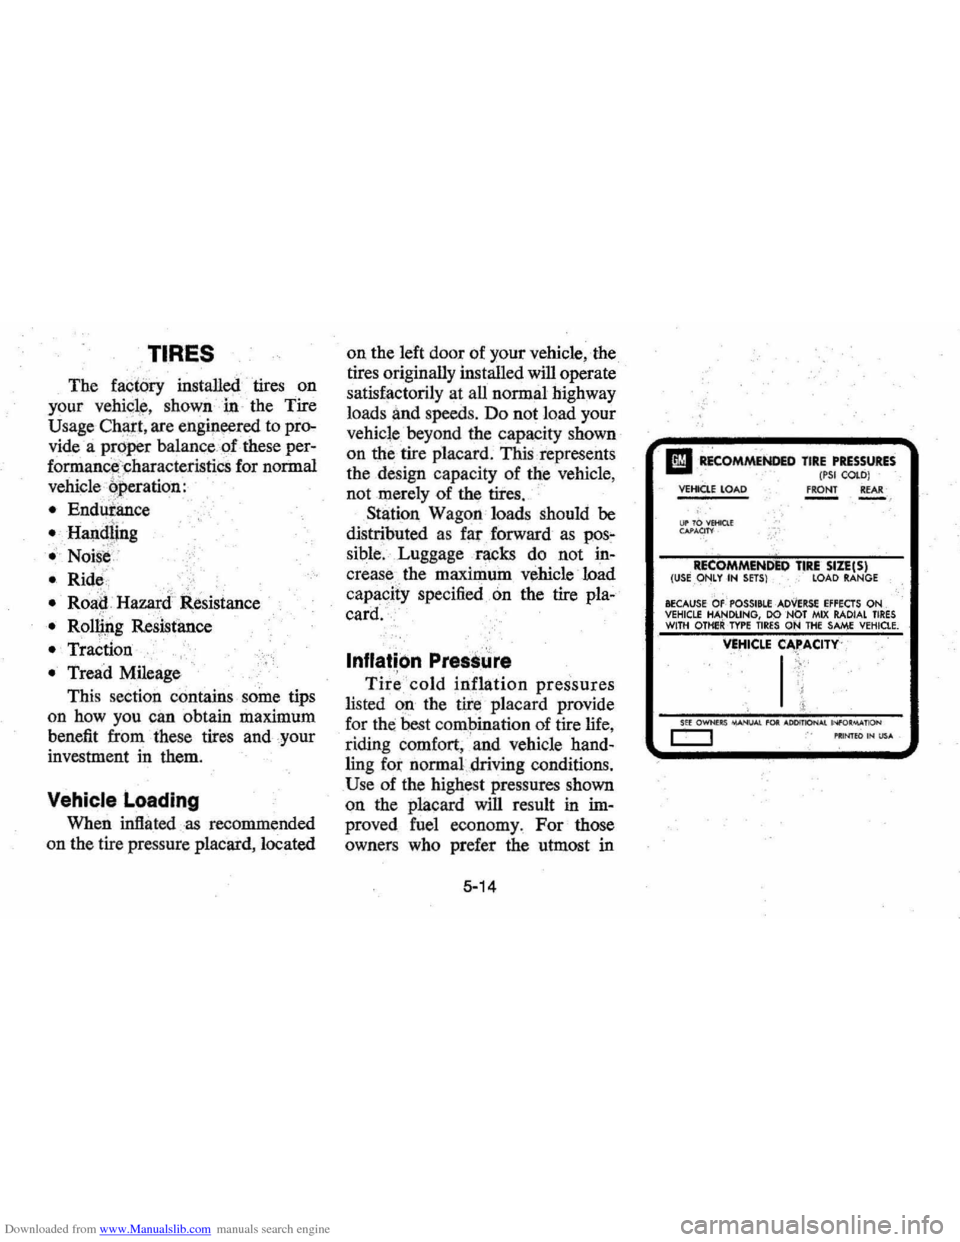
When inftiltedas recommended
on the tire pressure placard, located on
the left door
of your vehicle , the
tires originally installed will operate
satisfactorily at all normal highway
loads
and s peeds. Do not load your
vehicle beyond the capacity shown
on the tire placard . This represents
the design capacity of the vehicle ,
not merely of the tires .
Station Wagon loads
Should be
distributed as far forward as pos~
sihle . .Luggage racks do not in
crease
the maximum vehicle load
capaciiy specified. on the tire
pla
card.
Inflation Presslire
Tir~' cold inflation pressures
listed ' on the tire placard provide
for
the best combination of tire life,
riding ' comfort , . and vehicle
hand
ling for normal . driving conditions .
Use of the highest pressures shown
on the placard will result
in im
proved fuel economy. For those
owners
who prefer the utmost in
5-14
I
II REcOMMENDED TIRE PRESSURES - (PSI COlO) : YeHKlE LOAD fRONT REAR - ,
ur TO V1:HICI.! ~"m ;,..'
RECOMMENbiO TIRE SIZE(S) (USEQNLY IN SETS) LOAD RANGE .
BECAUSE, :O':'POSSI8LE ·A ,DYERSE EFFECTS ON VEHICLE HANDLING, DO 'NC)T MIX RADIAL TIRES WITH OTHER' TYPE TIRES oN THE SAME VEHICLE.
IIE!iICLE C"'~ACITY ~~,' ; ,',
j
, ~ SU OWNUS ~\) ..... fOft "'DOIflONAl l.'IfOR"'-"TION
c:::J I'I!INTEO IN USA _
Page 77 of 102
Downloaded from www.Manualslib.com manuals search engine for 3 hours or more, or driven
less than 1 mile.
2. It is normal for tiTe pressures to
increase 4-8 PSI when the tires
become hot from
driving. Do not
"bleed" (reduce tire inflation
pressures)
after driving your
vehicle. Bleeding serves
to in
crease tire flexing and heat build
up which can result in tire dam
age and failure.
3. For sustained driving
at turn
pike speeds; cold inflation
pressures should be increased 4
PSI above the recommended
cold inflation pressures on the
tire placard up
to a maximum of
32
PSI for load range B tires, 36
PSI for load range C, and 40 PSI
for load range D. Sustained
speeds above 75 mph are not
recommended when the 4
PSI
adjustment would require pres
sures greater than the maximum
pressures above.
4, Always use a tire pressure gauge
(a pocket type gauge is recom
mended) when checking infla
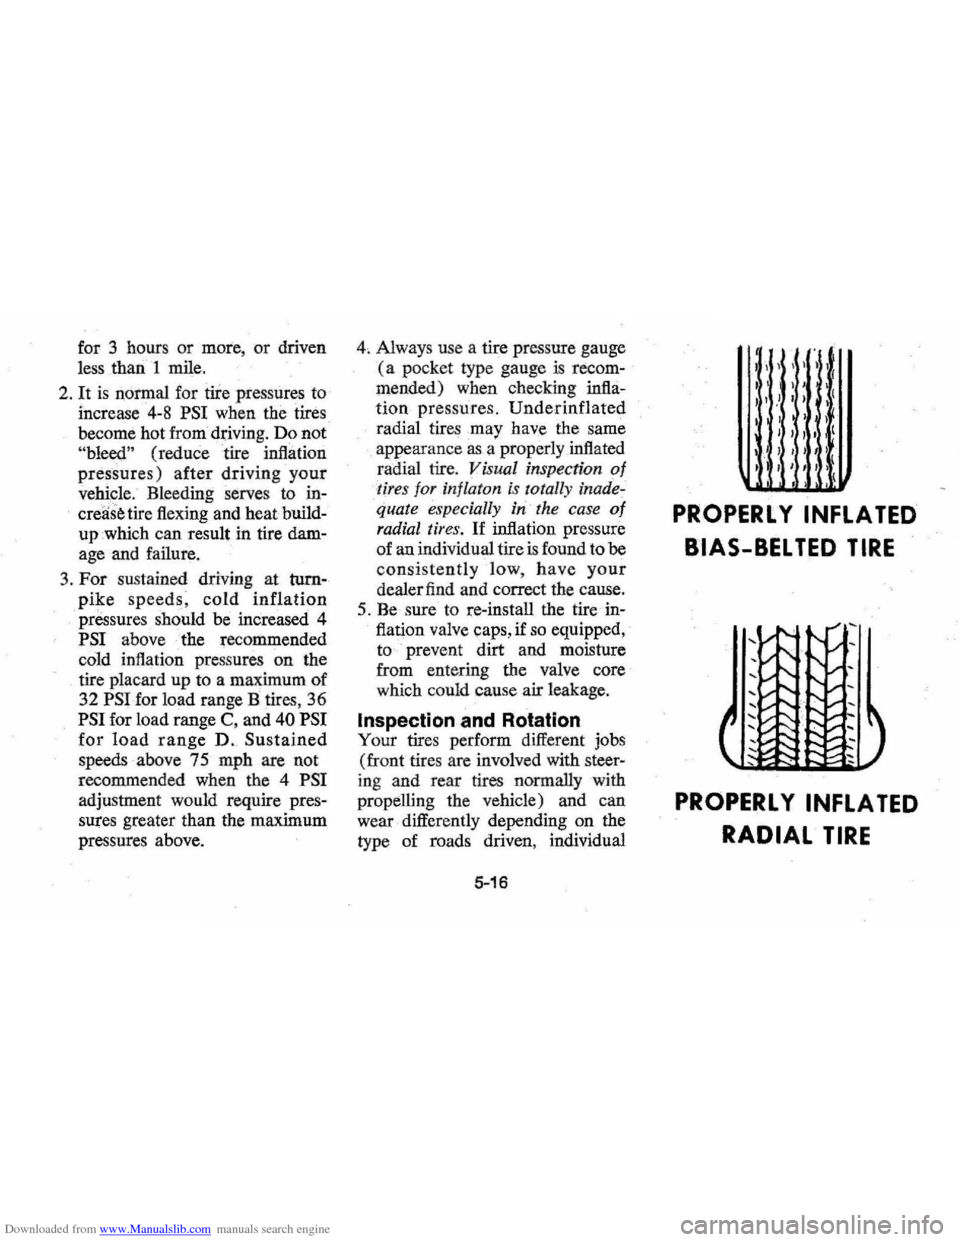
tion pressures. Underinflated
radial tires may have the same
appearance
as a properly inflated
radial tire.
Visual inspection of
-tires for in/laton is totally inade,
quate especially in the case 0/
radial tires. If inflation pressure
of an individual tire
is found to be
consistently low, have your
dealer find and correct the cause.
5. Be sure to re-install the tire in
flation valve caps, if
so equipped,
to prevent dirt and moisture
from entering the valve core
which could cause air leakage.
Inspection and Rotation
Your tires perform different jobs
(front tires are involved with steer
ing and rear tires normally with
propelling the vehicle) and can
wear differently depending on the
type of roads driven, individual
5-16
I
I '
,
)1, I
I I ( I , I , )' ,t
I ) I )
I , I I I I (
PROPERLY INFLATED
BIAS-BELTED TIRE
PROPERL Y INFLATED
RADIAL TIRE
Page 79 of 102
Downloaded from www.Manualslib.com manuals search engine Tire Repair
Temporary repair patches or any
repairs made from the outside of
the tire are not recommended ex
cept
in emergencies. Such "stop
gap" devices as plugs and aerosol
type sealants are not recommended
for more than
100 miles of driving
at speeds not over
50 mph. A per
manent
vulcanized repair (plug
and patch) applied from inside the
tire should be made
as soon as pos
sible. The installation of an inner
tube .
in a damaged tubeless tire
is not a recommended repair pro
cedure.
If an air loss occurs while
driving, do not attempt
to drive on
the deflated tire more than neces
sary to stop safely. Driving even a
short distance on a deflated tire can
damage a tire
-beyond repair.
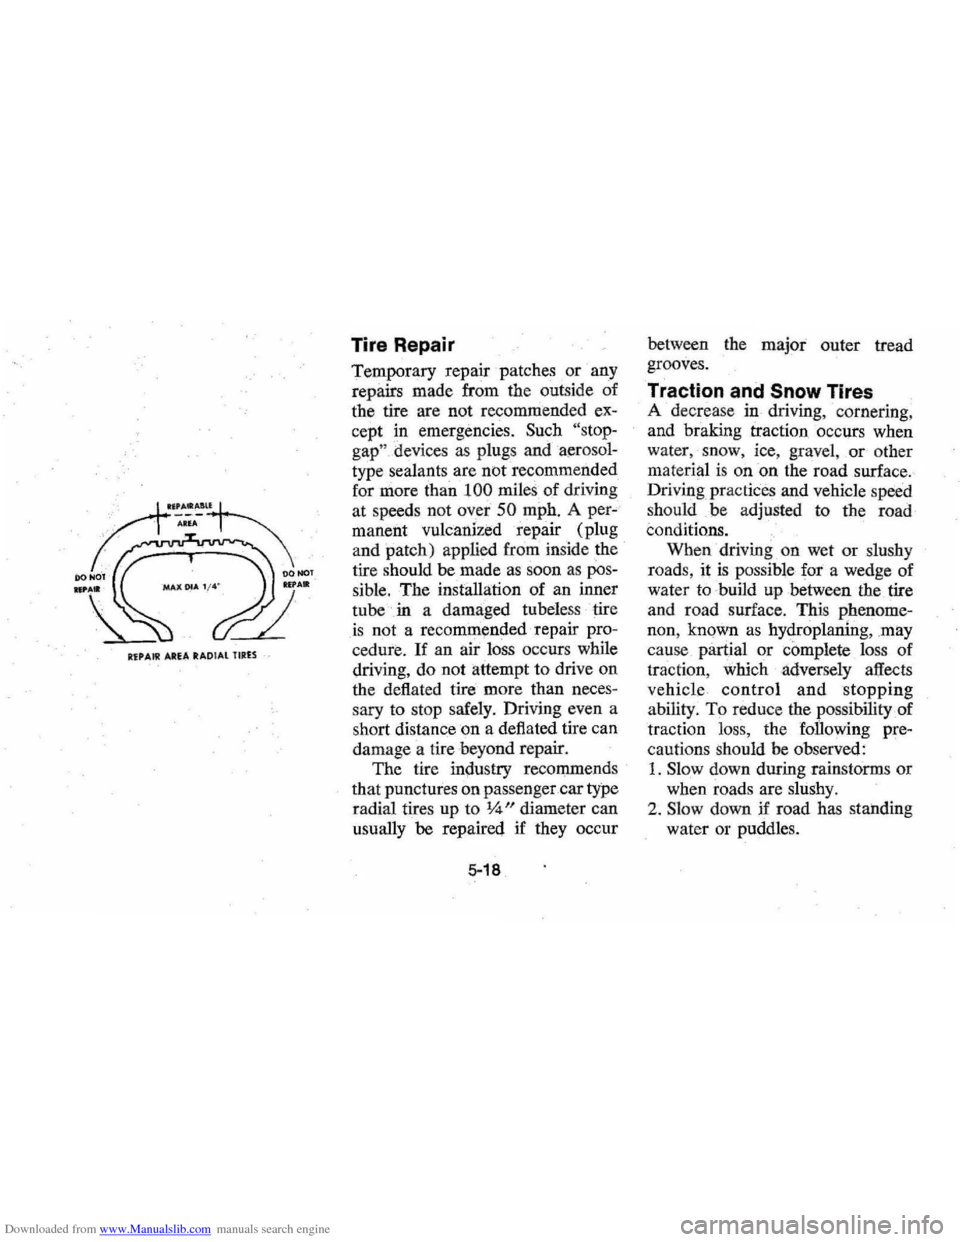
The tire
in~ustry recommends
that punctures on passenger car type
radial tires up to
\4" diameter can
usually be repaired if they occur
5-18
between the major outer tread
grooves.
Traction and Snow Tires
A decrea se in driving, cornering,
and braking traction occurs when
water, snow , ice~ gravel, _ or other
material is on on the road surface.
Driving practices and vehicle speed
should be adjusted to the road
conditions.
When driving on wet or slushy
roads, it
is possible for a wedge of
water to build up between the tire
and road surface. This phenome
non, known
as hydroplaning, may
cause partial or complete loss of
traction, which adversely
affects
vehicle control and stopping
ability. To reduce the possibility of
traction loss, the
fan owing pre
cautions should be observed:
1. Slow down during rainstorms or
when roads are slushy.
2. Slow down if road has standing
water or puddles.
Page 80 of 102
Downloaded from www.Manualslib.com manuals search engine 3. Replace tires when tread wear
indicators are visible.
4.
Keep tires properly inflated.
If your vehicle is equipped with
radial tires, your tires were de
signed
to p rov ide better snow tr ac
tion performance than bias or bias
. belt ed tires without snow treads.
However, if you equip your vehicle
with snow tires, you sh o uld use
snow tires of the
.'same size, loa d
range, and construction type as
your
other tires .. , Vehicle spe eds
should be limited to 75 mph if
snow tires are
'Ins tall ed bec ause
vehicle handling inay be adver
sely
affected.
Tire Replacement ·
Considerations
You should replace your tires
when
.. ,
1. Your tire s are worn to a point
where 2/32 inch
or less tread
remain s or worn deep enough to
expose the cord
or fabric. 'To
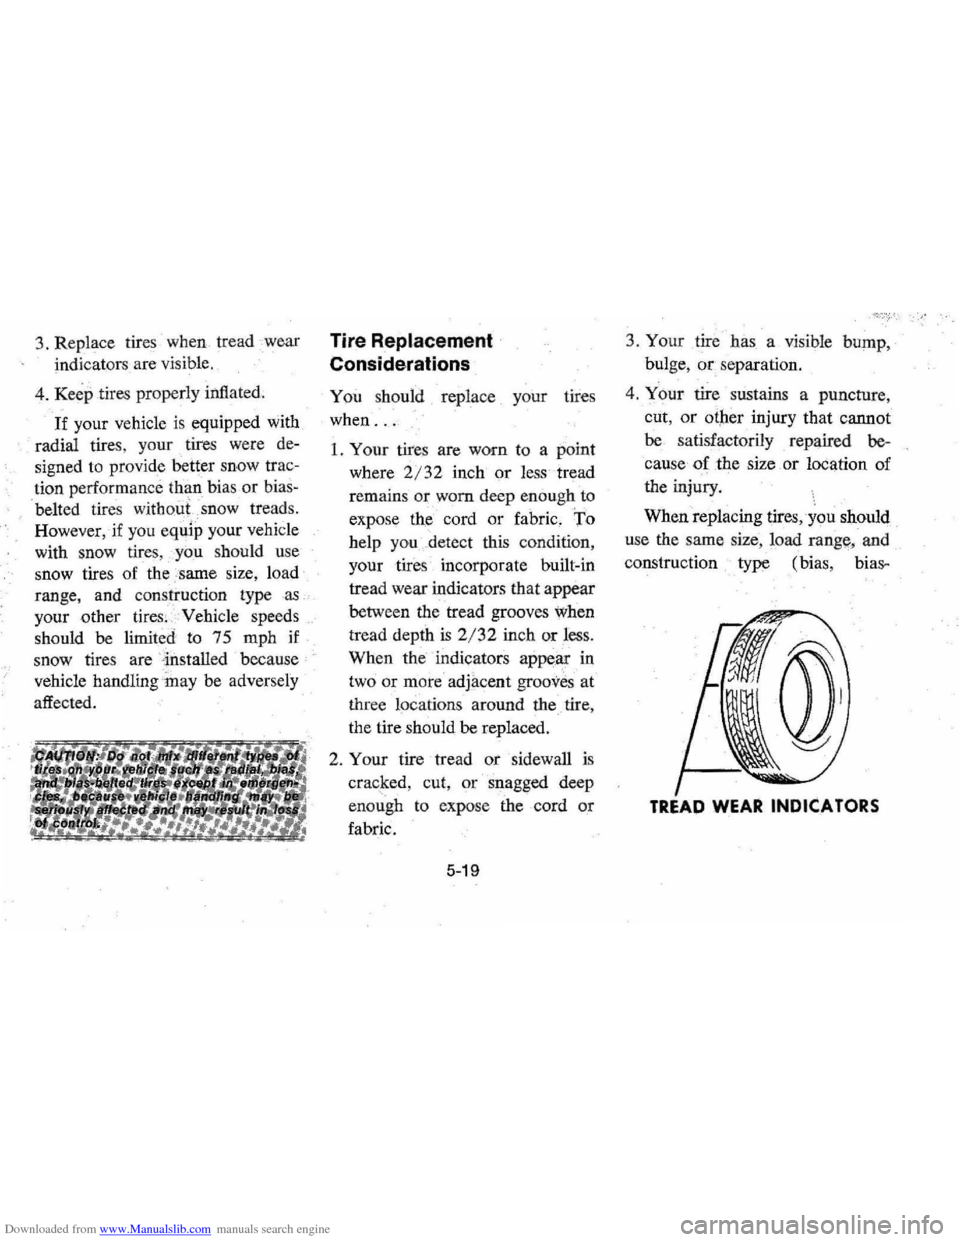
help you .. detect this condition,
your tir
es incorporate built-in
tread wear indicators
that appear
between the tread grooves
when
tread depth is 2/32 in ch or less.
When the indicators appear in
two
or m ore adjacent grooves at
thr ee l
ocation s around the tire,
the tire should be replaced.
2 .
Y our tire tread or sidewall is
crac~ed, cut, or snagged deep
enough to expose the cord
or
fabric.
5-19
3. Your tire has a visible bump, ·
bulge, or separati on.
4.
Your tire susta ins a puncture,
cut ,
or otrer injury that cannot
be satisfactorily repaired be
cau se
of the size . or location of
the injury.
When replacing tires, you should
u se the same size , load range, and
construction type (bias,
biag,.
TREAD WEAR INDICATORS