Page 54 of 86

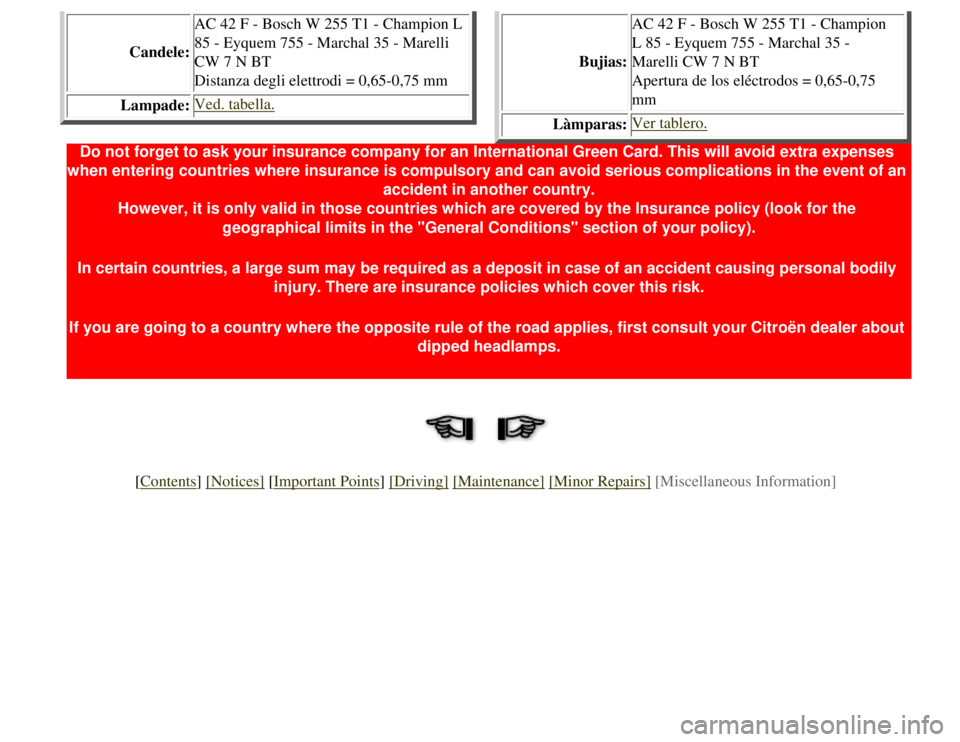
Candele:AC 42 F - Bosch W 255 T1 - Champion L
85 - Eyquem 755 - Marchal 35 - Marelli
CW 7 N BT
Distanza degli elettrodi = 0,65-0,75 mm
Lampade:
Ved. tabella.
Bujias: AC 42 F - Bosch W 255 T1 - Champion
L 85 - Eyquem 755 - Marchal 35 -
Marelli CW 7 N BT
Apertura de los eléctrodos = 0,65-0,75
mm
Làmparas:
Ver tablero.
Do not forget to ask your insurance company for an International Green C\
ard. This will avoid extra expenses
when entering countries where insurance is compulsory and can avoid seri\
ous complications in the event of an accident in another country.
However, it is only valid in those countries which are covered by the In\
surance policy (look for the geographical limits in the "General Conditions" section of your policy)\
.
In certain countries, a large sum may be required as a deposit in case o\
f an accident causing personal bodily injury. There are insurance policies which cover this risk.
If you are going to a country where the opposite rule of the road applie\
s, first consult your Citroën dealer about dipped headlamps.
[Contents] [Notices] [Important Points] [Driving] [Maintenance] [Minor Repairs] [Miscellaneous Information]
Page 57 of 86
Diverse
Correct setting of rear-view mirrors Tyre pressure
Front grill muff Seat belts
Adjustment of seats
[Contents] [Notices] [Important Points] [Driving] [Maintenance] [Minor Repairs] [Miscellaneous Information]
Page 60 of 86
Replacement parts
Every genuine CITROËN replacement part is sold only through
the company's network of dealers.
It is in the interest of the user, for his own safety and for the
guarantee, to refuse any other part.
In effect, the fitting of parts or units of different origin could
involve him in legal liability if such fitting caused a vehicle to
fail to conform to legal requirements of the country concerned,
particularly as regards SAFETY, ANTI-POLLUTION,
IGNITION INTERFERENCE SUPPRESSION, and NOISE
LEVEL.
Furthermore, such fitting would remove from the user any
possibility of recourse against the manufacturer.
In particular, items concerned are:
- components of braking systems,
- components of lighting and signalling systems,
- engine components,
- exhaust components,
- steering components,
- structural items,
- suspension components.
[Contents] [Notices] [Important Points] [Driving] [Maintenance] [Minor Repairs] [Miscellaneous Information]
Page 63 of 86
[Contents] [Notices] [Important Points] [Driving] [Maintenance] [Minor Repairs] [Miscellaneous Information]
Page 66 of 86
Diverse
Correct setting of rear-view mirrors Tyre pressure
Front grill muff Seat belts
Adjustment of seats
[Contents] [Notices] [Important Points] [Driving] [Maintenance] [Minor Repairs] [Miscellaneous Information]
Page 69 of 86
advise you on the legal requirements and fittings.
DRIVING POSITION
Adjust the fore-and-aft position of the bench-seat or of the front
driver's seat to suit the controls.
Adjust the rear-view mirrors to suit the driving position adopted.
Then fasten the seat belt and adjust its length as necessary.
[Contents] [Notices] [Important Points] [Driving] [Maintenance] [Minor Repairs] [Miscellaneous Information]
Page 72 of 86
Operate the starter without depressing the accelerator. If the engine
starts to run and dies, accelerate progressively to avoid stalling. If
the engine does not start at idling speed, pull the choke out to its
mid-way position.Fig. 13a
RHD Starting the engine
1 - Engine oil pressure warning lamp
(2 CV6)
2 - Anti-theft-ignition-start 3 - Choke control
BEFORE ENGAGING FIRST GEAR
If necessary, reduce the engine speed by progressively pushing in the
choke control. After a few minutes driving, the choke being no longer
necessary, push it fully home. On "2 CV6" models, the engine oil
pressure warning lamp (Fig. 13, mark 1) must go out.
[Contents] [Notices] [Important Points] [Driving] [Maintenance] [Minor Repairs] [Miscellaneous Information]
Page 74 of 86

At a speed of over about 1,000 rpm, the clutch behaves in the
same way as a conventional clutch. The clutch pedal must be
used to change gear.
When running downhill, slowing down abruptly may cause
the clutch to disengage. Re-engage the clutch immediately
with a light touch on the accelerator before the car gathers
speed in free-wheeling.
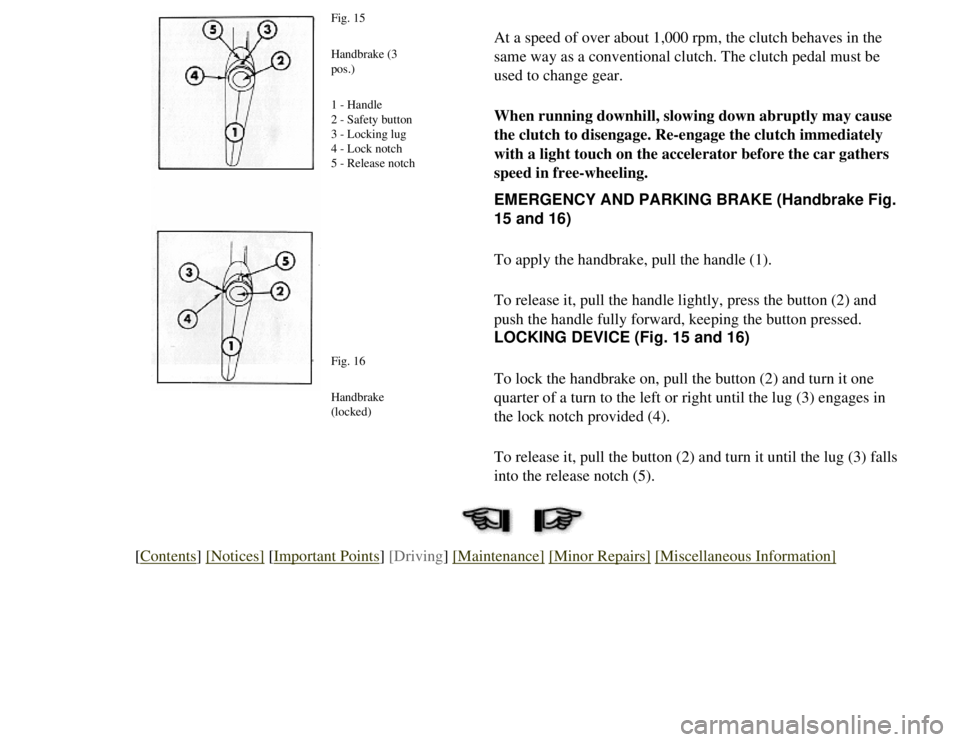
Fig. 15
Handbrake (3
pos.)
1 - Handle
2 - Safety button
3 - Locking lug
4 - Lock notch
5 - Release notch
Fig. 16
Handbrake
(locked)
EMERGENCY AND PARKING BRAKE (Handbrake Fig.
15 and 16)
To apply the handbrake, pull the handle (1).
To release it, pull the handle lightly, press the button (2) and
push the handle fully forward, keeping the button pressed.
LOCKING DEVICE (Fig. 15 and 16)
To lock the handbrake on, pull the button (2) and turn it one
quarter of a turn to the left or right until the lug (3) engages in
the lock notch provided (4).
To release it, pull the button (2) and turn it until the lug (3) fal\
ls
into the release notch (5).
[Contents] [Notices] [Important Points] [Driving] [Maintenance] [Minor Repairs] [Miscellaneous Information]