1973 CHEVROLET MONTE CARLO tires
[x] Cancel search: tiresPage 5 of 86
Downloaded from www.Manualslib.com manuals search engine BEFORE DRIVING YOUR MONTE CARLO
DRIVER CHECKLIST
Before Entering Car
1. See that windows , mirrors and
lights are clean.
2 . Visually note inflation condition
of tires.
3. Check that area to rear is clear
if about to back up.
Before Driving Off
1. Lock all doors.
2. Position seat and adjust head
restraints.
3. Adjust inside and outside mir
rors.
4 . Fasten seat belts.
5. Check that warning bulbs light
when key
is turned to start posi
tion.
6 . Release parking brake (and see
that brake warning light turns
off). 7
. Be sure you understand your
car and how to operate it safely.
Keys
Two separate keys are provided
for your car. Each key has a differ
ent cross section so that it can be
inserted only
in certain locks.
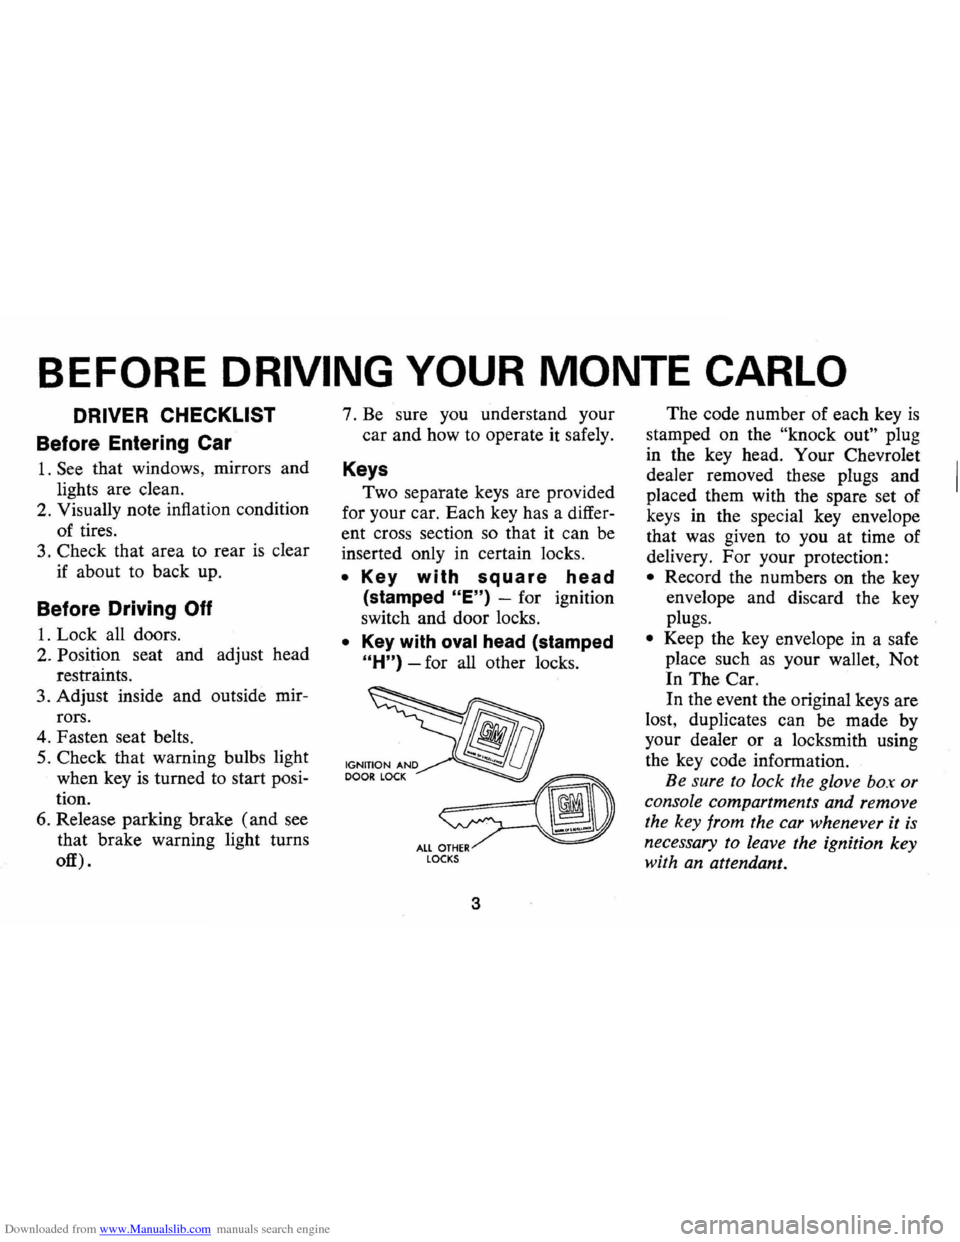
• Key with square head
(stamped "E") -for ignition
switch and door locks.
• Key with oval head (stamped
"H") -for all other locks.
fib
~ ALL OTHER LOCKS
3
The code number of each key is
stamped on the "knock out" plug
in the key head. Your Chevrolet
dealer removed these plugs and
placed them with the spare set of
keys in the special key envelope
that was given to you at time of
delivery. For your protection:
• Record the numbers on the key
envelope and discard the key
plugs.
• Keep the key envelope in a safe
place such
as your wallet, Not
In The Car.
In the event the original keys are
lost, duplicates can be made by
your dealer or a locksmith using
the key code information.
Be sure to lock the glove box or
console compartments and remove
the key from the car whenever it
is
necessary to leave the ignition key
with an attendant.
Page 14 of 86
Downloaded from www.Manualslib.com manuals search engine Detroit, Michigan 48202 (or in
Canada by writing to General
Moto rs of Canada Limited,
Owner
Relations Department , Oshawa,
Ontario) .
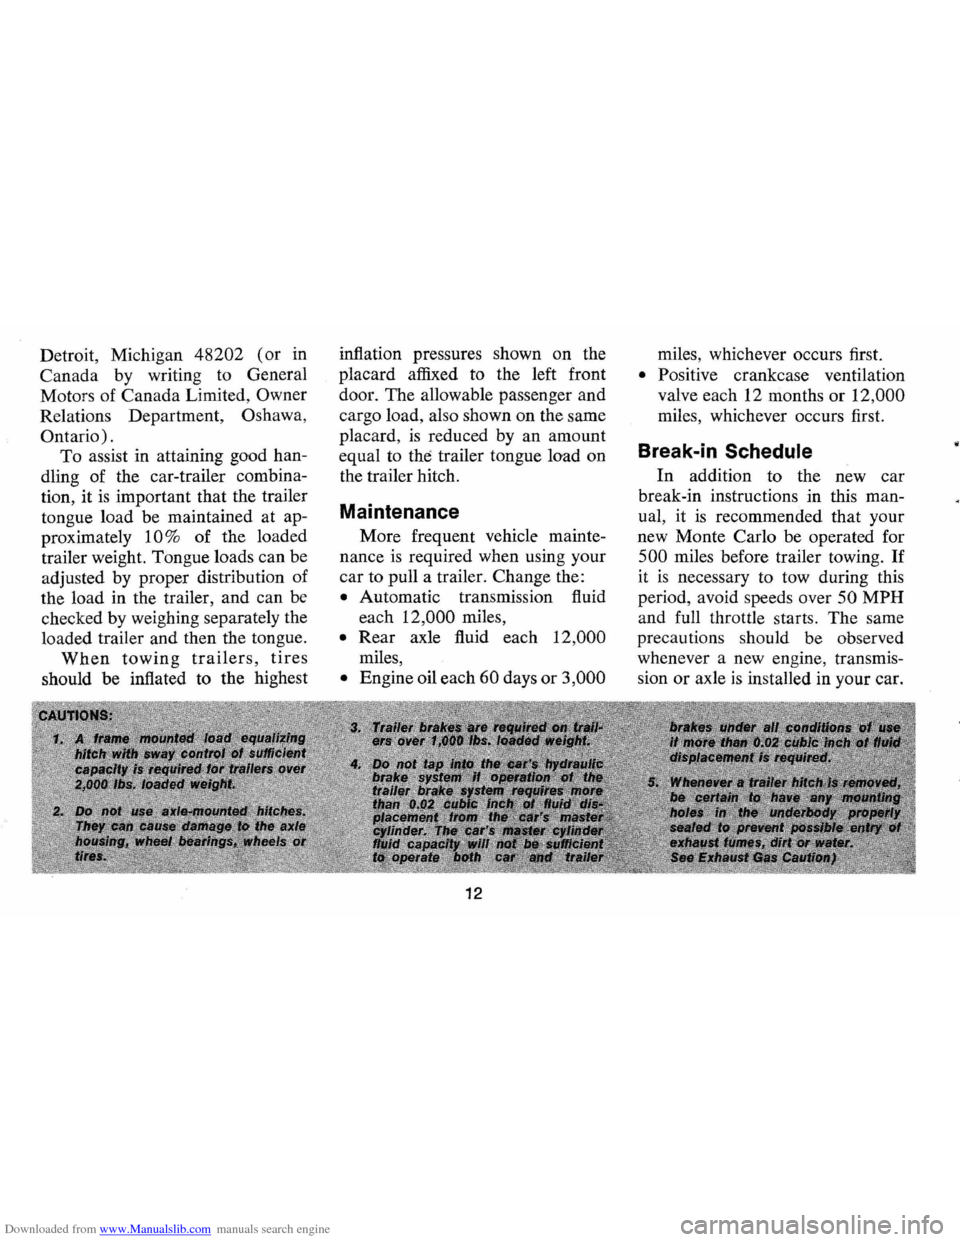
To assist in attaining good han
dling of the car-trailer combina
tion, it
is important that the trailer
tongue load be maintained at ap
proximately
10% of the loaded
trailer weight. Tongue loads can be
adjusted by proper distribution of
the load in the trailer, and can be
checked by weighing separately the
loaded trailer and then the tongue.
When towing trailers, tires
should be inflated to the highest inflation
pressures shown on the
placard affixed to the left front
door . The allowable passenger and
cargo load, also shown on the same
placard ,
is reduced by an amount
equal to
the trailer tongue load on
the trailer hitch.
Maintenance
More frequent vehicle mainte
nance
is required when using your
car to pull a trailer. Change the:
• Automatic transmission fluid
each
12 ,000 miles ,
• Rear axle fluid each 12,000
miles,
• Engine oil each 60 days or 3,000
12
miles , whichever occurs first.
• Positive crankcase ventilation
valve each 12 months or
12,000
miles, whichever occurs first.
Break-in Schedule
In addition to the new ca r
break-in instructions in this man
ual, it
is recommended that your
new Monte Carlo be operated for
500 miles before trailer towing. If
it is necessary to tow during this
period , avoid speeds over
50 MPH
and full throttle starts. The same
precautions should be observed
whenever a new engine, transmis
sion or axle
is installed in your car.
Page 26 of 86
Downloaded from www.Manualslib.com manuals search engine NOTE: "Riding the brake" by rest
ing your foot on the brake pedal
when not intending to brake can
cause abnormally high brake tem
peratures, excessive lining wear
and possible damage to the brakes.
REMINDER: Brake linings should
be inspected for wear by a quali
fied mechanic at least once a year
or every 12 ,000 miles, whichever
occurs first. (Disc brake pads
should
be visually inspected for
wear each time the wheels and
tires are rotated at
6,000 mile in
tervals.) More frequent inspec
tions should be made if driving
conditions in your area, such as a
traffic or terrain, or techniques of
individual drivers result in frequent
brake applications. Your Chevro
let dealer
is best qualified to advise
you as to how often this inspection
should be performed. When brakes require
relining, use those Genuine
General Motors
Parts specified
for your car, and Delco Brake fluid
as required .
Automatic Brake Adjusters
• Brakes on this car (except for
the parking brake) are self
adjusting, designed to eliminate
periodic brake adjustments.
• Drum brake adjustment is made
automatically
as the brakes are
applied while
car is moving
backwards.
• Disc brake adjustment is made
automatically with each brake
application.
• If excess brake pedal travel de
velops, drive alternately back
ward and forward several
times and apply brakes firmly
in each direction.
• See your dealer if normal pedal
24
travel is not restored, or if there
is a rapid increase in pedal
travel, which could be a sign of
other brake trouble.
Headlight Beam Switch
"High" and "low" headlight
beams are controlled by the floor
button at your left foot. The indi
cator, located between the fuel
gauge and the speedometer dial
will light
up when the high beam~
are in use.
Page 46 of 86

Downloaded from www.Manualslib.com manuals search engine Changing Tires
Preparations:
• Park on a level surface and set
parking brake firmly.
• Set automatic transmission in
"P ARK" (manual transmission
in reverse) .
• Activate hazard warning flasher.
• Block both the front and back
of the wheel diagonally oppo
site the
jack position.
Jacking Instructions
1. After removing spare wheel and
tire, jack, jack base, and jack
handle (wheel nut wrench) , pro
ceed with changing the wheel
as
follows: 2.
Remove hub cap
or wheel cover
with flat end of wheel nut wrench
and loosen, but do not remove
nuts, by turning counterclock
wise.
44
3. Place the jack column assembly
in the jack base (make sure that
jack column
is fully inserted into
jack base) and move jack lever
to the
"UP" position. Also, check
Page 51 of 86
Downloaded from www.Manualslib.com manuals search engine Polishing and Waxing
Your Car
Although acrylic paint on your
car
is durable, you may wish to
wax or polish for added protection.
Your Chevrolet Dealer offers many
polishes and waxes now available
which have proven of real value
in
maintaining a good paint finish.
When using a tar and road oil
remover, be certain it
is safe for
use on acrylic painted surfaces.
Protection of Exterior
Bright
Metal Parts
Bright metal parts should be
cleaned regularly to maintain
luster. Washing with water is all
that
is usually required. However,
G.M. Chrome
Polish may be used
on CHROME or STAINLESS
STEEL
trim if necessary.
Use special care with ALU
MINUM trim. Never use auto or
chrome polish, steam or any caustic
soap to clean aluminum.
A coating of wax, rubbed to a
high polish,
is recommended for
all bright metal parts.
Cleaning White Sidewall
Tires
Use a tire cleaner which will
not harm aluminum trim. A stiff
brush may be used with the cleaner
to remove road grime and dirt
from white sidewall tires.
Cleaning the Optional
Vinyl
Top
The top should be washed fre
quently with neutral soap suds,
lukewarm water and a brush with
soft bristles. Rinse top with
suffi
cient quantities of clear water to
remove all traces of soap.
If the top requires additional
cleaning after using soap and
water, a mild foaming cleanser
can be used. Rinse the whole top
with water; then apply a mild
49
foaming type cleanser on an area
of approximately
--two square feet.
Scrub area with a small soft bristle
hand brush adding water
as neces
sary until the cleanser foams to
a soapy consistency. Remove the
first accumulated soilage with a
cloth or sponge before it can be
ground into the top material.
Apply additional cleanser to the
area and scrub until the top
is
clean. Care must be exercised to
keep the cleanser from running
onto body finish
as it may cause
streaks
if allowed to run down
and dry. After the entire top
has been cleaned, rinse generously
with clear water to remove all
traces of cleanser.
Do not use
volatile cleaner or household
bleaching agents on the top
material.
I
Page 62 of 86

Downloaded from www.Manualslib.com manuals search engine • Maintain cooling system freeze
protection at
.;...200 F or below
to ensure protection against
corrosion and loss of coolant
from boiling , even though freez
ing temperatures are not
ex
pected.
• Add ethylene glycol base cool
ant that meets GM Specification
1899-M when coolant additions
are required because of coolant
loss or to provide additional
protection against freezing at
temperatures lower than
_200 F
(_320 F in Canada).
NOTE: Alcohol or methanol base
coolants or plain water are not
recommended for your Monte
Carlo at any time.
Radiator Pressure Cap
The radiator cap, a 15 lb. pres
sure type, must be installed tightly,
otherwise coolant may be lost and
damage to engine may result from
overheating. Radiator pressure caps
should be checked periodically for
proper operation.
If replacement is
required specify AC.
Thermostat
The cooling system is protected
and controlled by a thermostat in
stalled in the engine coolant outlet
to maintain a satisfactory operating
temperature of the engine. This
thermostat
is designed for continu
ous use through both winter and
summer and need not be changed
seasonally . When replacement
is
necessary, Delco parts are recom
mended.
60
Tires
The factory installed tires on
your car
as shown on the following
Tire Usage chart are designed to
provide the best all around per
formance for normal vehicle op
eration. When inflated
as recom
mended on the tire pressure plac
ard, located on the left door of
your vehicle, they have the load
carrying capacity to operate satis
factorily at all normal highway
speeds.
Tire Care
Tires should be checked regu
larly for proper inflation pressure,
wear, and damage. The following
information will assist you in prop
erly caring for your tires:
Page 63 of 86
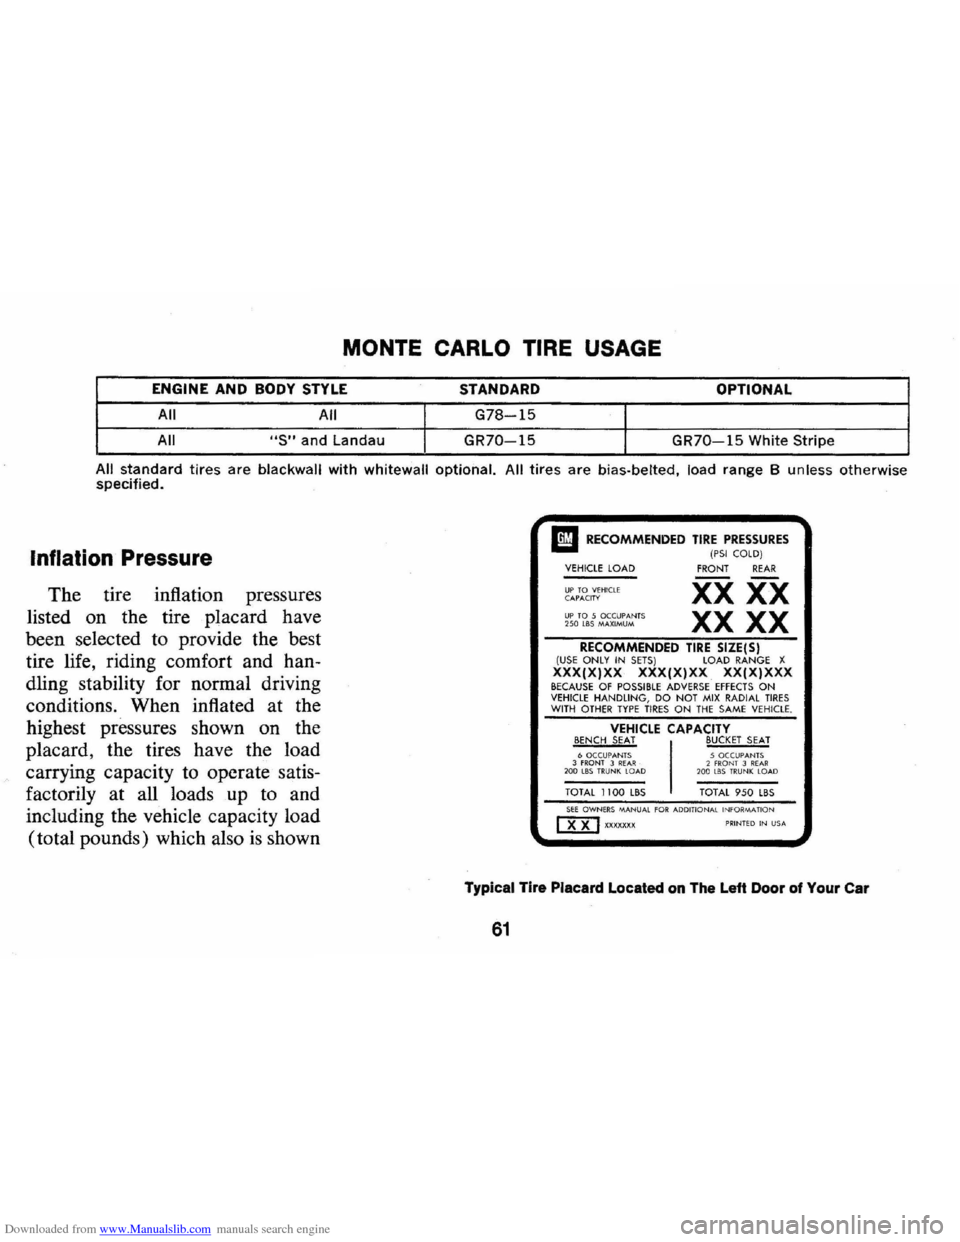
Downloaded from www.Manualslib.com manuals search engine MONTE CARLO TIRE USAGE
ENGINE AND BODY STYLE STANDARD OPTIONAL
All All
G78-15
All "S" and Landau GR70-15
GR70-15 White Stripe
All standard tires are blackwall with whitewall optional. All tires are bias·belted, load range B unless otherwise specified.
Inflation Pressure
The tire inflation pressures
listed on the tire placard have
been selected to provide the best
tire life, riding comfort and han
dling stability for normal driving
conditions. When inflated at the
highest pressures shown on the
placard, the tires have the load
carrying capacity to operate satis
factorily at all loads up to and
including the vehicle capacity load
(total pounds) which also
is shown
I!I RECOMMENDED TIRE PRESSURES (PSI COLD) VEHICLE LOAD
UP TO VEHICLE C APACIH UP TO 5 OCCU PANTS 250 185 MAX IMUM
FRONT REAR
xx XX
XX XX
RECOMMENDED TIRE SIZE(S) (USE ON LY IN SETS ) LOAD RANGE X XXX(X)XX XXX(X)XX XXIX)XXX BECAUSE OF POSSIBLE ADVERSE EFFECTS ON VEHICLE HANDLING, DO N O T MIX RADIAL TIRES WITH OTHER TYPE TIRES ON THE SA ME VEHICLE.
VEHICLE CAPACITY BENCH SEAT BUCKET SEAT 6 OCCUPANTS 3 fR ONT 3 REAR· 200 lBS TRUNK LOAD
TOTAL 1100 LBS
5 OCCUPAN TS 2 fR ONT 3 R EA R 200 U1S TRU NK LOA D
TOTAL 950 LBS SEE OWNERS MANUAL fOR ADD ITIONAL INfORMAflON mJ XXXXXXX PRINTED IN USA
Typical Tire Placard Located on The Left Door of Your Car
61
Page 64 of 86
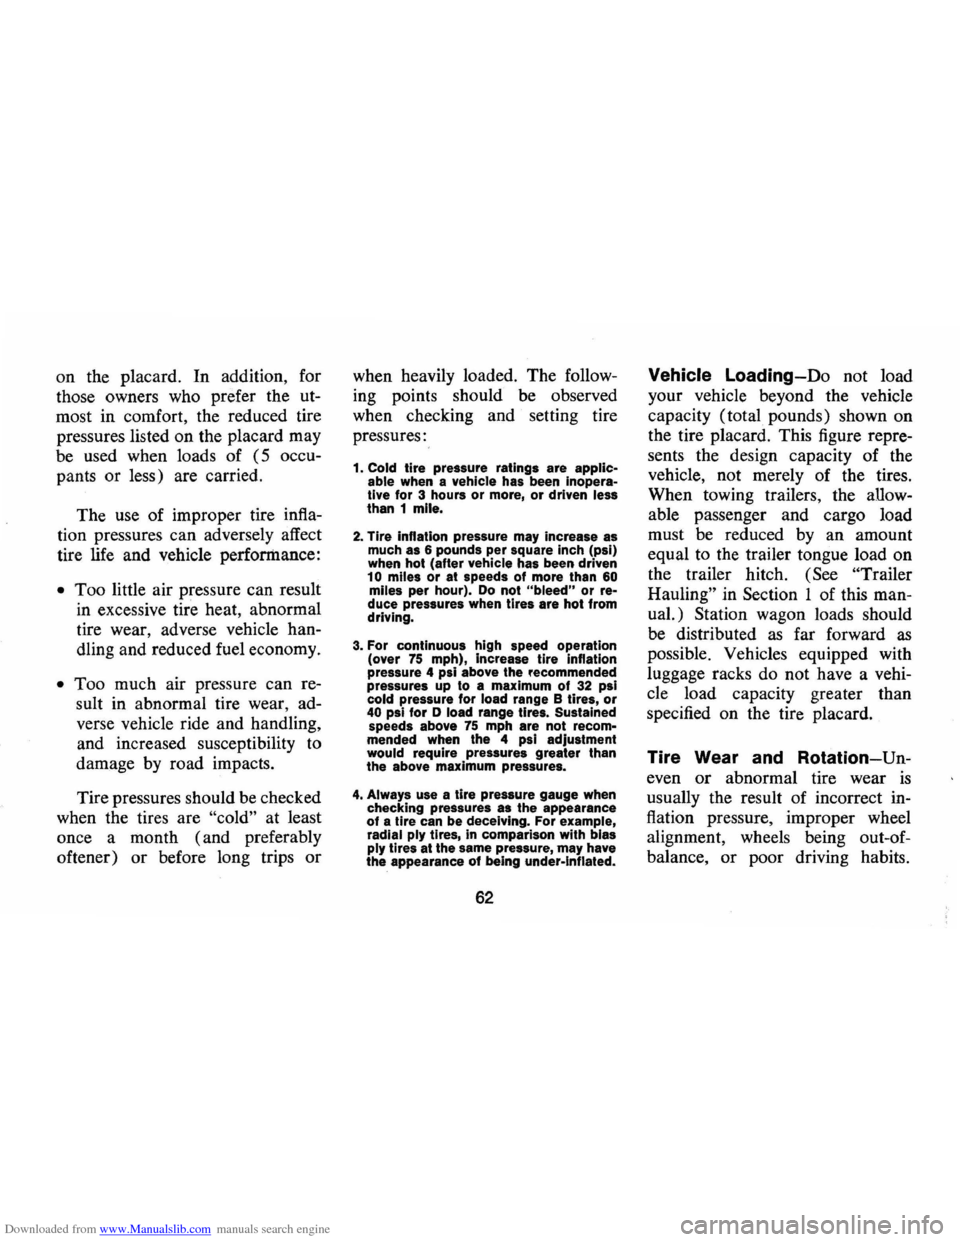
Downloaded from www.Manualslib.com manuals search engine on the placard. In addition, for
those owners who prefer the
ut
most in comfort, the reduced tire
pressures listed on the placard may
be used when loads of
(5 occu
pants or less) are carried.
The use of improper tire
infla
tion pressures can adversely affect
tire life and vehicle
perforrilance:
•
Too little air pressure can result
in excessive tire heat, abnormal
tire wear, adverse vehicle
han
dling and reduced fuel economy.
• Too much air pressure can re
sult in abnormal tire wear, ad
verse vehicle ride and handling,
and increased susceptibility to
damage
by road impacts.
Tire pressures should be checked
when the tires are
"cold" at least
once a month (and preferably
oftener)
or before long trips or
when heavily loaded. The follow
ing points should be observed
when checking and setting tire
pressures:
<
1. Cold tire pressure ratings are applic
able when a vehicle has been Inoperative for 3 hours or more, or driven less
than 1 mile.
2. Tire inflation pressure may increase as much as 6 pounds per square inch (psi)
when hot (after vehicle has been driven
10 miles or at speeds of more than 60 miles per hour). Do not "bleed" or reduce pressures when tires are hot from
driving.
3. For continuous high speed operation
(over 75 mph), increase tire inflation
pressure 4 psi above the fecommended
pressures up to a maximum
of 32 psi
cold pressure for load range B tires, or 40 psi for D load range tires. Sustained
speeds above 75 mph are not recom
mended when the 4 psi adjustment
would require pressures greater than
the above maximum pressures.
4. Always use a tire pressure gauge when
checking pressures as the appearance of a tire can be deceiving. For example,
radial ply tires, in comparison with bias
ply tires at the same pressure, may have
the appearance of being under-Inflated.
62
Vehicle Loading-Do not load
your vehicle beyond the vehicle
capacity (total pounds) shown on
the tire placard. This figure
repre
sents the design capacity of the
vehicle, not merely of the tires.
When towing trailers, the
allow
able passenger and cargo load
must be reduced by an amount
equal to the trailer tongue load on
the trailer hitch.
(See "Trailer
Hauling" in Section 1 of this man
ual.) Station wagon loads should
be distributed
as far forward as
possible. Vehicles equipped with
luggage racks do not have a
vehi
cle load capacity greater than
specified on the tire placard.
Tire Wear and Rotation-Un
even or abnormal tire wear is
usually the result of incorrect in
flation pressure, improper wheel
alignment, wheels being
out-of
balance, or poor driving habits.