1973 CHEVROLET MONTE CARLO engine oil
[x] Cancel search: engine oilPage 14 of 86
Downloaded from www.Manualslib.com manuals search engine Detroit, Michigan 48202 (or in
Canada by writing to General
Moto rs of Canada Limited,
Owner
Relations Department , Oshawa,
Ontario) .
To assist in attaining good han
dling of the car-trailer combina
tion, it
is important that the trailer
tongue load be maintained at ap
proximately
10% of the loaded
trailer weight. Tongue loads can be
adjusted by proper distribution of
the load in the trailer, and can be
checked by weighing separately the
loaded trailer and then the tongue.
When towing trailers, tires
should be inflated to the highest inflation
pressures shown on the
placard affixed to the left front
door . The allowable passenger and
cargo load, also shown on the same
placard ,
is reduced by an amount
equal to
the trailer tongue load on
the trailer hitch.
Maintenance
More frequent vehicle mainte
nance
is required when using your
car to pull a trailer. Change the:
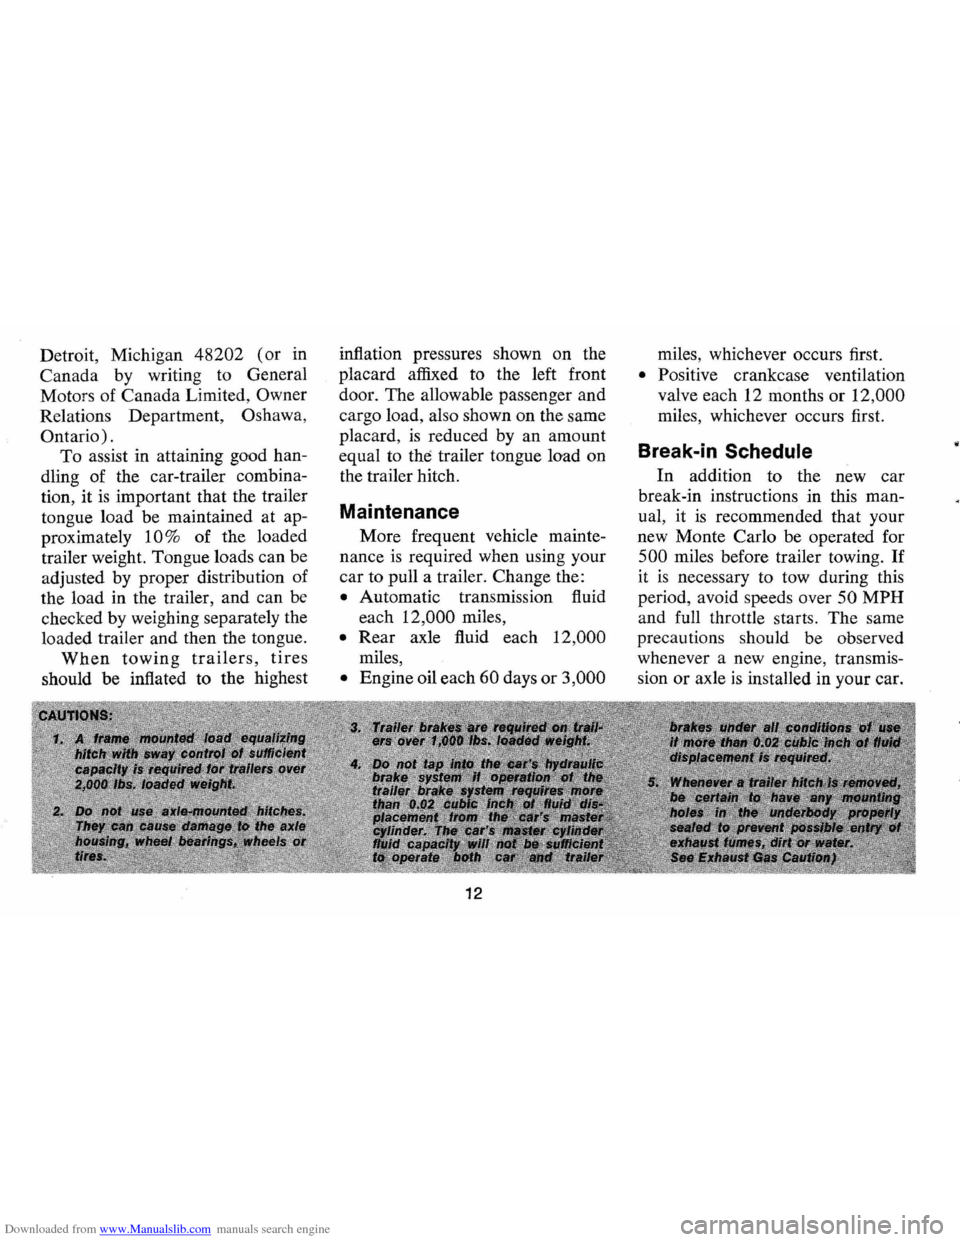
• Automatic transmission fluid
each
12 ,000 miles ,
• Rear axle fluid each 12,000
miles,
• Engine oil each 60 days or 3,000
12
miles , whichever occurs first.
• Positive crankcase ventilation
valve each 12 months or
12,000
miles, whichever occurs first.
Break-in Schedule
In addition to the new ca r
break-in instructions in this man
ual, it
is recommended that your
new Monte Carlo be operated for
500 miles before trailer towing. If
it is necessary to tow during this
period , avoid speeds over
50 MPH
and full throttle starts. The same
precautions should be observed
whenever a new engine, transmis
sion or axle
is installed in your car.
Page 16 of 86
Downloaded from www.Manualslib.com manuals search engine STARTING AND OPERATING
Engine Exhaust Gas Caution (Carbon Monoxide)
Allold inhaling exhaust gases because
they contain carbon monoxide, which by
Itsell is colorless and odorless. Carbon
monoxide is a dangerous gas that can cause unconsciousness and is potentially
lethal.
II at any time you suspect that exhaust fumes are entering the passenger compartment, have the cause determined and corrected as soon as possible. II you must
drive under these conditions, drive only
with
all windows fully open.
The best protection against carbon
monoxide entry into the car body is a properly
maintained exhaust system, car body and body ventilation system. It is recommended that the exhaust system and body
be inspected by a competent mechanic:
• Each time the IIehicie is raised for oil change. > •
Wheneller a change
is noticed In the
sound of the exhaust system.
• Wheneller the exhaust system, under
body or rear of the vehicle is damaged.
See your Maintenance Schedule folder
for inspection procedure.
To allow proper operation of the car's
IIentilation system, keep front ventilation
inlet
grille clear of snow, leaves or other obstruction at all times.
SITTING IN A PARKED CAR WITH
ENGINE RUNNING FOR AN EXTENDED PERIOD IS NOT RECOMMENDED.
Do
not run engine in confined areas such as garages any more than needed to mOlle IIehicle In or out of area. When IIehlcle is stopped In an UNCONFINED area with the engine running for any more than a short period, adJust heating or cooling system to force outside air Into car as follows:
14
1. On cars not equipped with air condi
tioning, set fan to medium or high
speed and upper control leller to any
position except OFF.
2. On cars equipped with manual air conditioning, set fan to medium or high speed, upper control lever to any
position except OFF, and lower control lever to any position except extreme left COLD.
The trunk lid should be closed while
drilling to help prellent inadllertently drawIng exhaust gases Into the car. If Is unwise to drive at high speeds for long durations
with the trunk lid open. Howeller, If lor some reason the trunk must remain open lor a period while mOiling, or electrical wiring or other cable connections to a trailer must pass through the seal between
trunk lid and body, the lol/owlng precau
tions should be observed:
• Close all windows.
• Ad/ust heating or cooling system to
force outside air into car as described In items 1 and 2 abolle but with Ian set at high speed.
• On cars equipped with outside aIr IIents In or under Instrument panel, open IIents lully.
Page 28 of 86
Downloaded from www.Manualslib.com manuals search engine Instruments
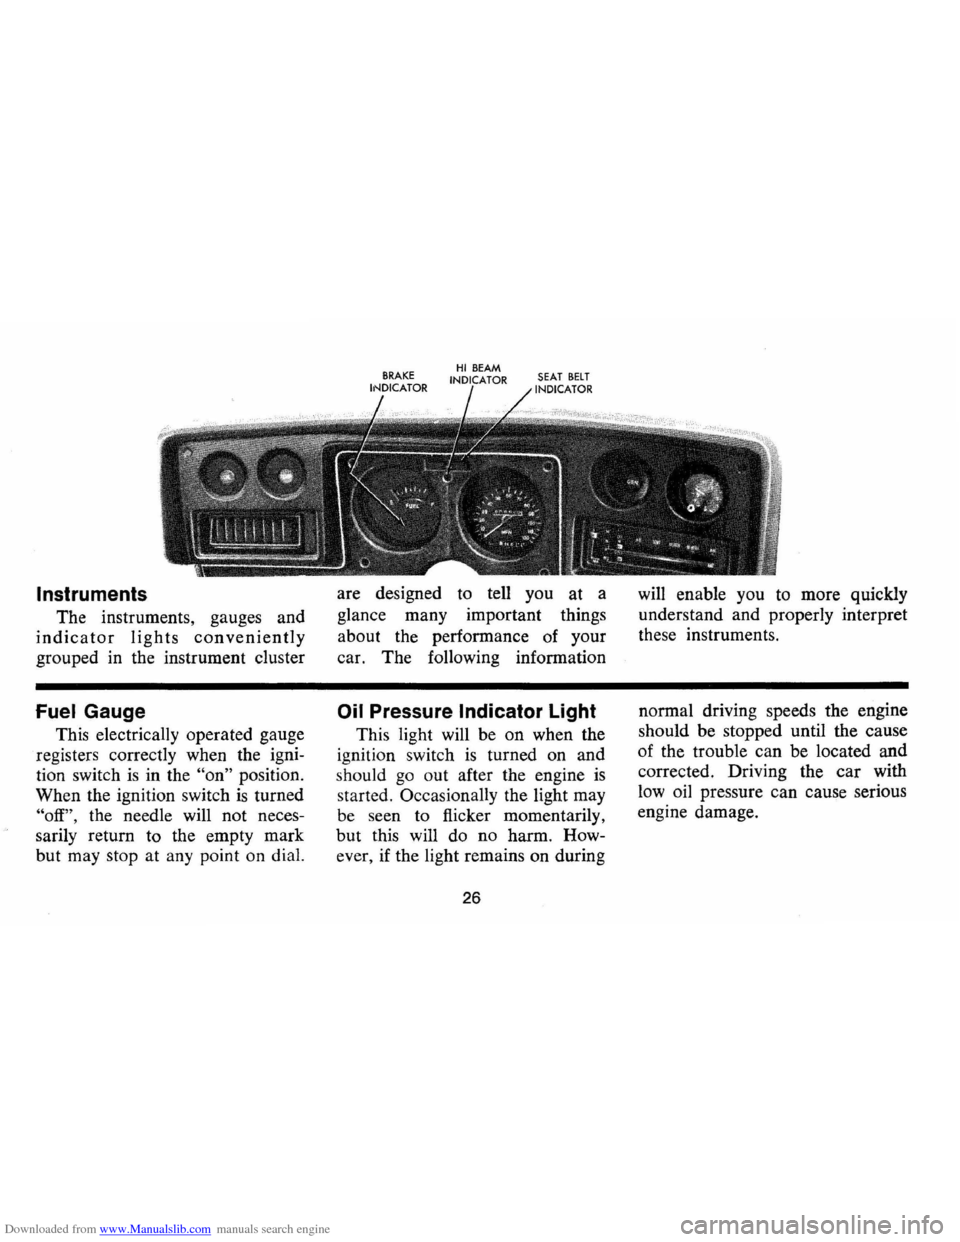
The instruments, gauges and
indicator lights conveniently
grouped in the instrument cluster
Fuel Gauge
This electrically operated gauge
registers correctly when the igni
tion switch
is in the "on" position.
When the ignition switch
is turned
"off", the needle will not neces
sarily return to the empty mark
but may stop at any point on dial. are
designed to tell you at a
glance many important things
about the performance of your
car. The foIlowing information
Oil Pressure Indicator Light
This light will be on when the
ignition switch
is turned on and
s hould
go out after the engine is
started. OccasionaIly the light may
be seen to flicker momentarily,
but this will do no harm. How
ever , if the light remains on during
26
will enable you to more quickly
understand and properly interpret
these instruments .
normal driving speeds the engine
should be stopped until the cause
of the trouble ca n be located and
corrected. Driving the
car with
low oil pressure can cause serious
engine damage.
Page 31 of 86
Downloaded from www.Manualslib.com manuals search engine _ '\' ' 2
1
5 , / '/ ,
[ e /~
O'v RPM !lOa -"-50
Optional Instrument and
Gauges
Tachometer
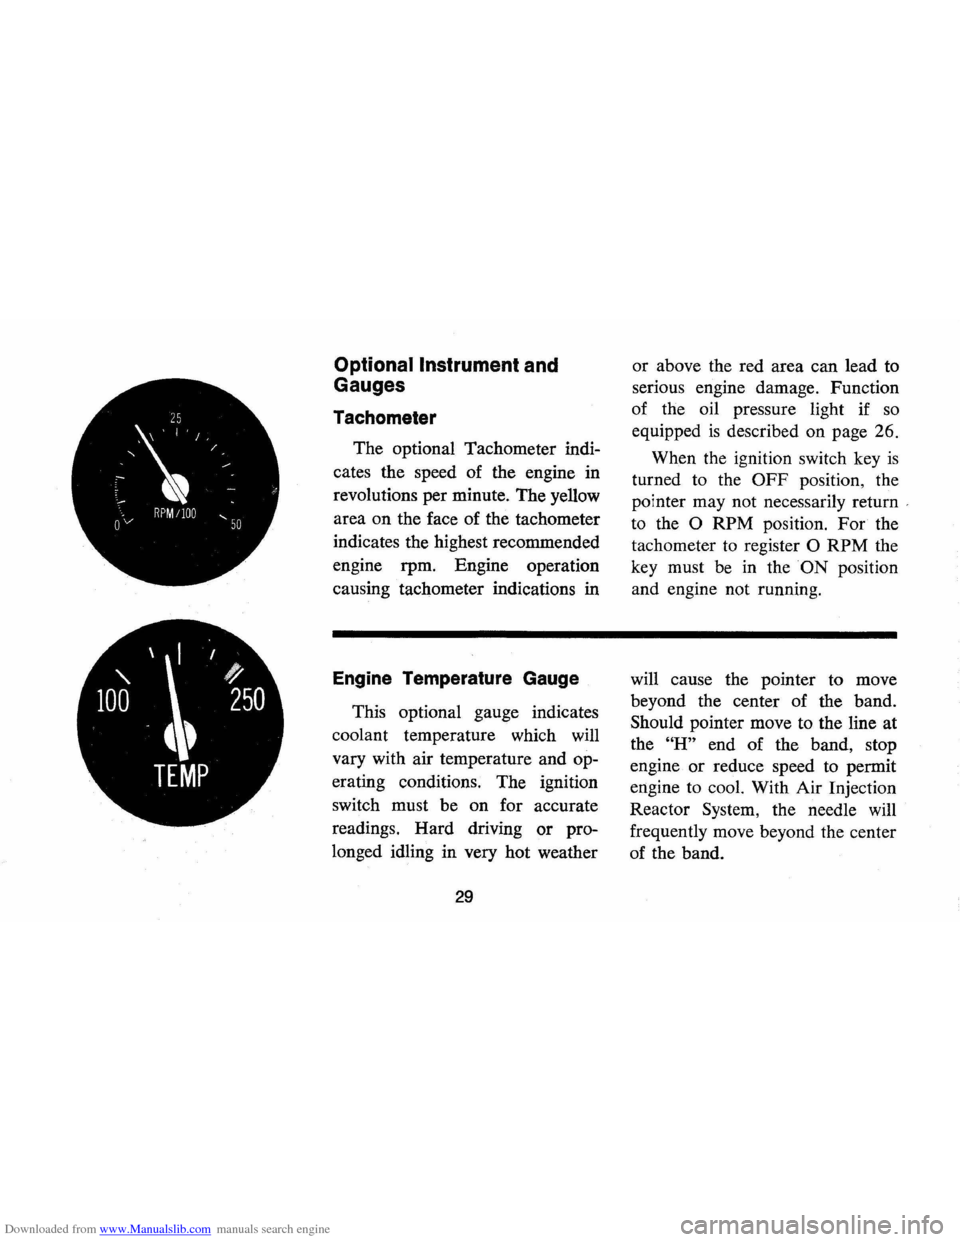
The optional Tachometer indi
cates the speed of the engine in
revolutions per minute. The yellow
area on the face of the tachometer
indicates the highest recommended
engine rpm. Engine operation
causing tachometer indications in
Engine Temperature Gauge
This optional gauge indicates
coolant temperature which will
vary with air temperature and op
erating conditions. The ignition
switch must be on for accurate
readings. Hard driving
or pro
longed idling in very hot weather
29
or above the red area can lead to
serious engine damage. Function
of the oil pressure light if
so
equipped is described on page 26.
When the ignition switch key
is
turned to the OFF position, the
pointer may not necessarily return
'
to the 0 RPM position. For the
tachometer
to register 0 RPM the
key must be in the
ON position
and engine not running.
will cause the pointer to move
beyond the center of the band.
Should pointer move to the line at
the
"H" end of the band, stop
engine
or reduce speed to permit
engine to cool. With Air Injection
Reactor System, the needle will
frequently move beyond the center
of the band.
Page 32 of 86
Downloaded from www.Manualslib.com manuals search engine I I
' /
D C
4 t '
AMPS
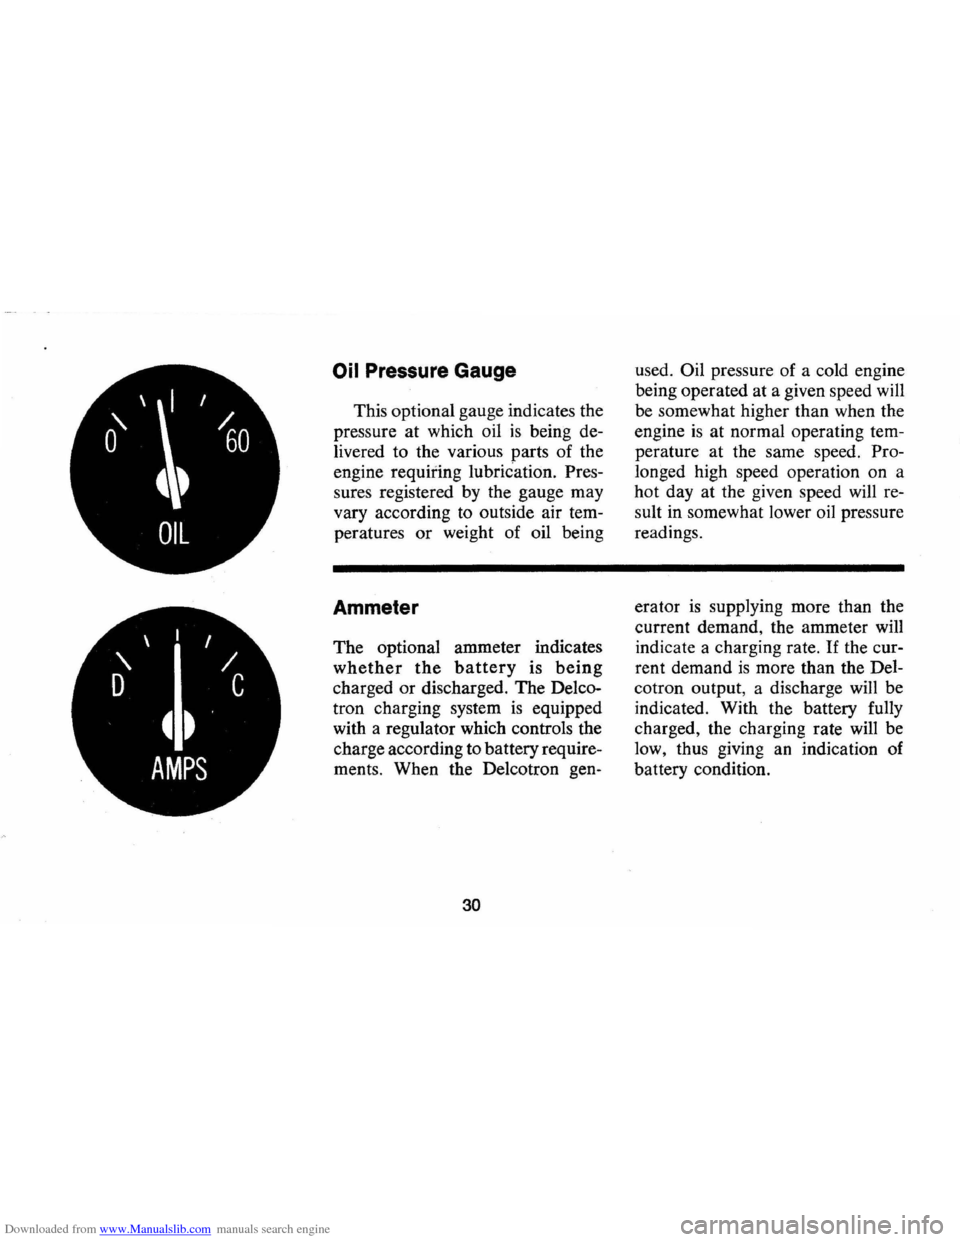
Oil Pressure Gauge
This optional gauge indicates the
pressure at which oil
is being de
livered to the various parts of the
engine
requiting lubriCation. Pres
sures registered by the gauge may
vary according to outside air tem
peratures
or weight of oil being
Ammeter
The optional ammeter indicates
whether the battery is being
charged or discharged. The Delco
tron charging system
is equipped
with a regulator which controls the
charge according to battery require
ments . When the Delcotron gen-
30
used. Oil pressure of a cold engine
being operated at a given speed will
be somewhat higher than when the
engine
is at normal operating tem
perature at the same speed. Pro
longed high speed operation on a
hot day at the given speed will re
sult in somewhat lower oil pressure
readings.
era tor
is supplying more than the
current demand, the ammeter
will
indicate a charging rate. If the cur
rent demand
is more than the Del
cotron output, a discharge will be
indicated. With the battery fully
charged, the charging rate will be
low, thus giving an indication of
battery condition.
Page 33 of 86

Downloaded from www.Manualslib.com manuals search engine Clock
Reset the clock , by pulling out
the knob and turning the hands
clockwise
if slow, counterclockwise
if fast. This will, if the clock error
is five minutes or more, automati
cally compensate for time gain or
lag . Several resettings, several days
apart, may be needed to propertly
adjust the clock mechanism. Have
your clock cleaned and oiled by a
competent clock serviceman at
least every two years.
Cigarette Lighter
The cigarette lighter is located
on the instrument panel face.
To
operate, push it in. When it be
comes heated, it automatically pops
out ready for use.
Windshield Wiper and
Washer
The windshield wiping system
operates at two speeds and
is de
signed to wipe clear specific areas of
the windshield under most in
clement weather conditions . The
windshield wipers work electrically
and are not affected by engine op
eration. Push the control lever to the
right to start the electric wind
shield wiper. The two-speed elec
tric wiper has both a "low" and a
"high" speed position.
31
Pressing the control will send a
measured amount of water or other
cleaning agent onto the windshield
and will also cause the wiper lever
to move thus starting the wiper
motor. The wiper will continue to
operate until manually turned off
at the wiper lever.
Fill the washer jar only
% full
during the winter to allow for ex
pansion if the temperature should
fall low enough to freeze the solu
tion .
• Check washer fluid level regu
larly-do it frequently when the
weather is bad .
• Use a fluid such as GM OPTI
KLEEN to prevent freezing
damage, and to provide better
cleaning.
• Do not use radiator anti-freeze
in windshield washer; it could
cause paint damage.
• In cold weather, warm the wind
shield with defrosters before
Page 48 of 86
Downloaded from www.Manualslib.com manuals search engine APPEARANCE CARE
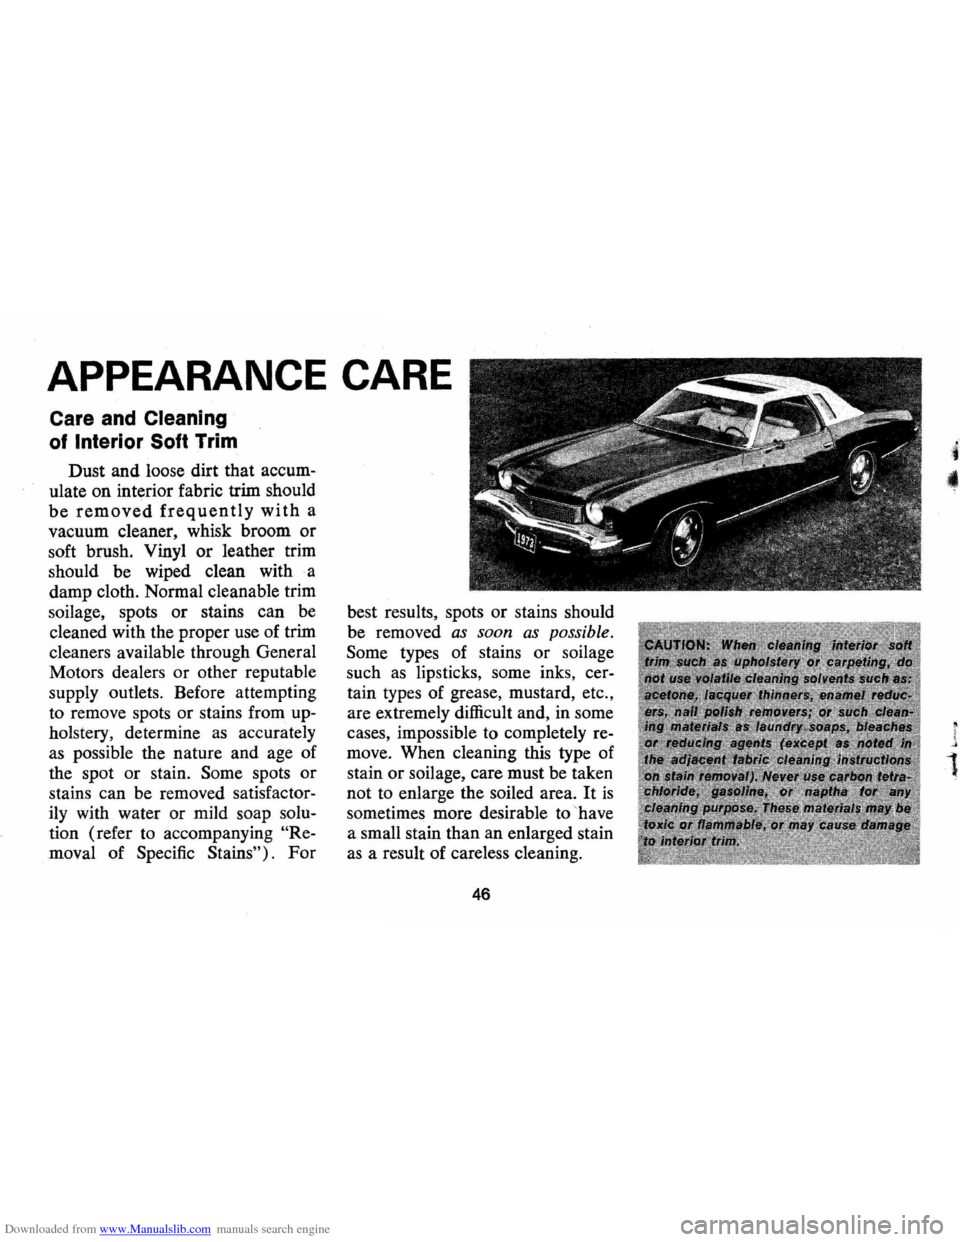
Care and Cleaning
of Interior Soft Trim
Dust and loose dirt that accum
ulate on interior fabric trim should
be removed frequently with a
vacuum cleaner, whisk broom or
soft brush. Vinyl
or leather trim
should be wiped clean with a
damp cloth. Normal cleanable trim
soilage, spots or stains can be
cleaned with the proper use of trim
cleaners available through General
Motors dealers or other reputable
supply outlets. Before attempting
to remove spots or stains from
up
holstery, determine as accurately
as possible the nature and age of
the spot or stain.
Some spots or
stains can be removed
satisfactor
ily with water or mild soap solu
tion (refer to accompanying "Re
moval of Specific Stains"). For
best results, spots or stains should
be removed
as soon as possible.
Some types of stains or soilage
such
as lipsticks, some inks, cer
tain types of grease, mustard, etc.,
are extremely difficult and, in some
cases, impossible to completely
re
move. When cleaning this type of
stain or soilage, care must be taken
not to enlarge the soiled area.
It is
sometimes more desirable to have
a small stain than an enlarged stain
as a result of careless cleaning.
46
1
Page 49 of 86
Downloaded from www.Manualslib.com manuals search engine Cleaning Fabrics with
Cleaning
Fluid
This type of cleaner should be
used for cleaning stains containing
grease, oil or fats. Excess stain
should be gently scraped off with
a clean dull knife or scraper.
Use
very little cleaner, light pressure,
and clean cloths (preferably cheese
cloth). Cleaning action with
cloth should be from outside of
stain towards center and constantly
changing to a clean section of
cloth. When stain
is cleaned from
fabric, immediately wipe
area
briskly with a clean absorbent
towel or cheese cloth to help dry
area and prevent a cleaning ring.
If ring forms, immediately clean
entire area or panel section of the
trim assembly.
NOTE: Sometimes a difficult spot
may require a second application
of cleaning fluid followed immedi
ately by a soft brush to completely
remove the spot.
Cleaning Fabrics with
Detergent Foam Cleaners
This type of cleaner is excellent
for cleaning general soilage from
fabrics and for cleaning a panel
section where a minor cleaning
ring may be left from spot clean
ing. Vacuum area to remove ex
cess loose dirt. Always clean at
least a full trim panel or section
of trim. Mask adjacent trim along
stitch or weld lines. Mix detergent
type foam cleaners in strict ac
cordance with directions on label
of container.
Use foam only on a
clean sponge or soft bristle brush
-Do not wet fabric excessively or
47
rub harshly with brush. Wipe clean
with a slightly damp absorbent
towel or cloth. Immediately after
cleaning fabric, dry fabric with a
dry towel or hair dryer. Rewipe
fabric with dry absorbent towel or
cloth to restore luster of the trim
and to eliminate any dried residue.
Seat Belt Care
• Clean only with mild soap solu
tion and lukewarm water.
• Do not bleach or dye belts since
this may severely weaken belts.
Removal of Specific Stains
Candy-Chocolate, use cloth soak
ed in lukewarm water; other than
chocolate, use very hot water. Dry.
If necessary, clean lightly with
fabric cleaning fluid.
Chewing Gum-Harden gum with
ice cube and scrape off with dull
knife. Moisten with fabric cleaning
fluid and scrape again,