1973 CHEVROLET CAMARO manual transmission
[x] Cancel search: manual transmissionPage 21 of 84
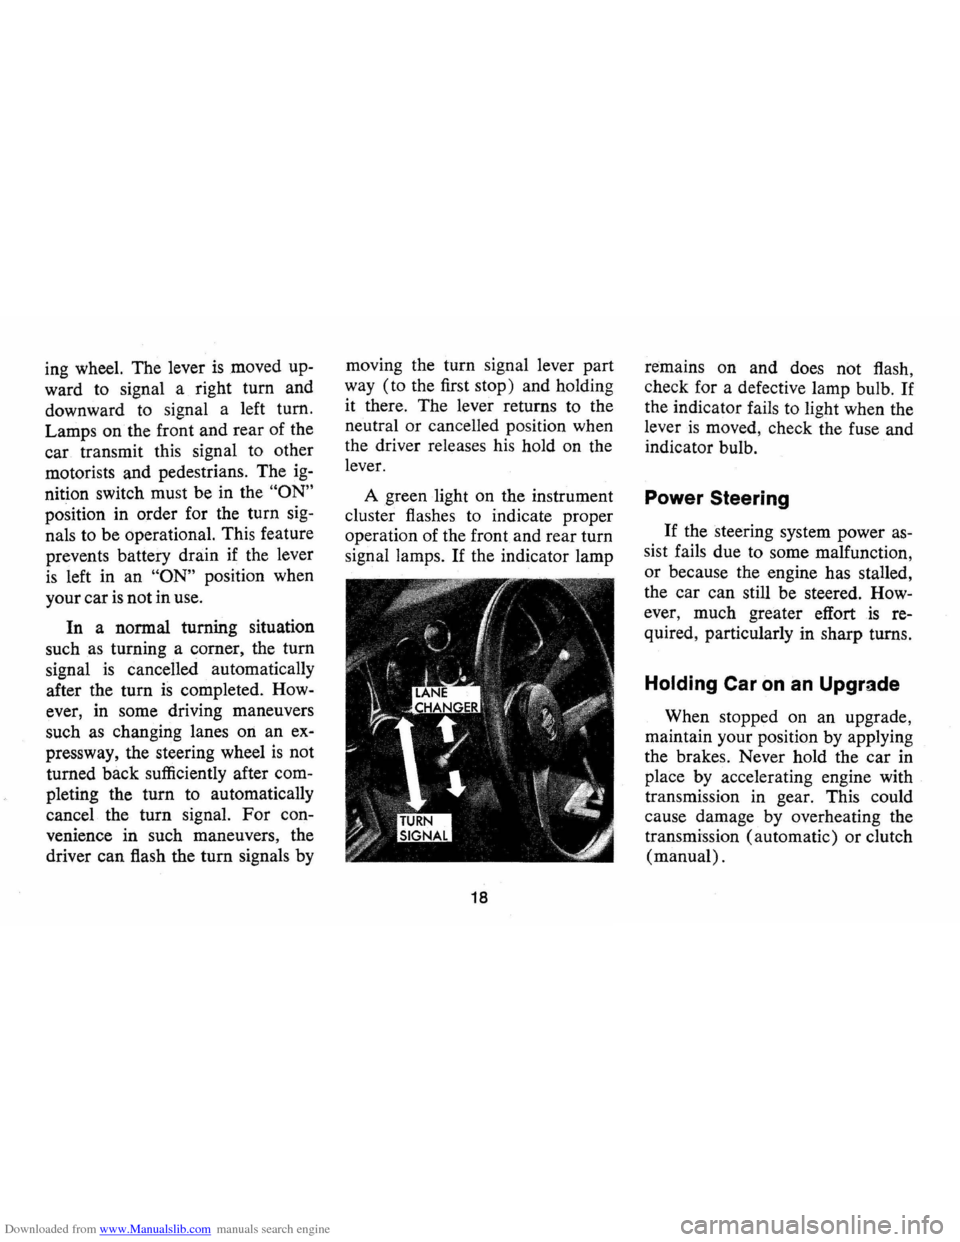
Downloaded from www.Manualslib.com manuals search engine ing wheel. The lever is moved up
ward to signal a right turn and
downward
to signal a left turn.
Lamps on the front and rear of the
car transmit this signal to other
motorists and pedestrians. The
ig
nition switch must be in the "ON"
position in order for the turn sig
nals to be operational. This feature
prevents battery drain
if the lever
is left in an "ON" position when
your car
is not in use.
In a normal turning situation
such
as turning a corner, the turn
signal
is cancelled automatically
after the turn
is completed. How
ever, in some driving maneuvers
such as changing lanes
on an ex
pressway, the steering wheel
is not
turned back sufficiently after com
pleting the turn to automatically
cancel the turn signal. For con
venience in such maneuvers, the
driver can flash the
tum signals by moving
the turn signal lever part
way (to the first stop) and holding
it there. The lever returns to the
neutral
or cancelled position when
the driver releases his hold on the
lever.
A green light on the instrument
cluster flashes to indicate proper
operation of the front and rear turn
signal lamps.
If the indicator lamp
18
remains on and does not flash,
check for a defective lamp bulb.
If
the indicator fails to light when the
lever
is moved, check the fuse and
indicator bulb.
Power Steering
If the steering system power as
sist fails due to some malfunction,
or because the engine has stalled,
the car can still be steered.
How
ever, much greater effort is re
quired, particularly in sharp turns.
Holding Car on an Upgrade
When stopped on an upgrade,
maintain your position by applying
the brakes. Never hold the car in
place
by accelerating engine with
transmission in gear. This could
cause damage by overheating the
transmission (automatic) or clutch
(manual).
Page 22 of 84
Downloaded from www.Manualslib.com manuals search engine Parking Your Car
Always engage the parking brake
and place the automatic transmis
sion selector lever in
"Park" posi
tion when leaving your
car unat
tended. Also with automatic trans
missions, never park for prolonged
periods with engine idling and
transmission in gear, especially if
your car
is equipped with air con
ditioning. This practice
is detri
mental to the transmission, due to
overheating.
Horn
The horn on your Camaro is
actuated by firmly pressing on the
horn button in the center of the
steering wheel.
Tilt Steering Wheel
The optional tilt steering wheel
can be tilted up above normal posi
tion to provide additional room for
entrance and exit as well as selected
driving positions below normal
height. This permits individual
se
lection of the most natural position
for all driving conditions.
On long
trips the steering wheel position can
be changed to minimize tension and
fatigue.
The
tilt mechanism is operated
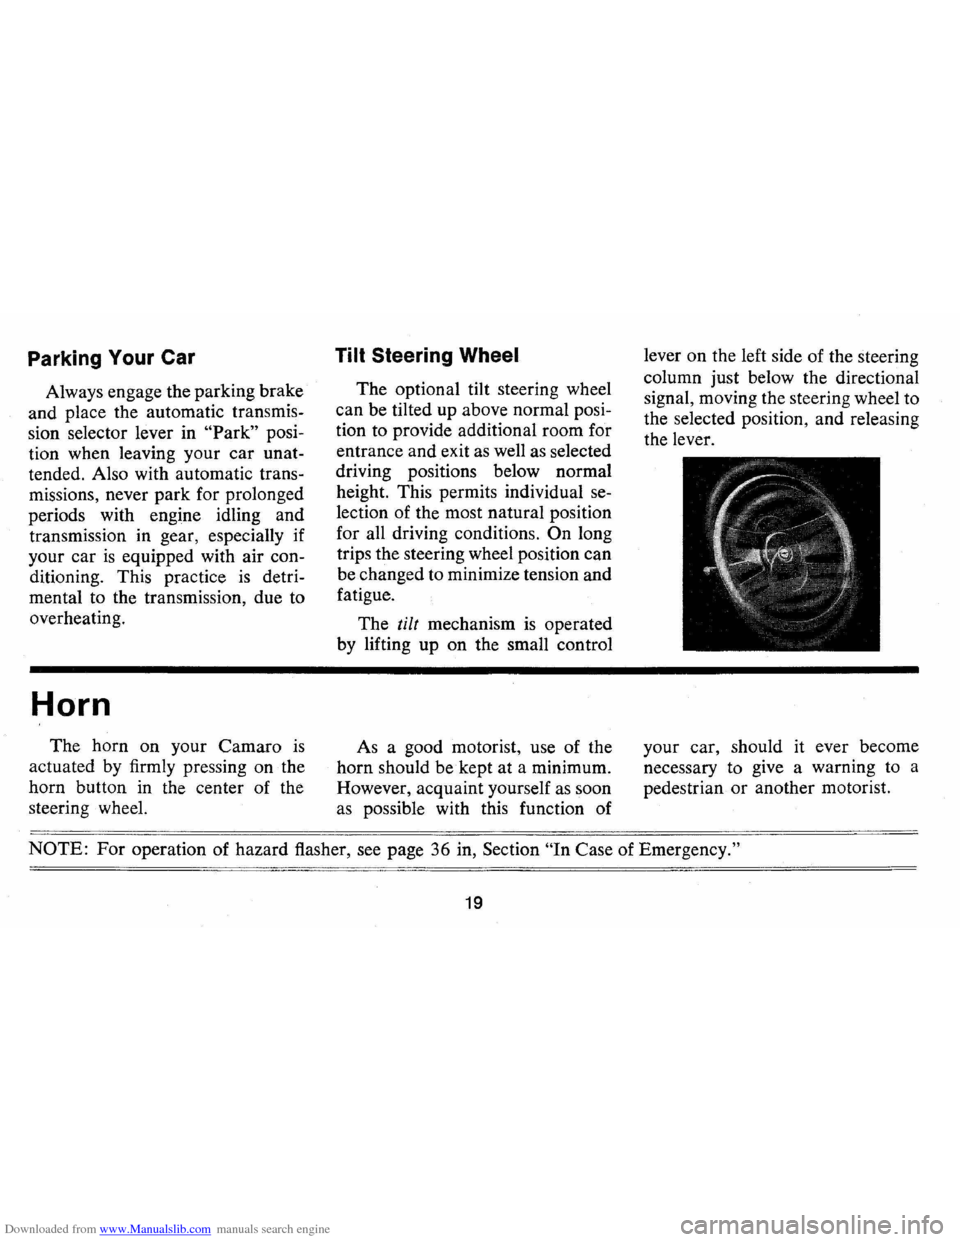
by lifting up on the small control
As a good motorist, use of the
horn should be kept at a minimum.
However, acquaint yourself as soon
as possible with this function of lever
on the left side of the steering
column just below the directional
signal, moving the steering wheel to
the selected position, and releasing
the lever.
your car, should it ever become
necessary to give a warning to a
pedestrian or another motorist.
NOTE: For operation of hazard flasher, see page 36 in, Section "In Case of Emergency."
19
Page 39 of 84
Downloaded from www.Manualslib.com manuals search engine .1 n Case of Emergency
Four Way Hazard
Warning Flasher
• Use the warning flasher to warn
other drivers any time your
ve·
hicle becomes a traffic hazard,
day or night.
• Avoid stopping on the roadway
if possible.
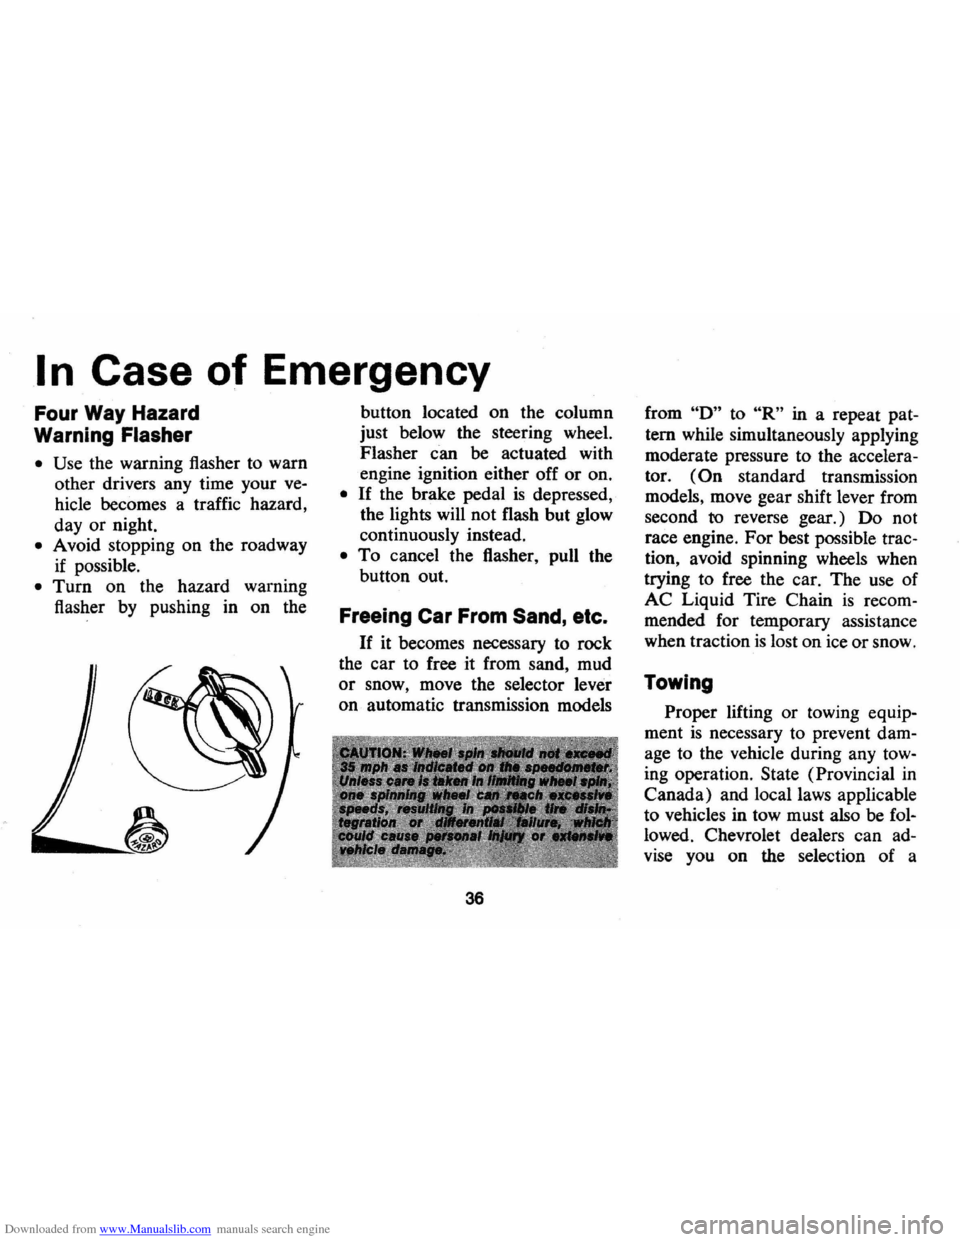
• Turn on the hazard warning
flasher
by pushing in on the
.---~
button located on the column
just below the steering wheel.
Flasher can be actuated with
engine ignition either off or on.
• If the brake pedal is depressed,
the lights will not flash but glow
continuously instead.
• To cancel the flasher, pull the
button out.
Freeing Car From Sand, etc.
If it becomes necessary to rock
the car to free it from sand, mud
or snow, move the selector lever
on automatic transmission models
36
from "0" to "R" in a repeat pat·
tern while simultaneously applying
moderate pressure to the
accelera
tor. (On standard transmission
models, move gear shift lever from
second
to reverse gear.) 00 not
race engine.
For best possible trac
tion, avoid spinning wheels when
trying to free the car. The use of
AC Liquid Tire Chain is recom
mended for temporary assistance
when traction
is lost on ice or snow.
Towing
Proper lifting or towing equip
ment is necessary to prevent dam
age to the vehicle during any tow
ing operation. State (Provincial in
Canada) and local laws applicable
to vehicles in tow must also be
fol
lowed . Chevrolet dealers can ad
vise you on the selection of a
Page 40 of 84
Downloaded from www.Manualslib.com manuals search engine knowledgeable towing concern.
Your Camaro may be towed on
all four wheels, at speeds of
less
than 35 mph, for distances up to
50 miles, provided driveline, axle
and transmission are otherwise
normally operable. For such tow
ing, parking brake must be re
leased, transmission must be in
neutral
and ignition lock turned to
OFF position. Attachments must
be to main structural members of
the car, not to bumpers or brac
keting. Separate safety chains
or
cables should be used. Remember
that power brake and steering
as
sists will not be available when
engine
is inoperative.
Emergency Starting
• Never tow the car to start be
cause the surge forward when
the engine starts could cause a
collision with the tow vehicle.
• Engines in vehicles with auto
matic transmissions cannot be
started by (towing
or) pushing
the car.
• To start the car when the Ener
gizer (battery)
is discharged,
use a single auxiliary battery or
Energizer of the same nominal
voltage
(12 volts) as the dis
charged battery, with suitable
jumper cables.
• Make connections as set forth
below under
"Jump Starting
with Auxiliary (Booster) Bat
tery" to lessen the chance of
personal injury
or property
damage.
Jump Starting with
Auxiliary (Booster) Battery
Both booster and discharged
battery should be treated carefully
when using jumper cables. Follow
37
exactly the procedure outlined be
low, being careful not to cause
sparks:
1. Set parking brake and place
automatic transmission in
"PARK" (neutral for manual
transmission). Turn
off lights,
heater and other electrical loads.
2. Remove vent caps from both
the booster and the discharged
batteries. Lay a cloth over the
open vent wells of each battery.
These two actions help reduce
the explosion hazard always
Page 42 of 84
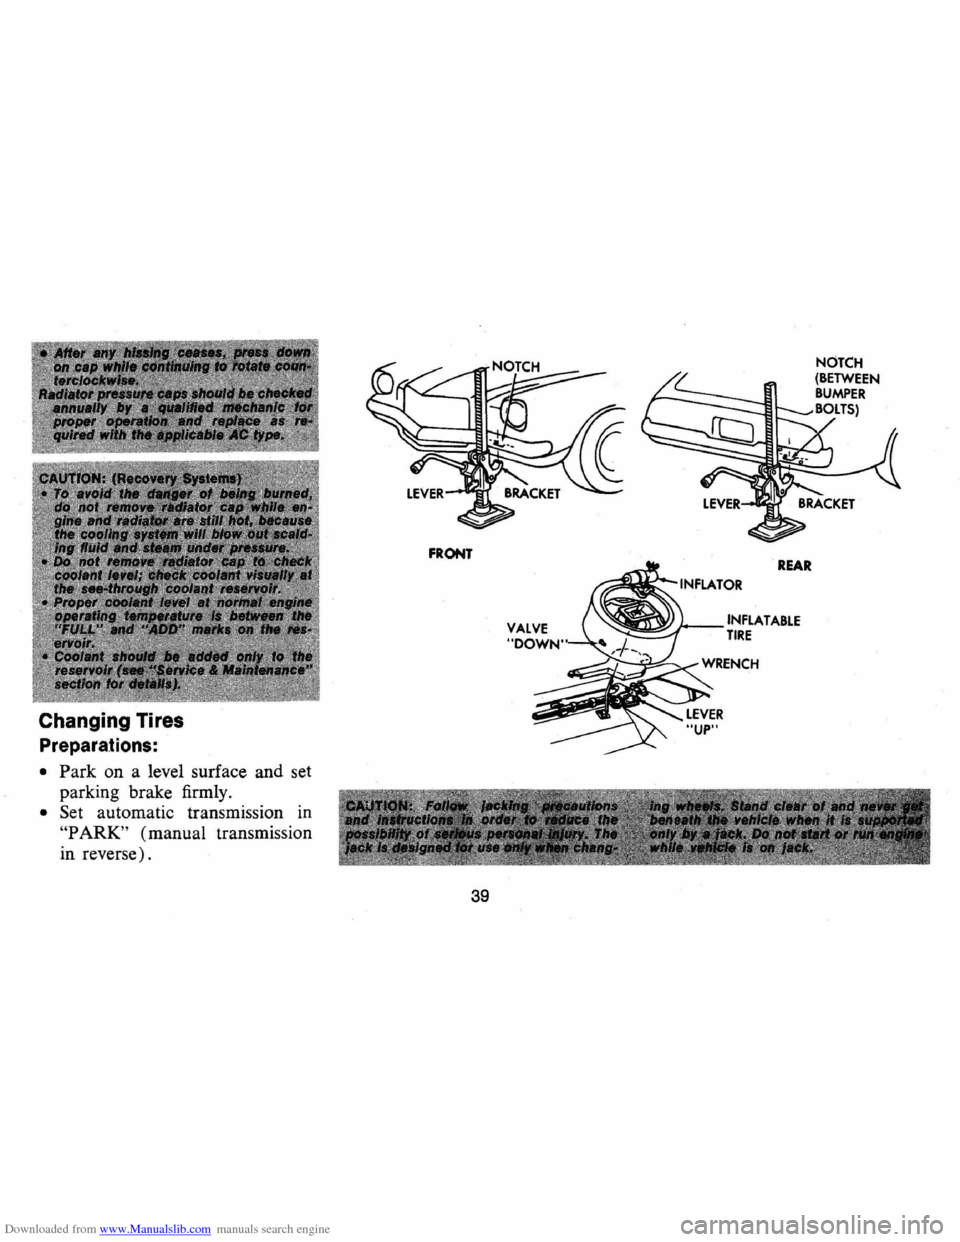
Downloaded from www.Manualslib.com manuals search engine Changing Tires
Preparations:
• Park on a level surface and set
parking brake firmly.
• Set automatic transmission in
"P ARK" (manual transmission
in reverse).
FRONT
39
REAR
INFLATABLE TIRE
Page 52 of 84
Downloaded from www.Manualslib.com manuals search engine Positraction -Drain and refill
after the first
12,000 miles then
maintain same
as standard axle but
use only the special positraction
lubricant available from your
Chevrolet Dealer.
Manual Transmissions
3-Speed and 4-Speed -Every
6,000 miles or 4 months-Check
at operating temperature and
fill
as necessary to level of filler plug
hole with
SAE 80 or SAE 90 GL-
5 Gear Lubricant.
(For vehicles
normally operated in Canada use
SAE 80 GL-5 Gear Lubricant.)
If temperatures of below 3Z°F.
are expected, use SAE 80 GL-5
Gear Lubricant only.
Clutch Cross-Shaft -Every
36,000 miles or sooner if neces
sary -Remove the plug, install a
lubrication fitting and lubricate
with water resistant
EP Chassis
Lubricant which meets GM
Speci
fication 6031 M.
Automatic Transmission
Fluid Recommendations
Use only automatic transmis
sion fluids identified with the
mark
DEXRON. These fluids have
been specially formulated and
tested for
use in your automatic
transmission, and are available
from your Chevrolet dealer or lo
cal service station.
Check the fluid level at each
engine oil change period. To make
an accurate fluid level check:
Check the fluid level at each en
gine oil change period.
To make an
accurate fluid level check:
1. Drive car several miles, making
frequent starts and stops, to
bring transmission up to normal
operating temperature (approxi
mately
180-190° F.).
2. Park car on a level surface.
3.
Place selector level in "Park"
and leave engine running.
49
4. Remove dipstick and wipe clean.
5. Reinsert dipstick until cap seats.
6. Remove dipstick and note read
ing.
If fluid level is at or below the
ADD mark, add sufficient fluid to
raise the level to the
FULL mark.
One pint raises the level from ADD
to FULL.
Do not overfill.
Under normal driving condi
tions, the transmission fluid should
be changed every
24,000 miles. If
your car is driven extensively in
heavy city traffic during hot weather,
or
is used to pull a trailer, change
fluid every
12,000 miles. Likewise,
operators of cars in commercial use
(such as taxicab, limousine
or pa
trol car service) where the engine
idles for long periods, should
change fluid every
12,000 miles.
Changing Fluid-For Turbo Hy
dra-Matic
350, remove fluid from
Page 53 of 84
Downloaded from www.Manualslib.com manuals search engine the transmission sump and add ap
proximately 2.5 quarts U.S. Mea
sure
(2.0 quarts Imperial Mea
sure). Operate transmission
through all shift ranges and re
check fluid level as described
above.
Turbo Hydra-Matic 400-Lubri
cation of your Turbo Hydra-matic
400 will, except for fluid capacity
and filter change listed below, fol
low previously stated automatic
transmission recommendations.
After checking transmission fluid
level it
is important that the dip
stick be pushed all the way into
the filler tube.
Every 24,000 miles -After re
moving fluid from the transmission
sump, approximately
71h. pints
U.S. measure (6 pints Imperial
measure) of fresh fluid will be re
quired to return level to proper mark
on the dipstick.
Every 24,000 miles the transmis
sion sump filter should be re
placed.
Transmission Shift and Back
drive Linkage (Manual and
Automatic) -
Every 6,000 miles
or 4 months lubricate shift link
age and on manual transmission
floor controls lever contacting
faces with water
resistantEP chas
sis lubricant which meets GM
Specification 6031M.
Transmission Shift Linkage
(Manual and Automatic)
Every 6,000 miles or 4 months
lubricate shift linkage and on man
ual transmission floor controls
lever contacting faces with water
resistant
EP chassis lubricant
which meets
GM Specification
6031M.
50
Chassis
Front Suspension
Every 6,000 miles or 4 months
-Lubricate 4 fittings · with water
resistant
EP Chassis Lubricant
which meets
GM Specification
6031M.
Ball joints should not be lu
bricated unless their tempera
ture
is 10°F. or higher. During
colder weather, they should be
allowed to warm up as neces
sary before lubrication.
Steering Linkage
Every 6,000 miles or 4 months
-Lubricate 7 fittings, one at each
end of each tie rod, one at each
end of relay rod, and one
at idler
lever with water resistant
EP Chas
sis Lubricant which meets
GM
Specification 6031 M.
Page 55 of 84
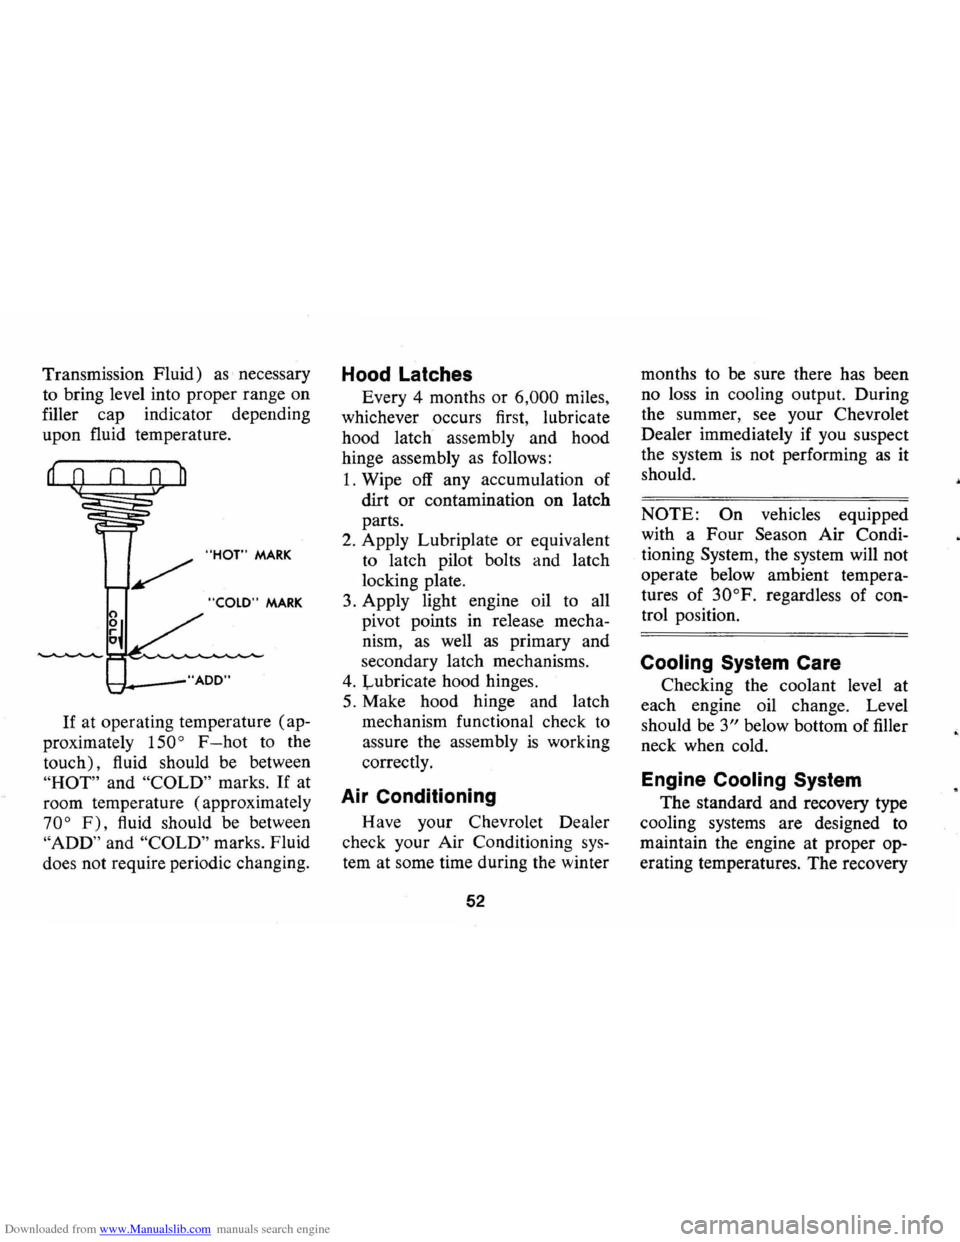
Downloaded from www.Manualslib.com manuals search engine Transmission Fluid) as necessary
to bring level into proper range on
filler cap indicator depending
upon fluid temperature .
"HOT" MARK
"COLD" MARK
t-"f. __ -"AOO"
If at operating temperature (ap
proximately
150 ° F-hot to the
touch), fluid should be between
"HOT" and "COLD" marks. If at
room temperature (approximately
70° F), fluid should be between
"ADD" and "COLD" marks . Fluid
does not require periodic changing.
Hood Latches
Every 4 months or 6,000 miles,
whichever occurs first, lubricate
hood latch assembly and hood
hinge assembly
as follows:
1. Wipe off any accumulation of
dirt
or contamination on latch
parts.
2. Apply Lubriplate or equivalent
to latch pilot bolts and latch
locking plate.
3. Apply light engine oil to all
pivot points in release mecha
nism,
as well as primary and
secondary latch mechanisms.
4. Lubricate hood hinges.
5. Make hood hinge and latch
mechanism functional check to
assure the assembly
is working
correctly.
Air Conditioning
Have your Chevrolet Dealer
check your Air Conditioning
sys
tem at some time during the winter
52
months to be sure there has been
no loss
in cooling output. During
the summer,
see your Chevrolet
Dealer immediately if you suspect
the system
is not performing as it
should.
NOTE: On vehicles equipped
with a Four
Season Air Condi
tioning
System, the system will not
operate below ambient tempera
tures of
30°F. regardless of con
trol position.
Cooling System Care
Checking the coolant level at
each engine oil change. Level
should be
3" below bottom of filler
neck when cold.
Engine Cooling System
The standard and recovery type
cooling systems are designed
to
maintain the engine at proper op
erating temperatures. The recovery
•