1964 CHEVROLET CORVETTE check engine
[x] Cancel search: check enginePage 5 of 52
The First
1000 Miles
During your first thousand miles of driving, you can, by
observing a few simple precautions. contribute greatly to a
longer life for your Corvette
and add much to its future per
formance and economy of operation.
It
is recommended that your speed during these first one thousand miles be confined to a maximum of 60 mph. However, do not drive for extended periods at anyone constant
speed, either fast or slow. During this period, avoid full throttle starts and quick, abrupt stops. The first few hundred miles of driving are especially important to proper brake
operation. Gentle braking during this period will allow proper conditioning of the brake
linings and result in longer brake life and better brake performance.
It
is always best to drive at a reasonable speed until the engine has warmed up. Be particularly careful to maintain the proper oil level in the engine. Check the oil level
fre quently and, if it becomes necessary to add oil, follow closely the recommendations as to
quality and viscosity found in this booklet. Use of the proper engine oil is of great impor
tance to insure maximum performance and economy.
Page 31 of 52
Fuel System Requirements The high performance V-8 engine in your Corvette is designed to operate efficiently on premium type gasolines. See page 43 for
octane requirements. Use of regular grade gasolines in higher
performance engines may result in potentially dangerous engine
detonation.
FUEL
FILLER
CAP In some areas, grades of gasolines may be encountered which result
in severe detonation. Should this occur consult an authorized Chevro
let
Dealer so that adjustments can be made to eliminate this detona
tion or reduce it to a safe level.
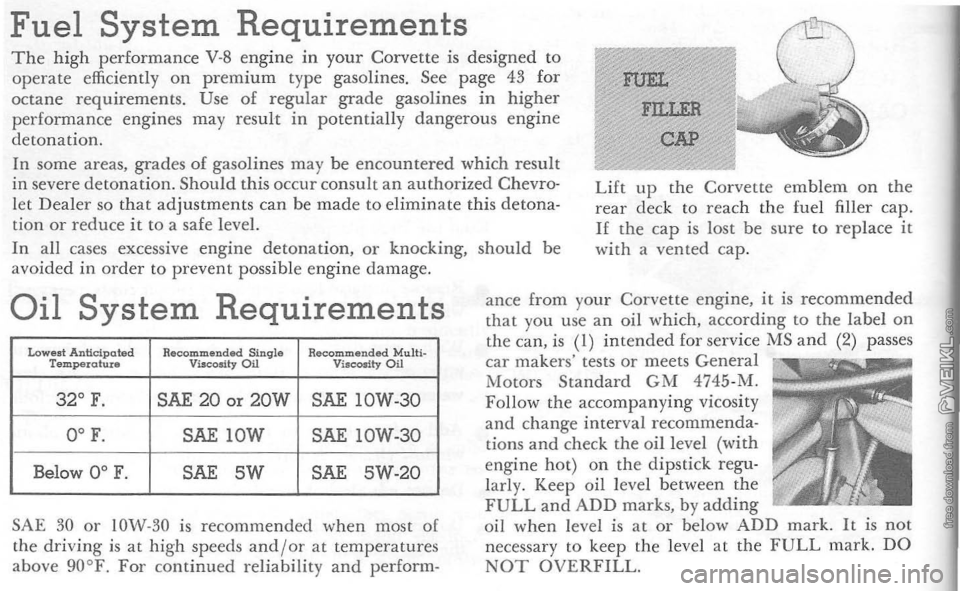
Lift tip the Corvette emblem on the rear deck to reach the fuel filler cap. II the cap is lost be sure to replace it with a vented cap.
In
all cases excessive engine detonation, or knocking, should be
avoided in order to prevent possible eng ine damage .
Oil System Requirements
Lowest Anticipated Recommended Singhl Recommended Multi-Tempefohue Viscosity Oil ViltIcosltyOil
32 0
F. SAE 20 or 20W SAE 10W-30
0 0
F. SAE lOW SAE IOW-30
Below 00
F. SAE 5W SAE 5W-20
SAE
30 or IOW-30 is recommended when most o[
the driving is at high speeds and/or at temperatures
above gO°F . For continued reliability and perform- ance
from your Corvette
engine, it
is recommended
that you use an oil whic h, according to the label on the can, is (I) intended for service MS and (2) passes car makers' tests or meets General
Motors Standard GM 4745 -M.
Follow the accompanying vicosity
and change interval recommenda
tions
and check the oil leve l (with
engine hot) on the dipstick regu
larly. Keep oil level between the
FULL and ADD marks, by adding oil when level is at or below ADD mark. It is not
necessary to keep the level at the FULL mark. DO NOT OVERFILL.
Page 33 of 52

Check the front of the radiator core occasionally for
insects and leaves. Flush them out from the back
sid e of the radiator using a water hose and city water
pressure.
RADIATOR CAP
The Corvette cooling system is equipped with a 13 lb. pressure cap. To remove the cap, carefully turn ~ turn to allow exces s system pressure to escape, then turn the cap all the way off. If the engine is
ov erh eated, wait for several minutes before removing
the
radiator cap.
Tire
Care
To enjoy maximum service from your tires, keep
them inflated to the pressures recommended on
page
46.
Regular Corvette tires should not be used for ex
treme vehicle operation. Special purpose tires are
available,
if needed, from major tire manufacturers. DRAINING
AND FILLING
THE COOLING SYSTEM
I. Open the drain cock at the bottom of the
radiator.
2. Remove the drain plug located on each side of the engine block just above the oil pan and be· hind the spark plug wire shields. 3. Replace the engine drain plugs and close the
radiator drain cock before refilling the radiator.
4.
To refill , add coolant until supply tank remains
one -half full. Then start engine and add coolant as necessary to maintain normal one-half- full level in supply tank. Recheck when cool and fill to
normal level.
Rotate tires
as shown every
6000 miles to distribute wear
. over all five tires. This will help you to obtain maxi
mum service from your tires.
Page 36 of 52
Recommended Schedule for Periodic
Maintenance
and Lubrication
The time or mileage intervals on the following pages
are intended as a guide for establishing regular main
tenance and lubrication periods for your Corvette .
Sustained heavy
duty or high speed operations or operation under adverse conditions may necessitate
more frequent servicing. To determine specific recommendations for conditions under which you use
your car, consult your Authorized Chevrolet Dealer.
BATTERY
Check the fluid level in each cell of the battery regularly and keep filled with distilled water to the bottom of the split ring in the vent tube of each
cell. DO NOT OVERFILL.
Clean and oil the battery terminals and oil the felt
washer at each regular engine oil change.
Check the state
of charge regularly, especially in
freezing weather when an undercharged battery may
freeze and break.
ENGINE OIL
Engine oil should be changed at 60
day or 6,000 mile intervals. whichever occurs first. U ndef prolonged
dusty driving conditions it may be necessary to
change the engine oil more often.
CRANKCASE VENTILATION
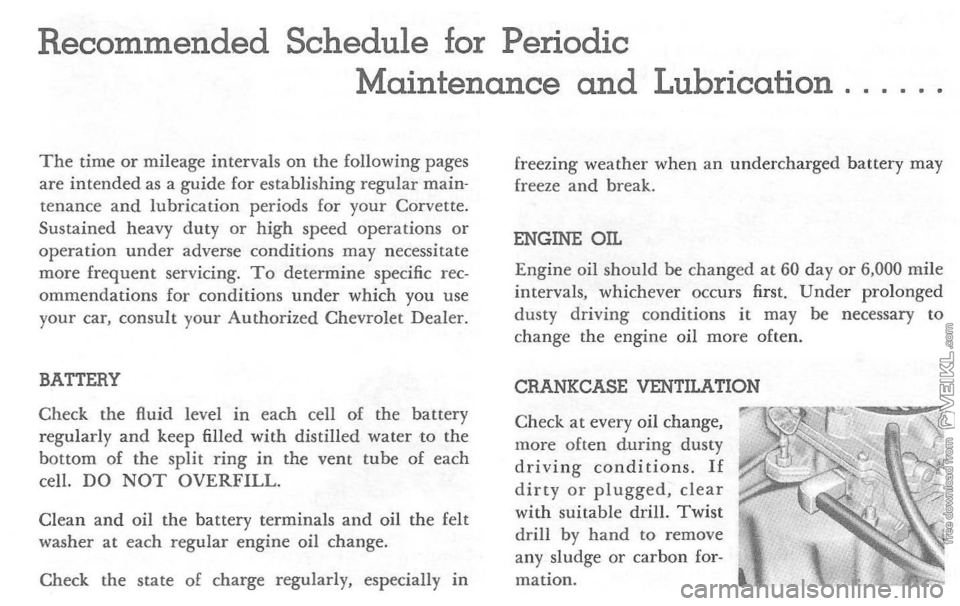
Check
at every oil change,
more often during dusty driving conditions. If dirty or plugged, clear with suitable drill. Twist drill by hand to remove
any sludge or carbon for
mation.
Page 37 of 52
FAN BELT
Every 6,000 miles inspect fan belt for wear, fraying,
cracking and tension. Belt should be retightened
only when
it deflects more than Y2" with modera te thumb pressure applied midway between pulleys.
AIR CLEANER
Ev ery
12,000 miles (more often under dusty o r other
adverse driving conditions) rem ove the polyurethan e
eleme nt from its support screen and clean in suit able
solvent such as Kerosene . Squeeze out all solvent,
then soak i n engine oil and squ eeze out. Remove
excess oil
by then squeezing the element in a clean dry cloth.
OIL FILTER
The oil filter should be changed at 6,000 miles or 6 month intervals, whi ch ever occurs first. During pro
l onged dusty driving conditions the filter should be
cha nged more often.
DISTRIBUTOR
Change cam lubricator end for end at 12,000 mile intervals-Replace at 24,00 0 mile intervals.
FUEL FILTER
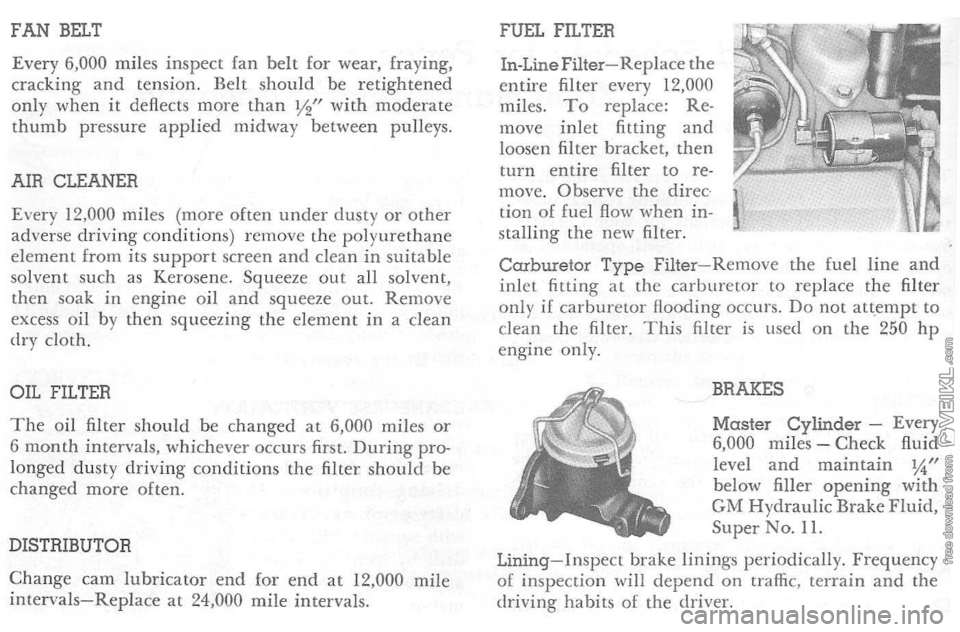
In-Line Filter-Replace
the entire filter every 12,000
miles. To replace: Re
move inlet fitting and
loosen filter bracket, then
turn entire filter
to re
move. 0 hserve the direc
tion of fuel flow when in
stalling the new filter.
Carburetor Type Filter - R emove the fuel line and inlet fitting at the carburetor to replace the filter
only if car bur etor Hooding occurs. Do nor att,cmpt to clean the filter. This filter is used on the 250 hp engine only.
BRAKES
Master Cylinder -Every
6,000 miles - Check fluid
le vel and maintain IA" below filler opening with GM Hydraulic Brake Fluid, Super No. 11.
Lining-Inspe ct brake linings periodi cally. Frequency o[ inspection ,viII depend on traffic, terrain and the
driving habits of the driver.
Page 39 of 52
38
TRANSMISSION
3-Speed and 4-Speed-Every 6,000 miles-Check at operating temperature and fill as nec essary to level
of filler plug hole with lubricant specified in Note 2, page 39.
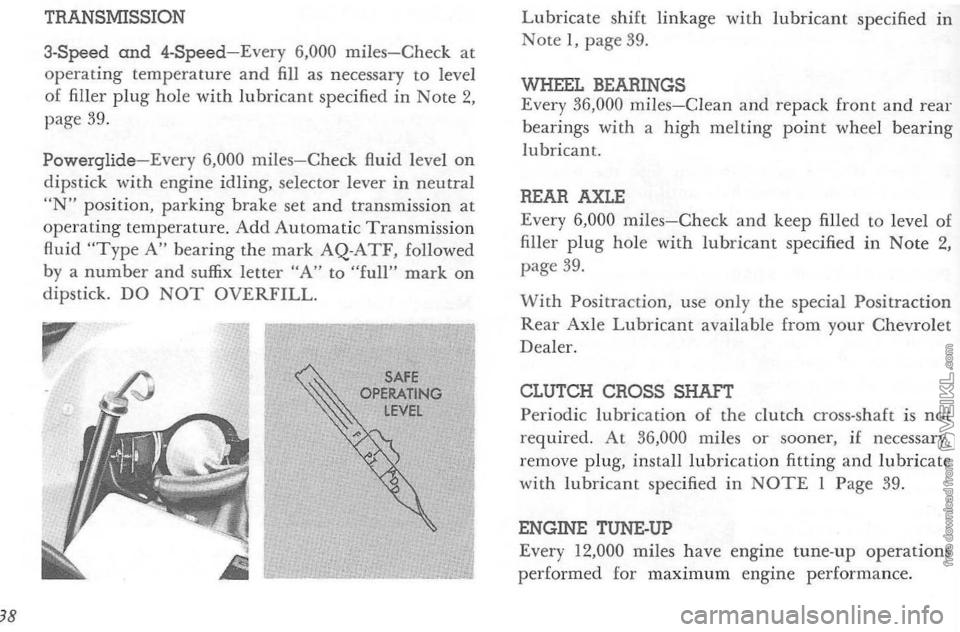
Powerglide-Every 6,000 miles-Check fluid level on dipstick with engine idling, selector lever in neutral
"N" position, parking brake set and transmission at
operat ing temp erature. Add Automa tic Transm ission
fluid
"Type A" bearing the mark AQ-ATF, followed
by a number and suffix letter "A" to "full" mark on dipstick. DO NOT OVERFILL.
Lubricate shift linkage with lubricant specifie d in Note I , page 39.
WHEEL BEARINGS
Every 36,000
miles-Clean and repack front and rear bearings with a high melting point wheel bearing lubricant.
REAR
AXLE Eve ry 6,000 miles-Check and keep filled to level of
filler plug hole with lubricant specified in Note 2, page 39.
With Positrac-tion, use only the special Positrac tion
Rear Axle Lubrica nt available from your Chevrolet
Dea ler.
CLUTCH CROSS
SHAFT Periodic lubricatio n of the clutdl cross-shaft i s not required. At 36,000 miles or sooner, if necessary,
remove plug, install lubrication fitting and lubricate
with lubricant specified in NOTE I Page 39.
ENGINE TUNE-UP
Every 12,000 miles
have engine tune-up operations performed for maximum engine performance.
Page 40 of 52
HEADLAMP REPLACEMENT
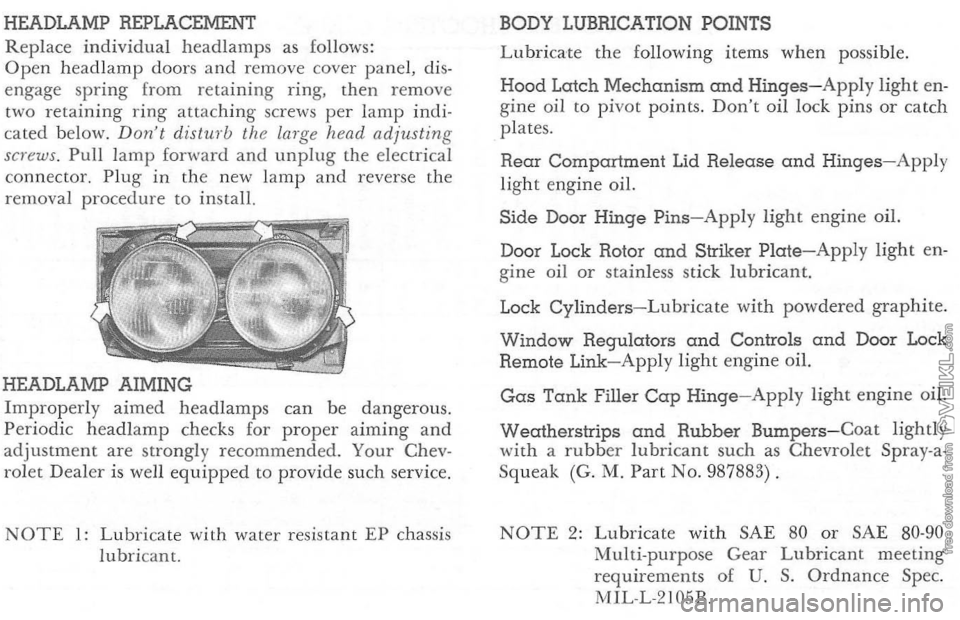
Replace individual head lamp s as follows:
Open head lamp doors and remove cover panel, dis
e n gage spring from retaining ring, then remove
two retai
ning ring attaching screws per lamp indi
cate d b elow. Don·t dist",·b the larg e head adjusting
screws . Pull lamp fanltard and unplug the electri cal
connector. Plug in the new l amp and reverse the
removal procedure to install.
HEADLAMP AIMING
Improperly aimed headlamps can be dangerous.
Periodic headlam p checks for proper aiming and adjustm en t are strongly recommend ed. Your Chev
rol et Dea l er is well equipped to provide such service.
NOTE 1: Lubricate with water resi stant EP chassis
lubri cant. BODY
LUBRICATION POINTS
L ubric ate the following items when possible.
Hood Latch Mechanism and Hinges-Apply light en
gine oil to pivot points. Don't oil lock pins or catch
plates.
Rear Compartment Lid Release and Hinges-Apply
light engine oil.
Side Door Hinge Pins-Apply light engine oil.
Door Lock Rotor
and Striker Plate-Apply light en
g ine oil or stai nles s stick lubric ant.
Lock
Cylinders-Lubricate wit h powdered graphite.
Window Regulators and Controls and Door Lock
Remote Link-Apply light engine oil.
Gas Tank Filler Cap Hinge-Apply light engine oil.
Wecdherstrips and Rubber Bumpers-Coat lightly
wit h a rubber lubricant such as Chevrolet Spray-a
Squeak (G. M. Part No. 987883) .
NOTE 2: Lubricate with SAE 80 or SAE 80-90 Multi-purp ose Gear Lubricant meeting
requirements of U. S. Ordnance Spec.
M1L-L-2105B.
Page 42 of 52
MINOR TROUBLE SHOOTING PROCEDURES
T h e chart on the p reviou s page, and the information on the pages which follow, contains information designed to
aid th e average drive r to d iscove r, and possibly correc t,
conditions resu ltin g i n m inor m echanica l difficulties i n his
c ar. The chart, des igned to point out poss ible solutions to
s evera l of the most cQ,mmon autom otive malfunctions and point out a log ica l checkin g seq uence, will lead step by step to the most lik el y causes and corrective proc edures.
H, afte r makin g the checks and adjustments suggeste d, the source of the trouble has not been found and corrected, it is stro ngly recommended that an Authorized Chevrolet Dealer inspect the vehicl e and make whatever r e pairs or adjust me nts are necessary.
FUEL SYSTEM AND ENGINE If the ignition switch will cause the e n gin e to "turn over" or "crank" but the car will not sta rt, check Steps A through D below.
a
TE: ,l Continuol "flooding" of the carburetor is ev;de by 0 carburefor wet with fuel o r blade exhaust smoke
perform the operation suggested in paragraph D only
(A) T h e first and most obv ious , and one of the most frequently overlooked, items to check when you have difficulty in starting your car is the amount of fuel in the
tank. Make it a habit to chec k the FUEL GAUGE reg - ularly
a n d m ost especia lly
at a time when the engine _ "turn over" but will not start. (B) If th e fue l tank is not empty, you may check fur.=c to see whether the fuel is reachin g the carburetor. Disc:o&r neet the fuel line at the carb uretor. Place a jar or c:r
under the open line and brieRy "crank" the ~~e ... mean s of the st arter. ]( fuel spurts from the fiuiog.
may assume that the FUEL LINES are clear and the FeIl.. PUMP is operating properly. If n o fuel leaves the :me. either the fuel lines, fuel pump or the in-lin e filter art' 1-fault. See your Authorized Chevrolet Dealer. (C) Befor e recolln ecting the fu el line to me carbu..~ r emove the FUEL FILTER from the carburetor inlet ux! check its co ndition. !{ it appears to be clean , replace i~ a=. reconnec t the fue l line. If the filter appears to be p1!:s--;rt!
clean it as we ll as possible by scraping out the foreigt!~. rial and cleaning in a solvent. Then reinst all the filter ~== a new one as soon as possible.
(D) If the fuel seems to be reaching the carburetor prop
erly , th e problem may be: a n EMPTY CA.RBL""RET O::" BO'VL caused by a "stuck shut" carburetor; a ROODE:> CARBURETOR caused by a "stuck open" condition 2r.C. ev idenced by gasoline flowing down the outside 0: :.2 carburetor ; or a stuck CHOKE valve. Remove the U:cleaner from the carburetor. Check that the choke ~~ moves free ly and is not stuck . (Don't mistake no~ sp~~ tens ion for a stuck valve.) Tap the side of the carb~..lX sharply seve ral times with a light tool such as a sc::::-ewdriver handle or plie rs. R e p lace the air cleaner and a~?,to start the engin e in the normal manner.