2024 FORD F650/750 automatic transmission
[x] Cancel search: automatic transmissionPage 135 of 386
To return to normal drive (D) position,move the shift lever back from manual (M)to drive (D).
The transmission operates in gears onethrough six.
Second (2)
The transmission operates in second (2)gear only. Use second (2) gear to just starton slippery roads.
First (1)
•The transmission operates in first (1)gear only.
•Provides maximum engine braking.
•Allows upshifts by moving gearshiftlever.
•Does not downshift into first (1) gearat high speeds; allows for first (1) gearwhen vehicle reaches slower speeds.
Forced downshifts
•Allowed in drive (D) with the tow/haulfeature on or off.
•Press the accelerator to the floor.
•Allows transmission to select anappropriate gear.
Tow/Haul Mode
To activate tow/haul, press thebutton on the gearshift leveronce. The TOW HAUL indicatorilluminates in the instrument cluster.
The tow/haul feature:
•Delays upshifts to reduce the frequencyof transmission shifting.
•Provides engine braking in all forwardgears, which slows your vehicle andassists you in controlling your vehiclewhen descending a grade.
•Depending on driving and loadconditions, could downshift thetransmission to slow your vehicle andhelp control your vehicle speed whendescending a hill, without pressing theaccelerator pedal. Tapping the brakepedal downshifts the transmission toprovide additional braking, only if thedownshift does not cause an engineoverspeed condition.
The tow/haul feature improvestransmission operation when towing atrailer or a heavy load. All transmissiongear ranges are available when usingtow/haul.
Note:Under certain conditions, theautomatic tow/haul feature engages, andthe TOW HAUL indicator illuminateswithout pressing the tow/haul button.
To deactivate the tow/haul feature andreturn to normal driving mode, press thebutton on the gearshift lever twice. TheTOW HAUL indicator turns off. Tow/haulalso deactivates when you power downyour vehicle.
WARNING: Do not use tow/haulwhen the road surface is slippery. Failureto follow this instruction could result inthe loss of control of your vehicle.
WARNING: Do not use dieselengine exhaust braking when the roadsurface is slippery. Failure to follow thisinstruction could result in the loss ofcontrol of your vehicle.
131
2024 F-650/750 (TBC) , enUSA, Edition date: 202210, First-PrintingTransmissionE161509
Page 136 of 386
Understanding Your SelectShift™Automatic Transmission
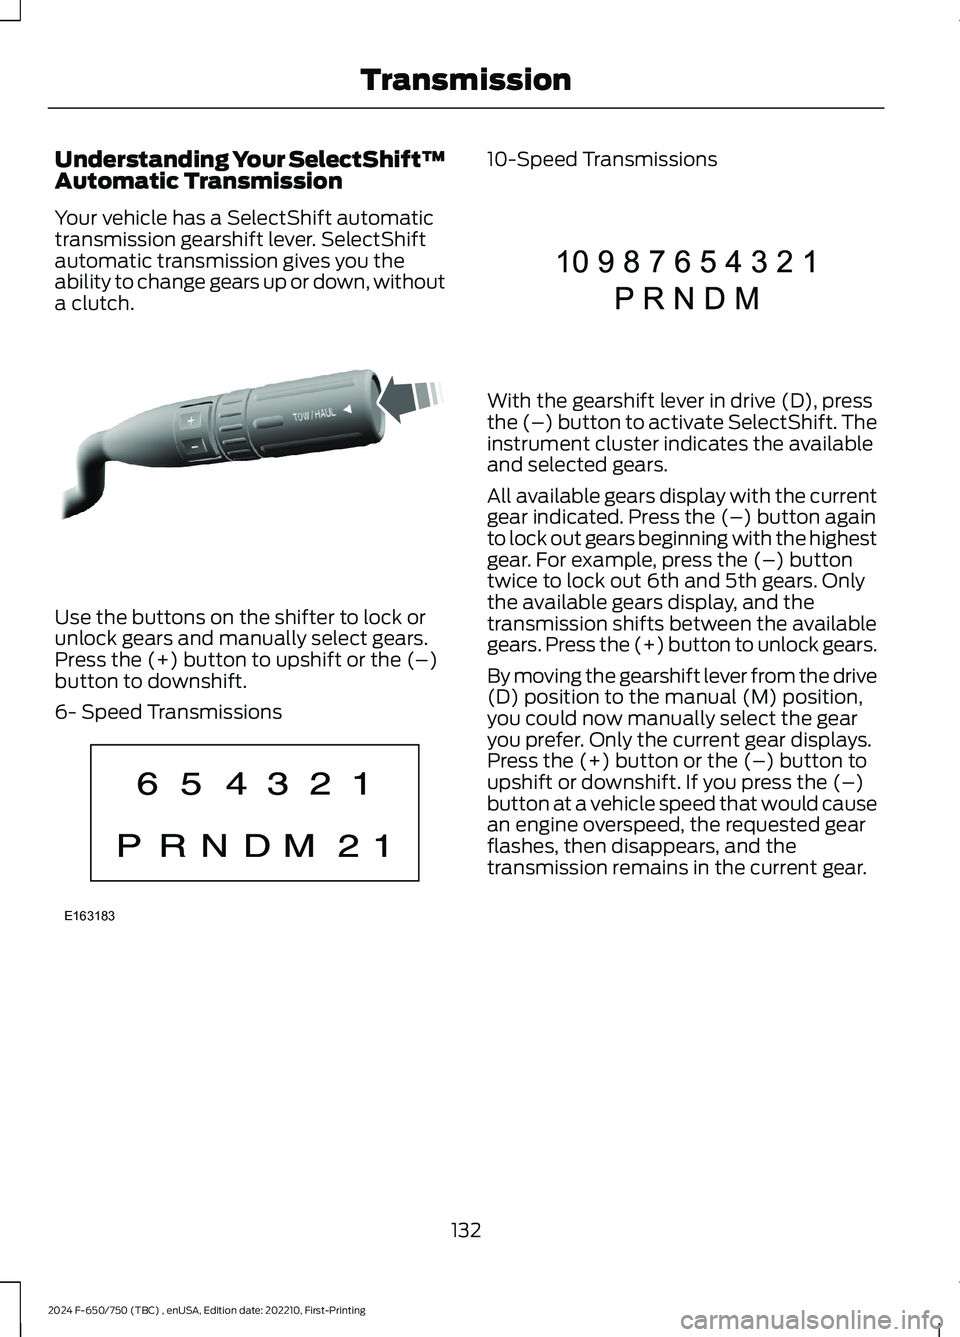
Your vehicle has a SelectShift automatictransmission gearshift lever. SelectShiftautomatic transmission gives you theability to change gears up or down, withouta clutch.
Use the buttons on the shifter to lock orunlock gears and manually select gears.Press the (+) button to upshift or the (–)button to downshift.
6- Speed Transmissions
10-Speed Transmissions
With the gearshift lever in drive (D), pressthe (–) button to activate SelectShift. Theinstrument cluster indicates the availableand selected gears.
All available gears display with the currentgear indicated. Press the (–) button againto lock out gears beginning with the highestgear. For example, press the (–) buttontwice to lock out 6th and 5th gears. Onlythe available gears display, and thetransmission shifts between the availablegears. Press the (+) button to unlock gears.
By moving the gearshift lever from the drive(D) position to the manual (M) position,you could now manually select the gearyou prefer. Only the current gear displays.Press the (+) button or the (–) button toupshift or downshift. If you press the (–)button at a vehicle speed that would causean engine overspeed, the requested gearflashes, then disappears, and thetransmission remains in the current gear.
132
2024 F-650/750 (TBC) , enUSA, Edition date: 202210, First-PrintingTransmissionE318028 E163183 E308145
Page 137 of 386
Recommended shift speeds
Upshifts when accelerating (recommended for best fuel economy) 6-Speed
Gasoline enginesShift from:
15 mph (24 km/h)1 – 2
25 mph (40 km/h)2 – 3
40 mph (64 km/h)3 – 4
45 mph (72 km/h)4 – 5
50 mph (80 km/h)5 – 6
Upshifts when Accelerating(Recommended for Best FuelEconomy) 10-Speed
Diesel enginesShift from:
10 mph (16 km/h)1 - 2
15 mph (24 km/h)2 - 3
19 mph (31 km/h)3 - 4
22 mph (35 km/h)4 - 5
25 mph (40 km/h)5 - 6
31 mph (50 km/h)6 - 7
36 mph (58 km/h)7 - 8
45 mph (72 km/h)8 - 9
49 mph (79 km/h)9 - 10
To prevent the engine from running at toolow an RPM, which could cause it to stall,SelectShift still makes some downshiftsif it has determined that you have notdownshifted in time. Although SelectShiftmakes some downshifts for you, it stillallows you to downshift at any time if theSelectShift determines that there is nodamage to the engine from over-revving.
SelectShift does not automatically upshift,even if the engine is approaching the RPMlimit. Shift manually by pressing the (+)button.
Note:Engine damage could occur if you revthe engine excessively and hold it withoutshifting.
Progressive Range Selection (If
Equipped)
Progressive range selection gives you theability to lockout gears from the automaticshifting range. This could provide you withan improved driving experience, forexample, in slippery conditions or whenexperiencing a steep slope.
With the gearshift lever in drive (D), pressthe (–) button to activate progressiverange selection. The instrument clusterindicates the available and selected gears.
All available gears display with the currentgear indicated. Press the (–) button againto lock out gears beginning with the highestgear. For example, press the (–) buttontwice to lock out 6th and 5th gears. Onlythe available gears display, and thetransmission shifts between the availablegears. Press the (+) button to unlock gearsto allow the transmission to shift to highergears. The transmission shifts within thegear range you select.
133
2024 F-650/750 (TBC) , enUSA, Edition date: 202210, First-PrintingTransmission
Page 138 of 386

Automatic Transmission AdaptiveLearning
This feature could increase durability andprovide consistent shift feel over the lifeof your vehicle. A new vehicle ortransmission may have firm shifts, softshifts, or both. This is normal and does notaffect the function or durability of thetransmission. Over time, the adaptivelearning process fully updates transmissionoperation.
Brake-Shift Interlock
WARNING: Do not drive yourvehicle until you verify that thestoplamps are working.
WARNING: When doing thisprocedure, you need to take thetransmission out of park (P) whichmeans your vehicle can roll freely. Toavoid unwanted vehicle movement,apply the parking brake prior to doingthis procedure. Use wheel chocks ifappropriate.
WARNING: If the parking brake isfully released, but the brake warninglamp remains illuminated, the brakesmay not be working properly. Have yourvehicle checked as soon as possible.
Your vehicle has a brake-shift interlockfeature that prevents the gearshift leverfrom moving from park (P) when youswitch the ignition on but have not pressedthe brake pedal.
If you cannot move the gearshift lever outof the park (P) position with the ignition inthe on position and the brake pedalpressed, a malfunction could haveoccurred. It is possible that a fuse hasblown, or your vehicle’s brake lamps arenot operating properly. See FuseSpecification Chart (page 202).
If you do not have a blown fuse and thebrake lamps are working properly, thefollowing procedure allows you to movethe gearshift lever from park (P):
1.Apply the parking brake. Switch theignition key to off, then remove the key.
2.Move the steering column to the fulldown and full rearward position,toward the driver seat.
3.Remove the gearshift lever boot.
4.Place your fingers into the hole whereyou removed the gearshift lever bootand pull the top half of the shroud upand forward to separate it from thelower half of the shroud. There is ahinge at the forward edge of the top ofthe shroud. Roll the top half of theshroud upward on the hinge point, thenpull straight rearward toward the driverseat to remove.
5.Remove the top half of the shroud.
6.Remove the three fasteners under thecolumn that secure the lower shroudhalf to the column.
7.Pull the lock lever into the full unlockedposition and remove the lower shroudcover by pulling the lever handlethrough the slot in the cover.
8.Apply the brake. Gently lift the overridedisk and move the gearshift lever intoneutral (N).
134
2024 F-650/750 (TBC) , enUSA, Edition date: 202210, First-PrintingTransmissionE163185
Page 143 of 386
GENERAL INFORMATION
Note: Occasional brake noise is normal. Ifa metal-to-metal, continuous grinding orcontinuous squeal sound is present, thebrake linings may be worn-out. Have thesystem checked as soon as possible. If thevehicle has continuous vibration or shudderin the steering wheel while braking, have thesystem checked as soon as possible.
All standard equipment brakes areself-adjusting. Automatic adjustment,when required, occurs whenever you applyand release the brakes during forward orreverse operation.
Know the required stopping distances forall driving conditions you may encounter.For longer brake lining life, take fulladvantage of engine braking power whencoming to a stop.
Wet brakes result in reduced brakingefficiency. Gently press the brake pedal afew times when driving from a car wash orstanding water to dry the brakes.
If the brakes do not grip well:
•Check brake adjustment.
•Check the brake linings for excessivewear.
•Check the system air pressure onvehicles with air brakes.
•Let the brakes cool if you have beenusing them excessively, as in mountaindriving or after several fast, high-speedstops.
•If you have been driving through deepwater, gently apply the brakes severaltimes while your vehicle is movingslowly.
Brake Over Accelerator
In the event the accelerator pedalbecomes stuck or entrapped, apply steadyand firm pressure to the brake pedal toslow the vehicle and reduce engine power.If you experience this condition, apply thebrakes and bring your vehicle to a safestop. Move the transmission to park (P),switch the engine off and apply the parkingbrake. Inspect the accelerator pedal forany interference. If none are found and thecondition persists, have your vehicle towedto the nearest authorized dealer
Anti-lock Brake System
This system helps you maintain steeringcontrol during emergency stops by keepingthe brakes from locking.
If the light does not illuminateduring start up, remains on orflashes, the system may bedisabled. It also momentarily illuminateswhen you switch the ignition on to confirmthe lamp is functional. If it does notilluminate when you switch the ignition on,or begins to flash at any time, have thesystem checked.
If you connect a PLC trailer withthe ignition on, the trailer ABSlight also illuminates. If the lightfails to illuminate, if it remains on after youstart the vehicle or continues to flash, havethe system serviced immediately.
See Warning Lamps and Indicators(page 67).
139
2024 F-650/750 (TBC) , enUSA, Edition date: 202210, First-PrintingBrakesE67020 E210335
Page 147 of 386

5.Tighten the nut until the spring is fullycaged and brakes released. Do notloosen or remove the release stud andnut unless you completely assembleand securely clamp the brake chamber.
6.After restoring the air pressure,unscrew and remove the release studand install in the carrying pocket. Installthe access plug.
HILL START ASSIST -
VEHICLES WITH: HYDRAULIC
BRAKES
WARNING: The system does notreplace the parking brake. When youleave your vehicle, always apply theparking brake.
WARNING: You must remain inyour vehicle when the system turns on.At all times you are responsible forcontrolling your vehicle, supervising thesystem, and intervening if required.Failure to follow this instruction couldresult in the loss of control of yourvehicle, personal injury or death.
WARNING: The system will turnoff if a malfunction is apparent or if yourev the engine excessively. Failure to takecare may result in the loss of control ofyour vehicle, serious personal injury ordeath.
The system makes it easier to pull awaywhen your vehicle is on a slope withoutneeding to use the parking brake.
When the system is active, your vehicleremains stationary on the slope for two tothree seconds after you release the brakepedal. This allows time to move your footfrom the brake to the accelerator pedal.The brakes release when the engine has
developed sufficient torque to prevent yourvehicle from rolling down the slope. Thisis an advantage when pulling away on aslope, for example from a car park ramp,traffic lights or when reversing uphill intoa parking space.
When the vehicle is on a slope, the systemwill turn on automatically to preventvehicle rollback.
Note:There is no warning light to indicatethe system is either on or off.
Using Hill Start Assist
1.Press the brake pedal to bring yourvehicle to a complete standstill. Keepthe brake pedal pressed and shift intogear when facing uphill or reverse (R)when facing downhill.
2.If the sensors detect that your vehicleis on a slope, the system automaticallyactivates.
3.When you remove your foot from thebrake pedal, your vehicle remains onthe slope without rolling away forabout two to three seconds. This holdtime automatically extends if you arein the process of driving off.
4.Drive off in the normal manner. Thesystem releases the brakesautomatically.
Note:When you remove your foot from thebrake pedal and press the pedal again whenthe system is active, you will experiencesignificantly reduced brake pedal travel. Thisis normal.
Switching the System On and Off
Vehicles with Manual Transmission
You can switch this feature on or off in theinformation display. The systemremembers the last setting when you startyour vehicle.
143
2024 F-650/750 (TBC) , enUSA, Edition date: 202210, First-PrintingBrakes
Page 148 of 386
Vehicles with Automatic Transmission
When you switch the ignition on, thesystem automatically turns on. You cannotturn the system on or off.
AIR BRAKES
WARNING: Failure to maintainproper air brake adjustment can resultin reduction or loss of braking ability.
WARNING: Do not drive or continueto drive if the low air pressure buzzer issounding or the brake warning light is lit.These warnings indicate that air pressureis not to normal operating level.Continued use of the vehicle could resultin loss of braking ability.
WARNING: Avoid repeated lightapplication of the brake pedal. Thisdepletes air pressure faster and couldresult in loss of braking capability.
WARNING: Do not move thevehicle when the air pressure isinsufficient because the brake systemmay be inoperative.
After starting the engine, allow time for theair compressor to build air pressure to60 psi (414 kPa) before moving yourvehicle.
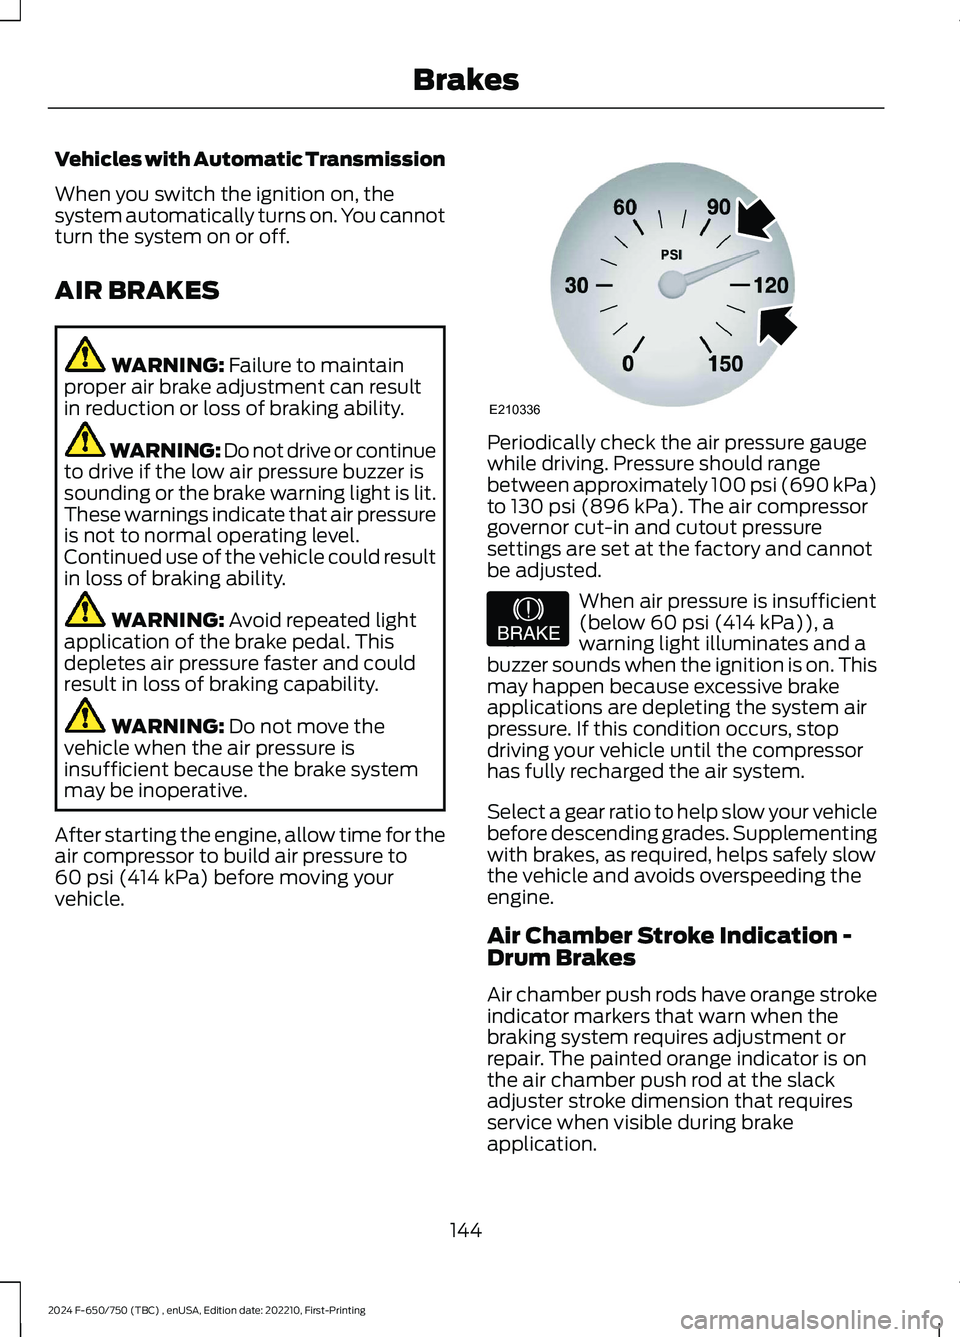
Periodically check the air pressure gaugewhile driving. Pressure should rangebetween approximately 100 psi (690 kPa)to 130 psi (896 kPa). The air compressorgovernor cut-in and cutout pressuresettings are set at the factory and cannotbe adjusted.
When air pressure is insufficient(below 60 psi (414 kPa)), awarning light illuminates and abuzzer sounds when the ignition is on. Thismay happen because excessive brakeapplications are depleting the system airpressure. If this condition occurs, stopdriving your vehicle until the compressorhas fully recharged the air system.
Select a gear ratio to help slow your vehiclebefore descending grades. Supplementingwith brakes, as required, helps safely slowthe vehicle and avoids overspeeding theengine.
Air Chamber Stroke Indication -Drum Brakes
Air chamber push rods have orange strokeindicator markers that warn when thebraking system requires adjustment orrepair. The painted orange indicator is onthe air chamber push rod at the slackadjuster stroke dimension that requiresservice when visible during brakeapplication.
144
2024 F-650/750 (TBC) , enUSA, Edition date: 202210, First-PrintingBrakesE210336 E206772
Page 150 of 386
Note:Installing an exhaust or auxiliarybrake does not necessarily protect theengine from exceeding the maximumgoverned speed. Use the primary brakes tomake sure the engine never exceeds themaximum governed speed under anycircumstance.
Note:Engine speed has a major influenceon limiting performance. When enginespeed stays at the maximum allowablelevel, the exhaust brake operates at peakperformance.
Note:Exhaust brakes operate effectivelywith automatic transmissions. However,performance varies with engine speed andthe gear selected by the transmission.
An exhaust brake is an auxiliary brakingsystem that assists, but does not replace,the primary brake system. It helps controlvehicle speed. It is not a vehicle-stoppingdevice.
Use the button on the instrument panel, incombination with the accelerator pedal,to maximize the use of the exhaust brakein the following conditions:
•Off-highway driving.
•Mountain driving.
•Heavy traffic.
•High-speed highway driving.
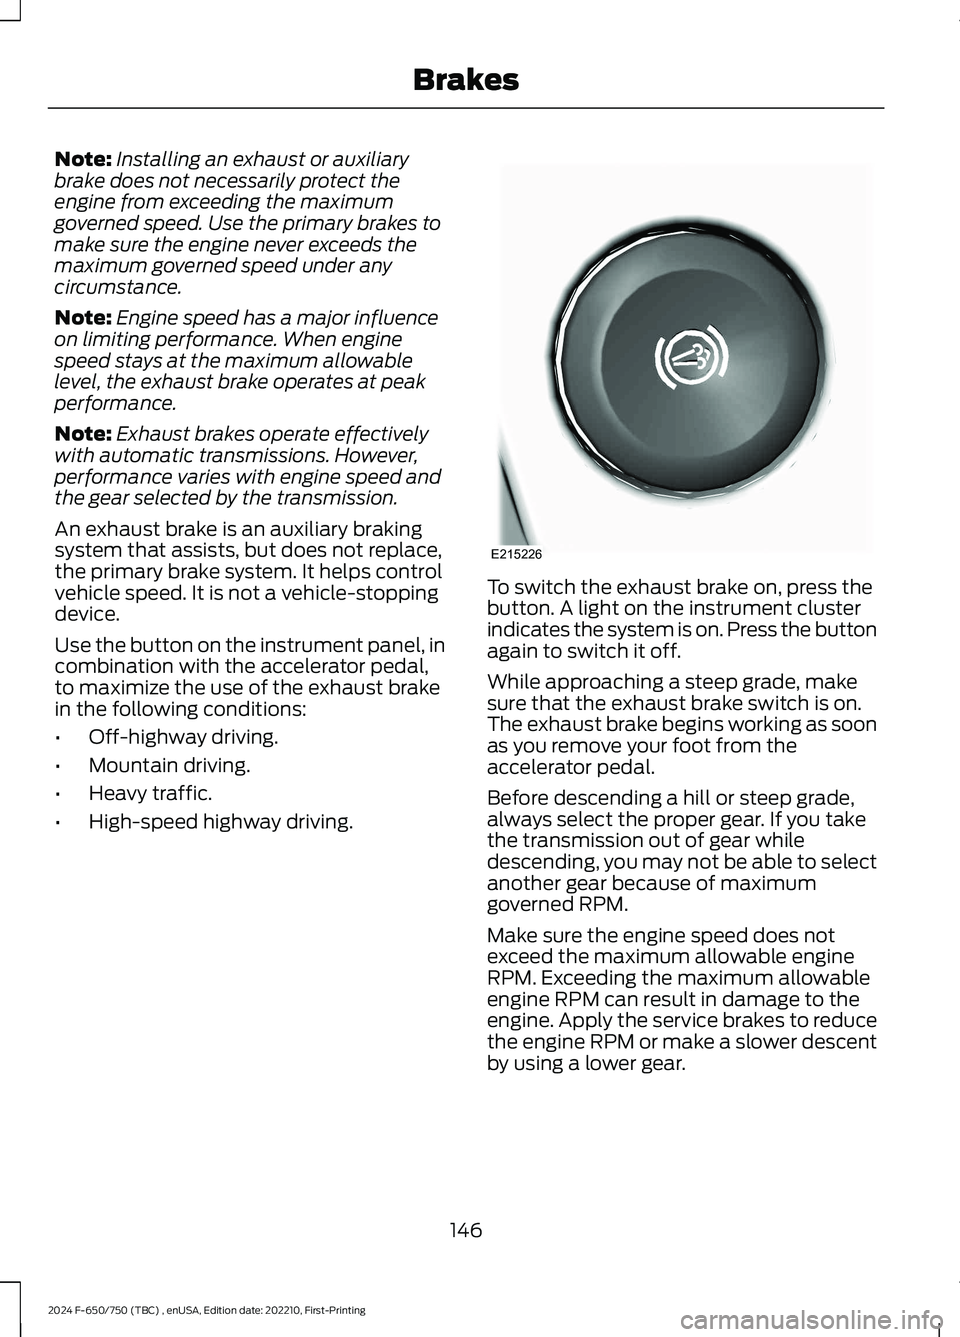
To switch the exhaust brake on, press thebutton. A light on the instrument clusterindicates the system is on. Press the buttonagain to switch it off.
While approaching a steep grade, makesure that the exhaust brake switch is on.The exhaust brake begins working as soonas you remove your foot from theaccelerator pedal.
Before descending a hill or steep grade,always select the proper gear. If you takethe transmission out of gear whiledescending, you may not be able to selectanother gear because of maximumgoverned RPM.
Make sure the engine speed does notexceed the maximum allowable engineRPM. Exceeding the maximum allowableengine RPM can result in damage to theengine. Apply the service brakes to reducethe engine RPM or make a slower descentby using a lower gear.
146
2024 F-650/750 (TBC) , enUSA, Edition date: 202210, First-PrintingBrakesE215226