Page 492 of 602
4907-2. Steps to take in an emergency
Stop the vehicle in a safe
place on a hard, flat surface.
Set the parking brake.
Shift the shift lever to P.
Stop the hybrid system.
Turn on the emergency flash-
ers. ( P.456)
Disable the power sliding door
system. ( P.148)
For vehicles with power back
door: Disable the power back
door system. ( P.163)
Spare tire
If you have a flat tire
(vehicles with spare
tire)
Your vehicle is equipped
with a spare tire. The flat tire
can be replaced with the
spare tire.
For details about tires:
P.421
WARNING
■If you have a flat tire
Do not continue driving with a flat
tire.
Driving even a short distance with
a flat tire can damage the tire and
the wheel beyond repair, which
could result in an accident.
Before jacking up the
vehicle
Location of the spare tire, jack and tools
A
Page 493 of 602

4917-2. Steps to take in an emergency
7
When trouble arises
Wheel nut wrench
Jack handle
Wheel lock key
* (if equipped)
Jack
*: Documentation relating to the wheel lock key, such as the regi stration
and I.D. card, is inside the glove box.
When replacing tires on a vehi-
cle with wheel lock nuts, use the
following procedures to remove
and install the wheel lock nuts.
The wheel lock key is stored
together with the tools on the
right-hand side of the luggage
compartment. Always return the
wheel lock key to its original
position after use, so that it does
not get lost.
■Removal
For ease of removal, the wheel
lock nut should always be the
B
C
D
E
WARNING
■Using the tire jack
Observe the following precau-
tions.
Improper use of the tire jack may
cause the vehicle to suddenly fall
off the jack, leading to death or
serious injury.
●Do not use the tire jack for any
purpose other than replacing
tires or installing and removing
tire chains.
●Only use the tire jack that
comes with this vehicle for
replacing a flat tire.
Do not use it on other vehicles,
and do not use other tire jacks
for replacing tires on this vehi-
cle.
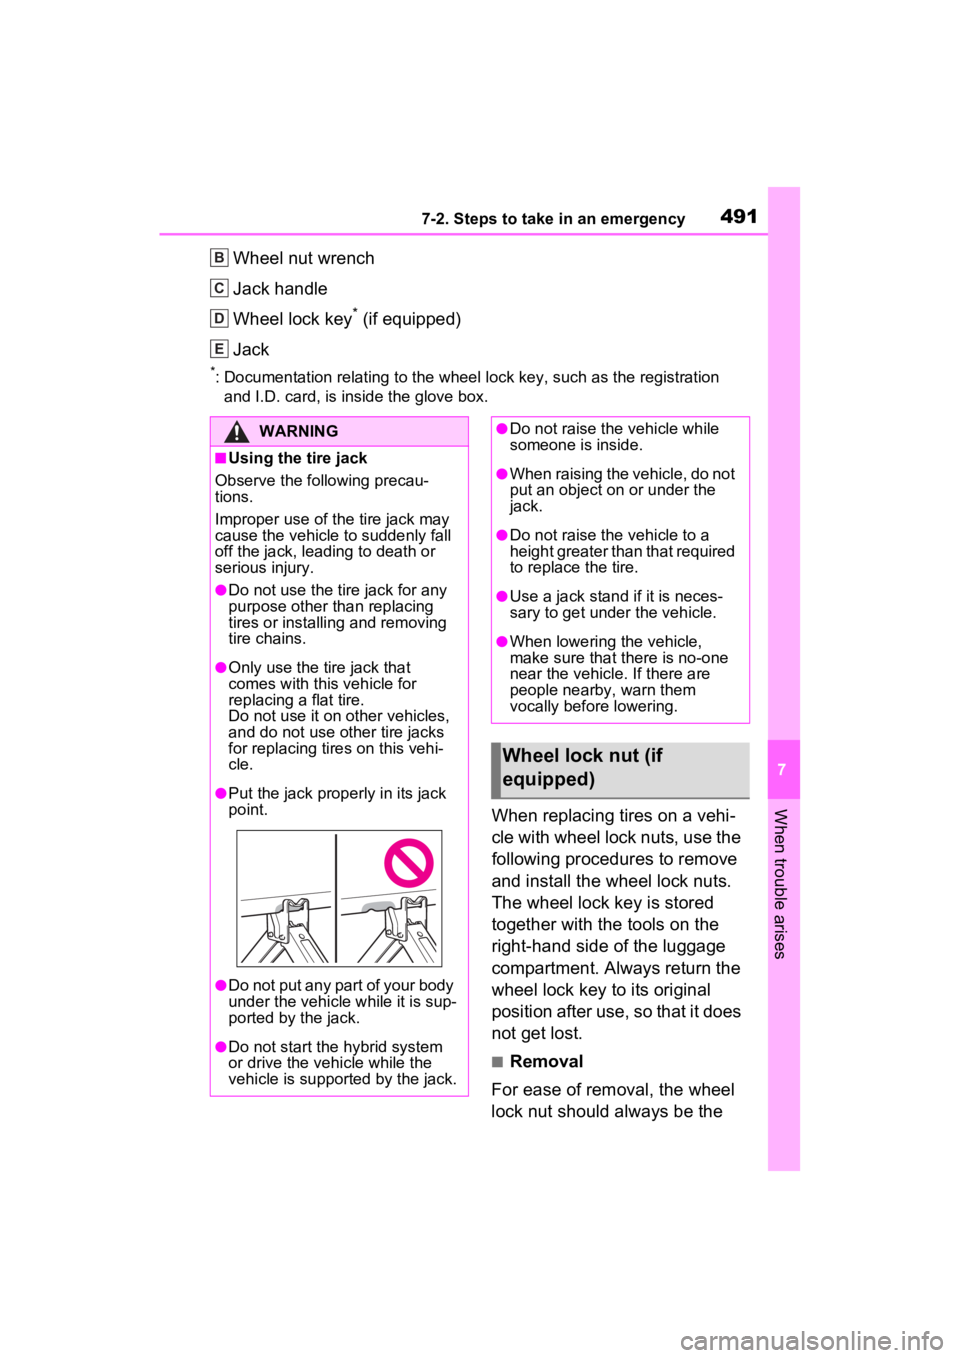
●Put the jack prope rly in its jack
point.
●Do not put any part of your body
under the vehicle while it is sup-
ported by the jack.
●Do not start the hybrid system
or drive the vehicle while the
vehicle is suppor ted by the jack.
●Do not raise the vehicle while
someone is inside.
●When raising the vehicle, do not
put an object on or under the
jack.
●Do not raise the vehicle to a
height greater than that required
to replace the tire.
●Use a jack stand if it is neces-
sary to get under the vehicle.
●When lowering the vehicle,
make sure that there is no-one
near the vehicle. If there are
people nearby, warn them
vocally before lowering.
Wheel lock nut (if
equipped)
Page 495 of 602
4937-2. Steps to take in an emergency
7
When trouble arises
2Take out the tools
1 Remove the cover.
2 Slightly loosen the wheel
nuts (one turn). 3
Remove all the wheel nuts
and take out the spare tire.
1 Chock the tires.
Taking out the spare tire
Replacing a flat tire
Flat tireWheel chock
positions
Front left-hand
sideBehind the rear
right-hand side
tire
Front right-hand
sideBehind the rear
left-hand side
tire
Rear left-hand
sideIn front of the
front right-hand
side tire
Rear right-hand
sideIn front of the
front left-hand
side tire
Page 497 of 602

4957-2. Steps to take in an emergency
7
When trouble arises
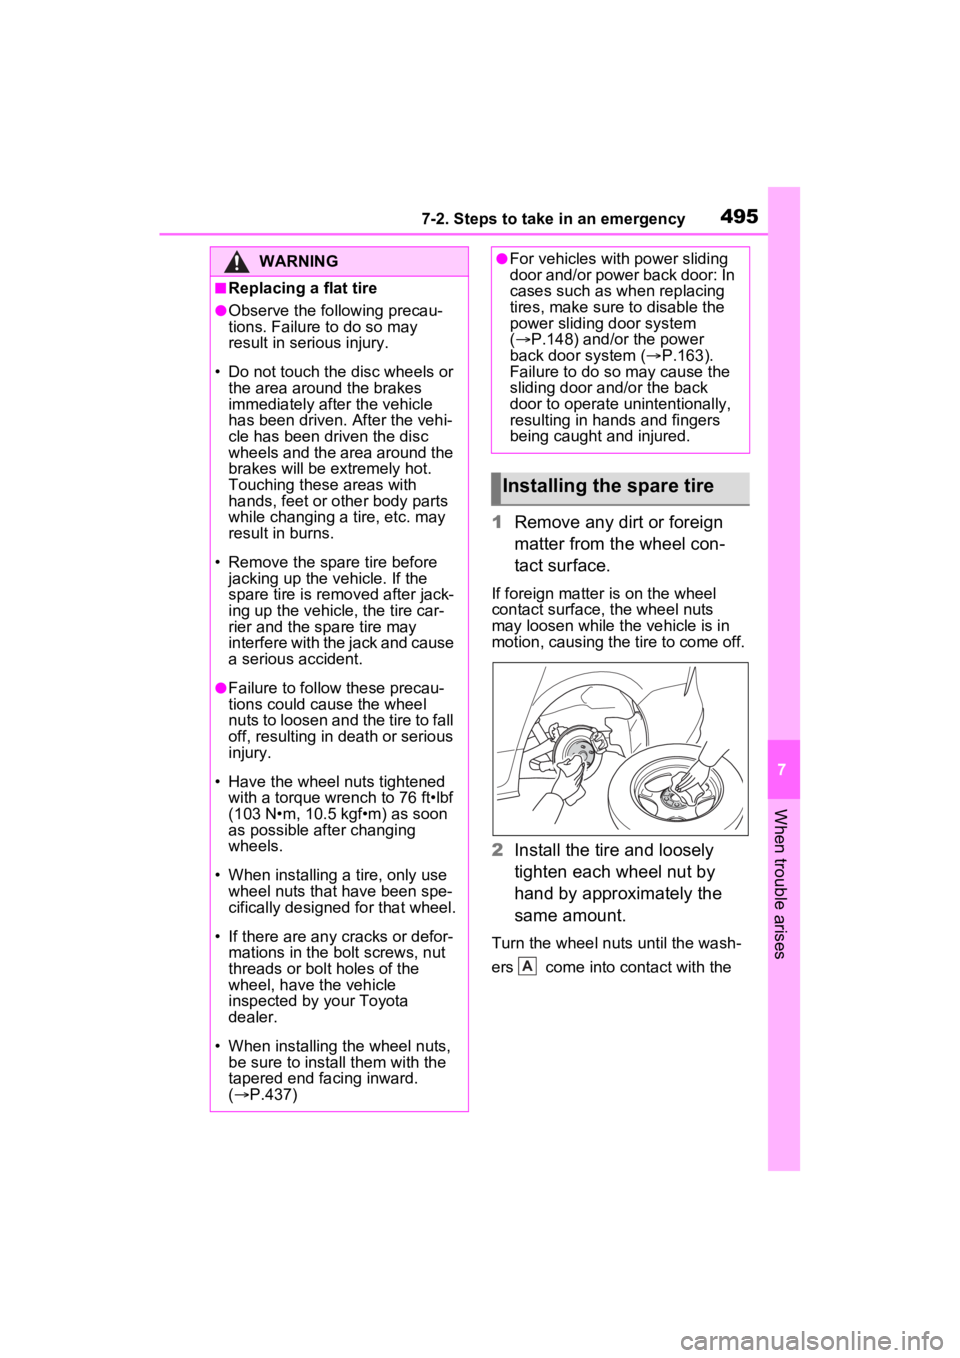
1Remove any dirt or foreign
matter from the wheel con-
tact surface.
If foreign matter is on the wheel
contact surface, the wheel nuts
may loosen while the vehicle is in
motion, causing the tire to come off.
2 Install the tire and loosely
tighten each wheel nut by
hand by approximately the
same amount.
Turn the wheel nuts until the wash-
ers come into contact with the
WARNING
■Replacing a flat tire
●Observe the following precau-
tions. Failure to do so may
result in serious injury.
• Do not touch the disc wheels or the area around the brakes
immediately after the vehicle
has been driven. After the vehi-
cle has been driven the disc
wheels and the area around the
brakes will be extremely hot.
Touching these areas with
hands, feet or other body parts
while changing a tire, etc. may
result in burns.
• Remove the spare tire before jacking up the v ehicle. If the
spare tire is removed after jack-
ing up the vehicle, the tire car-
rier and the spare tire may
interfere with the jack and cause
a serious accident.
●Failure to follow these precau-
tions could cause the wheel
nuts to loosen and the tire to fall
off, resulting in death or serious
injury.
• Have the wheel nuts tightened with a torque wrench to 76 ft•lbf
(103 N•m, 10.5 kgf•m) as soon
as possible after changing
wheels.
• When installing a tire, only use wheel nuts that have been spe-
cifically designed for that wheel.
• If there are any cracks or defor- mations in the bolt screws, nut
threads or bolt holes of the
wheel, have the vehicle
inspected by your Toyota
dealer.
• When installing the wheel nuts,
be sure to install them with the
tapered end facing inward.
( P.437)
●For vehicles with power sliding
door and/or power back door: In
cases such as wh en replacing
tires, make sure to disable the
power sliding door system
( P.148) and/or the power
back door system ( P.163).
Failure to do so may cause the
sliding door and/or the back
door to operate unintentionally,
resulting in hands and fingers
being caught and injured.
Installing the spare tire
A
Page 498 of 602

4967-2. Steps to take in an emergency
disc wheel .
3Lower the vehicle.
4 Firmly tighten each wheel nut
two or three times in the
order shown in the illustra-
tion.
Tightening torque:
76 ft•lbf (103 N•m, 10.5 kgf•m)
5Stow the flat tire, tire jack and
all tools.
■The compact spare tire
●The compact spare tire is identi-
fied by the label “TEMPORARY USE ONLY” on the tire sidewall.
Use the compact spare tire tem-
porarily, and only in an emer-
gency.
●Make sure to check the tire infla-
tion pressure of the compact
spare tire. (
P.523)
■When using the compact spare
tire
As the compact spare tire is not
equipped with a tire pressure warn-
ing valve and transm itter, low infla-
tion pressure of the spare tire will
not be indicated by the tire pressure
warning system. Also , if you replace
the compact spare ti re after the tire
pressure warning light comes on,
the light remains on.
■When the compact spare tire is
attached
The vehicle height may become
lower when driving with the compact
spare tire compared to when driving
with standard tires.
■If you have a flat front tire on a
road covered with snow or ice
Install the compact spare tire on one
of the rear wheels of the vehicle.
Perform the following steps and fit
tire chains to the front tires:
1 Replace a rear tire with the com-
pact spare tire.
2 Replace the flat front tire with the
tire removed from the rear of the
vehicle.
3 Fit tire chains to the front tires.
B
WARNING
■When using the compact
spare tire
●Remember that the compact
spare tire provided is specifi-
cally designed for use with your
vehicle. Do not use your com-
pact spare tire on another vehi-
cle.
Page 525 of 602

5238-1. Specifications
8
Vehicle specifications
17-inch tires
18-inch tires
Tires and wheels
Tire sizeP235/65R17 103T, T155/80R17 111M (spare tire
if equipped)
Tire inflation pressure
(Recommended cold tire
inflation pressure)
Front:
35 psi (240 kPa, 2.4 kgf/cm
2 or bar)
Rear:
35 psi (240 kPa, 2.4 kgf/cm
2 or bar)
Driving at high speeds (above 100 mph [160
km/h]) (in countries wher e such speeds are per-
mitted by law) Add 3 ps i (20 kPa, 0.2 kgf/cm
2 or
bar) to the front tires and rear tires.
Never exceed the maximum cold tire inflation
pressure indicated on the tire sidewall.
Spare:
60 psi (420 kPa, 4.2 kgf/cm
2 or bar)
Wheel size17 x 7J, 17 x 4T (spare)
Wheel nut torque76 ft•lbf (103 N•m, 10.5 kgf•m)
Tire sizeP235/60R18 102V, T155/80R17 111M (spare tire
if equipped)
Tire inflation pressure
(Recommended cold tire
inflation pressure)
Front:
35 psi (240 kPa, 2.4 kgf/cm
2 or bar)
Rear:
35 psi (240 kPa, 2.4 kgf/cm
2 or bar)
Driving at high speeds (above 100 mph [160
km/h]) (in countries wher e such speeds are per-
mitted by law) Add 3 ps i (20 kPa, 0.2 kgf/cm
2 or
bar) to the front tires and rear tires.
Never exceed the maximum cold tire inflation
pressure indicated on the tire sidewall.
Spare:
60 psi (420 kPa, 4.2 kgf/cm
2 or bar)
Page 526 of 602

5248-1. Specifications
20-inch tires
A: Wedge base bulbs (amber)
Wheel size18 x 7 1/2J, 17 x 4T (spare)
Wheel nut torque76 ft•lbf (103 N•m, 10.5 kgf•m)
Tire size235/50R20 100V, T155/80 R17 111M (spare tire
if equipped)
Tire inflation pressure
(Recommended cold tire
inflation pressure)
Front:
36 psi (250 kPa, 2.5 kgf/cm
2 or bar)
Rear:
36 psi (250 kPa, 2.5 kgf/cm
2 or bar)
Driving at high speeds (above 100 mph [160
km/h]) (in countries wher e such speeds are per-
mitted by law) Add 3 ps i (20 kPa, 0.2 kgf/cm
2 or
bar) to the front tires and rear tires.
Never exceed the maximum cold tire inflation
pressure indicated on the tire sidewall.
Spare:
60 psi (420 kPa, 4.2 kgf/cm
2 or bar)
Wheel size20 x 7 1/2J, 17 x 4T (spare)
Wheel nut torque76 ft•lbf (103 N•m, 10.5 kgf•m)
Light bulbs
Light bulbsBulb No.WType
Exterior
Rear turn signal lightsWY21W21A
Back-up lightsW16W16B
License plate lightsW5W5B
Interior
Vanity lights1.4C
Second row personal lights8B
Third row interior lights8C
Luggage compartment light5B
Front door courtesy lights5B
Page 531 of 602

5298-1. Specifications
8
Vehicle specifications
Radial tires or bias-ply tires
A radial tire has “RADIAL” on the sidewall. A tire not marked “RADIAL” is a
bias-ply tire.
TUBELESS or TUBE TYPE
A tubeless tire d oes not have a tube and air is directly put in to the tire. A
tube type tire has a tube inside t he tire and the tube maintains the air pres-
sure.
Load limit at maximum cold tire inflation pressure (P.532)
Maximum cold tire inflation pressure ( P.532)
This means the pressure to w hich a tire may be inflated.
Uniform tire quality grading
For details, see “Uniform Tire Quality Grading” that follows.
Summer tires or all season tires ( P.422)
An all season tire has “M+S” on the sidewal l. A tire not marked “M+S” is a
summer tire.
“TEMPORARY USE ONLY”
A compact spare tire is identifi ed by the phrase “TEMPORARY USE ONLY”
molded on its sidewall. This tire is designed for temporary emergency use
only.
Type A
DOT symbol
*
Tire Identification Number
(TIN) Tire manufacturer’s identifi-
cation mark
Tire size code
Manufacturer’s optional tire
type code (3 or 4 letters)
Manufacturing week
Manufacturing year
*: The DOT symbol certifies that the
tire conforms to applicable Fed-
eral Motor Vehicle Safety Stan-
dards.
E
F
G
H
I
J
K
Typical DOT and Tire
Identification Number
(TIN)
A
B
C
D
E
F
G