2023 TOYOTA COROLLA fuel type
[x] Cancel search: fuel typePage 14 of 468

14Pictorial index
Fuel filler door .................................................................... P.180
Refueling method ............................................... .................. P.181
Fuel type/fuel tan k capacity ................................... .............. P.393
Tires..................................................................................... P.311
Tire size/inflation pressure ................................... ................ P.397
Winter tires/tire chains ....................................... .................. P.253
Checking/rotation/tire pressure warning system
*2............... P.311
Coping with flat tires......................................... .................... P.370
Hood ........................................................... ......................... P.302
Opening ............................................................................... P.302
Engine oil ..................................................... ........................ P.394
Coping with overheating ...................................................... P.387
Headlights/daytime running lights .............................. ..... P.173
Turn signal lights/parking lights .............................. ......... P.173
Front side marker lights ....................................... ............. P.173
LED accent lights
*2............................................................ P.1 73
Stop lights/tail lights/rear side marker lights/turn signal lig hts
P. 1 7 3
License plate lights........................................... ................. P.173
Tail lights
*2............................................................... ........... P.173
Back-up lights
Shifting the shift position to R ............................... ....... P.160, 162
Side turn signal lights
*2..................................................... P.167
*1: Vehicles with a smart key system
*2: If equipped
Light bulbs of the exterior lights for driving
(Replacing method: P.340, Watts: P.398)
Page 33 of 468

331-1. For safe use
1
For safety and security
Front impact sensors
Airbag sensor assembly
Your vehicle is equipped with ADVANCED AIRBAGS designed
based on the US motor vehicle safety standards (FMVSS208). The
airbag sensor assembly (ECU) cont rols airbag deployment based on
information obtained from the sensors etc. shown in the system
components diagram above. This in formation includes crash sever-
ity and occupant information. As the airbags deploy, a chemical
reaction in the inflators quickly fills the airbags with non-toxic gas to
help restrain the motion of the occupants.
■If the SRS airbags deploy
(inflate)
●Slight abrasions, burns, bruising
etc., may be sustained from SRS
airbags, due to the extremely high
speed deployment (inflation) by
hot gases.
●A loud noise and white powder will
be emitted.
●Parts of the airbag module (steer-
ing wheel hub, airbag cover and
inflator) as well as the front seats,
parts of the front and rear pillars,
and roof side rails, may be hot for
several minutes. T he airbag itself
may also be hot.
●The windshield may crack.
●The brakes and st op lights will be
controlled automatically. ( P.249)
●The interior lights will turn on auto-
matically. ( P.272)
●The emergency flashers will turn
on automatically. ( P.348)
●Fuel supply to the engine will be
stopped. (P.355)
●For Safety Connect subscribers, if
any of the followin g situations
occur, the system is designed to
send an emergency call to the
response center, notifying them of
the vehicle’s location (without
needing to push the “SOS” button)
and an agent will attempt to speak
with the occupants to ascertain the level of emergency and assis-
tance required. If the occupants
are unable to communicate, the
agent automatically treats the call
as an emergency and helps to dis-
patch the necessary emergency
services. (
P. 7 2 )
• An SRS airbag is deployed.
• A seat belt pretensioner is acti- vated.
• The vehicle is involved in a severe rear-end collision.
■SRS airbag deployment condi-
tions (SRS front airbags)
●The SRS front airbags will deploy
in the event of an impact that
exceeds the set threshold level
(the level of forc e corresponding
to an approximately 12 - 18 mph
[20 - 30 km/h] frontal collision with
a fixed wall that does not move or
deform).
However, this threshold velocity will
be considerably higher in the follow-
ing situations:
• If the vehicle strikes an object, such as a parked vehicle or sign
pole, which can move or deform
on impact
• If the vehicle is involved in an underride collision, such as a colli-
sion in which the front of the vehi-
cle “underrides”, or goes under,
the bed of a truck
●Depending on the type of collision,
it is possible that only the seat belt
pretensioners will activate.
Page 96 of 468
962-1. Instrument cluster
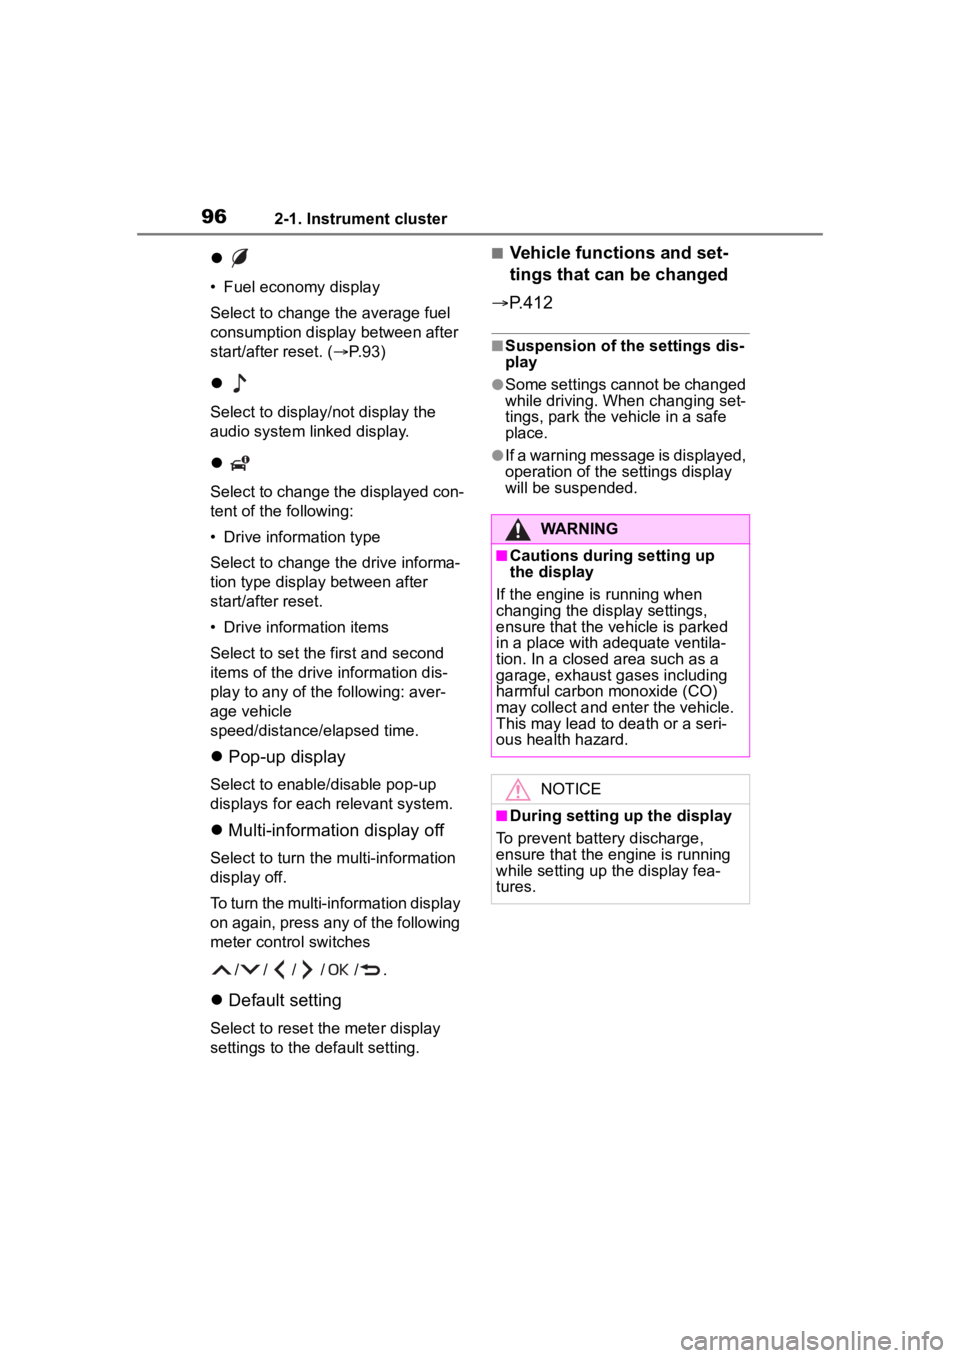
• Fuel economy display
Select to change the average fuel
consumption display between after
start/after reset. (P. 9 3 )
Select to display/not display the
audio system linked display.
Select to change the displayed con-
tent of the following:
• Drive information type
Select to change the drive informa-
tion type display between after
start/after reset.
• Drive information items
Select to set the first and second
items of the drive information dis-
play to any of the following: aver-
age vehicle
speed/distance/elapsed time.
Pop-up display
Select to enable/disable pop-up
displays for each relevant system.
Multi-information display off
Select to turn the m ulti-information
display off.
To turn the multi-in formation display
on again, press any of the following
meter control switches
//// /.
Default setting
Select to reset the meter display
settings to the default setting.
■Vehicle functions and set-
tings that can be changed
P.412
■Suspension of the settings dis-
play
●Some settings cannot be changed
while driving. When changing set-
tings, park the vehicle in a safe
place.
●If a warning message is displayed,
operation of the settings display
will be suspended.
WARNING
■Cautions during setting up
the display
If the engine is running when
changing the dis play settings,
ensure that the vehicle is parked
in a place with adequate ventila-
tion. In a closed area such as a
garage, exhaust gases including
harmful carbon monoxide (CO)
may collect and enter the vehicle.
This may lead to death or a seri-
ous health hazard.
NOTICE
■During setting up the display
To prevent batte ry discharge,
ensure that the engine is running
while setting up the display fea-
tures.
Page 101 of 468
1012-1. Instrument cluster
2
Vehicle status information and indicators
Driving Indicator Light.
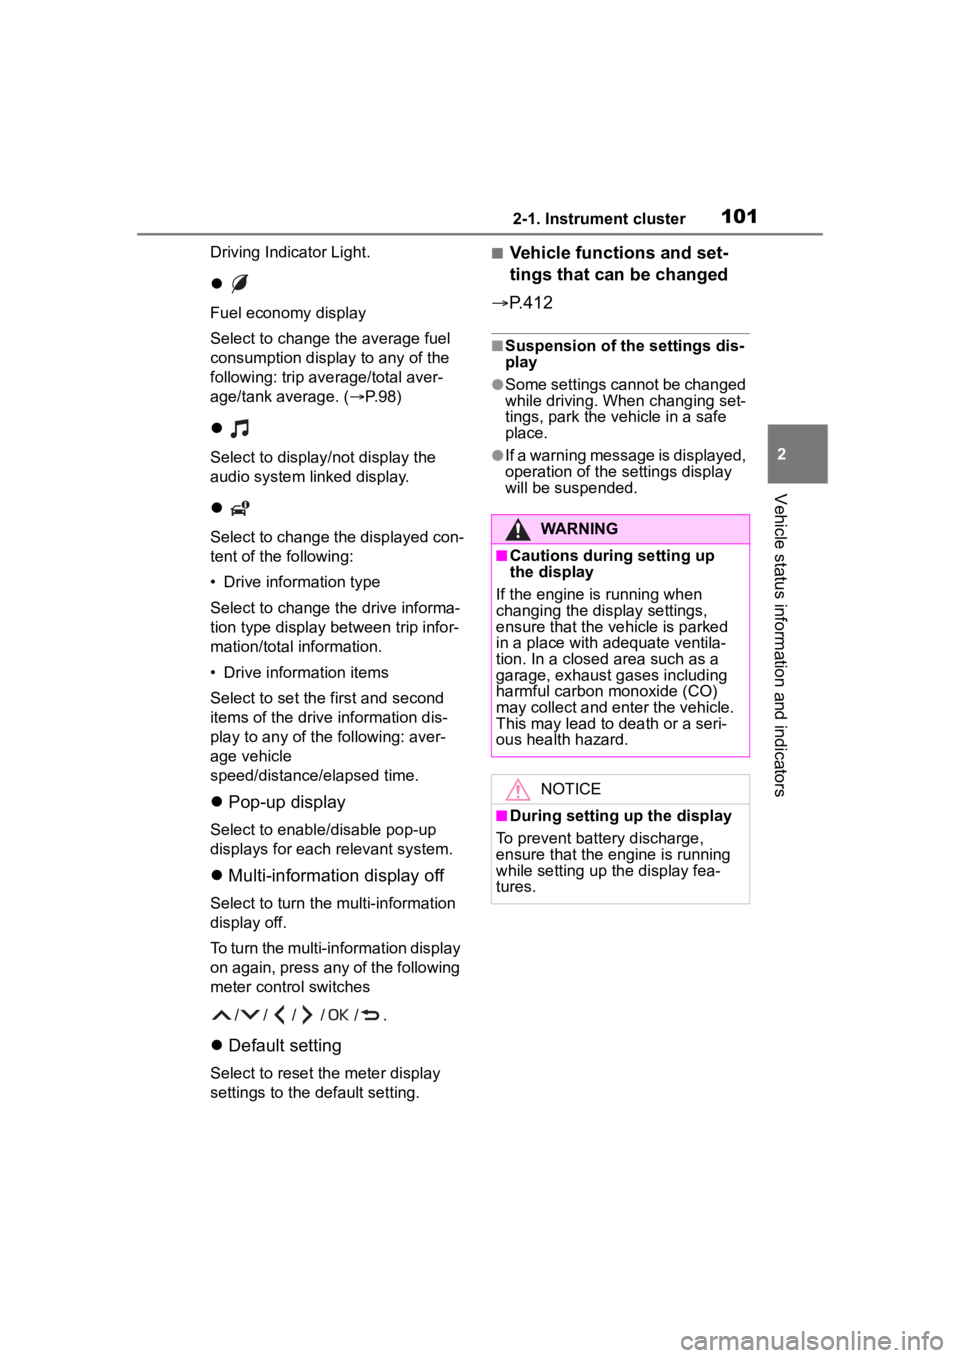
Fuel economy display
Select to change the average fuel
consumption display to any of the
following: trip average/total aver-
age/tank average. ( P. 9 8 )
Select to display/not display the
audio system linked display.
Select to change the displayed con-
tent of the following:
• Drive information type
Select to change the drive informa-
tion type display between trip infor-
mation/total information.
• Drive information items
Select to set the first and second
items of the drive information dis-
play to any of the following: aver-
age vehicle
speed/distance/elapsed time.
Pop-up display
Select to enable/disable pop-up
displays for each relevant system.
Multi-information display off
Select to turn the m ulti-information
display off.
To turn the multi-in formation display
on again, press any of the following
meter control switches
//// /.
Default setting
Select to reset the meter display
settings to the default setting.
■Vehicle functions and set-
tings that can be changed
P.412
■Suspension of the settings dis-
play
●Some settings cannot be changed
while driving. When changing set-
tings, park the vehicle in a safe
place.
●If a warning message is displayed,
operation of the settings display
will be suspended.
WARNING
■Cautions during setting up
the display
If the engine is running when
changing the dis play settings,
ensure that the vehicle is parked
in a place with adequate ventila-
tion. In a closed area such as a
garage, exhaust gases including
harmful carbon monoxide (CO)
may collect and enter the vehicle.
This may lead to death or a seri-
ous health hazard.
NOTICE
■During setting up the display
To prevent batte ry discharge,
ensure that the engine is running
while setting up the display fea-
tures.
Page 180 of 468
1804-4. Refueling
4-4.Refueling
Turn the engine switch off and
ensure that all the doors and
windows are closed.
Confirm the type of fuel.
■Fuel types
P. 3 9 9
■Fuel tank opening for unleaded
gasoline
To help prevent incorrect fueling,
your vehicle has a fuel tank opening
that only accommodates the spe-
cial nozzle on unle aded fuel pumps.
■If the malfunction indicator
lamp illuminates
The malfunction indicator lamp may
illuminate erroneous ly if refueling is
performed repeatedly when the fuel
tank is nearly full.
Opening the fuel tank
cap
Perform the following steps
to open the fuel tank cap:
Before refueling the vehi-
cle
WARNING
■When refueling the vehicle
Observe the following precautions
while refueling the vehicle. Failure
to do so may result in death or
serious injury.
●After exiting the vehicle and
before opening the fuel door,
touch an unpainted metal sur-
face to discharge any static
electricity. It is important to dis-
charge static electricity before
refueling because sparks result-
ing from static electricity can
cause fuel vapors to ignite while
refueling.
●Always hold the grips on the
fuel tank cap and turn it slowly
to remove it.
A whooshing sound may be
heard when the f uel tank cap is
loosened. Wait until the sound
cannot be heard before fully
removing the cap. In hot
weather, pressurized fuel may
spray out the filler neck and
cause injury.
●Do not allow anyone that has
not discharged static electricity
from their body to come close to
an open fuel tank.
●Do not inhale vaporized fuel.
Fuel contains substances that
are harmful if inhaled.
●Do not smoke while refueling
the vehicle.
Doing so may cause the fuel to
ignite and cause a fire.
●Do not return to the vehicle or
touch any person or object that
is statically charged.
This may cause static electricity
to build up, resulting in a possi-
ble ignition hazard.
■When refueling
Observe the following precautions
to prevent fuel overflowing from
the fuel tank:
●Securely insert the fuel nozzle
into the fuel filler neck.
●Stop filling the tank after the fuel
nozzle automatically clicks off.
Page 393 of 468
3938-1. Specifications
8
Vehicle specifications
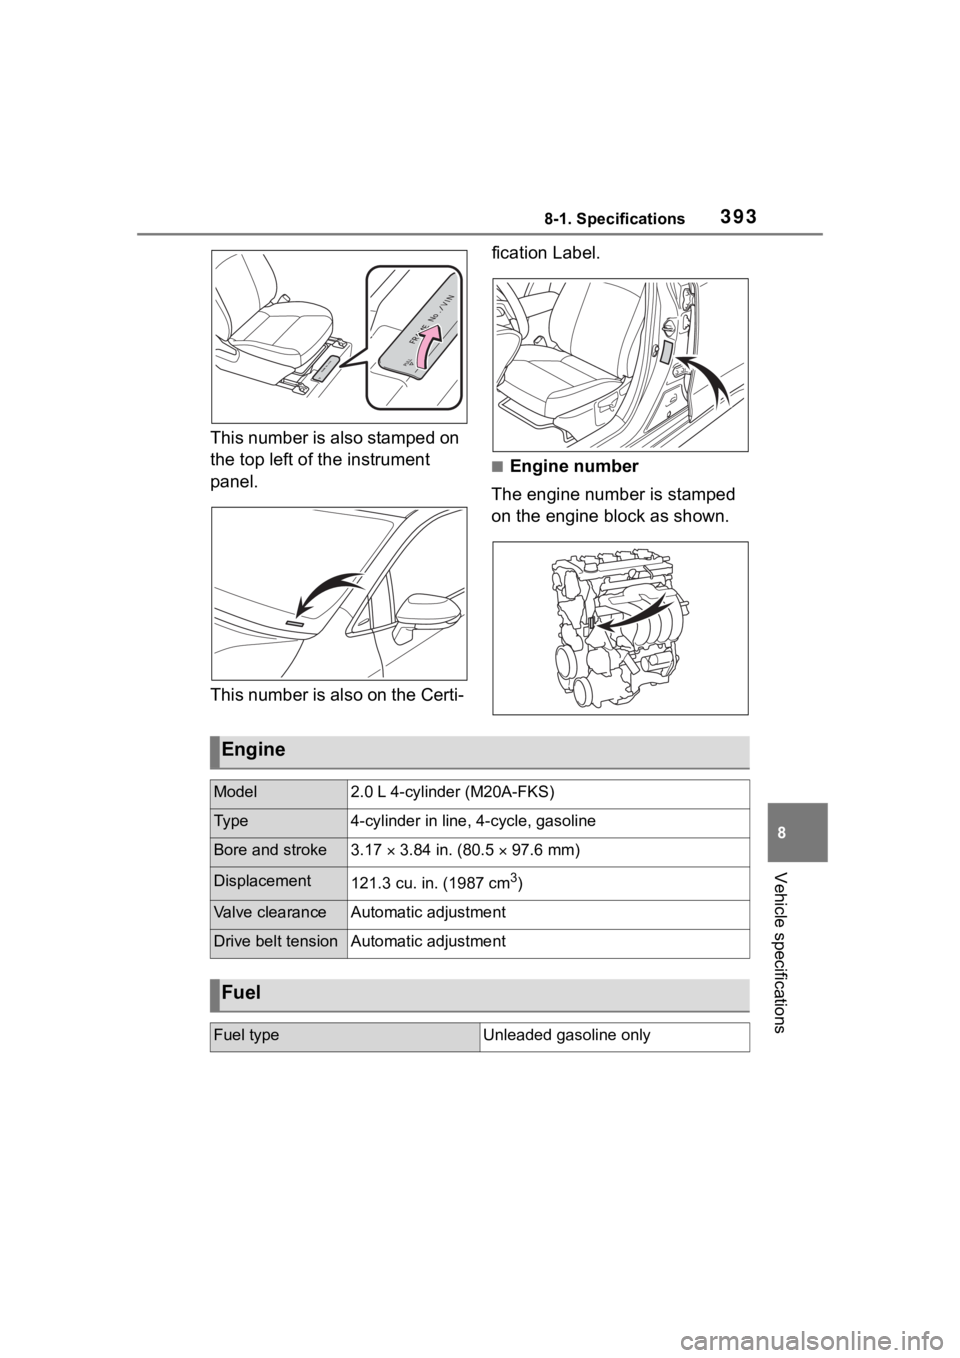
This number is also stamped on
the top left of the instrument
panel.
This number is also on the Certi-fication Label.
■Engine number
The engine number is stamped
on the engine block as shown.
Engine
Model2.0 L 4-cylinder (M20A-FKS)
Ty p e4-cylinder in line, 4-cycle, gasoline
Bore and stroke3.17 3.84 in. (80.5 97.6 mm)
Displacement121.3 cu. in. (1987 cm3)
Valve clearanceAutomatic adjustment
Drive belt tensionAutomatic adjustment
Fuel
Fuel typeUnleaded gasoline only
Page 400 of 468

4008-1. Specifications
adversely affected.
The malfunction indicator lamp on
the instrument cluster may come on.
If this happens, contact your Toyota
dealer for service.
■If your engine knocks
●Consult your Toyota dealer.
●You may occasionally notice light
knocking for a short time while
accelerating or driving uphill. This
is normal and there is no need for
concern.
NOTICE
■Notice on fuel quality
●Do not use impro per fuels. If
improper fuels are used, the
engine will be damaged.
●Do not use leaded gasoline.
Leaded gasoline can cause
damage to your vehicle’s
three-way catalytic converters
causing the emission control
system to malfunction.
●Do not use gasohol other than
the type previously stated.
Other gasohol may cause fuel
system damage or vehicle per-
formance problems.
●Using unleaded gasoline with
an octane number or rating
lower than the l evel previously
stated will cause persistent
heavy knocking.
At worst, this will lead to engine
damage.
■Fuel-related poor driveability
If poor driveability (poor hot start-
ing, vaporization, engine knock-
ing, etc.) is encountered after
using a different type of fuel, dis-
continue the use of that type of
fuel.
■When refueling with gasohol
Take care not to spill gasohol. It
can damage your vehicle’s paint.
Page 413 of 468
4138-2. Customization
8
Vehicle specifications
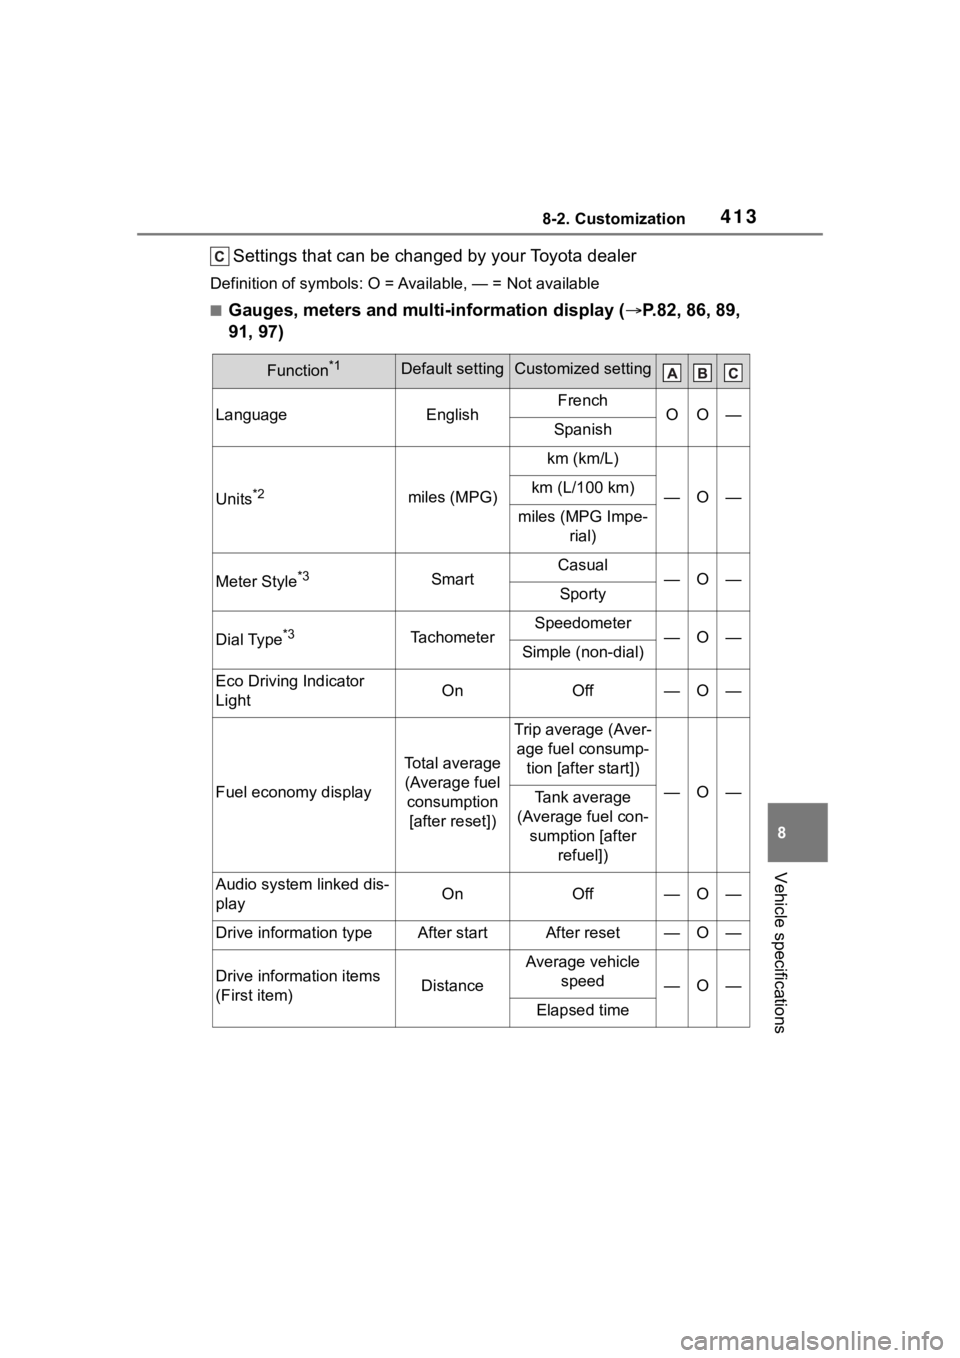
Settings that can be changed by your Toyota dealer
Definition of symbols: O = Available, — = Not available
■Gauges, meters and multi-information display ( P.82, 86, 89,
91, 97)
Function*1Default settingCustomized setting
LanguageEnglishFrenchOO—Spanish
Units*2miles (MPG)
km (km/L)
—O—km (L/100 km)
miles (MPG Impe- rial)
Meter Style*3SmartCasual—O—Sporty
Dial Type*3TachometerSpeedometer—O—Simple (non-dial)
Eco Driving Indicator
LightOnOff—O—
Fuel economy display
Total average (Average fuel consumption [after reset])
Trip average (Aver- age fuel consump- tion [after start])
—O—Tank average
(Average fuel con- sumption [after refuel])
Audio system linked dis-
playOnOff—O—
Drive information typeAfter startAfter reset—O—
Drive information items
(First item)Distance
Average vehicle speed
—O—
Elapsed time