2023 TOYOTA COROLLA CROSS battery
[x] Cancel search: batteryPage 310 of 500

3105-4. Other interior features
The power outlet can be used
for 12 V accessories that run on
less than 10 A.
Lift the lid while pulling up the
knob and open the power outlet
lid.
■The power outlet can be used
when
The engine switch i s in ACC or ON.
■Using the power outlet
When the engine restarts after hav-
ing been stopped by the Stop &
Start system, the power outlets may
be temporarily unusable, but this is
not a malfunction.
■When turning the engine switch
off
Disconnect electrical devices with
charging functions, such as mobile
battery packs.
If such devices are left connected,
the engine switch may not be turned
off normally.
A portable device, such as a
smartphone or mobile battery,
can be charged by just placing it
on the charging area, provided
the device is compatible with the
NOTICE
●Do not disassemble or modify
the USB charging port.
●Do not use broken harness and
device.
■To prevent damage to exter-
nal devices
●Do not leave external devices in
the vehicle. The temperature
inside the vehicle may become
high, resulting in damage to an
external device.
●Do not push down on or apply
unnecessary force to an exter-
nal device or the cable of an
external device while it is con-
nected.
■To prevent battery discharge
Do not use the USB charging port
for a long period of time with the
engine stopped.
Power outlet
NOTICE
■To prevent the fuse from
being blown
Do not use an accessory that
uses more than 12 V 10 A.
■To avoid damaging the power
outlet
Close the power outlet lid when
the power outlet is not in use.
Foreign objects or liquids that
enter the power outlet may cause
a short circuit.
■To prevent the battery from
being discharged
Do not use the p ower outlet lon-
ger than necessary when the
engine is not running.
Wireless charger (if
equipped)
Page 318 of 500
3185-4. Other interior features
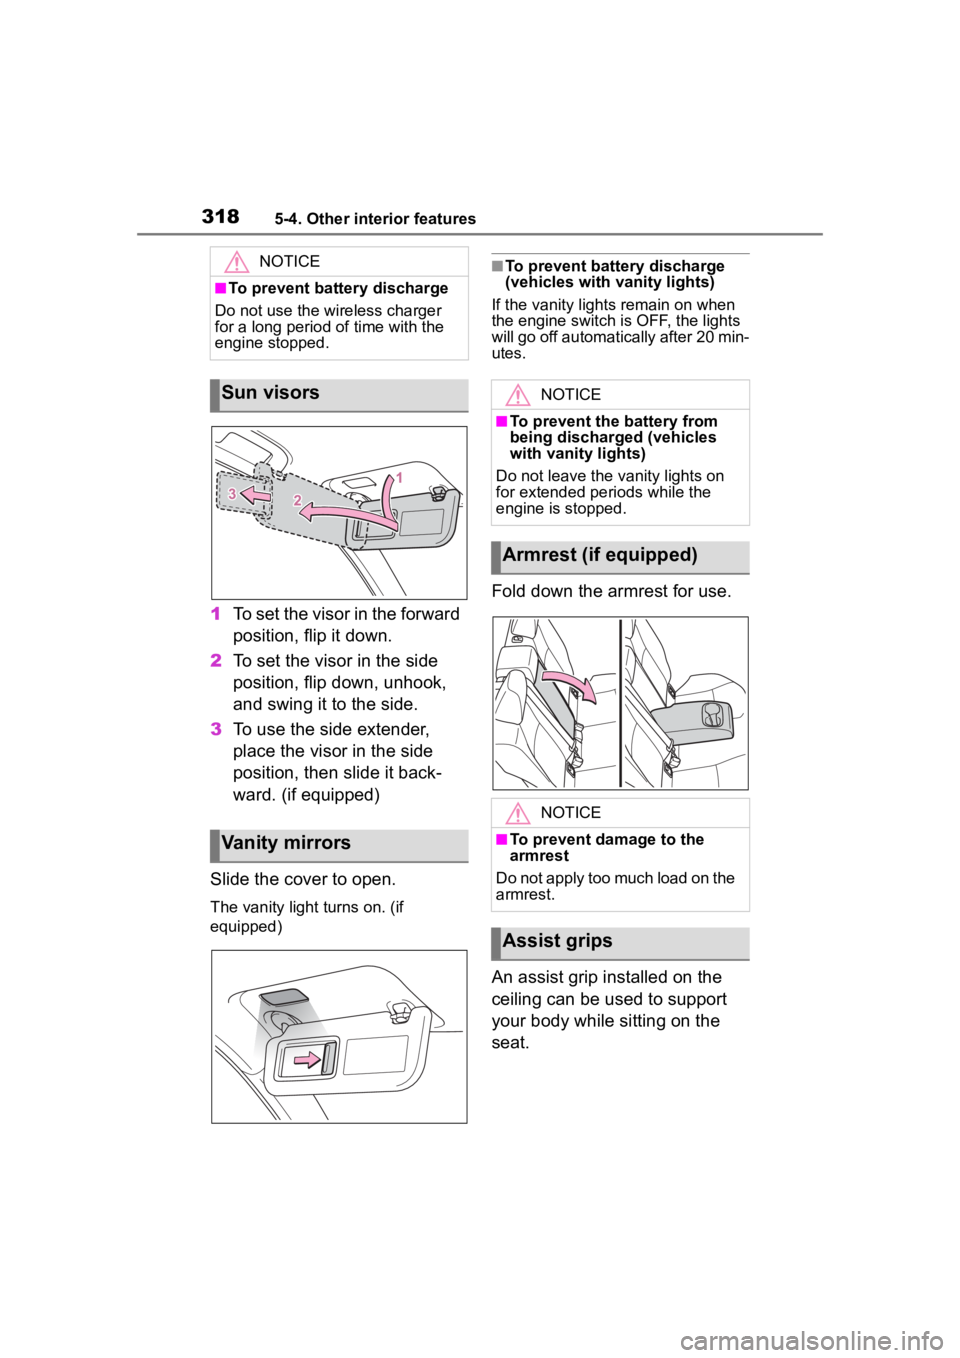
1To set the visor in the forward
position, flip it down.
2 To set the visor in the side
position, flip down, unhook,
and swing it to the side.
3 To use the side extender,
place the visor in the side
position, then slide it back-
ward. (if equipped)
Slide the cover to open.
The vanity light turns on. (if
equipped)
■To prevent battery discharge
(vehicles with vanity lights)
If the vanity lights remain on when
the engine switch is OFF, the lights
will go off automatically after 20 min-
utes.
Fold down the armrest for use.
An assist grip installed on the
ceiling can be used to support
your body while sitting on the
seat.
NOTICE
■To prevent battery discharge
Do not use the wireless charger
for a long period of time with the
engine stopped.
Sun visors
Vanity mirrors
NOTICE
■To prevent the battery from
being discharged (vehicles
with vanity lights)
Do not leave the vanity lights on
for extended periods while the
engine is stopped.
Armrest (if equipped)
NOTICE
■To prevent damage to the
armrest
Do not apply too much load on the
armrest.
Assist grips
Page 320 of 500
3205-4. Other interior features
*: If equipped
■HomeLink® programming pro-
cedure
The programming procedures can
also be found at the following URL.
Website: www.homelink.com/toyota
For support, contact customer sup-
port at the following.
Help Line: 1-800-355-3515
The HomeLink® wireless control
system in your vehicle has 3
buttons which can be pro-
grammed to operate 3 different
devices. Refer to the program-
ming methods on the following
pages to determine the method
which is appropriate for the
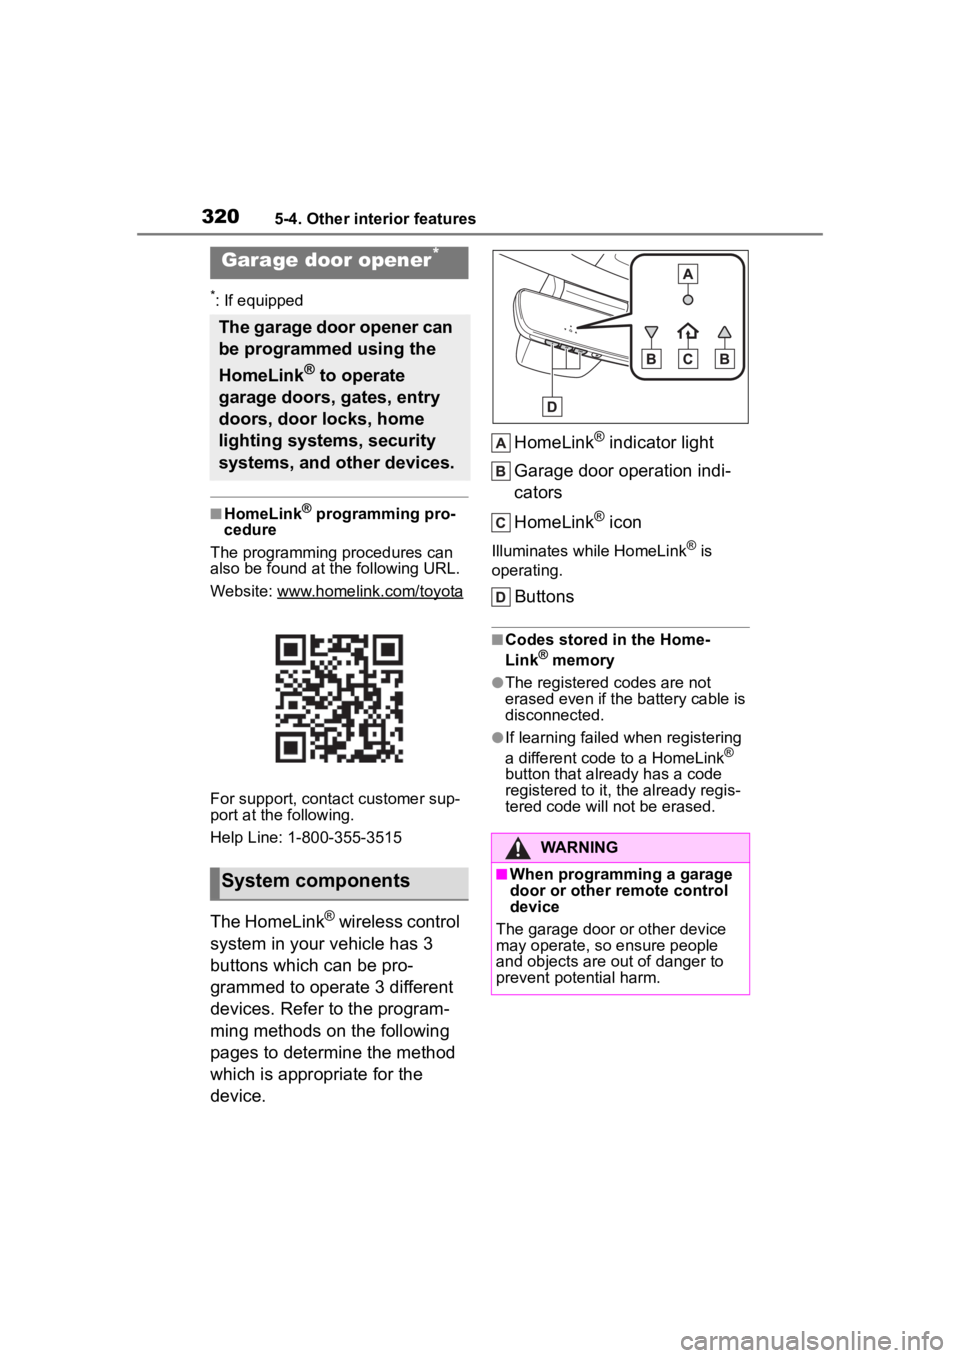
device. HomeLink
® indicator light
Garage door operation indi-
cators
HomeLink
® icon
Illuminates while HomeLink® is
operating.
Buttons
■Codes stored in the Home-
Link® memory
●The registered codes are not
erased even if the battery cable is
disconnected.
●If learning failed when registering
a different code to a HomeLink®
button that already has a code
registered to it, the already regis-
tered code will not be erased.
Garage door opener*
The garage door opener can
be programmed using the
HomeLink
® to operate
garage doors, gates, entry
doors, door locks, home
lighting systems, security
systems, and other devices.
System components
WARNING
■When programming a garage
door or other remote control
device
The garage door or other device
may operate, so ensure people
and objects are out of danger to
prevent potential harm.
Page 321 of 500
3215-4. Other interior features
5
Interior features
■Before programming Home-
Link
®
During programming, it is pos-
sible that garage doors,
gates, or other devices may
operate. For this reason,
make sure that people and
objects are clear of the
garage door or other devices
to prevent injury or other
potential harm.
It is recommended that a new
battery be placed in the
remote control transmitter for
more accurate programming.
Garage door opener motors
manufactured after 1995 may
be equipped with rolling code protection. If this is the case,
you may need a stepladder or
other sturdy, safe device to
reach the “Learn” or “Smart”
button on the garage door
opener motor.
■Programming HomeLink®
Steps
1 through 3 must be per-
formed within 60 seconds, oth-
erwise the indicator light will
stop flashing and programming
will not be able to be completed.
1 Press and release the Home-
Link
® button you want to pro-
gram and check that the
HomeLink
® indicator light
flashes (orange).
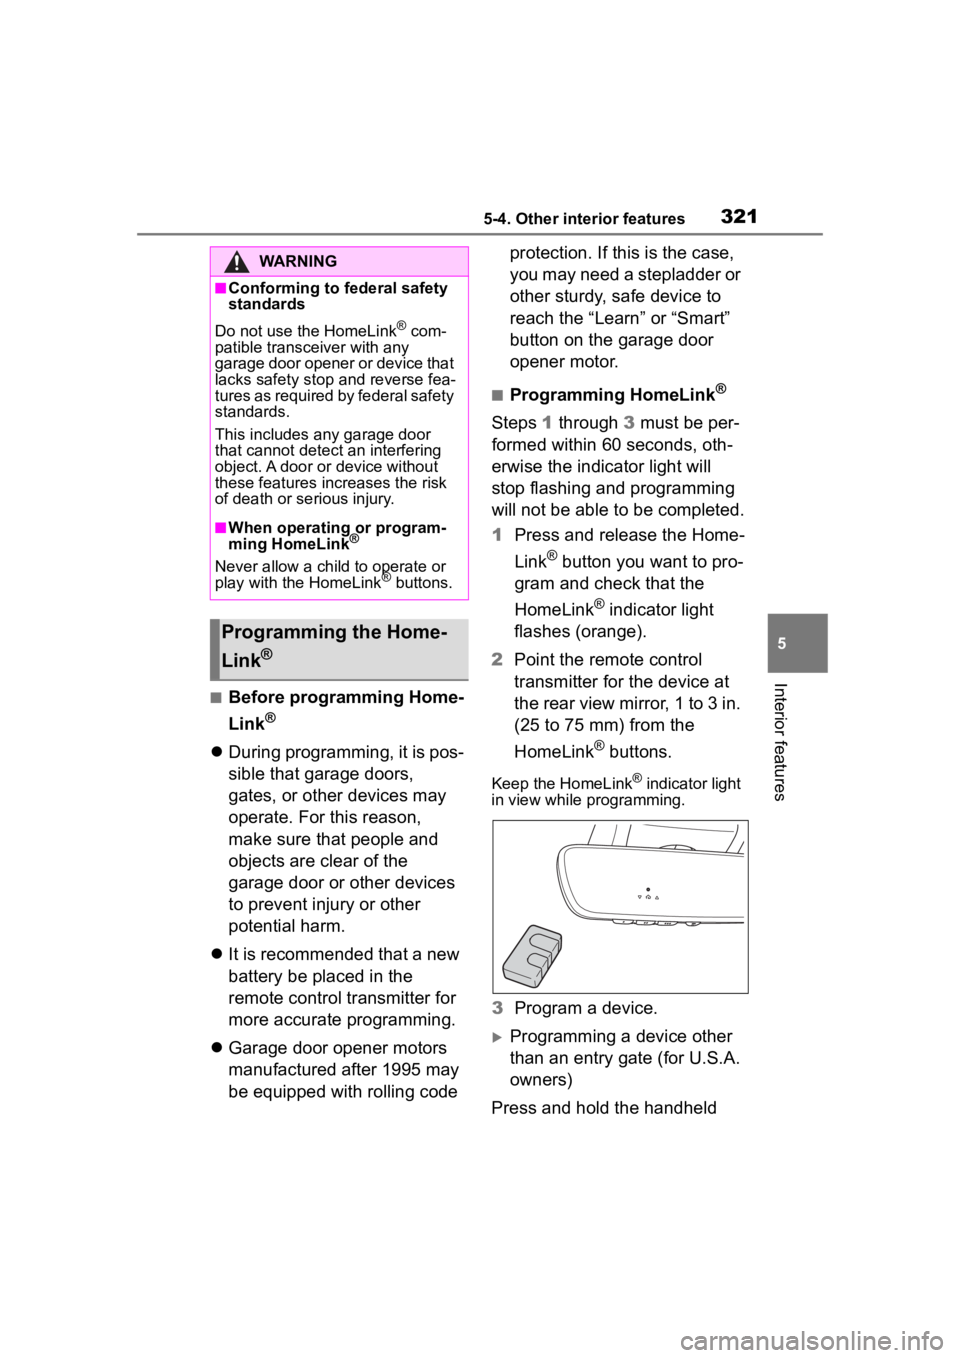
2 Point the remote control
transmitter for the device at
the rear view mirror, 1 to 3 in.
(25 to 75 mm) from the
HomeLink
® buttons.
Keep the HomeLink® indicator light
in view while programming.
3 Program a device.
Programming a device other
than an entry gate (for U.S.A.
owners)
Press and hold the handheld
WARNING
■Conforming to federal safety
standards
Do not use the HomeLink
® com-
patible transceiver with any
garage door opener or device that
lacks safety stop and reverse fea-
tures as required by federal safety
standards.
This includes any garage door
that cannot detect an interfering
object. A door or device without
these features increases the risk
of death or se rious injury.
■When operating or program-
ming HomeLink®
Never allow a child to operate or
play with the HomeLink® buttons.
Programming the Home-
Link
®
Page 324 of 500
3245-4. Other interior features
“Learn” or “Smart” button on
the garage door opener
motor. Within 5 seconds of
the establishment of 2-way
communication with the
garage door opener, both
garage door operation indica-
tors in the vehicle will flash
rapidly (green) and the light
on the garage door opener
motor will blink twice, indicat-
ing that 2-way communica-
tion is enabled.
■Reprogramming a single
HomeLink
® button
When the following procedure is
performed, buttons which
already have devices registered
to them can be overwritten:
1 With one hand, press and
hold the desired HomeLink
®
button.
2 When the HomeLink
® indica-
tor starts flashing (orange),
continue to hold the Home-
Link
® button and perform
“Programming HomeLink
®” 1
(it takes 20 seconds for the
HomeLink
® indicator to start
flashing).
■Before programming
●Install a new battery in the trans-
mitter.
●The battery side of the transmitter
must be pointed away from the
HomeLink
®.
Press the appropriate Home-
Link
® button. The HomeLink®
indicator light should turn on.
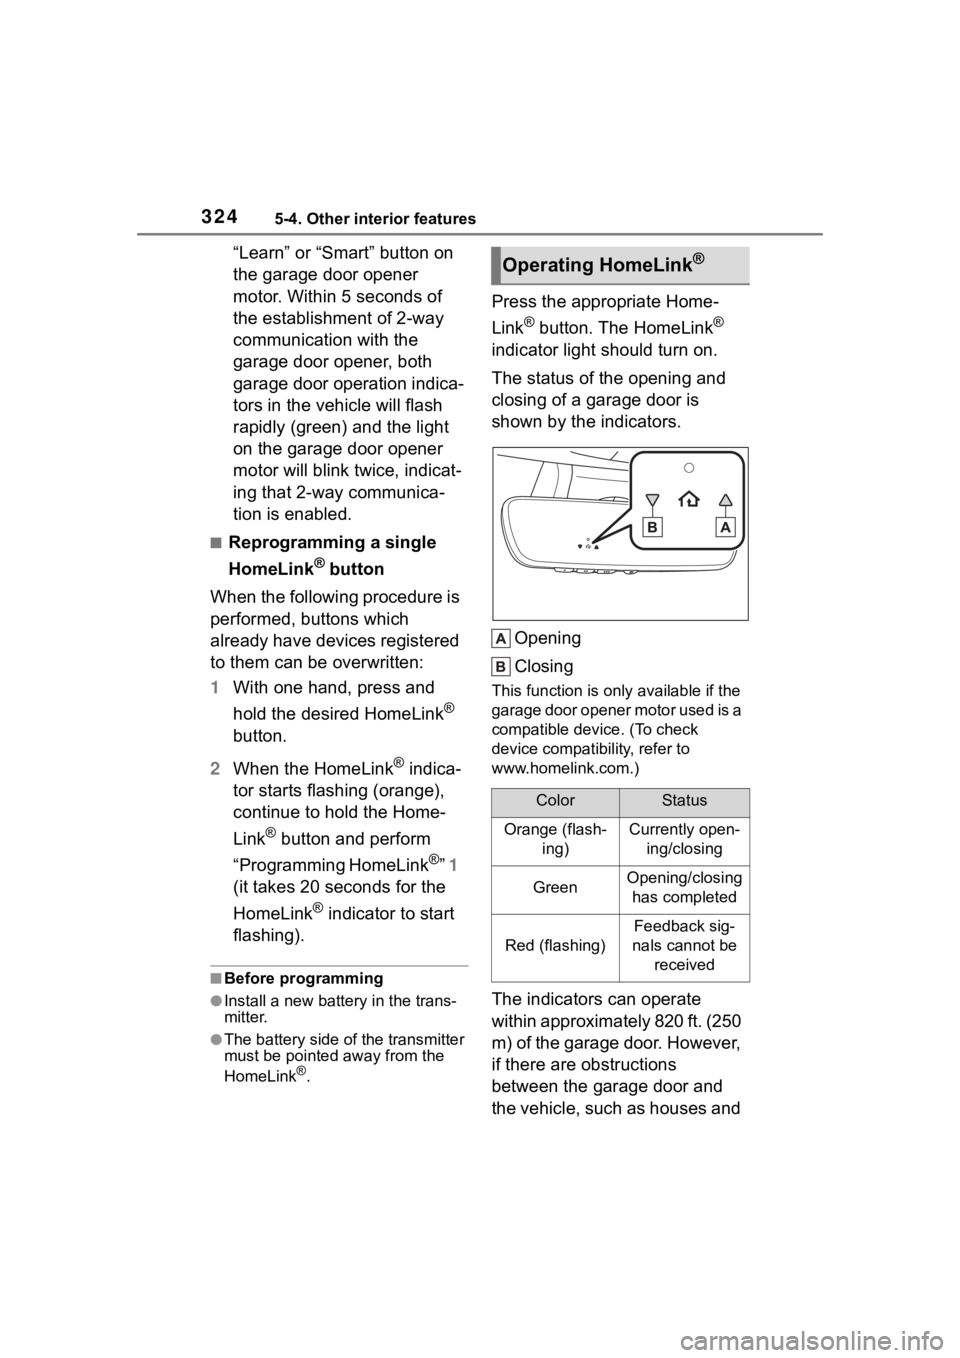
The status of the opening and
closing of a garage door is
shown by the indicators.
Opening
Closing
This function is only available if the
garage door opener motor used is a
compatible device. (To check
device compatibility, refer to
www.homelink.com.)
The indicators can operate
within approximately 820 ft. (250
m) of the garage door. However,
if there are obstructions
between the garage door and
the vehicle, such as houses and
Operating HomeLink®
ColorStatus
Orange (flash- ing)Currently open-ing/closing
GreenOpening/closing has completed
Red (flashing)
Feedback sig-
nals cannot be received
Page 327 of 500

327
6
6
Maintenance and care
Maintenance and care
.6-1. Maintenance and careCleaning and protecting the vehicle exterior .......... 328
Cleaning and protecting the vehicle interior ........... 331
6-2. Maintenance Maintenance requirements.................................. 334
General maintenance.. 336
Emission inspection and maintenance (I/M) pro-
grams ........................ 338
6-3. Do-it-yourself mainte- nance
Do-it-yourself service pre- cautions ..................... 340
Hood ........................... 342
Positioning a floor jack .................................. 343
Engine compartment ... 344
Tires ............................ 351
Tire inflation pressure.. 363
Wheels ......... ...............365
Air conditioning filter .... 366
Wireless remote con- trol/electronic key battery.................................. 368
Checking and replacing fuses.......................... 371
Headlight aim .............. 373
Light bulbs................... 374
Page 334 of 500
3346-2. Maintenance
6-2.Maintenance
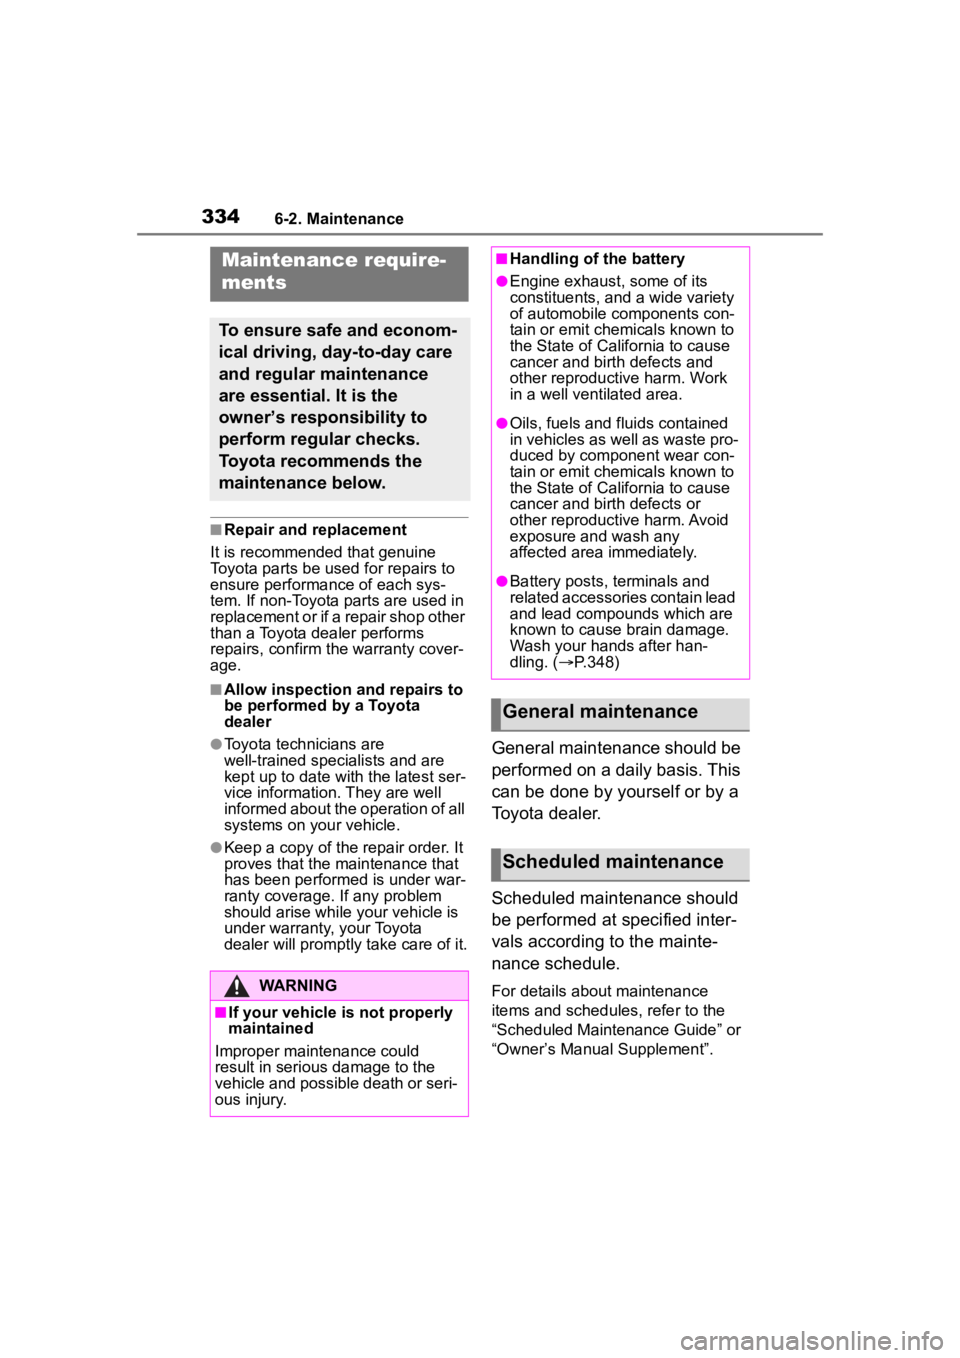
■Repair and replacement
It is recommended that genuine
Toyota parts be used for repairs to
ensure performanc e of each sys-
tem. If non-Toyota parts are used in
replacement or if a repair shop other
than a Toyota dealer performs
repairs, confirm the warranty cover-
age.
■Allow inspection and repairs to
be performed by a Toyota
dealer
●Toyota technicians are
well-trained specialists and are
kept up to date with the latest ser-
vice information. They are well
informed about the operation of all
systems on your vehicle.
●Keep a copy of the repair order. It
proves that the maintenance that
has been performed is under war-
ranty coverage. If any problem
should arise while your vehicle is
under warranty, your Toyota
dealer will promptly take care of it.
General maintenance should be
performed on a daily basis. This
can be done by yourself or by a
Toyota dealer.
Scheduled maintenance should
be performed at specified inter-
vals according to the mainte-
nance schedule.
For details about maintenance
items and schedules, refer to the
“Scheduled Maintenance Guide” or
“Owner’s Manual Supplement”.
Maintenance require-
ments
To ensure safe and econom-
ical driving, day-to-day care
and regular maintenance
are essential. It is the
owner’s responsibility to
perform regular checks.
Toyota recommends the
maintenance below.
WARNING
■If your vehicle is not properly
maintained
Improper maintenance could
result in serious damage to the
vehicle and possible death or seri-
ous injury.
■Handling of the battery
●Engine exhaust, some of its
constituents, and a wide variety
of automobile components con-
tain or emit chemicals known to
the State of California to cause
cancer and birth defects and
other reproductive harm. Work
in a well ventilated area.
●Oils, fuels and fluids contained
in vehicles as well as waste pro-
duced by component wear con-
tain or emit chemicals known to
the State of California to cause
cancer and birth defects or
other reproductive harm. Avoid
exposure and wash any
affected area immediately.
●Battery posts, terminals and
related accessories contain lead
and lead compounds which are
known to cause brain damage.
Wash your hands after han-
dling. ( P.348)
General maintenance
Scheduled maintenance
Page 336 of 500
3366-2. Maintenance
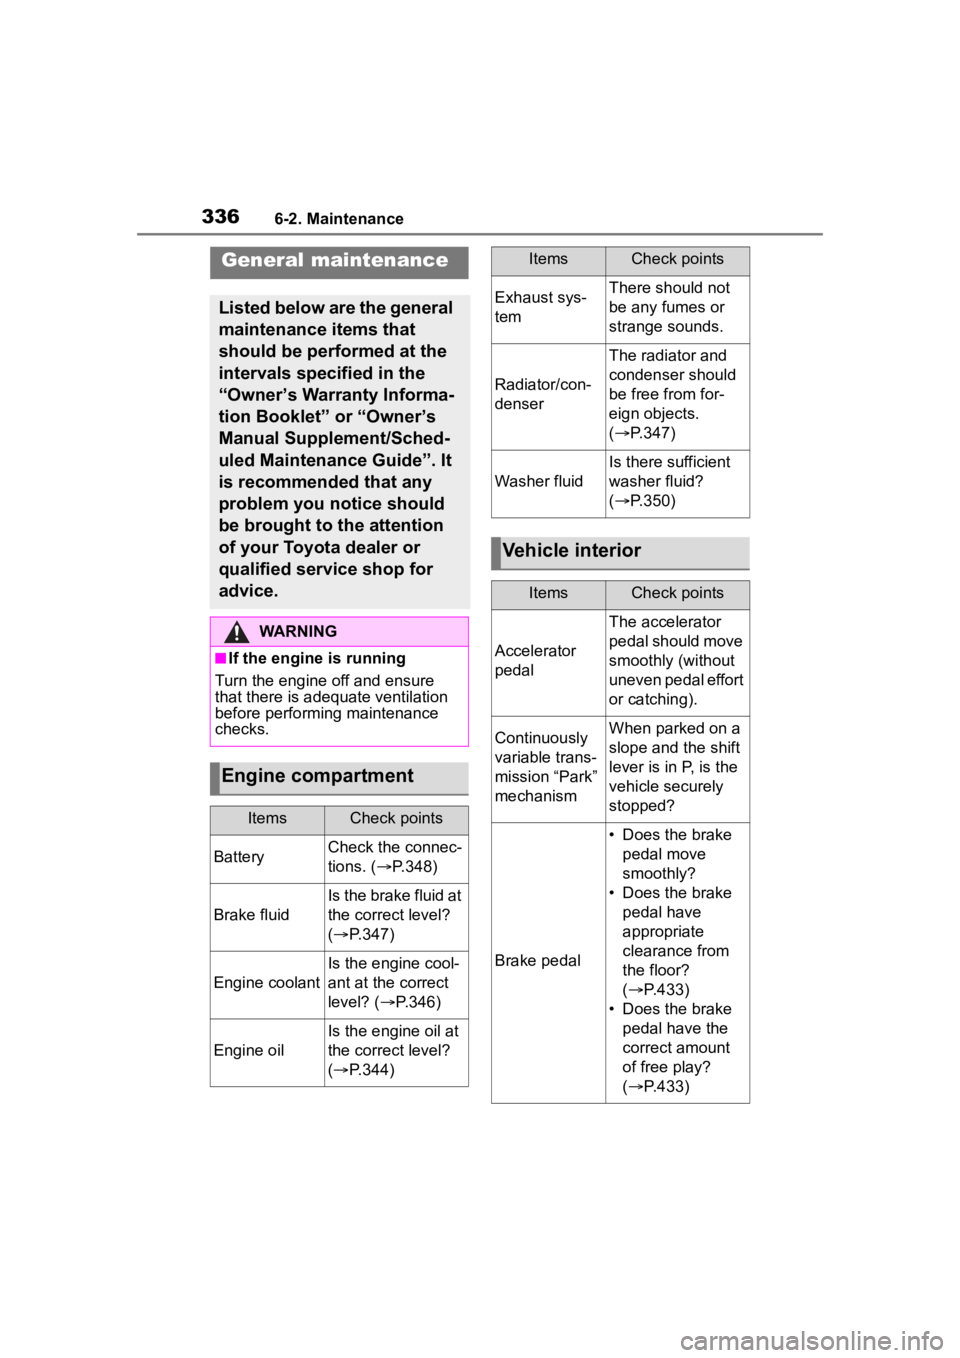
General maintenance
Listed below are the general
maintenance items that
should be performed at the
intervals specified in the
“Owner’s Warranty Informa-
tion Booklet” or “Owner’s
Manual Supplement/Sched-
uled Maintenance Guide”. It
is recommended that any
problem you notice should
be brought to the attention
of your Toyota dealer or
qualified service shop for
advice.
WARNING
■If the engine is running
Turn the engine off and ensure
that there is adequate ventilation
before performing maintenance
checks.
Engine compartment
ItemsCheck points
BatteryCheck the connec-
tions. ( P.348)
Brake fluid
Is the brake fluid at
the correct level?
( P.347)
Engine coolant
Is the engine cool-
ant at the correct
level? ( P.346)
Engine oil
Is the engine oil at
the correct level?
( P.344)
Exhaust sys-
temThere should not
be any fumes or
strange sounds.
Radiator/con-
denser
The radiator and
condenser should
be free from for-
eign objects.
( P.347)
Washer fluid
Is there sufficient
washer fluid?
( P.350)
Vehicle interior
ItemsCheck points
Accelerator
pedal
The accelerator
pedal should move
smoothly (without
uneven pedal effort
or catching).
Continuously
variable trans-
mission “Park”
mechanismWhen parked on a
slope and the shift
lever is in P, is the
vehicle securely
stopped?
Brake pedal
• Does the brake
pedal move
smoothly?
• Does the brake pedal have
appropriate
clearance from
the floor?
( P.433)
• Does the brake pedal have the
correct amount
of free play?
( P.433)
ItemsCheck points