2023 TOYOTA 86 parking brake
[x] Cancel search: parking brakePage 159 of 449

1594-3. Operating the lights and wipers
4
Driving
parking lights and illuminate
brighter than the parking lights.
●To make your vehicle more visible
to other drivers during daytime
driving, the daytime running lights
turn on automatically when all of
the following conditions are met.
(The daytime running lights are
not designed for use at night.)
• The engine is running
• The shift lever is shifted out of P (vehicles with an automatic trans-
mission)
• The parking brake is released
• The headlight s witch is in the
(U.S.A. only), or
* position
*: When the surroundings are bright
The daytime running lights remain
on after they illumi nate, even if the
parking brake is set again.
●When the turn signal indicators
are flashing, the daytime running
light on the side that the turn sig-
nals are flashing will turn off.
●When the emergency flashers are
flashing, both daytime running
lights will turn off.
●Compared to turning on the head-
lights, the daytime running light
system offers gr eater durability
and consumes less electricity, so
it can help improve fuel economy.
■Headlight control sensor
In the following si tuations, the auto-
matic light control system may not
operate correctly.
●When an object is placed on the
sensor or something which blocks
the sensor is affixed to the wind-
shield
●When the surrounding area is lit
by light other than natural light
■Automatic light off system
When the light switch is in : The
headlights and tail lights turn off 30
seconds after a door is opened and
closed if the engine switch is turned
off. (The lights turn off immediately if on the key is pressed twice after
both side doors are closed.)
To turn the lights on again, turn the
engine switch to ON, or turn the light
switch off once and then back to
or (except for Canada).
■Light reminder buzzer
A buzzer sounds when the engine
switch is turned off and the driver’s
door is opened wh ile the lights are
turned on.
■Automatic headlight leveling
system
The level of the headlights is auto-
matically adjusted according to the
number of passengers and the load-
ing condition of the vehicle to
ensure that the headlights do not
interfere with o ther road users.
■Windshield wiper linked head-
light illumination
When driving during daytime with
the headlight switch turned to , if
the windshield wipers are used, the
headlights will turn o n automatically
after several se conds to help
enhance the visibility of your vehi-
cle.
■Battery-saving function
In order to prevent the battery of the
vehicle from discharging, if the
headlights and/or tail lights are on
Page 192 of 449

1924-5. EyeSight
WARNING
●Ordinary roads (roads other
than those mentioned above)
• Depending on the driving envi- ronment (complexity of roads
and other factors), the system
may not be able to perform as
the traffic conditions require,
and that may result in an acci-
dent.
●Sharp curves or winding roads
●Frozen roads, snow-covered
roads or other slippery road sur-
faces
• The tires may spin, causing loss of control of the vehicle.
●Traffic conditions when fre-
quent acceleration and deceler-
ation make it difficult to maintain
the following distance
• It may not be po ssible for the
system to perform as the traffic
conditions require.
●Steep downhill grades
• The set vehicle speed may be exceeded.
●On a steep continuous downhill
grade
• The brakes may overheat.
●Roads and overpasses with
repeated steep uphill and down-
hill grades
• Detection of the vehicle in front may be lost, or the road surface
may be detected instead of the
vehicle in front, making correct
control impossible.
●Entering a sharp curve/turn into
an interchange or junction, or a
service area, parking area, toll
booth or other facilities
• Detection of the vehicle in front may not be possible.
●There are changes in bright-
ness, such as at a tunnel
entrance or exit.
Page 197 of 449
1974-5. EyeSight
4
Driving
indicator
Following distance setting
indicator (icon)
When the multi-information display
is set to display content other than
the driving suppor t system informa-
tion display, the following distance
setting indicator is shown as an
icon.
To set the ready status: Adap-
tive Cruise Control can be acti-
vated when all of the following
conditions are met and
“READY” indicator is displayed
on the meter display.
• Both the driver's door and the
front passenger's door are
closed.
• The driver’s seatbelt is fas- tened.
• The shift lever is in the D or M position.
• The brake pedal is not depressed.
• EyeSight operation is not tem-
porarily stopped. (white) is
turned off. ( P.229)
• The road is not a steep slope.
• The steering wheel has not been turned significantly in
either direction.
• The vehicle speed is between 0 mph (0 km/h) and approxi-
mately 90 mph (145 km/h).
• Parking brake is released.
• The driving mode is set to normal mode or sport mode.
( P.258)
• Pre-Collision Braking System is not turned off during
TRACK mode. (
P.189, 263)
• TRAC and VSC system are not set to off. ( P.263)
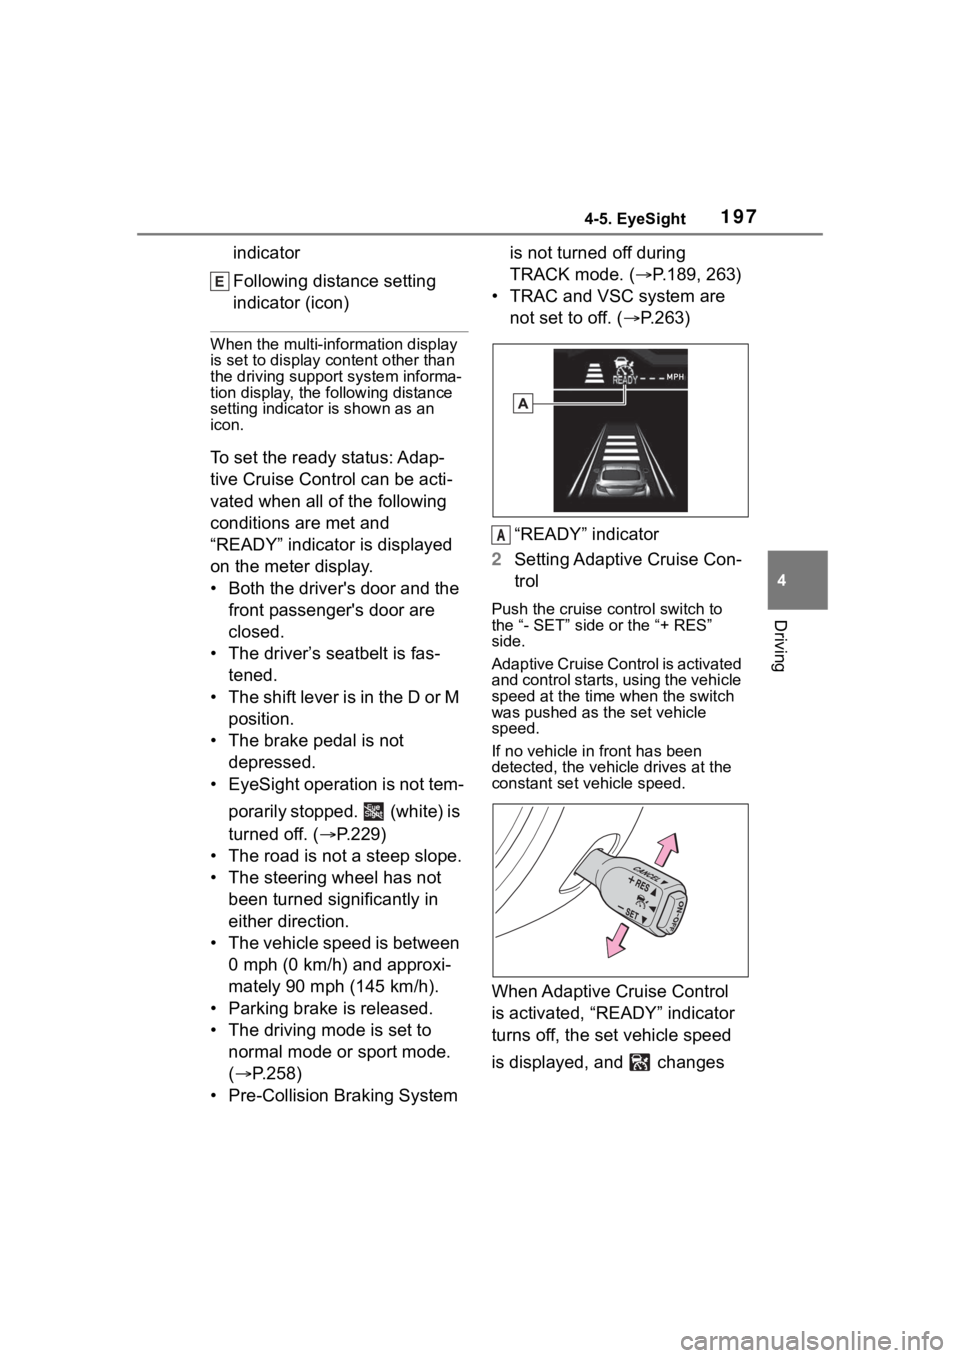
“READY” indicator
2 Setting Adaptive Cruise Con-
trol
Push the cruise control switch to
the “- SET” side or the “+ RES”
side.
Adaptive Cruise Control is activated
and control starts, using the vehicle
speed at the time when the switch
was pushed as the set vehicle
speed.
If no vehicle in front has been
detected, the vehicle drives at the
constant set vehicle speed.
When Adaptive Cruise Control
is activated, “READY” indicator
turns off, the set vehicle speed
is displayed, and changes
A
Page 204 of 449
2044-5. EyeSight
In the following cases, a notifica-
tion will sound 1 short beep and
1 long beep and Adaptive
Cruise Control is automatically
canceled. changes from
green to white. Also, the Adap-
tive Cruise Control cancellation
message is displayed on the
multi-information display.
The grade of the road is very
steep.
TRAC or VSC is activated.
The vehicle speed has
exceeded approximately 100
mph (160 km/h) while cruise
control is activated.
The steering wheel is turned
significantly in either direction.
The shift lever is moved to a
position other than D or M.
• Adaptive Cruise Control can be
resumed after the shift lever is
returned to the D or M position.
Either the driver's door or the
front passenger's door is
opened.
The driver’s seatbelt is unfas-
tened.
The EyeSight system has a malfunction. ( :yellow)
(
P.228)
The EyeSight system has
stopped temporarily. (
:white) ( P.229)
The Pre-Collision secondary
braking is activated.
Parking brake is applied.
The engine revolutions
approached the red zone.
The driving mode is set to
snow mode. ( P.258)
Pre-Collision Braking System
is turned off during TRACK
mode. ( P.189, 263)
TRAC and VSC system are
off. ( P.263)
The driving wheels spin on a
slippery road.
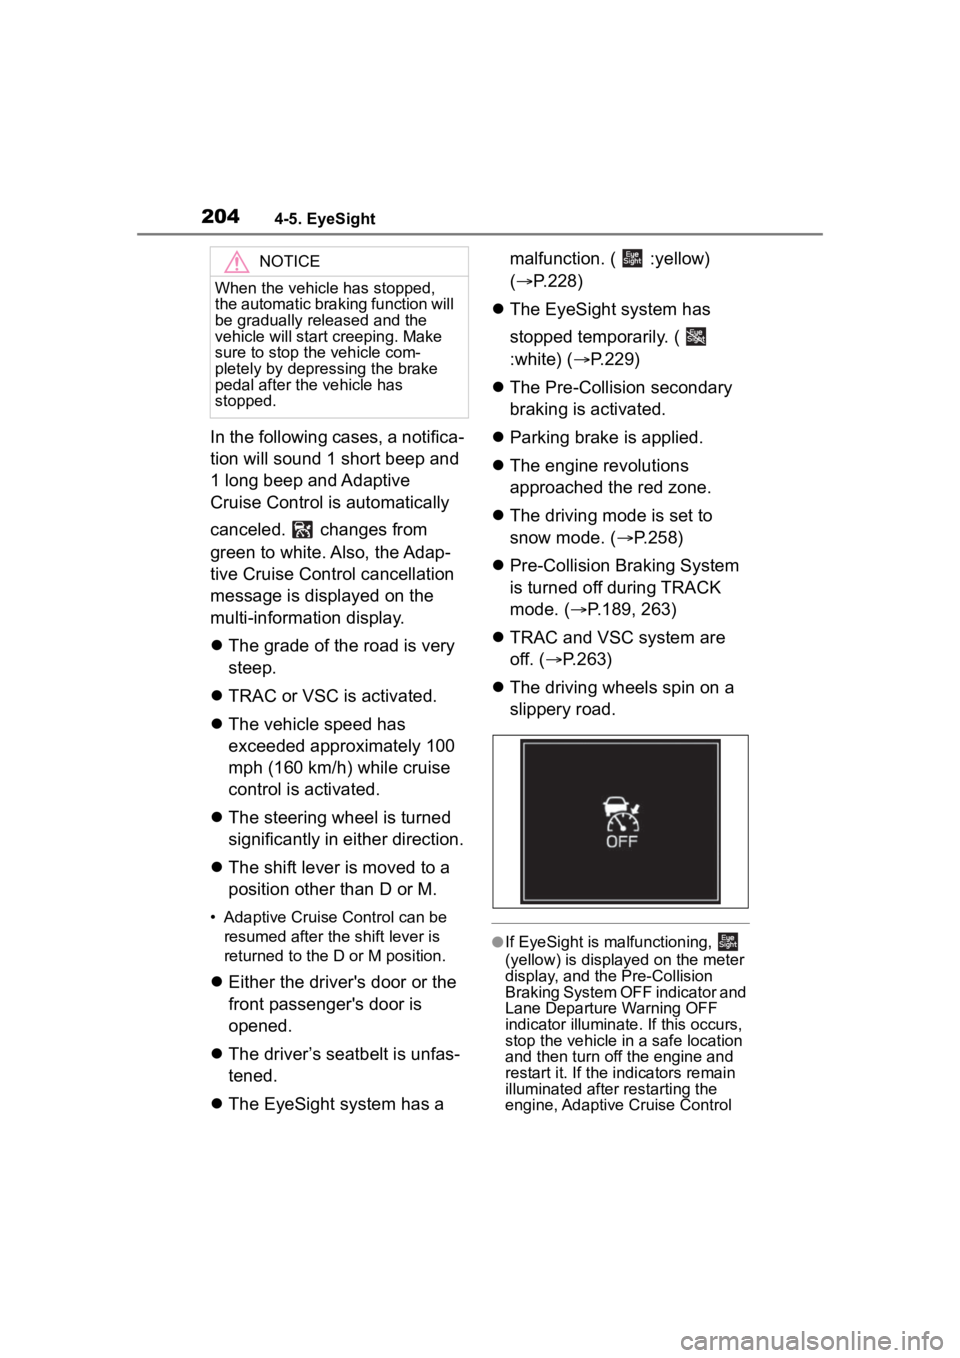
●If EyeSight is malfunctioning,
(yellow) is displayed on the meter
display, and the Pre-Collision
Braking System OFF indicator and
Lane Departure Warning OFF
indicator illuminate. If this occurs,
stop the vehicle in a safe location
and then turn off the engine and
restart it. If the in dicators remain
illuminated after restarting the
engine, Adaptive Cruise Control
NOTICE
When the vehicle has stopped,
the automatic braking function will
be gradually released and the
vehicle will start creeping. Make
sure to stop the vehicle com-
pletely by depressing the brake
pedal after the vehicle has
stopped.
Page 210 of 449
2104-5. EyeSight
• The vehicle speed is between approximately 20 mph (30
km/h) and 90 mph (145 km/h).
• Parking brake is released.
• The driving mode is set to normal mode or sport mode.
( P.258)
• Pre-Collision Braking System is not turned off during
TRACK mode. ( P.189, 263)
• TRAC and VSC system are not set to off. ( P.263)
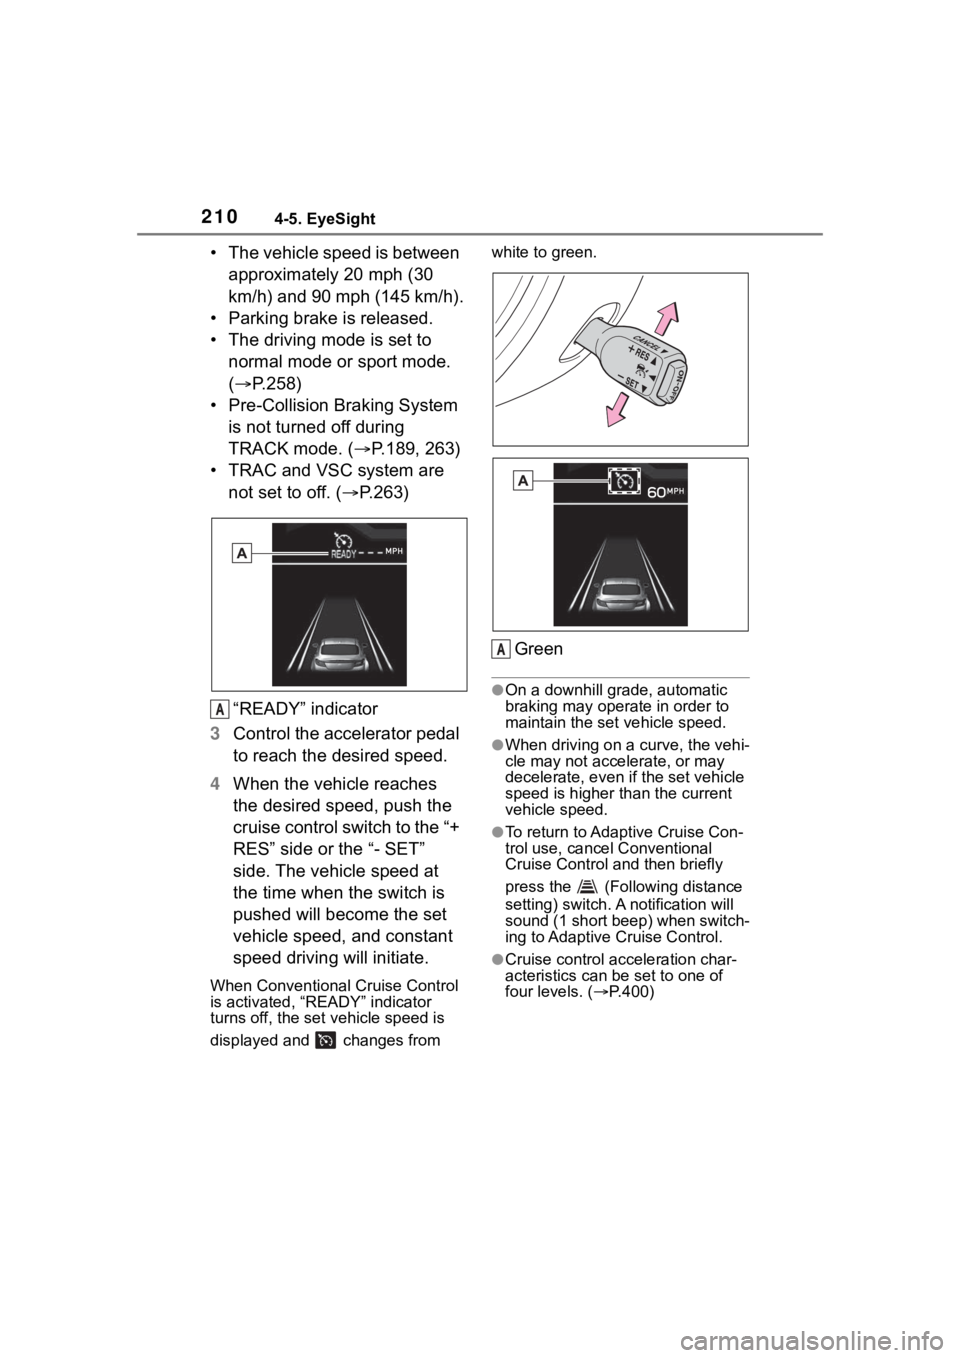
“READY” indicator
3 Control the accelerator pedal
to reach the desired speed.
4 When the vehicle reaches
the desired speed, push the
cruise control switch to the “+
RES” side or the “- SET”
side. The vehicle speed at
the time when the switch is
pushed will become the set
vehicle speed, and constant
speed driving will initiate.
When Conventional Cruise Control
is activated, “READY” indicator
turns off, the set vehicle speed is
displayed and changes from white to green.
Green
●On a downhill grade, automatic
braking may operate in order to
maintain the set vehicle speed.
●When driving on a curve, the vehi-
cle may not accelerate, or may
decelerate, e
ven if the set vehicle
speed is higher than the current
vehicle speed.
●To return to Adaptive Cruise Con-
trol use, cancel Conventional
Cruise Control and then briefly
press the (Following distance
setting) switch. A notification will
sound (1 short beep) when switch-
ing to Adaptive Cruise Control.
●Cruise control acceleration char-
acteristics can be set to one of
four levels. ( P.400)
A
A
Page 213 of 449
2134-5. EyeSight
4
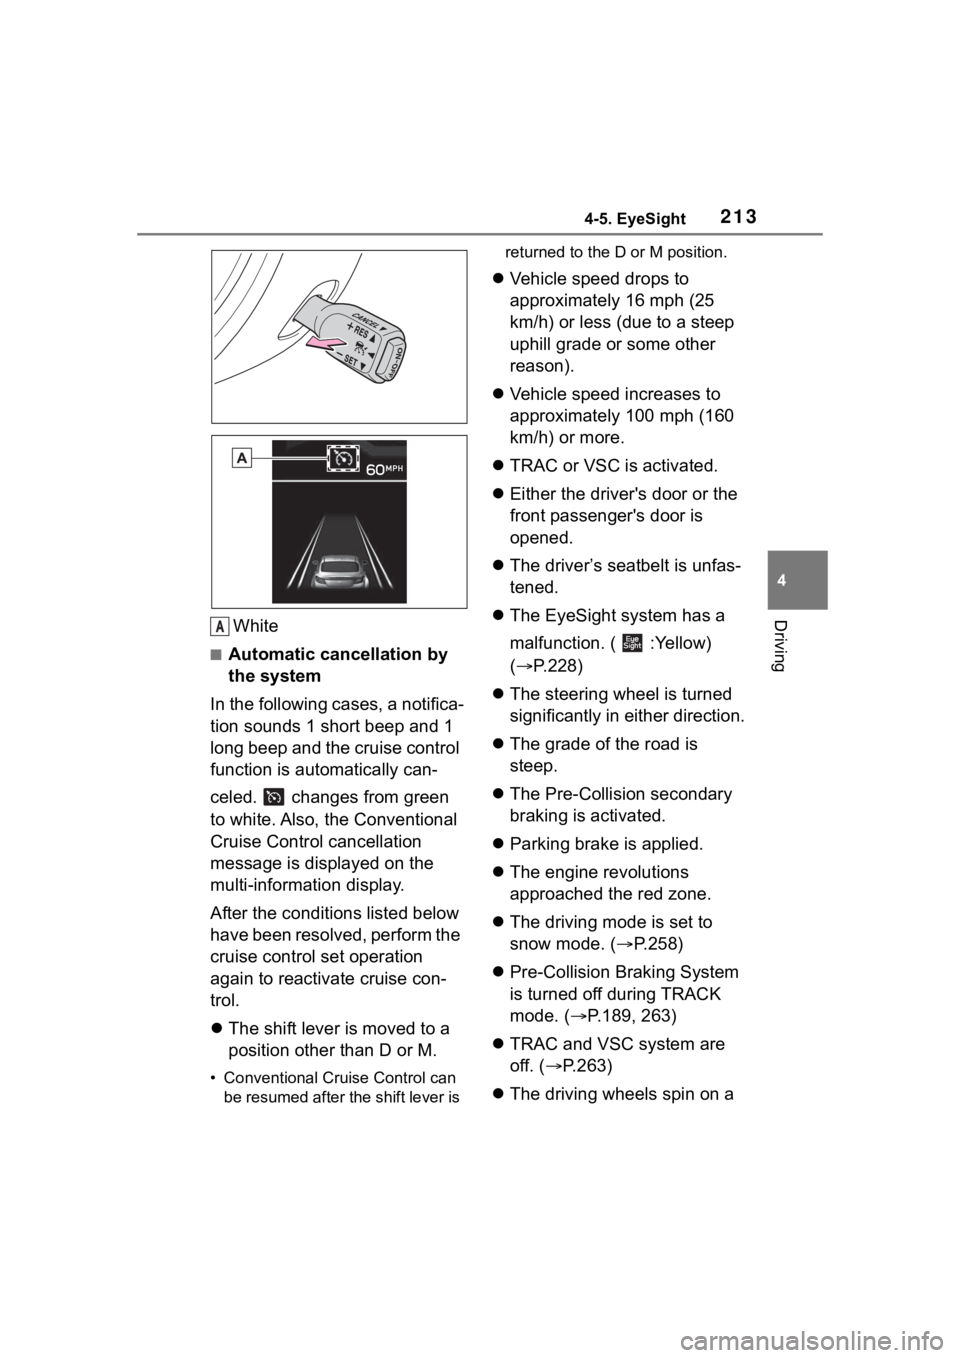
DrivingWhite
■Automatic cancellation by
the system
In the following cases, a notifica-
tion sounds 1 short beep and 1
long beep and the cruise control
function is automatically can-
celed. changes from green
to white. Also, the Conventional
Cruise Control cancellation
message is displayed on the
multi-information display.
After the conditi ons listed below
have been resolved, perform the
cruise control set operation
again to reactivate cruise con-
trol.
The shift lever is moved to a
position other than D or M.
• Conventional Cruise Control can
be resumed after the shift lever is returned to the D or M position.
Vehicle speed drops to
approximately 16 mph (25
km/h) or less (due to a steep
uphill grade or some other
reason).
Vehicle speed increases to
approximately 100 mph (160
km/h) or more.
TRAC or VSC is activated.
Either the driver's door or the
front passenger's door is
opened.
The driver’s seatbelt is unfas-
tened.
The EyeSight system has a
malfunction. ( :Yellow)
( P.228)
The steering wheel is turned
significantly in either direction.
The grade of the road is
steep.
The Pre-Collision secondary
braking is activated.
Parking brake is applied.
The engine revolutions
approached the red zone.
The driving mode is set to
snow mode. ( P.258)
Pre-Collision Braking System
is turned off during TRACK
mode. ( P.189, 263)
TRAC and VSC system are
off. ( P.263)
The driving wheels spin on a
A
Page 243 of 449

2434-6. Using other driving systems
4
Driving
nated.
●In the following cases, the
Reverse Automatic Braking (RAB)
system cannot be operated.
• The RAB OFF indicator is illumi-
nated.
●In the following cases, the func-
tions may not be able to properly
work. Promptly contact a Toyota
dealer to have the system
inspected.
• A sticker, paint, or a chemical is applied to the sonar sensors or
the rear bumper near the sonar
sensor.
• The rear bumper is modified.
• The rear bumper has been
removed and attached.
• The ground clearance is changed
due to the vehicle’s loading condi-
tion or modification.
• There is damage to the sonar sen-
sors or the rear bumper near the
sonar sensor.
• The rear bumper is exposed to
strong impact, or the rear bumper
is deformed.
●On a steep hill, t he system’s auto-
matic braking ability will be
reduced.
●The system is designed to avoid
collisions by automatic hard brak-
ing when the vehicle’s reversing
speed is less than approximately
3 mph (5 km/h). However, the sys-
tem does not guarantee that the
vehicle will be able to avoid colli-
sions in any situation.
●If the vehicle is reversed at an
extremely slow speed, the driver’s
operation may be prioritized. In
this case, automatic braking will
not operate.
●The system may not be able to
detect and apply the brake with
the following objects.
• Sharp or thin objects such as poles, fences and ropes which
may not reflect the sound wave
emitted from the sonar sensor.
• Objects that are t oo close to the
rear bumper when the shift lever is set to R.
• Objects with a su rface which may
not reflect the sound wave emitted
from the sonar sensor such as a
chain link fence.
●Objects the system is not
designed to detect and apply
brake.
• Pedestrians.
• Moving objects including moving vehicles.
• Objects which absorbs sound waves such as cloth or snow.
• Objects whose surface has a
diagonal angle.
• Objects that are low to the ground such as parking blocks.
• Objects that are high above the ground such as objects hanging
from above.
• Objects that are out of range of
the center of the vehicle in the
horizontal direction.
• Objects that are n ot in a vertical
direction.
• Objects which are not perpendicu-
lar to the ground.
• Objects which are not directly in the traveling direction of the vehi-
cle.
• Objects which a re uneven or
wavy.
●When reversing the vehicle, the
functions may not be able to work
properly or may cause a system
malfunction if the following condi-
tions exist.
High frequency so und from other
sources are nearby:
• Horn sound from another vehicle.
• Engine sound from other vehicles.
• Sound of an air brake.
• Vehicle detection equipment or a
sonar from another vehicle.
• A sound wave with a frequency similar to the veh icle’s system is
transmitted near by.
• A vehicle equipped with the same system is reversing toward your
reversing direction.
●Weather conditions:
• Extremely high or extremely low
Page 251 of 449
2514-6. Using other driving systems
4
Driving
When the shift lever is set to R,
the rear view camera automati-
cally displays the rear view
image from the vehicle. When
the lever is set to other posi-
tions, the image before setting
to R is displayed.
1Set the engine switch to ON.
2 Set the shift lever to R.
●The image of the rear view cam-
era is horizontally reversed as is
the case with the vehicle inside mirror or the outside mirror.
●When “Rear Camera Delay Con-
trol” is on, the r
ear view image
from the r ear view camera will be
displayed on the multimedia sys-
tem screen for a certain amount of
time after the shift lever is shifted
from R to another position. When
any of the following conditions are
met, the rear view image will be
canceled:
• The shift lever is shifted to P (vehi- cles with an automatic transmis-
sion)
• The vehicle speed becomes approximately 5 mph (8 km/h) or
more
• The parking brake is engaged
• 9 seconds have elapsed since the shift lever was shifted from R to
another position
To turn the function on and off, refer
to “MULTIMEDIA OWNER’S MAN-
UAL”.
●It may be difficult to see the image
of the rear view camera in the fol-
lowing cases. This is not a mal-
function of the camera.
• The vehicle is in a dark place (at night, in a tunnel, etc.).
• The vehicle is in an extremely hot or cold place.
• An object (such as raindrops,
snow, dirt, etc.) that disturbs the
view of the rear view camera
sticks to the lens of the camera.
• Strong light is shining directly on the camera lens ( occasionally,
there are vertical lines on the
screen).
The area from the rear end of
the bumper can be viewed.
Areas at both ends of the
bumper and areas just under the
bumper cannot be viewed.
NOTICE
●Since the camera is a precision
device, do not subject it to
strong impacts. Otherwise, mal-
function, fire or electric shock
may occur.
●If mud or snow sticks to or is fro-
zen on the camera, you must be
very careful when removing it.
Otherwise, damage to the cam-
era may cause a fire or electric
shock. Pour water or lukewarm
water over the camera to
remove mud and ice, and wipe
it with a soft, dry cloth.
●Do not put a flame close to the
camera or wirin g. Otherwise,
damage or fire may occur.
●When replacing the fuse, be
sure to use a fuse with the spec-
ified rating. Use of a fuse with a
different rating may result in a
malfunction.
●If you use the rear view camera
for a long time while the engine
is not operated, the battery may
become completely discharged.
How to use the rear view
camera
Viewing range on the
screen