2023 NISSAN TITAN parking brake
[x] Cancel search: parking brakePage 399 of 644

SYSTEM TEMPORARILY
UNAVAILABLE
The following are conditions in which the
ICC system may be temporarily unavail-
able. In these instances, the ICC system
may not cancel and may not be able to
maintain the selected following distance
from the vehicle ahead.
Condition A
Under the following conditions, the ICC sys-
tem is automatically canceled. A chime will
sound and the system will not be able to be
set:
• When the VDC system is turned off
• When the VDC operates
• When a vehicle ahead is not detected andyour vehicle is traveling below the speed
of 15 mph (25 km/h)
• When the system judges the vehicle is at a standstill
• When the shif t lever is not in the D (Drive) or Manual mode
• When the parking brake is applied
• When a wheel slips
• When the radar signal is temporarily interrupted
LSD3763
Starting and driving5-65
Page 406 of 644

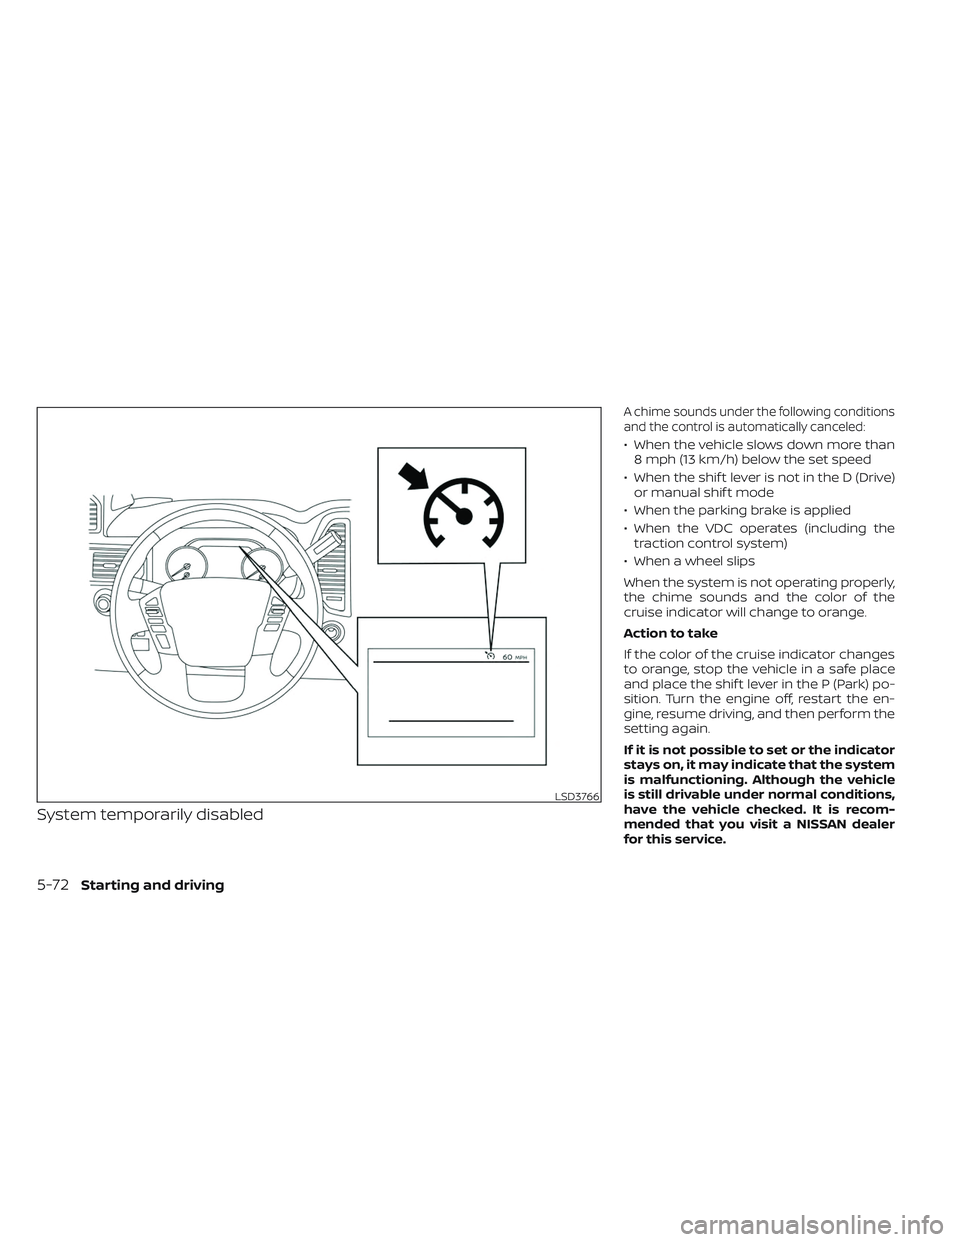
System temporarily disabled
A chime sounds under the following conditions
and the control is automatically canceled:
• When the vehicle slows down more than8 mph (13 km/h) below the set speed
• When the shif t lever is not in the D (Drive) or manual shif t mode
• When the parking brake is applied
• When the VDC operates (including the traction control system)
• When a wheel slips
When the system is not operating properly,
the chime sounds and the color of the
cruise indicator will change to orange.
Action to take
If the color of the cruise indicator changes
to orange, stop the vehicle in a safe place
and place the shif t lever in the P (Park) po-
sition. Turn the engine off, restart the en-
gine, resume driving, and then perform the
setting again.
If it is not possible to set or the indicator
stays on, it may indicate that the system
is malfunctioning. Although the vehicle
is still drivable under normal conditions,
have the vehicle checked. It is recom-
mended that you visit a NISSAN dealer
for this service.
LSD3766
5-72Starting and driving
Page 407 of 644

WARNING
Failure to follow the warnings and in-
structions for proper use of the RAB
system could result in serious injury or
death.
• The RAB system is a supplemental
aid to the driver. It is not a replace-
ment for proper driving procedures.
Always use the side and rear mirrors
and turn and look in the direction you
will move before and while backing
up. Never rely solely on the RAB sys-
tem. It is the driver’s responsibility to
stay alert, drive safely, and be in con-
trol of the vehicle at all times.
• There is a limitation to the RAB sys-
tem capability. The RAB system is not
effective in all situations.
• Inclement weather or ultrasonic
sources such as an automatic car
wash, a truck’s compressed-air
brakes or a pneumatic drill may af-
fect the function of the system; this
may include reduced performance or
a false activation.
The RAB system can assist the driver when
the vehicle is backing up and approaching
objects directly behind the vehicle. The RAB system detects obstacles behind
the vehicle using the parking sensors
O1
located on the rear bumper.
NOTE:
You can temporarily cancel the sonar
function in the vehicle, but the RAB sys-
tem will continue to operate. For addi-
tional information, see “Front and rear
sonar system” (P. 5-121).
LSD3716
REAR AUTOMATIC BRAKING (RAB)
Starting and driving5-73
Page 409 of 644

TURNING THE RAB SYSTEM
ON/OFF
Perform the following steps to turn the RAB
system on or off.
1. Press the
button until “Settings” dis-
plays in the vehicle information display
and then press the ENTER button. Use
the
button to select “Driver Assis-
tance.” Then press the ENTER button.
2. Select “Emergency Brake” and press the ENTER button.
3. Select “Rear” and press the ENTER but- ton to turn the system on or off.
4. Push the Parking Aids system switch to turn the system on or off.
When the RAB system is turned off, the RAB
system warning light illuminates.
NOTE:
The RAB system will be automatically
turned on when the engine is re-
started.
LSD3736
Starting and driving5-75
Page 410 of 644

RAB SYSTEM LIMITATIONS
WARNING
Listed below are the system limitations
for the RAB system. Failure to follow the
warnings and instructions for proper
use of the RAB system could result in
serious injury or death.
• When the vehicle approaches an ob-
stacle while the accelerator or brake
pedal is depressed, the function may
not operate or the start of operation
may be delayed. The RAB system
may not operate or may not perform
sufficiently due to vehicle conditions,
driving conditions, the traffic envi-
ronment, the weather, road surface
conditions, etc. Do not wait for the
system to operate. Operate the brake
pedal by yourself as soon as
necessary.
• If it is necessary to override RAB op-
eration, strongly press the accelera-
tor pedal. •
Always check your surroundings and
turn to check what is behind you be-
fore and while backing up. The RAB
system detects stationary objects
behind the vehicle. The RAB system
does not detect the following ob-
jects:
– Moving objects
– Low objects
– Narrow objects
– Wedge-shaped objects
– Objects close to the bumper (less
than approximately 1 f t [30 cm])
– Objects that suddenly appear
– Thin objects such as rope, wire,
chain, etc.
• The RAB system may not operate for
the following obstacles:
– Obstacles located high off the
ground
– Obstacles in a position offset from
your vehicle
– Obstacles, such as spongy materi-
als or snow, that have sof t outer
surfaces and can easily absorb a
sound wave •
The RAB system may not operate in
the following conditions:
– There is rain, snow, ice, dirt, etc.,
attached to the sonar sensors.
– A loud sound is heard in the area
around the vehicle.
– The surface of the obstacle is di-
agonal to the rear of the vehicle.
• The RAB system may unintentionally
operate in the following conditions:
– There is overgrown grass in the
area around the vehicle.
– There is a structure (e.g., a wall, toll
gate equipment, a narrow tunnel,
a parking lot gate) near the side of
the vehicle.
– There are bumps, protrusions, or
manhole covers on the road
surface.
– The vehicle drives through a
draped flag or a curtain.
– There is an accumulation of snow
or ice behind the vehicle.
– An ultrasonic wave source, such as
another vehicle’s sonar, is near
the vehicle.
5-76Starting and driving
Page 438 of 644

Follow these easy-to-use Fuel Efficient
Driving Tips to help you achieve the most
fuel economy from your vehicle.
1.Use Smooth Accelerator and Brake
Pedal Application
• Avoid rapid starts and stops.
• Use smooth, gentle accelerator and brake application whenever possible.
• Maintain constant speed while com- muting and coast whenever possible.
2. Maintain Constant Speed
• Look ahead to try and anticipate and minimize stops.
• Synchronizing your speed with traffic lights allows you to reduce your num-
ber of stops.
• Maintaining a steady speed can mini- mize red light stops and improve fuel
efficiency.
3. Use Air Conditioning (A/C) at Higher
Vehicle Speeds
• Below 40 mph (64 km/h), it is more efficient to open windows to cool the
vehicle due to reduced engine load.
• Above 40 mph (64 km/h), it is more efficient to use A/C to cool the vehicle
due to increased aerodynamic drag. • Recirculating the cool air in the cabin
when the A/C is on reduces cooling
load.
4. Drive at Economical Speeds and
Distances
• Observing the speed limit and not ex- ceeding 60 mph (97 km/h) (where le-
gally allowed) can improve fuel effi-
ciency due to reduced aerodynamic
drag.
• Maintaining a safe following distance behind other vehicles reduces unnec-
essary braking.
• Safely monitoring traffic to anticipate changes in speed permits reduced
braking and smooth acceleration
changes.
• Select a gear range suitable to road conditions.
5. Use Cruise Control
• Using cruise control during highway driving helps maintain a steady speed.
• Cruise control is particularly effective in providing fuel savings when driving
on flat terrains.
6. Plan for the Shortest Route
• Utilize a map or navigation system to determine the best route to save time. 7.
Avoid Idling
• Shutting off your engine when safe for stops exceeding 30–60 seconds saves
fuel and reduces emissions.
8. Buy an Automated Pass for Toll Roads
• Automated passes permit drivers to use special lanes to maintain cruising
speed through the toll and avoid stop-
ping and starting.
9. Winter Warm Up
• Limit idling time to minimize impact to fuel economy.
• Vehicles typically need no more than 30 seconds of idling at start-up to ef-
fectively circulate the engine oil before
driving.
• Your vehicle will reach its ideal operat- ing temperature more quickly while
driving versus idling.
10. Keeping your Vehicle Cool
• Park your vehicle in a covered parking area or in the shade whenever
possible.
• When entering a hot vehicle, opening the windows will help to reduce the
inside temperature faster, resulting in
reduced demand on your A/C system.
FUEL EFFICIENT DRIVING TIPS
5-104Starting and driving
Page 440 of 644

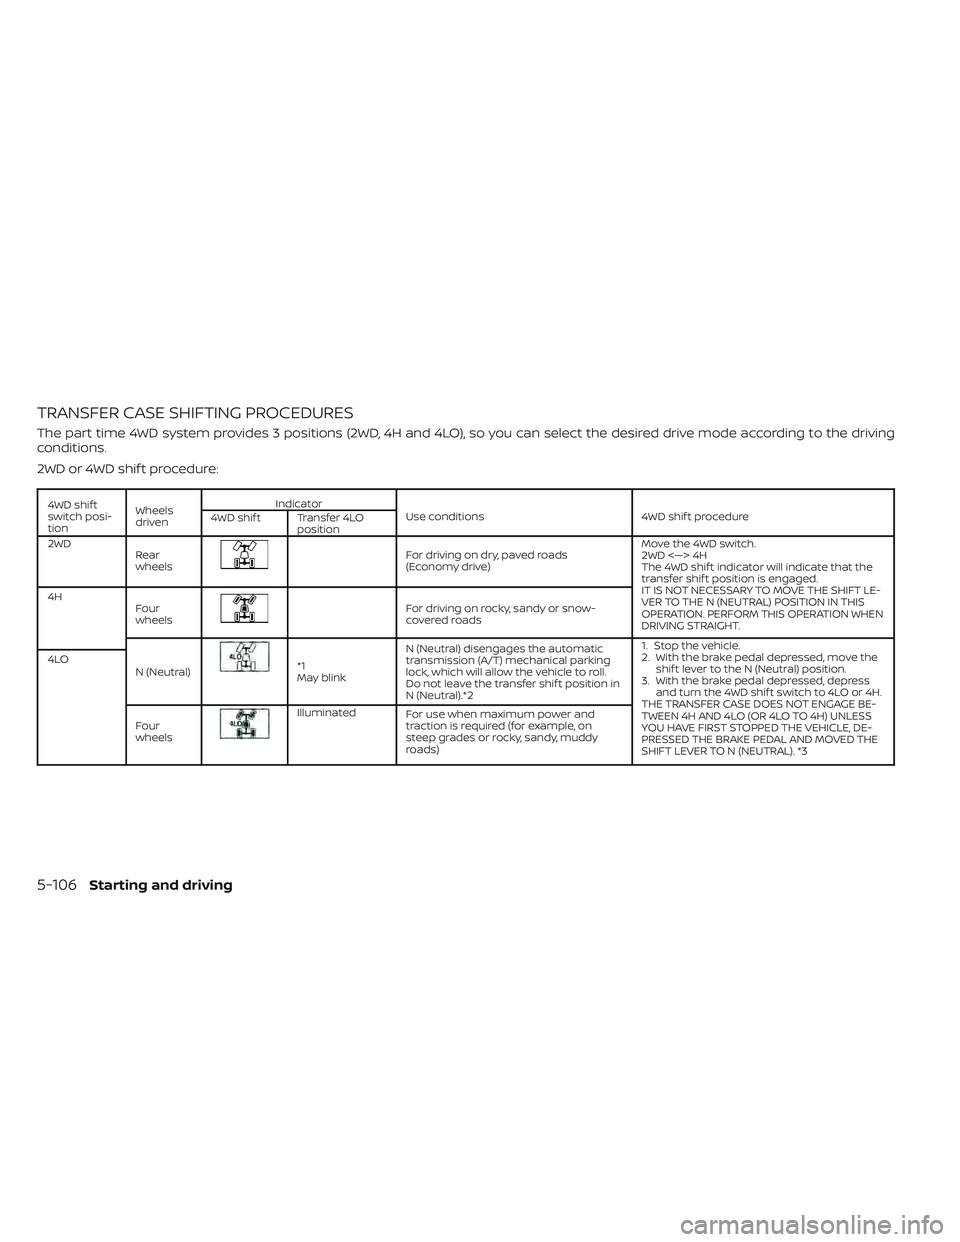
TRANSFER CASE SHIFTING PROCEDURES
The part time 4WD system provides 3 positions (2WD, 4H and 4LO), so you can select the desired drive mode according to the driving
conditions.
2WD or 4WD shif t procedure:
4WD shif t
switch posi-
tionWheels
driven Indicator
Use conditions 4WD shif t procedure
4WD shif t Transfer 4LO
position
2WD Rear
wheels
For driving on dry, paved roads
(Economy drive) Move the 4WD switch.
2WD <—> 4H
The 4WD shif t indicator will indicate that the
transfer shif t position is engaged.
IT IS NOT NECESSARY TO MOVE THE SHIFT LE-
VER TO THE N (NEUTRAL) POSITION IN THIS
OPERATION. PERFORM THIS OPERATION WHEN
DRIVING STRAIGHT.
4H
Four
wheels
For driving on rocky, sandy or snow-
covered roads
N (Neutral)
*1
May blink N (Neutral) disengages the automatic
transmission (A/T) mechanical parking
lock, which will allow the vehicle to roll.
Do not leave the transfer shif t position in
N (Neutral).*2 1. Stop the vehicle.
2. With the brake pedal depressed, move the
shif t lever to the N (Neutral) position.
3. With the brake pedal depressed, depress and turn the 4WD shif t switch to 4LO or 4H.
THE TRANSFER CASE DOES NOT ENGAGE BE-
TWEEN 4H AND 4LO (OR 4LO TO 4H) UNLESS
YOU HAVE FIRST STOPPED THE VEHICLE, DE-
PRESSED THE BRAKE PEDAL AND MOVED THE
SHIFT LEVER TO N (NEUTRAL). *3
4LO
Four
wheels
Illuminated For use when maximum power and
traction is required (for example, on
steep grades or rocky, sandy, muddy
roads)
5-106Starting and driving
Page 441 of 644

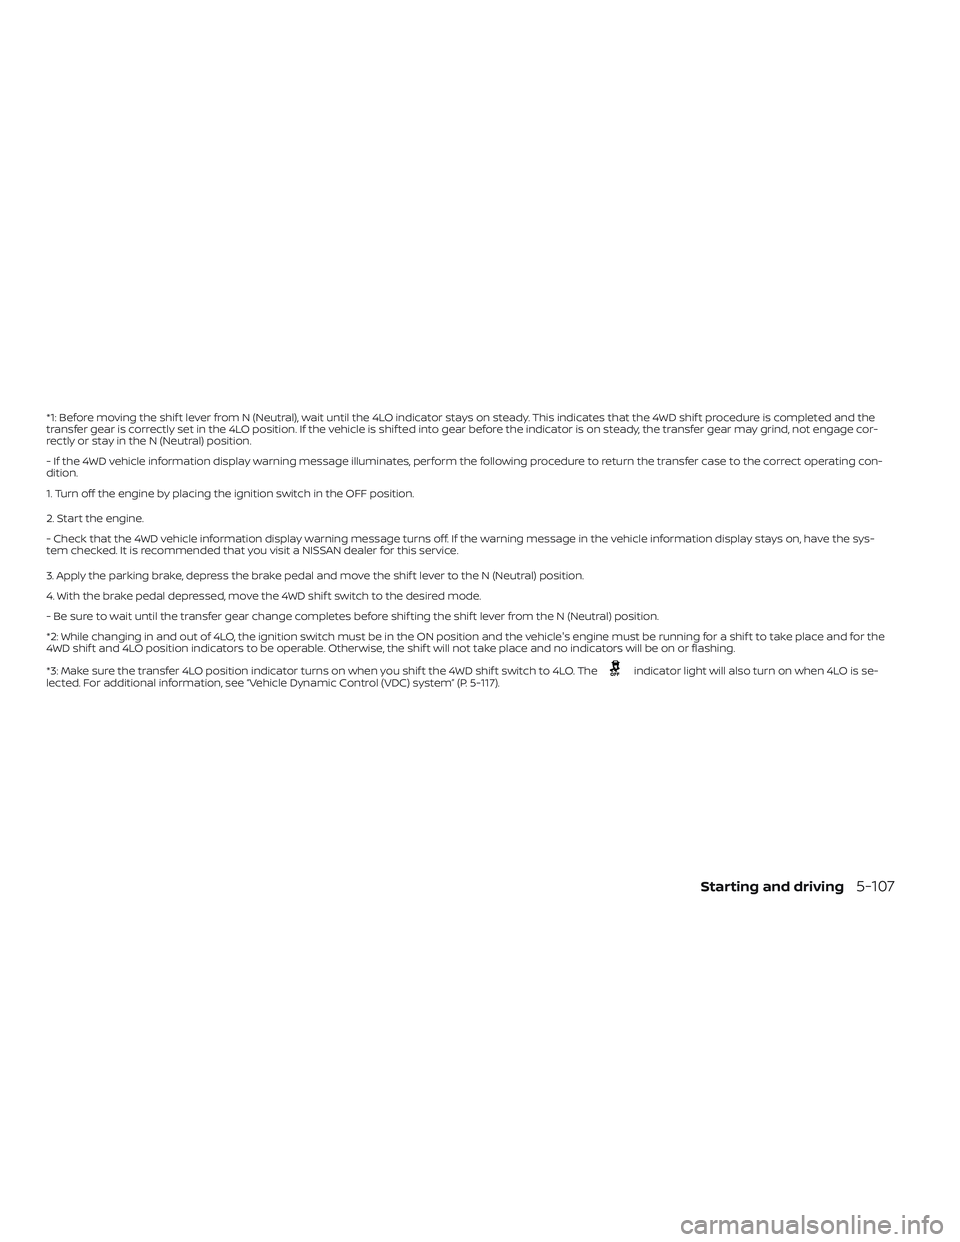
*1: Before moving the shif t lever from N (Neutral), wait until the 4LO indicator stays on steady. This indicates that the 4WD shif t procedure is completed and the
transfer gear is correctly set in the 4LO position. If the vehicle is shif ted into gear before the indicator is on steady, the transfer gear may grind, not engage cor-
rectly or stay in the N (Neutral) position.
- If the 4WD vehicle information display warning message illuminates, perform the following procedure to return the transfer case to the correct oper ating con-
dition.
1. Turn off the engine by placing the ignition switch in the OFF position.
2. Start the engine.
- Check that the 4WD vehicle information display warning message turns off. If the warning message in the vehicle information display stays on, have th e sys-
tem checked. It is recommended that you visit a NISSAN dealer for this service.
3. Apply the parking brake, depress the brake pedal and move the shif t lever to the N (Neutral) position.
4. With the brake pedal depressed, move the 4WD shif t switch to the desired mode.
- Be sure to wait until the transfer gear change completes before shif ting the shif t lever from the N (Neutral) position.
*2: While changing in and out of 4LO, the ignition switch must be in the ON position and the vehicle's engine must be running for a shif t to take place and for the
4WD shif t and 4LO position indicators to be operable. Otherwise, the shif t will not take place and no indicators will be on or flashing.
*3: Make sure the transfer 4LO position indicator turns on when you shif t the 4WD shif t switch to 4LO. The
indicator light will also turn on when 4LO is se-
lected. For additional information, see “Vehicle Dynamic Control (VDC) system” (P. 5-117).
Starting and driving5-107