2023 NISSAN TITAN remote start
[x] Cancel search: remote startPage 289 of 644
3. Turn the temperature dial to the lef t orright to set the desired temperature.
• To quickly remove ice from the outside of the windows, press the
fan speed
control button to the maximum position.
• As soon as possible af ter the windshield is clean, press the AUTO button to return
to the auto mode.
• When the
control is activated, the air
conditioner will automatically be turned
on at outside temperatures approxi-
mately at or below freezing. This dehu-
midifies the air which helps defog the
windshield. Under this condition, the indi-
cator light on the A/C button indicator will
not turn on if the user had selected A/C
off prior to entering this mode. Turning off
the air condition via the A/C button is not
allowed in this mode. If the A/C button
indicator was on when entering this
mode, and the A/C button is selected in
this mode, the A/C compressor will still be
automatically enabled. The air recircula-
tion mode automatically turns off, allow-
ing outside air to be drawn into the pas-
senger compartment to further improve
the defogging performance.
Remote Engine Start with
Intelligent Climate Control (if so
equipped)
Vehicles equipped with automatic climate
controls and Remote Engine Start function
may go into automatic heating or cooling
mode when Remote Engine Start is acti-
vated depending on outside and cabin
temperatures. During this period, the cli-
mate control display and buttons will be
inoperable until the ignition switch is
placed in the ON position. In Remote En-
gine Start defrosting mode, the rear win-
dow defroster (if so equipped), heated
seats (if so equipped) and heated steering
wheel (if so equipped) may be activated
automatically.
Voice Recognition logic (if so
equipped)
When the climate control system is on, the
front fan speeds may be automatically
lowered so that commands are more eas-
ily recognized. Fan speed can be adjusted
using the fan speed
decrease andincrease buttons, if desired.
MANUAL OPERATION
Fan speed control
Press thefan speed control buttons
to manually control the fan speed.
Press the AUTO button to return to auto-
matic control of the fan speed.
When adjusting the manual fan from auto
mode, the outlet direction (floor, floor/
defrost, vent, bi-level) will still automatically
change. To fix the outlet to a manual mode,
select the desired air flow location using
the MODE button.
Temperature control dial
The temperature control dial allows you to
adjust the temperature of the outlet air. To
lower the temperature, turn the dial to the
lef t. To increase the temperature, turn the
dial to the right. Temperature can be ad-
justed on the driver’s and passenger’s side.
Air recirculation
Press theair recirculation button to
recirculate interior air inside the vehicle
when:
• driving on a dusty road
• to prevent traffic fumes from entering passenger compartment.
Monitor, climate, audio, phone and voice recognition systems4-39
Page 294 of 644
WELCOME
The Rear Seat Infotainment (RSI) system,
with built-in Wi-Fi, has some advanced fea-
tures. Before operating this system, read
this section thoroughly and retain it for fu-
ture reference.
System features
• Twin 8-inch Color TFT-LCD Panels with1024x600 Resolution
• Internal Wi-Fi Network
• Bluetooth® 4.1 Audio Streaming
• Miracast®/Smart View Capability
• SmartStream Content Sharing
• USB 2.0 Port, SDXC Card Input
• HDMI 1.4 Input with MHL 2.0 Support
• Exclusive Slingplayer® Application
• 3.5mm Stereo Headphone Output
• Front Panel Capacitive Touch Controls
• Infrared Wireless Headphones
• Full-Function Slimline Remote Control
• Monitor Screen Sharing
GETTING STARTED
Turning the monitor on or off
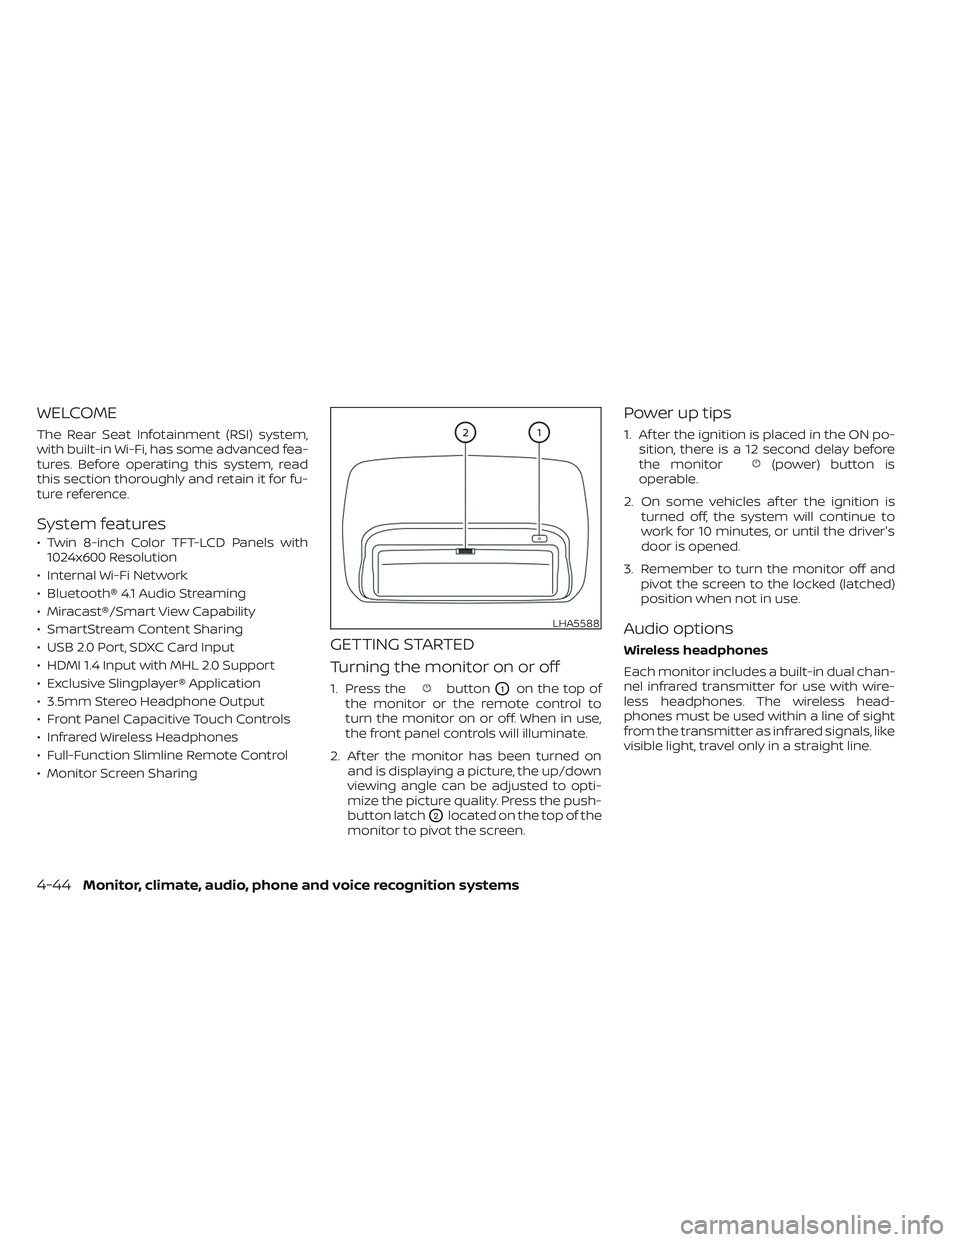
1. Press thebuttonO1on the top of
the monitor or the remote control to
turn the monitor on or off. When in use,
the front panel controls will illuminate.
2. Af ter the monitor has been turned on and is displaying a picture, the up/down
viewing angle can be adjusted to opti-
mize the picture quality. Press the push-
button latch
O2located on the top of the
monitor to pivot the screen.
Power up tips
1. Af ter the ignition is placed in the ON po- sition, there is a 12 second delay before
the monitor
(power) button is
operable.
2. On some vehicles af ter the ignition is turned off, the system will continue to
work for 10 minutes, or until the driver's
door is opened.
3. Remember to turn the monitor off and pivot the screen to the locked (latched)
position when not in use.
Audio options
Wireless headphones
Each monitor includes a built-in dual chan-
nel infrared transmitter for use with wire-
less headphones. The wireless head-
phones must be used within a line of sight
from the transmitter as infrared signals, like
visible light, travel only in a straight line.
LHA5588
4-44Monitor, climate, audio, phone and voice recognition systems
Page 310 of 644
10.Next
Select to go to the next chapter.
11. Repeat
Select once to repeat the entire video.
Select again to repeat the currently
playing chapter one time.
Playing videos
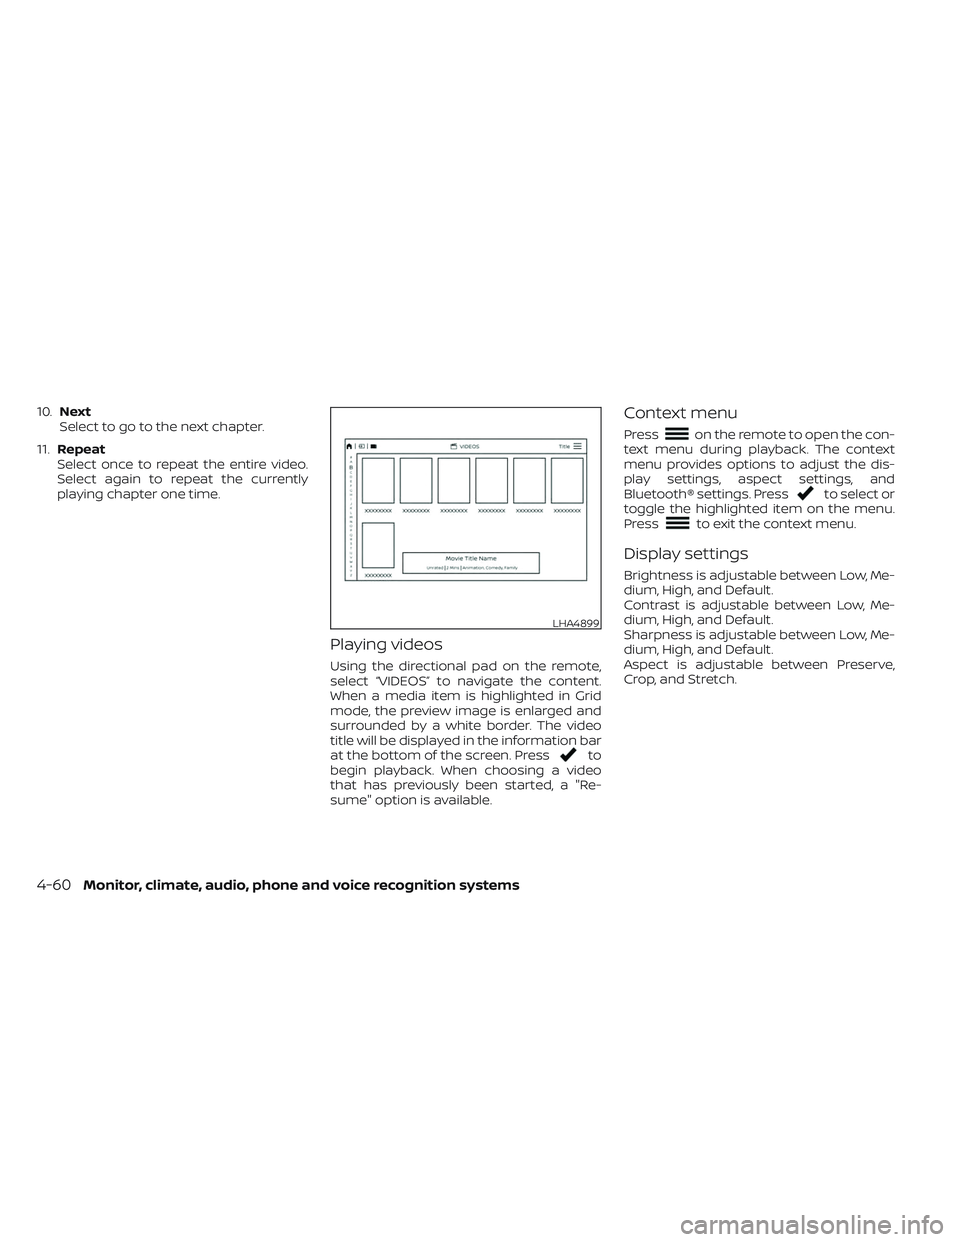
Using the directional pad on the remote,
select “VIDEOS” to navigate the content.
When a media item is highlighted in Grid
mode, the preview image is enlarged and
surrounded by a white border. The video
title will be displayed in the information bar
at the bottom of the screen. Press
to
begin playback. When choosing a video
that has previously been started, a "Re-
sume" option is available.
Context menu
Presson the remote to open the con-
text menu during playback. The context
menu provides options to adjust the dis-
play settings, aspect settings, and
Bluetooth® settings. Press
to select or
toggle the highlighted item on the menu.
Press
to exit the context menu.
Display settings
Brightness is adjustable between Low, Me-
dium, High, and Default.
Contrast is adjustable between Low, Me-
dium, High, and Default.
Sharpness is adjustable between Low, Me-
dium, High, and Default.
Aspect is adjustable between Preserve,
Crop, and Stretch.
LHA4899
4-60Monitor, climate, audio, phone and voice recognition systems
Page 335 of 644
5 Starting and driving
Precautions when starting and driving..........5-4
Exhaust gas (carbon monoxide) ..............5-4
Three-way catalyst (if so equipped) ...........5-4
Tire Pressure Monitoring System
(TPMS) .......................................5-5
On-pavement and off-road driving
precautions ..................................5-8
Avoiding collision and rollover ................5-9
Off-roadrecovery ............................5-9
Rapid air pressure loss .......................5-9
Drinking alcohol/drugs and driving ..........5-10
Driving safety precautions ...................5-10
Push-button ignition switch ....................5-12
Operating range ............................ 5-13
Push-button ignition switch positions .......5-14
Emergency engine shut off ..................5-15
NISSAN Intelligent Key® battery
discharge ................................... 5-15
NISSAN Vehicle Immobilizer System .........5-16
Before starting the engine .....................5-16
Starting the engine ............................. 5-16
Remote Engine Start (if so equipped) ........5-17
Driving the vehicle .............................. 5-18
Engine protection mode ....................5-18
Automatic transmission (A/T) ...............5-18
Parking brake .................................. 5-23Traffic Sign Recognition (TSR) (if so equipped) . . . 5-23
System operation ........................... 5-24
Turning the Traffic Sign Recognition
(TSR) system on and off .....................5-25
System temporarily unavailable .............5-25
System malfunction ......................... 5-25
System maintenance .......................5-26
Lane Departure Warning (LDW) .................5-26
LDW system operation ......................5-27
How to enable/disable the LDW system .....5-28
LDW system limitations .....................5-29
System temporarily disabled ................5-30
System malfunction ......................... 5-30
System maintenance .......................5-30
Blind Spot Warning (BSW) .......................5-31
BSW system operation ......................5-33
How to enable/disable the BSW system .....5-33
BS
W system limitations .....................5-34
BSW driving situations .......................5-35
System temporarily disabled ................5-39
System maintenance .......................5-40
RearCrossTrafficAlert(RCTA) .................. 5-41
RCTA system operation .....................5-41
How to enable/disable the RCTA
system ...................................... 5-43
RCTA system limitations .....................5-44
Page 351 of 644
cranking the engine, release the accel-
erator pedal. Crank the engine with
your foot off the accelerator pedal by
depressing the brake pedal and push-
ing the ignition switch to start the en-
gine. If the engine starts, but fails to
run, repeat the above procedure.
CAUTION
Do not operate the starter for more
than 15 seconds at a time. If the engine
does not start, push the ignition switch
to the OFF position and wait 10 seconds
before cranking again, otherwise the
starter could be damaged.
4. Warm-up
Allow the engine to idle for at least 30
seconds af ter starting. Do not race the
engine while warming it up. Drive at a
moderate speed for a short distance
first, especially in cold weather. In cold
weather, keep the engine running for a
minimum of 2 to 3 minutes before shut-
ting it off. Starting and stopping the en-
gine over a short period of time may
make the vehicle more difficult to start.
5. To stop the engine, move the shif t lever to the P (Park) position and push the
ignition switch to the OFF position. In preparation for the next engine start, the
engine may have a slightly delayed shutoff
af ter placing the ignition switch in the OFF
position, depending on the driving
conditions.
NOTE:
Care should be taken to avoid situa-
tions that can lead to potential battery
discharge and potential no-start con-
ditions such as:
1. Installation or extended use of elec-
tronic accessories that consume bat-
tery power when the engine is not
running (phone chargers, GPS, DVD
players, etc.).
2. The vehicle is not driven regularly and/or only driven short distances.
In these cases, the battery may need to
be charged to maintain battery health.
REMOTE ENGINE START (if so
equipped)
Vehicles started with the Remote Engine
Start require the ignition switch to be
placed in the ON position before the shif t
lever can be moved from the P (Park) posi-
tion. To place the ignition switch in the ON
position, follow these steps:
1. Make sure that the Intelligent Key is on you.
2. Apply the brake.
3. Push the ignition switch once to the ON position.
For additional information, see “NISSAN In-
telligent Key®” (P. 3-2).
Starting and driving5-17
Page 630 of 644
Intelligent Forward Collision Warning
(I-FCW)......................5-88Intelligent Key system
Key operating range............3-11Key operation................3-12Mechanical key................3-3Remote keyless entry operation. . . .3-16Troubleshooting guide..........3-20Warning signals..............3-20Interior light................. .2-90ISOFIX child restraints.............1-28
J
Jump starting..............6-10,8-20
K
Key.........................3-2Key fob battery replacement........8-28Keyless entry
With Intelligent Key system
(See Intelligent Key system)
.......3-16KeysNISSAN Intelligent Key®........3-2,3-9NISSAN Vehicle Immobilizer System
keys..................... .3-4
L
Labels
Air conditioner specification label. . .10-18
Emission control information label. .10-17Engine serial number..........10-16F.M.V.S.S. certification label.......10-16Tire and Loading Information label. .10-17Vehicle identification number (VIN). .10-15Vehicle identification number (VIN)
plate.................... .10-15Warning labels (for SRS)..........1-82Lane Departure Warning (LDW).......5-26LATCH (Lower Anchors and Tethers for
CHildren) System...............1-28License plate
Installing the license plate........10-19LightAir bag warning light........1-83, 2-18Brake light (See stop light)........8-31Bulb check/instrument panel......2-15Bulb replacement.............8-31Charge warning light...........2-16Console light................2-91Exterior and Interior lights........8-31Fog light switch..............2-52Fog lights................. .8-31Headlight and turn signal switch. . . .2-45Headlight control switch.........2-45Headlights.................8-30Interior light.................2-90Light bulbs.................8-30Low tire pressure warning light.....2-20Low windshield-washer fluid warning
light..................... .2-34Passenger air bag and status light. . .1-62Personal lights...............2-92Security indicator light..........2-18
Lights......................8-30Map lights..................2-91Lock
Child safety rear door lock.........3-9Door locks................. .3-4Power door locks..............3-6Loose fuel cap warning...........2-34Low fuel warning light. .2-17, 2-22, 2-34, 2-35Low tire pressure warning light......2-20Low windshield-washer fluid warning
light...................... .2-34Luggage (See vehicle loading
information)..................10-20Luggage hook.................2-83
M
Maintenance
General maintenance...........9-2Inside the vehicle..............9-3Maintenance precautions.........8-2Outside the vehicle.............9-2Seat belt maintenance..........1-23Under the hood and vehicle.......9-4Maintenance requirements..........9-2Maintenance schedules............9-7Malfunction indicator light......2-17,2-22Manual front seat adjustment........1-4Map lights................... .2-91Map pocket...............2-72,2-73Memory seat..............3-41, 3-43Meters and gauges...........2-6, 2-10Instrument brightness control.....2-51
11-4
Page 632 of 644

Registering a vehicle in another
country.....................10-15Remote Engine Start..........3-22,5-17Reporting safety defects (US only). . . .10-56
S
Safety
Child safety rear door lock.........3-9Child seat belts. .1-26, 1-33, 1-39, 1-43, 1-48Reporting safety defects (US only). .10-56SeatMemory seat.............3-41, 3-43Seat adjustmentFront manual seat adjustment......1-4Front power seat adjustment.......1-5Seat beltChild safety.................1-23Infants and small children........1-24Injured person................1-18Larger children...............1-24Precautions on seat belt usage.....1-15Pregnant women..............1-18Rear center seat belt...........1-22Seat belt extenders............1-22Seat belt maintenance..........1-23Seat belts................1-15,7-6Shoulder belt height adjustment. . . .1-22Three-point type with retractor.....1-19Seat belt extenders..............1-22Seat belt warning light.........1-18,2-18Seatback pockets...............2-73
SeatsAdjustment..................1-2Front seats..................1-2Heated seats................2-55Manual front seat adjustment......1-4Rear seat.................. .1-4Security indicator light............2-18Security system (NISSAN Vehicle Immobilizer
System), engine start.........2-41, 5-16Security systems
Vehicle security system.........2-40Self-adjusting brakes.............8-24Service manual order form........10-58Servicing air conditioner...........4-42Shif tingAutomatic transmission.........5-20Shoulder belt height adjustment......1-22Side air bag system (See supplemental side
air bag, curtain and rollover air bag
systems)
.....................1-78Snow plow................. .10-54Spark plug replacement...........8-21Spark plugs...................8-21Specifications.................10-9Speedometer..................2-7Speedometer and odometer........2-6SRS warning label...............1-82Stability control................5-117Standard maintenance............9-8Starting
Before starting the engine........5-16Jump starting............6-10,8-20Precautions when starting and
driving................. .5-4, 5-10
Push starting................6-12Starting the engine............5-16Starting the engine..............5-16Steering
Power steering fluid............8-14Power steering system.........5-113Steering wheel.................3-28Stop light................... .8-31Storage.....................2-72Storage tray..................2-76Sun visors....................3-30Sunglasses case................2-78Sunglasses holder..............2-78Sunroof..................2-88, 7-5Supplemental air bag warning labels. . .1-82Supplemental air bag warning
light................... .1-83, 2-18Supplemental front impact air bag
system..................1-59, 1-75Supplemental restraint system
Information and warning labels.....1-82Precautions on supplemental restraint
system................ .1-52, 1-67Supplemental restraint system
(Supplemental air bag system).......1-52Switch
Autolight switch..............2-46Automatic power window switch. . .2-86Electronic locking rear differential (E-Lock)
system switch...............2-61Fog light switch..............2-52Hazard warning flasher switch......6-2Headlight aiming control.........2-50Headlight and turn signal switch. . . .2-45
11-6