2023 NISSAN ARMADA USB port
[x] Cancel search: USB portPage 15 of 604

WAA0289X
1. Side ventilator (P.4-36)
2. Meters and gauges (P.2-6)
3. Center ventilator (P.4-36)
4. Audio system (See NissanConnect® Own-er’s Manual)
5. Touch screen display (See NissanCon- nect® Owner’s Manual) — Intelligent Around View® Monitor (if so
equipped) (P.4-12)
— RearView Monitor (if so equipped)
(P.4-4)
— Navigation system (if so equipped) (See
NissanConnect® Owner’s Manual)
6. Front passenger air bag status light (P.1-63) 7. Hazard warning flasher switch (P.6-2)
8. Defroster switch (P.2-45)/Deicer switch (if
so equipped) (P.2-46)
9. Front passenger supplemental air bag (P.1-54)
10. Fuse box (P.8-20)
11. Parking brake (P.5-22)
12. Hood release handle (P.3-21)
13. Steering wheel — Horn (P.2-55)
— Driver supplemental air bag (P.1-54)
— Power steering (P.5-141)
14. Driver supplemental knee air bag (P.1-54)
15. Push-button ignition switch (P.5-13)
16. Climate controlled seat switch (if so equipped) (P.2-57)/Heated seat switch (if
so equipped) (P.2-55)
17. Wireless charger (if so equipped) (P.2-65)
18. Trailer Brake Controller Unit (TBCU) (if so equipped) (P.2-60)
19. USB connection ports (See NissanCon- nect® Owner’s Manual)
20. Power outlet (P.2-62)
21. Cup holder (P.2-69)
22. Heater and air conditioner (P.4-37)
23. Glove box (P.2-71)
24. Front passenger supplemental knee air bag (P.1-54)
Illustrated table of contents0-7
INSTRUMENT PANEL
Page 96 of 604

TOW mode switch ..................................................................... 2-59
Vehicle Dynamic Control (VDC) OFF switch ......... 2-60
Trailer Brake Controller Unit (TBCU) (if
so equipped) ........................................................................\
.......... 2-60
Rear door alert ........................................................................\
.... 2-61
Power outlet ........................................................................\
.......... 2-62USB (Universal Serial Bus)
charging connector .......................................................... 2-64
Wireless charger (if so equipped) ........................... 2-65
Emergency Call (SOS) button (if
so equipped) ........................................................................\
.......... 2-67
Emergency support .......................................................... 2-67
Storage ........................................................................\
...................... 2-69 Cup holders ........................................................................\
..... 2-69
Sunglasses holder .............................................................. 2-71
Glove box ........................................................................\
........... 2-71
Console box ........................................................................\
..... 2-72
Coat hooks ........................................................................\
....... 2-73
Luggage hooks ..................................................................... 2-73
Cargo floor box .................................................................... 2-74
Roof rack (if so equipped) ............................................ 2-74
Windows ........................................................................\
.................... 2-75 Power windows .................................................................... 2-75
Moonroof (if so equipped) .................................................. 2-78
Power moonroof ................................................................. 2-78
Welcome light (if so equipped) ....................................... 2-80 Battery saver system ..................................................... 2-80 Interior lights ........................................................................\
........ 2-81
Interior light switch ........................................................ 2-81
Console light ........................................................................\
2-82
Map lights ........................................................................\
....... 2-82
Rear personal lights ....................................................... 2-82
Vanity mirror lights ................................................................. 2-83
Cargo light ........................................................................\
............. 2-83
HomeLink® Universal Transceiver (Type A) (if
so equipped) ........................................................................\
......... 2-83 Programming HomeLink® ......................................... 2-84
Programming HomeLink® for Canadian
customers and gate openers ................................. 2-85
Operating the HomeLink®
Universal Transceiver .................................................... 2-86
Programming troubleshooting ............................. 2-86
Clearing the programmed information .......... 2-86
Reprogramming a single
HomeLink® button ........................................................... 2-86
If your vehicle is stolen ................................................ 2-87
HomeLink® Universal Transceiver (Type B) (if
so equipped) ........................................................................\
......... 2-87
Programming HomeLink® ......................................... 2-88
Using the garage door
two-way communication ........................................... 2-91
Programming HomeLink® for Canadian
customers and gate openers ................................. 2-91
Operating the HomeLink®
Universal Transceiver .................................................... 2-92
Page 99 of 604

WAA0289X
1. Side ventilator
2. Meters and gauges
3. Center ventilator
4. Audio system (See NissanConnect® Own-er’s Manual)
5. Touch screen display (See NissanCon- nect® Owner’s Manual) — Intelligent Around View® Monitor (if so
equipped)
— RearView Monitor (if so equipped)
— Navigation system (if so equipped) (See
NissanConnect® Owner’s Manual)
6. Front passenger air bag status light
7. Hazard warning flasher switch 8. Defroster switch/Deicer switch (if so
equipped)
9. Front passenger supplemental air bag
10. Fuse box
11. Parking brake
12. Hood release handle
13. Steering wheel — Horn
— Driver supplemental air bag
— Power steering
14. Driver supplemental knee air bag
15. Push-button ignition switch
16. Climate controlled seat switch (if so equipped)/Heated seat switch (if so
equipped)
17. Wireless charger (if so equipped)
18. Trailer Brake Controller Unit (TBCU) (if so equipped)
19. USB connection ports (See NissanCon- nect® Owner’s Manual)
20. Power outlet
21. Cup holder
22. Heater and air conditioner
23. Glove box
24. Front passenger supplemental knee air bag
Instruments and controls2-5
INSTRUMENT PANEL
Page 275 of 604

WARNING
.It is unlawful in most jurisdictions
for a person to drive a motor
vehicle which is equipped with a
television monitor or screen that
is visible, directly or indirectly, to
the driver while operating the
vehicle. In the interest of safety,
the unit should never be installed
where it will be directly or indir-
ectly visible, by the operator of
the motor vehicle.
. For safety reasons when chan-
ging discs, it is recommended
that the vehicle is not in motion,
and that you do not allow chil-
dren to unfasten safety belts to
change discs or make any adjust-
ments to the system. System
adjustments can be accom-
plished using the remote control,
while safety belts remain fas-
tened.
. Enjoy your RSI system but re-
member that safety of all pas-
sengers remains the number one
priority. Devices installed in the
USB, HDMI, or headphone jack
may protrude and create a po-
tential eye impact hazard for un- belted passengers during a vehi-
cle accident. To reduce the risk of
injury, use only SD cards (hidden
on left side of driver side monitor)
or low-profile USB storage de-
vices.
CAUTION
.
If your vehicle is equipped with a
wireless rear seat audio system
or any other wireless infrared
device, make sure it is powered
off when operating the RSI sys-
tem. If both systems are powered
on at the same time, the two
systems may obstruct each other,
possibly creating undesirable
audio interference through the
wireless headphones.
. Do not touch the inner pins of the
jacks on the front panel. Electro-
static discharge may cause per-
manent damage to the device.
. The LCD display screen is not
touchscreen. Do not put pressure
or add suction cups on the
screen. .
Caution children to avoid touch-
ing or scratching the screen, as it
may become dirty or damaged.
. Be sure to run the vehicle engine
while using the system. Using this
system without running the en-
gine can result in battery drain.
To avoid the risk of battery drain,
please remember to turn off the
system when the vehicle is not in
use.
WELCOME
This Rear Seat Infotainment (RSI) system,
with built-in Wi-Fi, has some advanced
features. Before operating this system,
read this section thoroughly and retain it
for future reference.
System features
.Twin 8-inch Color TFT-LCD Panels
with 1024 x 600 Resolution
. Internal Wi-Fi Network
. Bluetooth® 4.1 Audio Streaming
. Miracast®/Smart View Capability
. SmartStream Content Sharing
. USB 2.0 Port, SDXC Card Input
. HDMI 1.4 Input with MHL 2.0 Support
. Exclusive Slingplayer® Application
Monitor, heater, air conditioner, audio, phone and voice recognition systems4-45
REAR SEAT INFOTAINMENT (RSI) (if
so equipped)
Page 281 of 604

6.HDMI port
Connect an external audio/video
source using a full-size HDMI connec-
tor. Supports MHL 2.0 playback and
charging.
7. USB 2.0 port
Play videos, music, and images stored
on most USB devices. Provides up to 2
amps of output to charge most mo-
bile devices.
8. Headphone output jack
Connect wired headphones using a
1/8 in (3.5 mm) stereo connector.
CAUTION
.Do not use any harsh solvents or
chemicals when cleaning the
monitor.
. Do not use any abrasive cleaners
that may scratch the screen. Use
only a lightly dampened lint free
cloth to wipe the screen if it is
dirty.
. The LCD display screen is not
touchscreen. Do not put pressure
or add suction cups on the
screen. .
Caution children to avoid touch-
ing or scratching the screen, as it
may become dirty or damaged.
. Place the monitor in the fully
closed position when not in use.
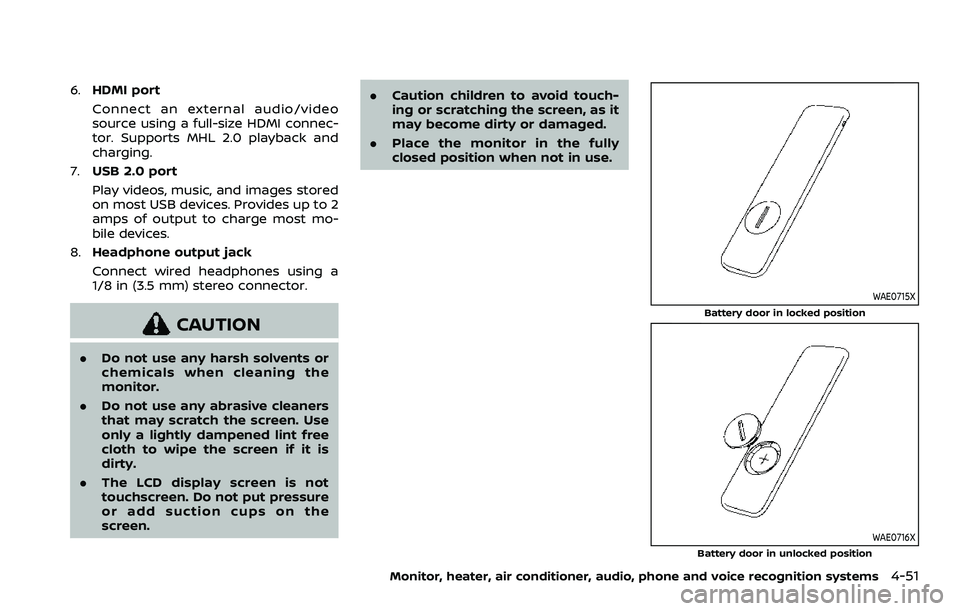
WAE0715X
Battery door in locked position
WAE0716X
Battery door in unlocked position
Monitor, heater, air conditioner, audio, phone and voice recognition systems4-51
Page 285 of 604

WAE0719X
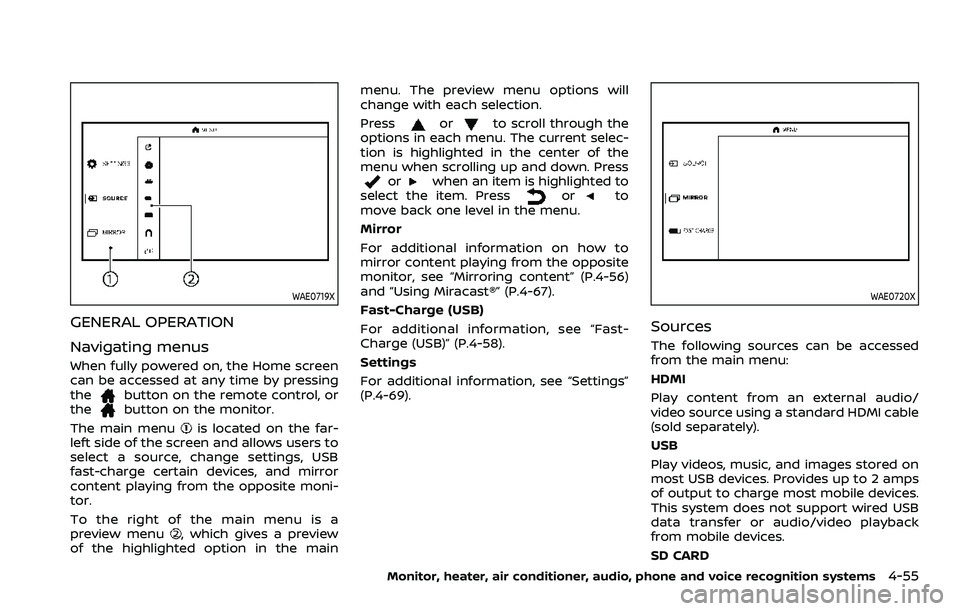
GENERAL OPERATION
Navigating menus
When fully powered on, the Home screen
can be accessed at any time by pressing
the
button on the remote control, or
thebutton on the monitor.
The main menu
is located on the far-
left side of the screen and allows users to
select a source, change settings, USB
fast-charge certain devices, and mirror
content playing from the opposite moni-
tor.
To the right of the main menu is a
preview menu
, which gives a preview
of the highlighted option in the main menu. The preview menu options will
change with each selection.
Press
orto scroll through the
options in each menu. The current selec-
tion is highlighted in the center of the
menu when scrolling up and down. Press
orwhen an item is highlighted to
select the item. Pressorto
move back one level in the menu.
Mirror
For additional information on how to
mirror content playing from the opposite
monitor, see “Mirroring content” (P.4-56)
and “Using Miracast®” (P.4-67).
Fast-Charge (USB)
For additional information, see “Fast-
Charge (USB)” (P.4-58).
Settings
For additional information, see “Settings”
(P.4-69).
WAE0720X
Sources
The following sources can be accessed
from the main menu:
HDMI
Play content from an external audio/
video source using a standard HDMI cable
(sold separately).
USB
Play videos, music, and images stored on
most USB devices. Provides up to 2 amps
of output to charge most mobile devices.
This system does not support wired USB
data transfer or audio/video playback
from mobile devices.
SD CARD
Monitor, heater, air conditioner, audio, phone and voice recognition systems4-55
Page 287 of 604

WAE0722X
HDMI/MHL CONNECTION
HDMI connection
Display content from an external source
connected to the system using the HDMI
port located on the front of monitor A. A
standard HDMI cable is required (sold
separately).
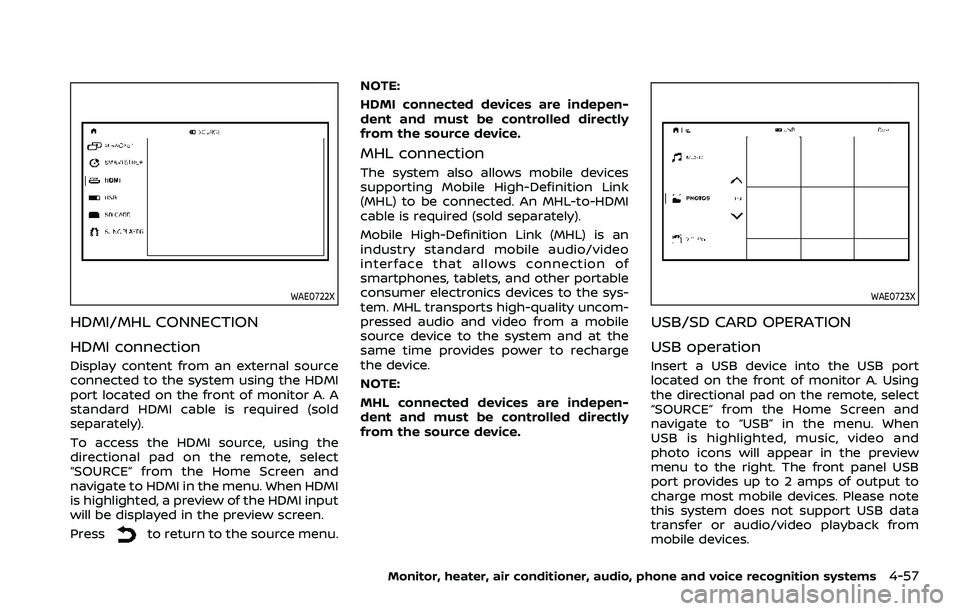
To access the HDMI source, using the
directional pad on the remote, select
“SOURCE” from the Home Screen and
navigate to HDMI in the menu. When HDMI
is highlighted, a preview of the HDMI input
will be displayed in the preview screen.
Press
to return to the source menu.NOTE:
HDMI connected devices are indepen-
dent and must be controlled directly
from the source device.
MHL connection
The system also allows mobile devices
supporting Mobile High-Definition Link
(MHL) to be connected. An MHL-to-HDMI
cable is required (sold separately).
Mobile High-Definition Link (MHL) is an
industry standard mobile audio/video
interface that allows connection of
smartphones, tablets, and other portable
consumer electronics devices to the sys-
tem. MHL transports high-quality uncom-
pressed audio and video from a mobile
source device to the system and at the
same time provides power to recharge
the device.
NOTE:
MHL connected devices are indepen-
dent and must be controlled directly
from the source device.
WAE0723X
USB/SD CARD OPERATION
USB operation
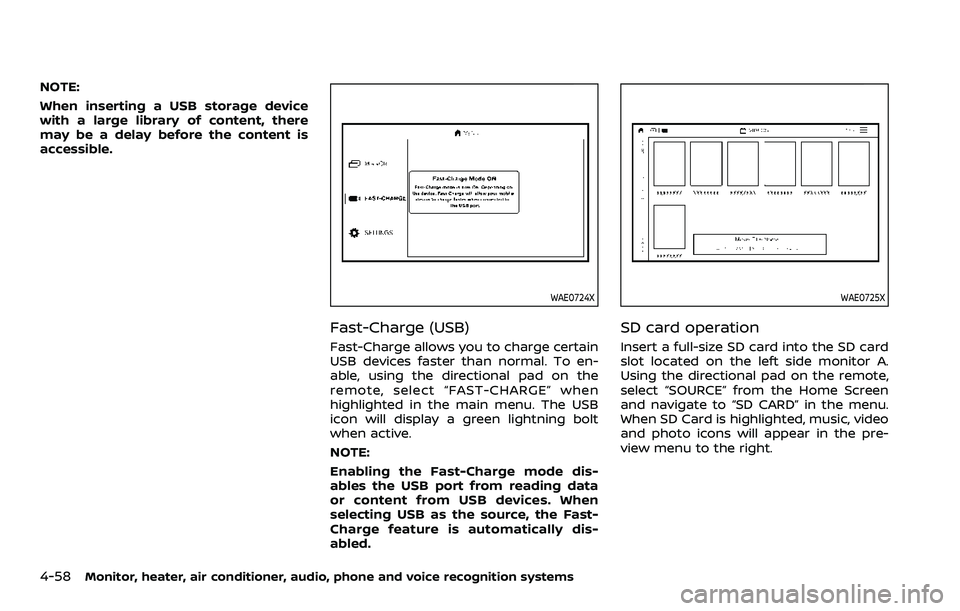
Insert a USB device into the USB port
located on the front of monitor A. Using
the directional pad on the remote, select
“SOURCE” from the Home Screen and
navigate to “USB” in the menu. When
USB is highlighted, music, video and
photo icons will appear in the preview
menu to the right. The front panel USB
port provides up to 2 amps of output to
charge most mobile devices. Please note
this system does not support USB data
transfer or audio/video playback from
mobile devices.
Monitor, heater, air conditioner, audio, phone and voice recognition systems4-57
Page 288 of 604

4-58Monitor, heater, air conditioner, audio, phone and voice recognition systems
NOTE:
When inserting a USB storage device
with a large library of content, there
may be a delay before the content is
accessible.
WAE0724X
Fast-Charge (USB)
Fast-Charge allows you to charge certain
USB devices faster than normal. To en-
able, using the directional pad on the
remote, select “FAST-CHARGE” when
highlighted in the main menu. The USB
icon will display a green lightning bolt
when active.
NOTE:
Enabling the Fast-Charge mode dis-
ables the USB port from reading data
or content from USB devices. When
selecting USB as the source, the Fast-
Charge feature is automatically dis-
abled.
WAE0725X
SD card operation
Insert a full-size SD card into the SD card
slot located on the left side monitor A.
Using the directional pad on the remote,
select “SOURCE” from the Home Screen
and navigate to “SD CARD” in the menu.
When SD Card is highlighted, music, video
and photo icons will appear in the pre-
view menu to the right.