2023 HYUNDAI KONA EV light
[x] Cancel search: lightPage 34 of 548
01
1-29
How to Connect DC Charger
1. Depress the brake pedal and apply the
electronic parking brake.
2. Shift to P (Park) and turn OFF the vehicle using the POWER button.
Information
If charging is initiated without the gear in
P (Park), charging will start only after the
gear is automatically shifted to P (Park).
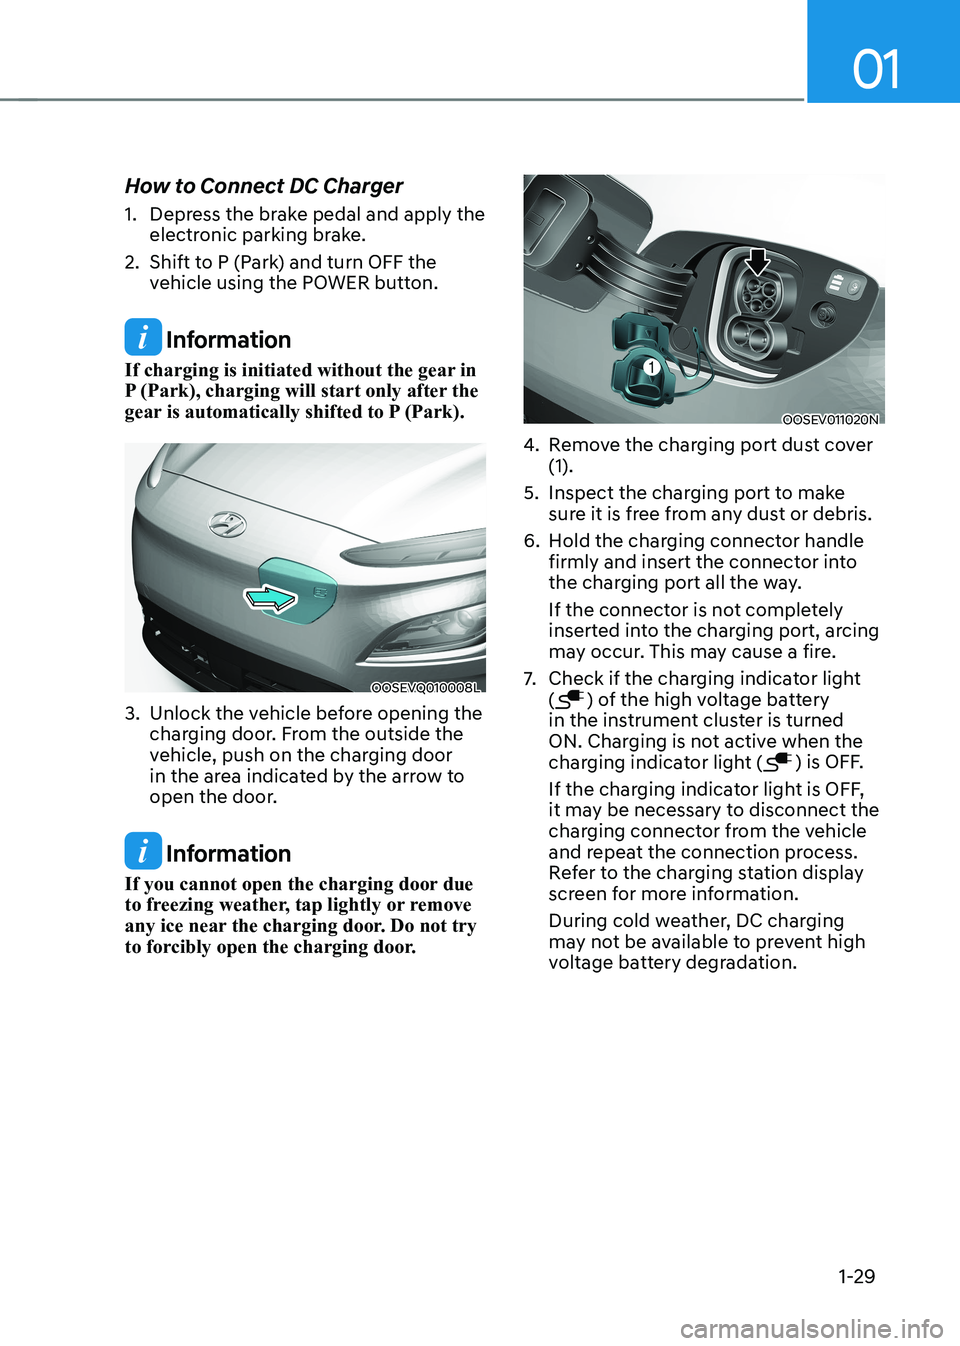
OOSEVQ010008L
3. Unlock the vehicle before opening the charging door. From the outside the
vehicle, push on the charging door
in the area indicated by the arrow to
open the door.
Information
If you cannot open the charging door due
to freezing weather, tap lightly or remove
any ice near the charging door. Do not try
to forcibly open the charging door.
OOSEV011020N
4. Remove the charging port dust cover (1).
5. Inspect the charging port to make sure it is free from any dust or debris.
6. Hold the charging connector handle firmly and insert the connector into
the charging port all the way.
If the connector is not completely
inserted into the charging port, arcing
may occur. This may cause a fire.
7. Check if the charging indicator light (
) of the high voltage battery
in the instrument cluster is turned
ON. Charging is not active when the
charging indicator light (
) is OFF.
If the charging indicator light is OFF,
it may be necessary to disconnect the
charging connector from the vehicle
and repeat the connection process.
Refer to the charging station display
screen for more information.
During cold weather, DC charging
may not be available to prevent high
voltage battery degradation.
Page 40 of 548
01
1-35
How to Connect Portable Charger
(ICCB: In-Cable Control Box)
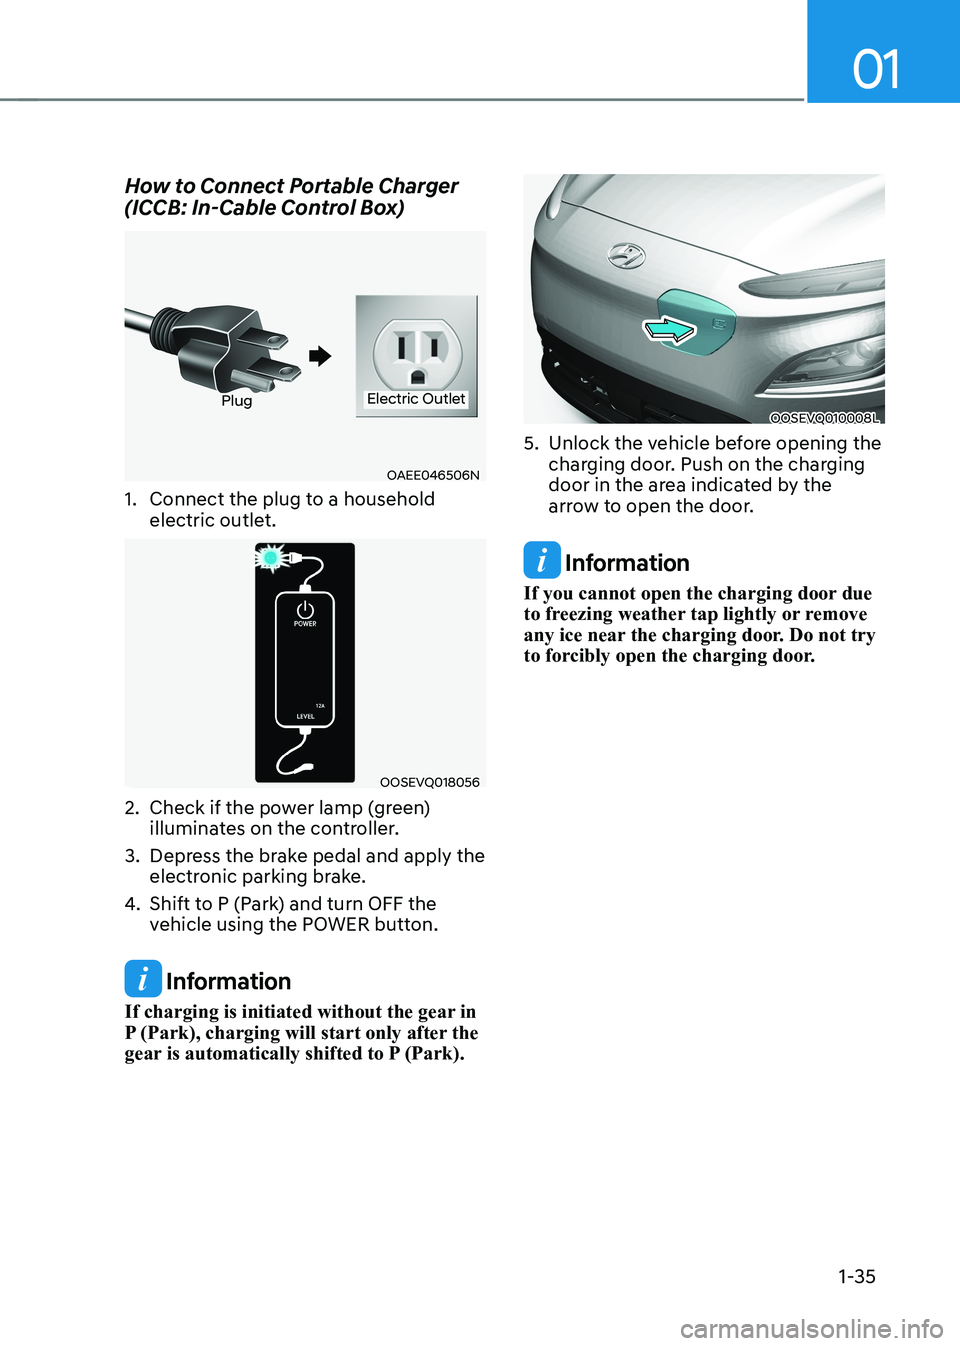
OAEE046506N
PlugElectric Outlet
1. Connect the plug to a household electric outlet.
OOSEVQ018056
2. Check if the power lamp (green) illuminates on the controller.
3. Depress the brake pedal and apply the electronic parking brake.
4. Shift to P (Park) and turn OFF the
vehicle using the POWER button.
Information
If charging is initiated without the gear in
P (Park), charging will start only after the
gear is automatically shifted to P (Park).
OOSEVQ010008L
5. Unlock the vehicle before opening the charging door. Push on the charging
door in the area indicated by the
arrow to open the door.
Information
If you cannot open the charging door due
to freezing weather tap lightly or remove
any ice near the charging door. Do not try
to forcibly open the charging door.
Page 41 of 548
Foreword / Electric Vehicle System Overview
1-36
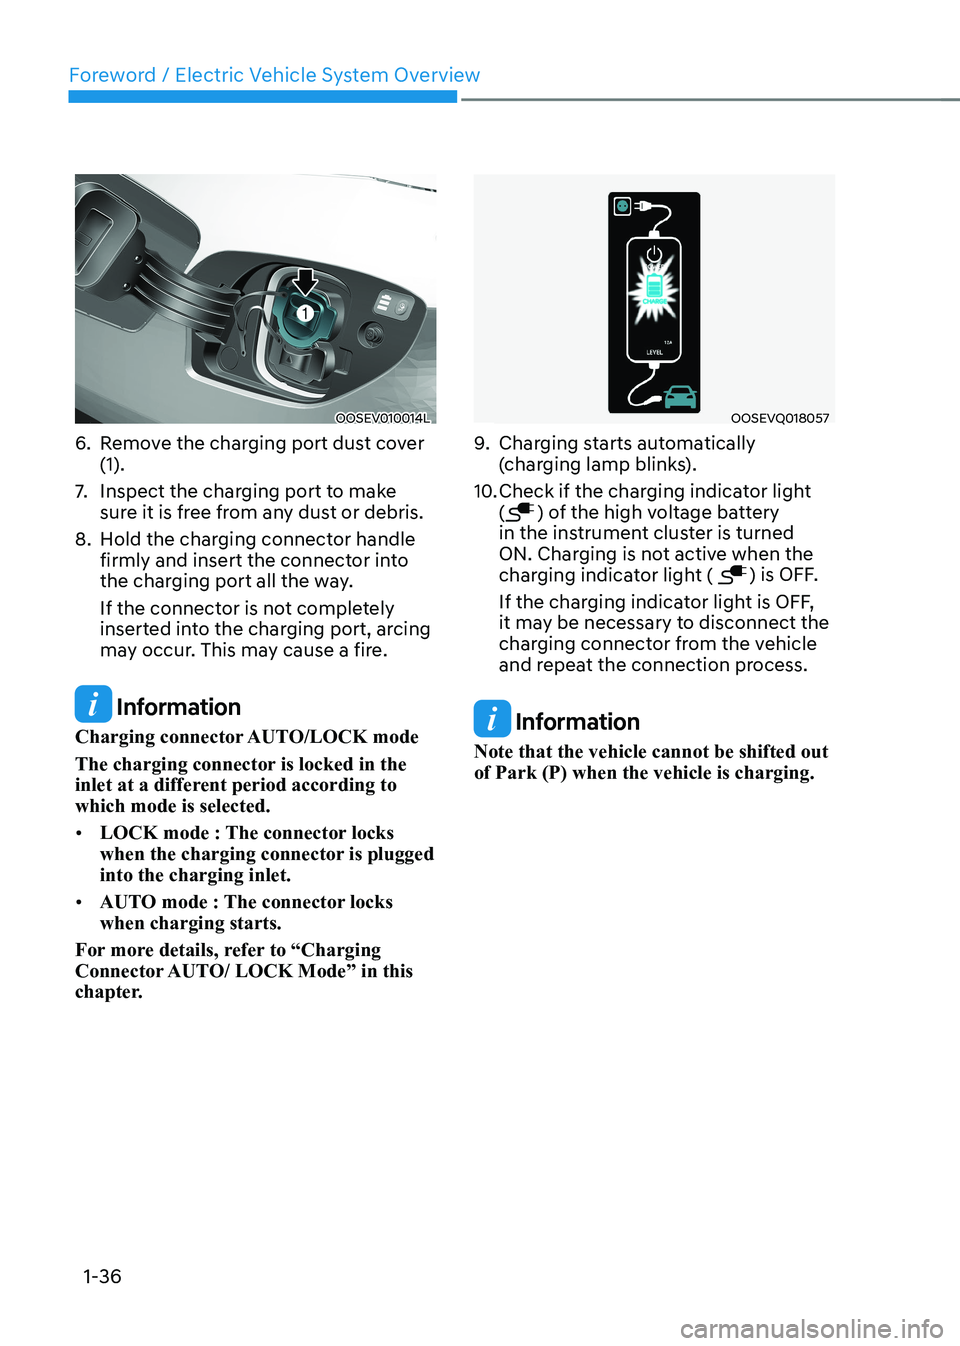
OOSEV010014L
6. Remove the charging port dust cover (1).
7. Inspect the charging port to make
sure it is free from any dust or debris.
8. Hold the charging connector handle firmly and insert the connector into
the charging port all the way.
If the connector is not completely
inserted into the charging port, arcing
may occur. This may cause a fire.
Information
Charging connector AUTO/LOCK mode
The charging connector is locked in the
inlet at a different period according to which mode is selected. • LOCK mode : The connector locks
when the charging connector is plugged into the charging inlet.
• AUTO mode : The connector locks when charging starts.
For more details, refer to “Charging
Connector AUTO/ LOCK Mode” in this
chapter.
OOSEVQ018057
9. Charging starts automatically
(charging lamp blinks).
10. Check if the charging indicator light (
) of the high voltage battery
in the instrument cluster is turned
ON. Charging is not active when the
charging indicator light (
) is OFF.
If the charging indicator light is OFF,
it may be necessary to disconnect the
charging connector from the vehicle
and repeat the connection process.
Information
Note that the vehicle cannot be shifted out of Park (P) when the vehicle is charging.
Page 48 of 548
01
1-43
Charging Connector Manual Release
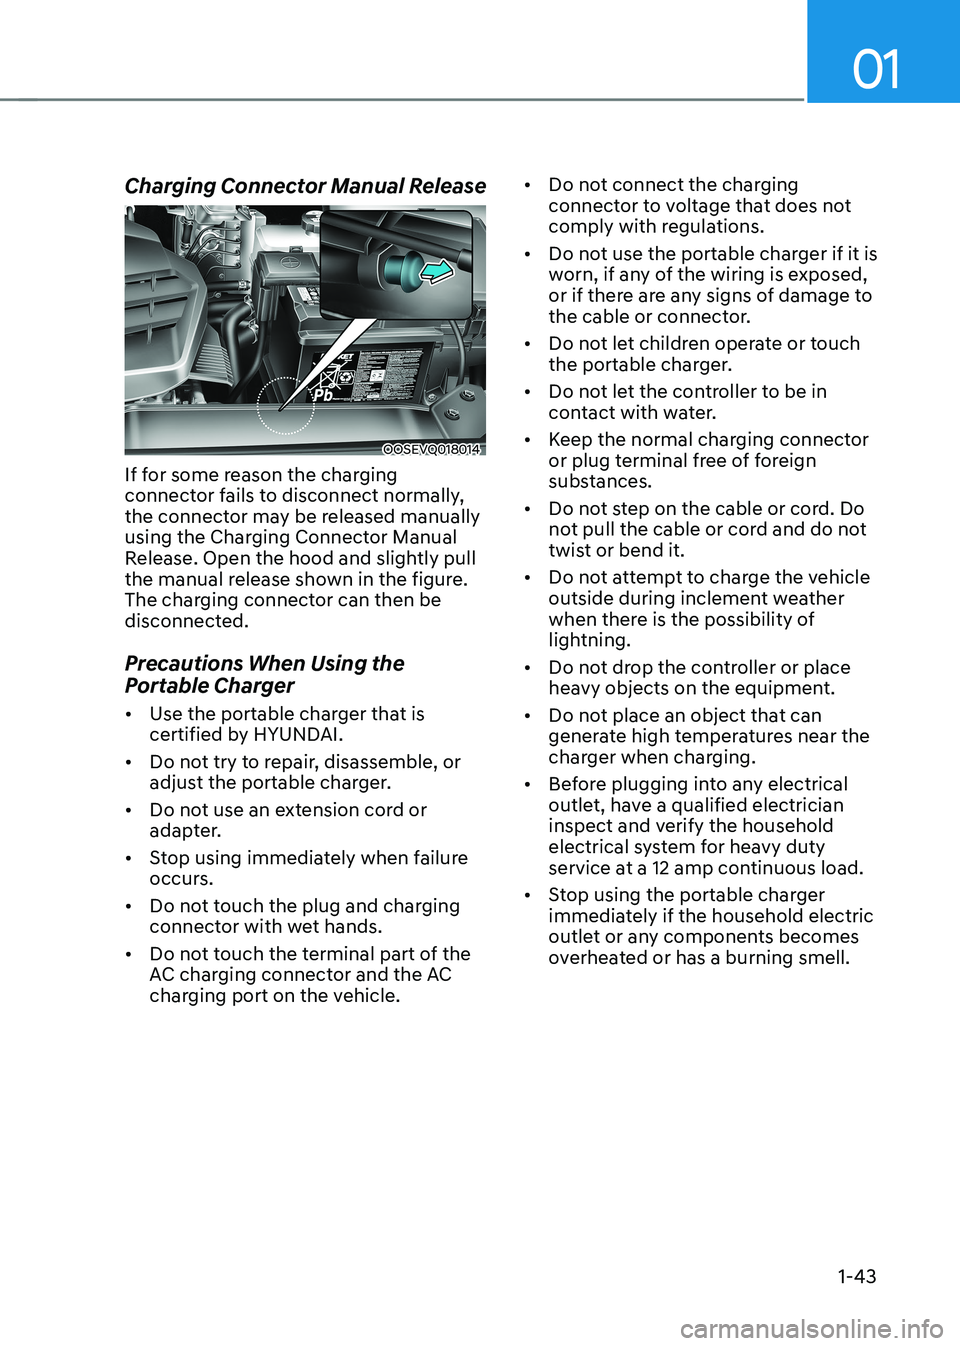
OOSEVQ018014
If for some reason the charging
connector fails to disconnect normally,
the connector may be released manually
using the Charging Connector Manual
Release. Open the hood and slightly pull
the manual release shown in the figure.
The charging connector can then be
disconnected.
Precautions When Using the
Portable Charger • Use the portable charger that is
certified by HYUNDAI.
• Do not try to repair, disassemble, or
adjust the portable charger.
• Do not use an extension cord or
adapter.
• Stop using immediately when failure
occurs.
• Do not touch the plug and charging
connector with wet hands.
• Do not touch the terminal part of the
AC charging connector and the AC
charging port on the vehicle. •
Do not connect the charging
connector to voltage that does not
comply with regulations.
• Do not use the portable charger if it is
worn, if any of the wiring is exposed,
or if there are any signs of damage to
the cable or connector.
• Do not let children operate or touch
the portable charger.
• Do not let the controller to be in
contact with water.
• Keep the normal charging connector
or plug terminal free of foreign
substances.
• Do not step on the cable or cord. Do
not pull the cable or cord and do not
twist or bend it.
• Do not attempt to charge the vehicle
outside during inclement weather
when there is the possibility of
lightning.
• Do not drop the controller or place
heavy objects on the equipment.
• Do not place an object that can
generate high temperatures near the
charger when charging.
• Before plugging into any electrical
outlet, have a qualified electrician
inspect and verify the household
electrical system for heavy duty
service at a 12 amp continuous load.
• Stop using the portable charger
immediately if the household electric
outlet or any components becomes
overheated or has a burning smell.
Page 49 of 548
Foreword / Electric Vehicle System Overview
1-44
EV Charging - trOUBlEShOOting
EV Charging Troubleshooting - Steps to Consider
If the vehicle fails to charge after being plugged in to a charging station or if plugged in
when using the portable charger, check the following:
1. Verify the charge mode is set to immediate. (i.e. confirm that scheduled charging is turned OFF)
2. Check the operation status of the charging station or the portable charger.
3. Check to see if there are any warning messages in the LCD cluster. Refer to “LCD Display Messages” in this section.
4. If there is an error message on the charging station display screen, there may be
a problem with the charging station. Try to charge the vehicle with a different
charging station.
5. If the vehicle fails to charge with different charging station equipment, there may be a problem with the vehicle. Contact an authorized HYUNDAI dealer for inspection.
6. If charging fails and the service warning light (
) is lit in the cluster,
Contact an authorized HYUNDAI dealer.
Page 51 of 548
Foreword / Electric Vehicle System Overview
1-46
Virtual Engine Sound System
The Virtual Engine Sound System
generates engine sound for pedestrians
to hear vehicle sound because there is
no sound while the Electric Vehicle (EV)
is operating. • If the vehicle is in the ready (
)
mode and the gear is not in P (Park),
the VESS will be operated.
• When the gear is shifted to R
(Reverse), an additional warning
sound will be heard.
CAUTION
• The vehicle is much quieter while
driving than a conventional gasoline-
powered vehicle. Be aware of your
surroundings and always drive safely.
• After you park the vehicle or while
you are waiting at a traffic light,
check whether there are children or
obstacles around the vehicle.
• Check if there is something behind
the vehicle when driving in reverse.
Pedestrians may not hear the sound
of the vehicle.
Distance to Empty
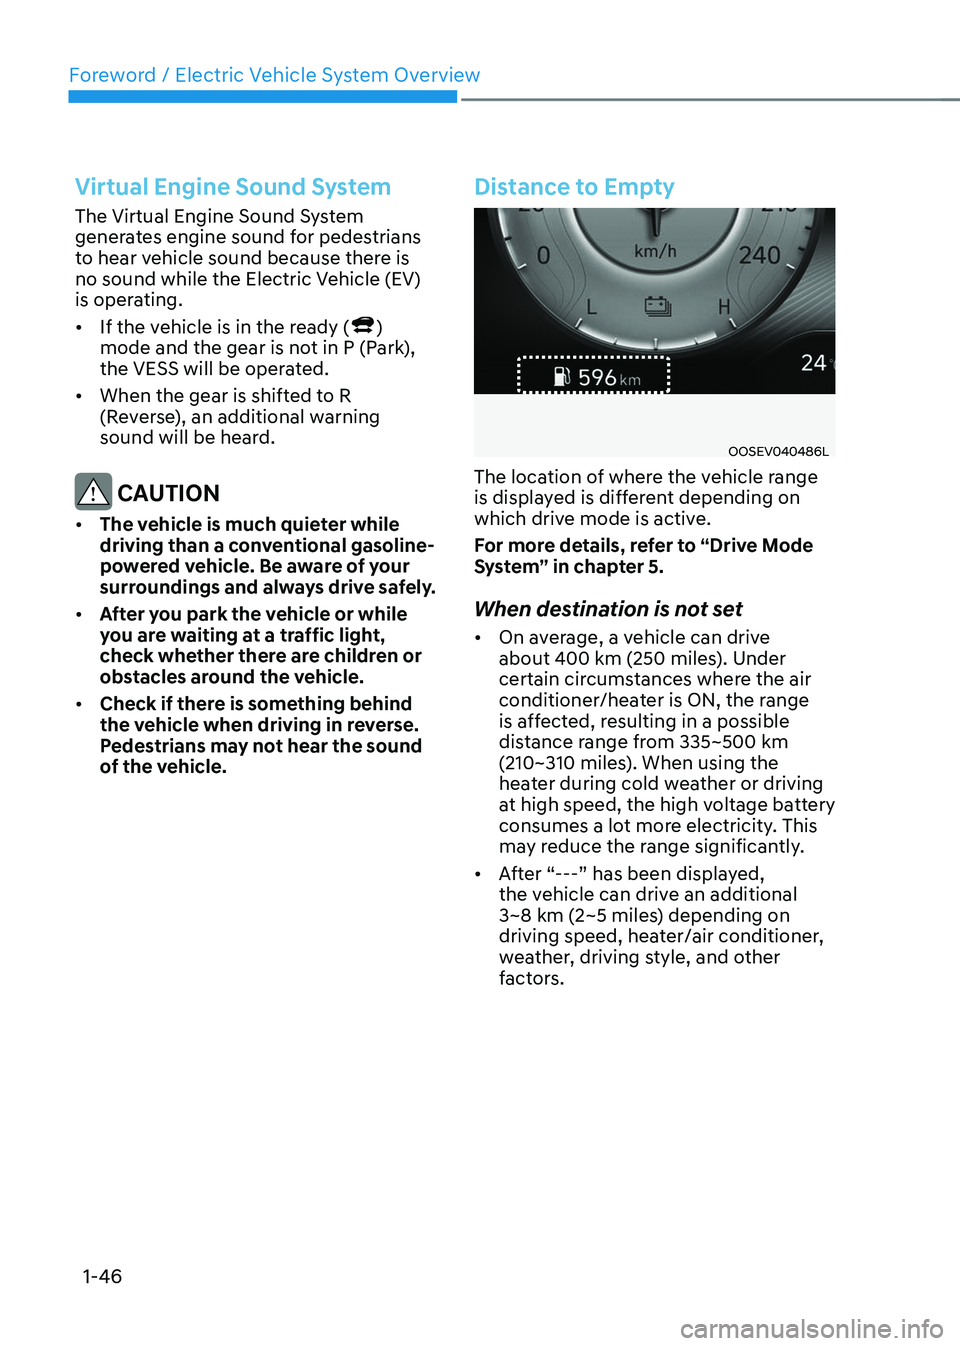
OOSEV040486L
The location of where the vehicle range
is displayed is different depending on
which drive mode is active.
For more details, refer to “Drive Mode
System” in chapter 5.
When destination is not set • On average, a vehicle can drive
about 400 km (250 miles). Under
certain circumstances where the air
conditioner/heater is ON, the range
is affected, resulting in a possible
distance range from 335~500 km
(210~310 miles). When using the
heater during cold weather or driving
at high speed, the high voltage battery
consumes a lot more electricity. This
may reduce the range significantly.
• After “---” has been displayed,
the vehicle can drive an additional
3~8 km (2~5 miles) depending on
driving speed, heater/air conditioner,
weather, driving style, and other
factors.
Page 53 of 548
Foreword / Electric Vehicle System Overview
1-48
Power/Charge Gauge
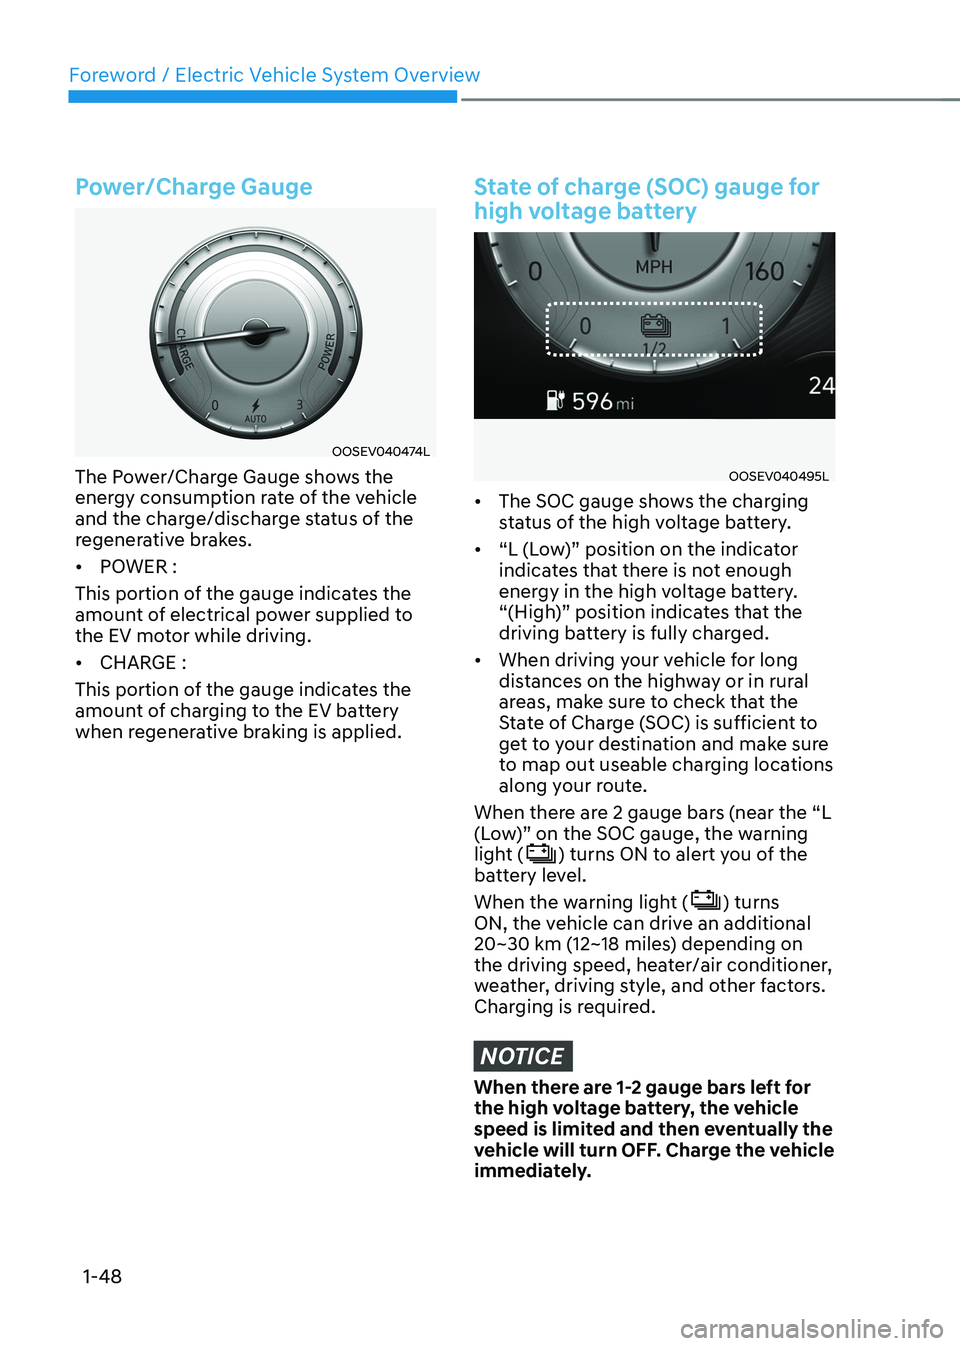
OOSEV040474L
The Power/Charge Gauge shows the
energy consumption rate of the vehicle
and the charge/discharge status of the
regenerative brakes. • POWER :
This portion of the gauge indicates the
amount of electrical power supplied to
the EV motor while driving. • CHARGE :
This portion of the gauge indicates the
amount of charging to the EV battery
when regenerative braking is applied.
State of charge (SOC) gauge for
high voltage battery
OOSEV040495L
• The SOC gauge shows the charging
status of the high voltage battery.
• “L (Low)” position on the indicator
indicates that there is not enough
energy in the high voltage battery.
“(High)” position indicates that the
driving battery is fully charged.
• When driving your vehicle for long
distances on the highway or in rural
areas, make sure to check that the
State of Charge (SOC) is sufficient to
get to your destination and make sure
to map out useable charging locations
along your route.
When there are 2 gauge bars (near the “L
(Low)” on the SOC gauge, the warning
light (
) turns ON to alert you of the
battery level.
When the warning light (
) turns
ON, the vehicle can drive an additional
20~30 km (12~18 miles) depending on
the driving speed, heater/air conditioner,
weather, driving style, and other factors.
Charging is required.
NOTICE
When there are 1-2 gauge bars left for
the high voltage battery, the vehicle
speed is limited and then eventually the
vehicle will turn OFF. Charge the vehicle
immediately.
Page 54 of 548
01
1-49
Warning and Indicator Lights
(related to electric vehicle)
Ready indicator
This indicator illuminates:
When the vehicle is ready to be driven. - ON : Normal driving is possible.
- OFF : Normal driving is not possible, or a problem has occurred.
- Blinking : Emergency driving.
When the ready indicator goes OFF
or blinks, there is a problem with the
system. In this case, have your vehicle
inspected by an authorized HYUNDAI
dealer.
Service Warning Light
This warning light illuminates:
• When the Start/Stop button is in the ON position.
- It illuminates for approximately 3 seconds and then goes off.
• When there is a problem with related
parts of the electric vehicle control
system, such as sensors, etc.
When the warning light illuminates while
driving, or does not go OFF after starting
the vehicle, have your vehicle inspected
by an authorized HYUNDAI dealer.
Power Down Warning Light
This warning light illuminates :
When the power output from the vehicle
is limited. The vehicle is in fail-safe mode.
Power from the vehicle is limited due to
one of the following reasons: - The state of charge (SOC) of the high voltage battery is very low. Typically
the Power Down Warning Light will
turn ON when the SOC is below 3%.
- The temperature of the EV drive motor or the high voltage battery is either
too high (overheating) or too low
(freezing)
- There is a problem with either the cooling system or a vehicle system
warning has occurred that may
interrupt normal driving
NOTICE
• Do not accelerate or start the vehicle
suddenly when the power down
warning light is ON.
• When the high voltage battery level
is low, the power down warning
illuminates and the power output
from the vehicle is limited. Charge
the battery immediately since your
vehicle may not drive uphill or skid
on a slope with the warning light ON.