Page 283 of 680

05
5-91
Glove box lamp
ONE1051068N
The glove box lamp turns on for about 20
minutes when the glove box is opened. Door mood lampONE1091026
• Door mood lamp
To set the brightness and the color of
the door mood lamp, select ‘Setup
→ Vehicle Settings → Lights → Interior
mood lamp’
• When driving at night or under low
light driving conditions, the sensors
detect the light level around the
vehicle and automatically adjust the
brightness of the mood lamp.
To set the automatic brightness
adjustment turn On/Off, select ‘Setup
→ Vehicle Settings → Lights → Interior
Mood Lamp → Brightness control)’
• There are different colors for different
drive modes.
To set the colors for the different
drive modes, select ‘Setup → Vehicle
Settings → Lights → Interior Mood
Lamp → Colors for the drive modes’
• The color of the mood lamp turns
red when the vehicle speed exceeds
the speed limit in the speed control section.
To set the color change function,
select ‘Setup → Vehicle Settings →
Lights → Interior Mood Lamp → Speed
limit warning)’
Page 284 of 680
Convenience Features
5-92
Luggage compartment lamp
ONE1051069
The lamp turns on when the liftgate is opened. Headlamp and position lamp
When the light switch is ON, and all
the doors (and liftgate) are closed and
locked, the headlamp and position lamp
will turn on for approximately 15 seconds
if the door unlock button is pressed on
the smart key.
Select ‘Setup → Lights → Headlight Delay’
from the Settings menu to turn on this function.
For detailed information, refer to the
separately supplied infotainment
system manual.
Interior lamp
When the interior lamp switch is in the
position and all doors (and liftgate)
are closed and locked, the room lamp
will come on for 30 seconds if any of the
below is performed.
- When the door unlock button is pressed on the smart key.
- When you touch the touch sensor on the door handle while carrying the
smart key.
At this time, if you press the door lock
or unlock button on the smart key the
lamps will turn off immediately.
Page 285 of 680

05
5-93
ONE1051064
High Beam Assist will automatically
adjust the headlamp range (switches
between high beam and low beam)
depending on the brightness of detected
vehicles and certain road conditions.
Detecting sensor
ONE1071262
[1] : front view camera
The front view camera is used as a
detecting sensor to detect ambient light
and brightness while driving.
Refer to the picture above for the
detailed location of the detecting sensor.
NOTICE
• Always keep the front view camera in
good condition to maintain optimal
performance of High Beam Assist.
• For more details on the precautions
of the front view camera, refer to
“Forward Collision-Avoidance Assist
(FCA)” section in chapter 7.
High Beam Assist Settings
Setting features
ONE1051248L
With the Start/Stop button in the ON
position, select ‘Lights → High Beam
Assist’ from the Settings menu to turn on
High Beam Assist and deselect to turn off the function.
WARNING
For your safety, change the Settings
after parking the vehicle at a safe
location.
hIgh Beam assIsT (hBa) (If eQUIPPed)
Page 286 of 680

Convenience Features
5-94
High Beam Assist Operation
Display and control • After selecting ‘High Beam Assist’
in the Settings menu, High Beam
Assist will operate by following the
procedure below.
- Place the headlamp switch in the AUTO position and push
the headlamp lever towards the
instrument cluster. The High Beam
Assist (
) indicator light will
illuminate on the cluster and High
Beam Assist will be enabled.
- When High Beam Assist is enabled, high beam will turn on when vehicle
speed is above 40 km/h (25 mph).
When vehicle speed is below 25
km/h (15 mph), high beam will turn
off.
- The High Beam (
) indicator light
will illuminate on the cluster when high beam is on.
• When High Beam Assist is operating, if
the headlamp lever or switch is used,
High Beam Assist operates as follow:
- If the headlamp lever is pulled towards you when the high beam
is off, the high beam will turn on
without High Beam Assist canceled.
When you let go of the headlamp
lever, the lever will move to the middle and the high beam will turn
off.
- If the headlamp lever is pulled towards you when the high beam is
on by High Beam Assist, low beam will turn on and the function will
turn off.
- If the headlamp switch is placed from AUTO to another position
(headlamp/position/off), High
Beam Assist will turn off and the
corresponding lamp will turn on. •
When High Beam Assist is operating,
high beam switches to low beam if
any of the following conditions occur:
- When the headlamp of an oncoming vehicle is detected.
- When the tail lamp of a vehicle in front is detected.
- When the headlamp or tail lamp of a motorcycle or a bicycle is detected.
- When the surrounding ambient light is bright enough that high beams
are not required.
- When streetlights or other lights are detected.
Information
The images or colors may be displayed
differently depending on the specifications
of the instrument panel or theme.
Page 287 of 680

05
5-95
High Beam Assist Malfunction
and Limitations
High Beam Assist malfunction
OJK050059L
When High Beam Assist is not working
properly, the ‘Check High Beam Assist
(HBA) system’ warning message will appear and
warning light will
illuminate on the cluster. Have the
function inspected by an authorized
HYUNDAI dealer.
Limitations of High Beam Assist
High Beam Assist may not work properly
in the following situations: • Light from an oncoming or front
vehicle is not detected because of lamp damage, or because it is hidden
from sight, etc.
• Headlamp of an oncoming or front
vehicle is covered with dust, snow or
water.
• A front vehicle’s headlamps are off,
but the fog lamps are on, etc.
• There is a lamp that has a similar
shape as a vehicle’s lamp.
• Headlamps have been damaged or
not repaired properly.
• Headlamps are not aimed properly.
• Driving on a narrow curved road,
rough road, uphill or downhill.
• Vehicle in front is partially visible on a
crossroad or curved road. •
There is a traffic light, reflecting sign,
flashing sign or mirror ahead.
• There is a temporary reflector or flash
ahead (construction area).
• The road conditions are bad such as
being wet, iced or covered with snow.
• A vehicle suddenly appears from a
curve.
• The vehicle is tilted from a flat tire or
is being towed.
• Light from an oncoming or front
vehicle is not detected due to
obstacles in the air such as exhaust
fume, smoke, fog, snow, or water spay
or blizzard on the road, or fogging in
the lamp, etc. Information
For more details on the limitations of the
Front View Camera, refer to “Forward
Collision-Avoidance Assist (FCA)” section
in chapter 7.
WARNING
• At times, High Beam Assist may not
work properly. High Beam Assist is
for your convenience only. It is the
responsibility of the driver for safe
driving practices and always check
the road conditions for your safety.
• When High Beam Assist does
not operate properly, change the headlamp position manually
between high beam and low beam.
Page 289 of 680

05
5-97
AUTO (Automatic) control
ONE1051072
The rain sensor located on the upper
end of the windshield glass senses
the amount of rainfall and controls the
wiping cycle for the proper interval.
The wiper operation time will be
automatically controlled depends on
rainfall.
When the rain stops, the wiper stops.
To vary the sensitivity setting, turn the
sensitivity control knob.
If the wiper switch is set in AUTO mode
when the Start/Stop button is in the ON
position, the wiper will operate once to
perform a self-check of the system. Set
the wiper to the OFF position when the
wiper is not in use.
WARNING
To avoid personal injury from the
windshield wipers, when the vehicle is running and the windshield wiper
switch is placed in the AUTO mode: • Do not touch the upper end of the
windshield glass facing the rain
sensor.
• Do not wipe the upper end of the
windshield glass with a damp or wet
cloth.
• Do not put pressure on the windshield glass.
NOTICE
• When washing the vehicle, set the
wiper switch in the OFF position to
stop the auto wiper operation. The
wiper may operate and be damaged
if the switch is set in the AUTO mode
while washing the vehicle.
• Do not remove the sensor cover
located on the upper end of the passenger side windshield glass.
Damage to system components
could occur and may not be covered
by your vehicle warranty.
• Because of using a photo sensor,
temporary malfunction could occur
according to sudden ambient light
change made by stone and dust while driving.
Page 293 of 680

05
5-101
LevelAUTO
Indicator Climate
Information Fan
Speed level
3HIGH 1~8
2MEDIUM 1~6
1LOW 1~4
1. Press AUTO icon or touch the AUTO
icon in the infotainment screen to
select the fan speed (level1~3)
2. Adjust the temperature with the temperature control icon. The fan speed level only can be changed
manually.
The following systems can be
respectively adjusted while the AUTO
climate control is On. When those
systems are adjusted, AUTO indicator
lights will turn off.
- Fan speed level
- A/C (Air condition)
- Mode selection
- Front windshield defroster (When defroster is turned off, AUTO
indicator light will illuminate)
For your convenience and to improve the
efficiency of the climate control, use the
AUTO button and set the temperature to 72°F (22°C).
To change the temperature unit from °C
to °F or °F to °C:
Select ‘Setup → General Settings → Unit
→ Temperature Unit → °C/°F’ from the
Settings menu in the infotainment
system screen.
Information
ONE1051074
Never place anything near the ambient
light/solar sensor to ensure better control of the heating and cooling system.
Page 296 of 680

Convenience Features
5-104
Face-Level (B, D, F)
Air flow is directed toward the upper
body and face. Additionally, each outlet
can be controlled to direct the air
discharged from the outlet.
Bi-Level (B, D, C, E, F)
Air flow is directed towards the face and
the floor.
Floor-Level (A, C, D, E)
Most of the air flow is directed to the
floor, with a small amount of the air
being directed to the windshield and side
window defrosters.
Floor/Defrost-Level (A, C, D, E)
Most of the air flow is directed to the floor and the windshield with a small
amount directed to the side window
defrosters.
Defroster-Level (A, D)
Most of the air flow is directed to the
windshield with a small amount of air
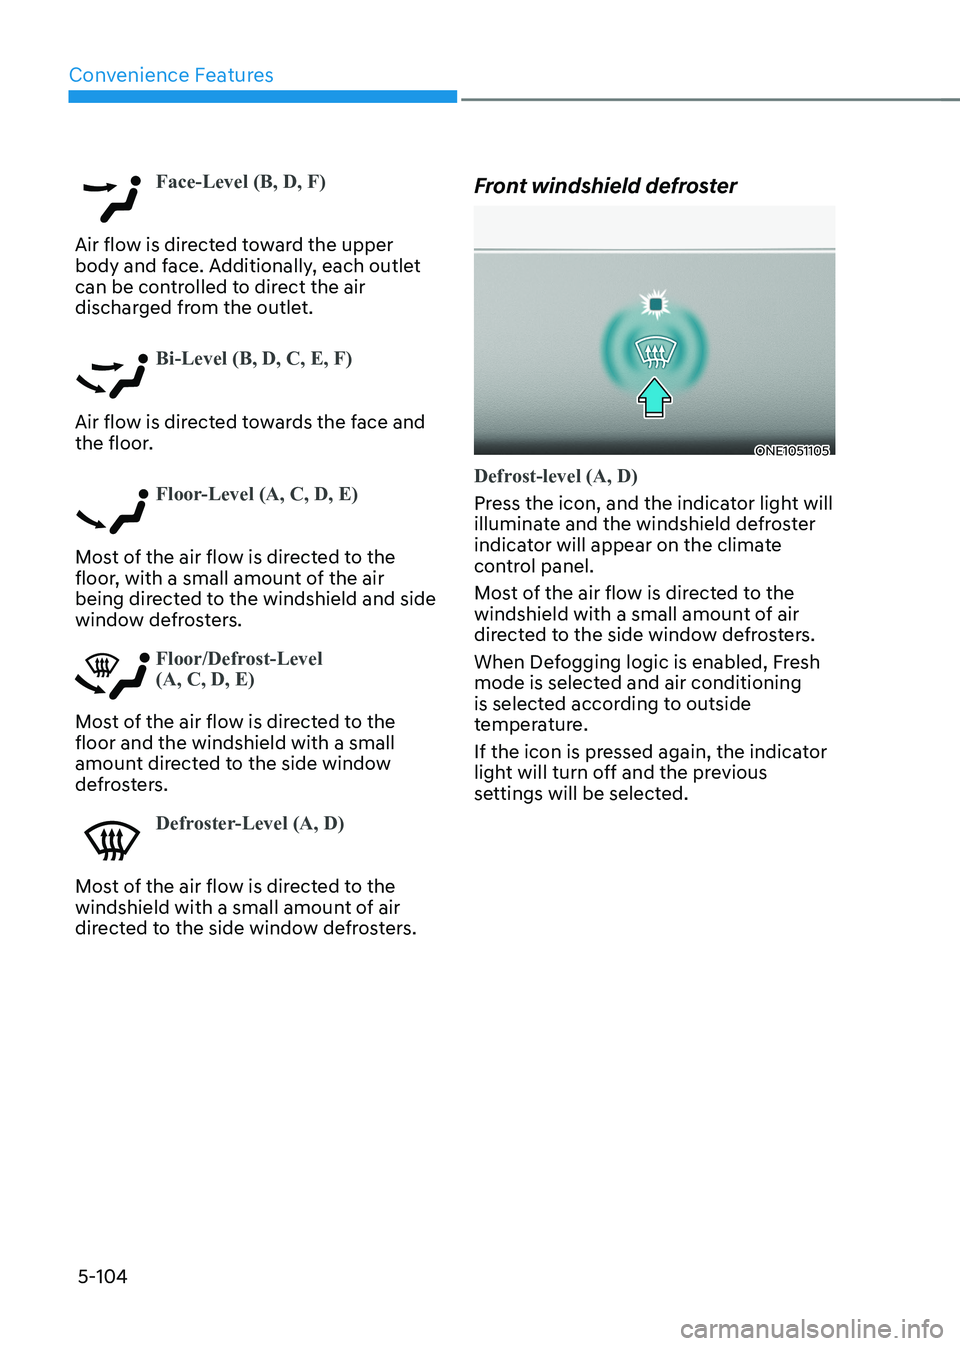
directed to the side window defrosters.Front windshield defroster
ONE1051105
Defrost-level (A, D)
Press the icon, and the indicator light will
illuminate and the windshield defroster
indicator will appear on the climate
control panel.
Most of the air flow is directed to the
windshield with a small amount of air
directed to the side window defrosters.
When Defogging logic is enabled, Fresh
mode is selected and air conditioning
is selected according to outside
temperature.
If the icon is pressed again, the indicator
light will turn off and the previous
settings will be selected.