Page 475 of 533

7-44
Maintenance
For best battery service
Keep the battery securely mounted.
Keep the battery top clean and dry.
Keep the terminals and connec-
tions clean, tight, and coated with
petroleum jelly or terminal grease.
Rinse any spilled electrolyte from
the battery immediately with a
solution of water and baking soda.
If the vehicle is not going to be
used for an extended time, discon-
nect the battery cables.
Battery capacity label
The actual battery label in the vehicle
may differ from the illustration.
1. CMF60L-BCI : The HYUNDAI
model name of battery
2. 12V : The nominal voltage
3. 60Ah(20HR) : The nominal capacity
(in Ampere hours)
4. 92RC : The nominal reserve capac-
ity (in min.)
5. 550CCA : The cold-test current in
amperes by SAE
6. 440A : The cold-test current in
amperes by EN
Battery recharging
By battery charger
Your vehicle has a maintenance-free,
calcium-based battery.
If the battery becomes discharged
over a short time (because, for
example, the headlamps or interior
lights were left on whilst the vehicle
was not in use), recharge it by slow
charging (trickle) for 10 hours.
If the battery gradually discharges
because of high electrical load
whilst the vehicle is being used,
recharge it at 20-30A for two hours.
OPD077028LOLMB073072 ■Example
Page 476 of 533

7-45
7
Maintenance
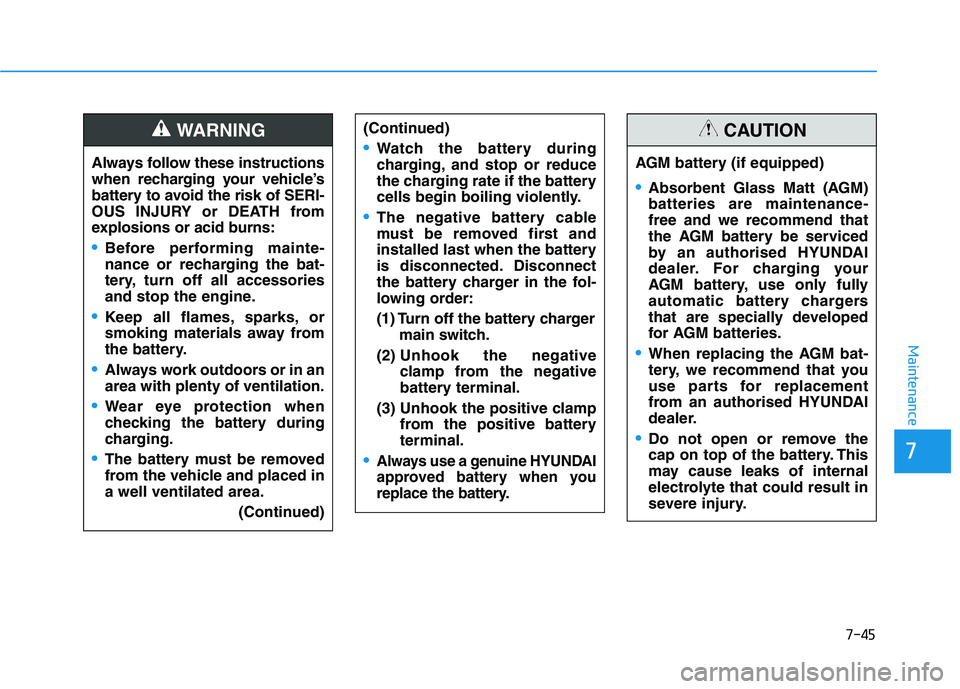
AGM battery (if equipped)
Absorbent Glass Matt (AGM)
batteries are maintenance-
free and we recommend that
the AGM battery be serviced
by an authorised HYUNDAI
dealer. For charging your
AGM battery, use only fully
automatic battery chargers
that are specially developed
for AGM batteries.
When replacing the AGM bat-
tery, we recommend that you
use parts for replacement
from an authorised HYUNDAI
dealer.
Do not open or remove the
cap on top of the battery. This
may cause leaks of internal
electrolyte that could result in
severe injury.
CAUTION
Always follow these instructions
when recharging your vehicle’s
battery to avoid the risk of SERI-
OUS INJURY or DEATH from
explosions or acid burns:
Before performing mainte-
nance or recharging the bat-
tery, turn off all accessories
and stop the engine.
Keep all flames, sparks, or
smoking materials away from
the battery.
Always work outdoors or in an
area with plenty of ventilation.
Wear eye protection when
checking the battery during
charging.
The battery must be removed
from the vehicle and placed in
a well ventilated area.
(Continued)
WARNING (Continued)
Watch the battery during
charging, and stop or reduce
the charging rate if the battery
cells begin boiling violently.
The negative battery cable
must be removed first and
installed last when the battery
is disconnected. Disconnect
the battery charger in the fol-
lowing order:
(1) Turn off the battery charger
main switch.
(2) Unhook the negative
clamp from the negative
battery terminal.
(3) Unhook the positive clamp
from the positive battery
terminal.
Always use a genuine HYUNDAI
approved battery when you
replace the battery.
Page 477 of 533
7-46
Maintenance
By jump starting
After a jump start from a good bat-
tery, drive the vehicle for 20-30 min-
utes before it is shutoff. The vehicle
may not restart if you shut it off
before the battery had a chance to
adequately recharge. See “Jump
Starting” in chapter 6 for more infor-
mation on jump starting procedures.
Information
An inappropriately disposed
battery can be harmful to
the environment and human
health. Dispose of the bat-
tery according to your local
law(s) or regulation.
Reset items
The following items may need to be
reset after the battery has been dis-
charged or the battery has been dis-
connected.
Auto up/down window
Sunroof
Trip computer
Climate control system
Clock
Audio system
i
Page 490 of 533

7-59
7
Maintenance
F FU
US
SE
ES
S
A vehicle’s electrical system is pro-
tected from electrical overload dam-
age by fuses.
This vehicle has 2 (or 3) fuse panels,
one located in the driver’s side panel
bolster, the other in the engine com-
partment.
If any of your vehicle’s lights, acces-
sories, or controls do not work, check
the appropriate circuit fuse. If a fuse
has blown, the element inside the
fuse will be melted or broken.
If the electrical system does not
work, first check the driver’s side
fuse panel. Before replacing a blown
fuse, turn the engine and all switches
off, and then disconnect the negative
battery cable. Always replace a
blown fuse with one of the same rat-
ing.
If the replacement fuse blows, this indi-
cates an electrical problem. Avoid
using the system involved and immedi-
ately consult an authorised HYUNDAI
dealer.Information
Three kinds of fuses are used: blade
type for lower amperage rating, car-
tridge type, and multi fuse for higher
amperage ratings.
Do not use a screwdriver or any
other metal object to remove
fuses because it may cause a
short circuit and damage the sys-
tem.
NOTICE
i
Normal ■Blade type
■Cartridge typeBlown
NormalBlown
NormalBlown
OLF074075
NEVER replace a fuse with
anything but another fuse of
the same rating.
A higher capacity fuse could
cause damage and possibly
cause a fire.
Do not install a wire or alu-
minium foil instead of the
proper fuse - even as a tem-
porary repair. It may cause
extensive wiring damage and
possibly a fire.
WARNING
Normal
Blown
■Multi fuse
Page 492 of 533
7-61
7
Maintenance
Fuse switch
Always, place the fuse switch to the
ON position.
If you move the switch to the OFF
position, some items such as the
audio system and digital clock must
be reset and the smart key may not
work properly.
Information
If the fuse switch is OFF, “Turn on
FUSE SWITCH” message will appear.
Always place the fuse switch in
the ON position whilst driving
the vehicle.
Place the fuse switch in the OFF
position when the vehicle is
parked more than a month to
prevent battery discharge.
Do not move the transportation
fuse switch repeatedly. The fuse
switch may be damaged.
Engine compartment panel
fuse replacement
1. Turn the vehicle off.
2. Turn all other switches OFF.
3. Remove the fuse panel cover by
pressing the tab and pulling up.
NOTICE
i
OPDE076036ROPDE046119OPD077032L
OPD077033L
■Blade type fuse
■Cartridge type fuse
Page 493 of 533

7-62
Maintenance
4. Check the removed fuse; replace it
if it is blown. To remove or insert
the fuse, use the fuse puller in the
engine compartment fuse panel.
5. Push in a new fuse of the same
rating, and make sure it fits tightly
in the clips. If it fits loosely, we rec-
ommend that you consult an
authorised HYUNDAI dealer.
After checking the fuse panel in
the engine compartment, securely
install the fuse panel cover. You
may hear a clicking sound if the
cover is securely latched. If it is
not securely latched, electrical
failure may occur from water con-
tact.
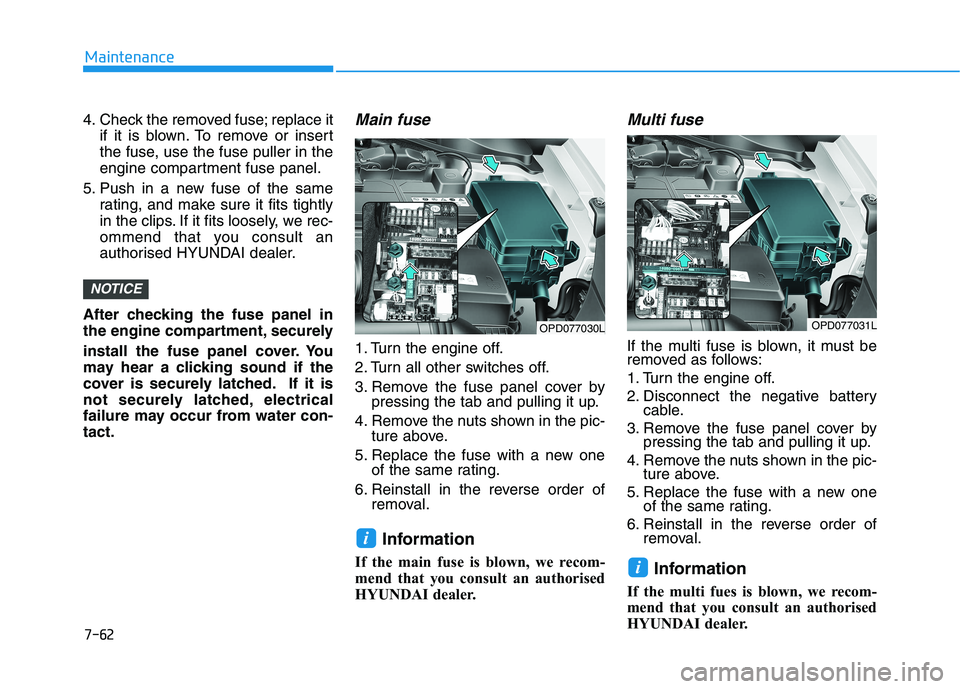
Main fuse
1. Turn the engine off.
2. Turn all other switches off.
3. Remove the fuse panel cover by
pressing the tab and pulling it up.
4. Remove the nuts shown in the pic-
ture above.
5. Replace the fuse with a new one
of the same rating.
6. Reinstall in the reverse order of
removal.
Information
If the main fuse is blown, we recom-
mend that you consult an authorised
HYUNDAI dealer.
Multi fuse
If the multi fuse is blown, it must be
removed as follows:
1. Turn the engine off.
2. Disconnect the negative battery
cable.
3. Remove the fuse panel cover by
pressing the tab and pulling it up.
4. Remove the nuts shown in the pic-
ture above.
5. Replace the fuse with a new one
of the same rating.
6. Reinstall in the reverse order of
removal.
Information
If the multi fues is blown, we recom-
mend that you consult an authorised
HYUNDAI dealer.
i
i
NOTICE
OPD077030LOPD077031L
Page 496 of 533
7-65
7
Maintenance
Engine compartment fuse panel
(Battery terminal cover)
Inside the fuse/relay box cover, you
can find the fuse/relay label describ-
ing fuse/relay names and ratings.
Information
Not all fuse panel descriptions in this
manual may be applicable to your
vehicle; the information is accurate at
the time of printing. When you inspect
the fuse panel in your vehicle, refer to
the fuse panel label.
i
OPD076066
OPD076065
After checking the fuse panel in the engine compartment, securely
install the cover. If it is not securely latched, electrical failure may occur
from water contact.
NOTICE
Page 499 of 533

7-68
Maintenance
Always handle them carefully, and
avoid scratches and abrasions. If
the bulbs are lit, avoid contact with
liquids.
Never touch the glass with bare
hands. Residual oil may cause the
bulb to overheat and burst when lit.
A bulb should be operated only
when installed in a headlamp.
If a bulb becomes damaged or
cracked, replace it immediately
and carefully dispose of it.
Headlamp
1. Open the hood.
2. Disconnect the negative battery
cable.
3. Remove the bulb cover by turning
it counterclockwise.
4. Disconnect the bulb socket-con-
nector. (for low beam and high
beam)
5. Remove the bulb from the head-
lamp assembly.
6. Install a new bulb.
7. Connect the bulb socket-connec-
tor. (for low beam and high beam)
8. Install the bulb cover by turning it
clockwise.
Turn signal lamp
1. Open the bonnet.
2. Disconnect the negative battery
cable.
3.Remove the socket from the
assembly by turning the socket
anticlockwise until the tabs on the
socket align with the slots on the
assembly.
4.Remove the bulb from the socket by
pressing it in and rotating it anti-
clockwise until the tabs on the bulb
align with the slots in the socket.
Pull the bulb out of the socket.
OPDE076077OPDE076076
■High/Low beam
High
Low