2023 HONDA CRV tow
[x] Cancel search: towPage 565 of 719

uuHonda Sensing ®u Traffic Sign Recognition System
564
Driving
The Traffic Sign Recognition system may incorrectly recognize, be slow to identify,
or fail to recognize the traffi c sign in the following cases.
■Environmental conditions
• Driving into low sunlight (e.g., at dawn or dusk).
• Strong light is reflected onto the roadway.
• Driving at night, in dark areas such as long tunnels.
• Driving in bad weather (rain, fog, snow, etc.).
• Sudden changes between light and dark, such as the entrance or exit of a tunnel
or the shadows of trees, buildings, etc.
• Water is sprayed by or snow blown from a vehicle ahead.
■Roadway conditions
• Your vehicle is strongly shaken on uneven road surfaces.
■Vehicle conditions
• When lighting is weak due to dirt covering the headlight lenses, or there is poor
visibility in a dark place due to th e headlights being improperly adjusted.
• The front of the camera is covered by dirt, fog, rain, mud, wet snow, seals,
accessories, stickers, or film on the windshield.
• There is residue on the windshie ld from the windshield wipers.
• An abnormal tire or wheel condition (incorre ct sizes, varied sizes or construction,
improperly inflated, etc.).
• The vehicle is tilted due to heavy lo ad in the cargo area or rear seats.
• The suspension has been modified.
• Tire chains are installed.
• Driving at night or in a dark place (e .g., a tunnel) with the headlights off.
• The vehicle is towing a trailer.
■Traffic Sign Recognition System Conditions and Limitations1Traffic Sign Recognition System Conditions and Limitations
When the traffic sign recognition system
malfunctions, appears on the gauge. If this
message does not disappear, have your vehicle
checked by a dealer.
Page 570 of 719

569
uuHonda Sensing ®u Front Sensor Camera
Driving
1Front Sensor Camera
If the Some driver assist systems cannot operate:
Camera temperature too high message appears:
•Use the climate control system to cool down the
interior and, if necessary, also use defroster mode
with the airflow directed towards the camera.
•Start driving the vehicle to lower the windshield
temperature, which cool s down the area around
the camera.
If the Some driver assist systems cannot operate:
Clean front windshield or poor viewing
condition. message appears:
•Park your vehicle in a safe place, and make sure the
windshield is clean.
Clean the windshield if it is dirty. If the message
does not disappear after dr iven for a while, have
your vehicle checked by a dealer.
Page 576 of 719

Continued575
uuBraking uBrake System
Driving
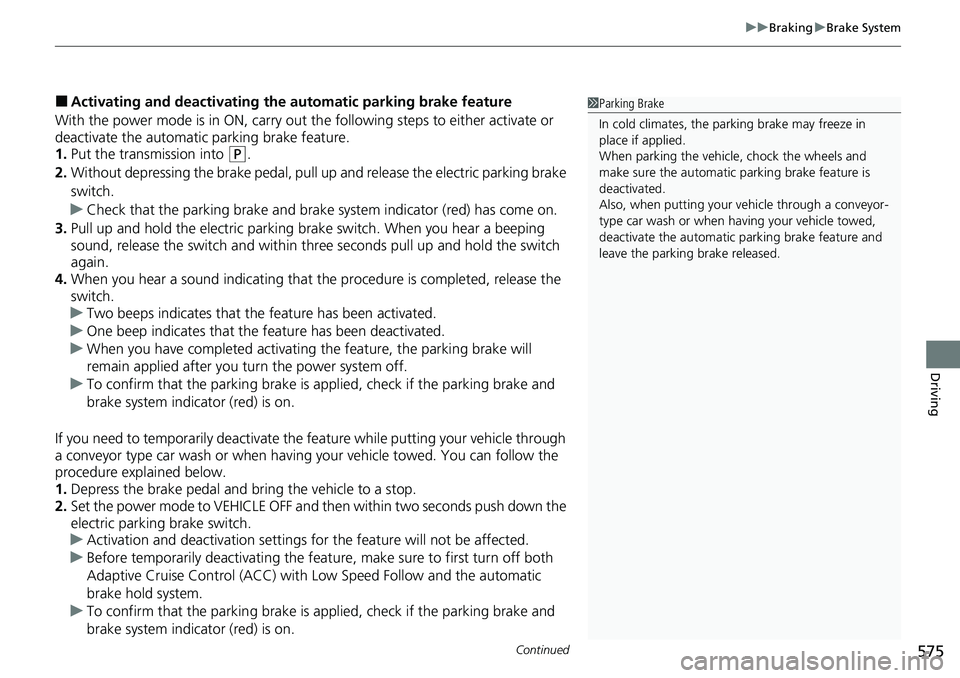
■Activating and deactivating the automatic parking brake feature
With the power mode is in ON, carry out th e following steps to either activate or
deactivate the automatic parking brake feature.
1. Put the transmission into
(P.
2. Without depressing the brake pedal, pull up and release the electric parking brake
switch.
u Check that the parking brake and brake sy stem indicator (red) has come on.
3. Pull up and hold the electric parking br ake switch. When you hear a beeping
sound, release the switch and within three seconds pull up and hold the switch
again.
4. When you hear a sound indicating that the procedure is completed, release the
switch.
u Two beeps indicates that the feature has been activated.
u One beep indicates that the feature has been deactivated.
u When you have completed activating the feature, the parking brake will
remain applied after you turn the power system off.
u To confirm that the parkin g brake is applied, check if the parking brake and
brake system indicator (red) is on.
If you need to temporarily deactivate the feature while putting your vehicle through
a conveyor type car wash or when having your vehicle towed. You can follow the
procedure explained below.
1. Depress the brake pedal and bring the vehicle to a stop.
2. Set the power mode to VEHICLE OFF and then within two seconds push down the
electric parking brake switch.
u Activation and deactivation settings for the feature will not be affected.
u Before temporarily deactivating the feat ure, make sure to first turn off both
Adaptive Cruise Control (ACC) with Low Speed Follow and the automatic
brake hold system.
u To confirm that the parkin g brake is applied, check if the parking brake and
brake system indicator (red) is on.
1 Parking Brake
In cold climates, the parking brake may freeze in
place if applied.
When parking the vehicle, chock the wheels and
make sure the automatic parking brake feature is
deactivated.
Also, when putting your vehicle through a conveyor-
type car wash or when ha ving your vehicle towed,
deactivate the automatic parking brake feature and
leave the parking brake released.
Page 585 of 719

584
uuParking Your Vehicle uParking Sensor System*
Driving
Parking Sensor System*
The corner and center sensors monitor obstacles around your vehicle, and the
beeper, driver information interface and audio/informatio n screen let you know the
approximate distance between your vehicle and the obstacle.
■The sensor location and range
1 Parking Sensor System*
Even when the system is on, always confirm if there is
no obstacle near your ve hicle before parking.
The system may not work properly when:
•The sensors are covered with snow, ice, mud, or dirt.•The vehicle has been out in hot or cold weather.•There is something nearby that emits ultrasonic
waves or high frequency sounds.
•Driving in bad weather (rain, fog, snow, etc.).•Any accessories have been put on or around the
sensors.
The system may not de tect these obstacles:
•Thin or low objects.•Sonic-absorptive materials, such as snow, cotton,
or sponge.
•Objects directly under the bumper.
The system may falsely de tect obstacles in the
following situations:
•The vehicle is on uneven su rface, such as grass,
bumps, or a hill.
•When close to other vehicl es with sonar sensors or
other objects that em it ultrasonic waves.
•There is splashing water near the sensors due to
heavy rains, etc.
Do not put any accessories on or around the sensors.
•If you put any accessories (such as a towing hitch or
bicycle rack) on or around the rear sensors, the
system may activate if it detects these accessories
as an obstacle. In this case, turn off the rear sensor. 2Settings
* P. 135
2 Customized Features P. 376
Front Corner Sensors
Rear Corner Sensors Rear Center Sensors
Front Center Sensors
Within about 24 in (60 cm) or less Front: Within about 26 in (65 cm) or less
Rear: Within about 43 in (110 cm) or less
* Not available on all models
Page 591 of 719

uuParking Your Vehicle uCross Traffic Monitor
590
Driving
The system activates when:
• The power mode is in ON.
• The Cross Traffic Monitor is turned on.
2 Cross Traffic Monitor On and Off P. 592
•The transmission is in (R.
• Your vehicle is moving at 3 mph (5 km/h) or
lower.
When a vehicle is detected approaching from a rear corner, Cross Traffic Monitor
alerts you with a buzzer and a displayed warning.
The system will not detect a vehicle that approaches from directly behind your
vehicle, nor will it provide alerts about a detected vehicle when it moves directly
behind your vehicle.
The system does not provide alerts for a vehicle that is moving away from your
vehicle, and it may alert for pedestri ans, bicycles, or stationary objects.
■How the System Works1Cross Traffic Monitor
Cross Traffic Monitor may not detect or may delay
alerting an approach ing vehicle, or may alert without
an approaching vehicle under the following
conditions:
•An obstacle, such as a nother vehicle and a wall,
near your vehicle’s rear bumper, is blocking the
radar sensor’s scope.
•Your vehicle is moving at the speed of about 3 mph
(5 km/h) or higher.
•A vehicle is approaching at the speed other than
between about 6 mph (10 km/h) and 16 mph (25
km/h).
•The system picks up external interference such as
other radar sensors from an other vehicle or strong
radio wave transmitted fr om a facility nearby.
•Either corner of the rear bumper is covered with
snow, ice, mud or dirt.
•When there is bad weather.
•Your vehicle is on an incline.
•Your vehicle is tilted due to a heavy load in the rear.•Your vehicle is reversing towards a wall, a pole, a
vehicle, and so on.
The rear bumper or the sens ors have been improperly
repaired or the rear bum per has been deformed.
Have your vehicle checked by a dealer.
For proper operation, always keep the rear bumper
corner area clean.
Do not cover the rear bumper corner area with labels
or stickers of any kind.
Radar sensors:
Underneath the rear bumper
corners
Page 602 of 719

601
uuBefore Performing Maintenance uSafety When Performing Maintenance
Continued
Maintenance
Safety When Performing Maintenance
Some of the most important safety pr ecautions are given here. However, we
cannot warn you of every conceivable hazard that can arise in performing
maintenance. Only you can decide whether you should perform a given task.
• To reduce the possibility of fire or explos ion, keep cigarettes, sparks, and flames
away from the 12-volt battery, all High Volt age system, and all fuel related parts.
• Never leave rags, towels, or other flammable objects under the hood.
u Heat from the engine and exhaust can ignite them, causing a fire.
• To clean parts, use a co mmercially available degreas er or parts cleaner, not
gasoline.
• Wear eye protection and protective clothing when working with the 12-volt
battery or compressed air.
• Engine exhaust contains carbon monoxide, which is poisonous and can kill you.
u Only operate the engine if th ere is sufficient ventilation.
■Maintenance Safety
1Safety When Performing Maintenance
3WARNING
Improperly maintaining this vehicle or
failing to correct a pr oblem before driving
can cause a crash in which you can be
seriously hurt or killed.
Always follow the inspection and
maintenance recommendations according
to the schedules in this owner's manual.
3WARNING
Failure to properly follow maintenance
instructions and precautions can cause you
to be seriously hurt or killed.
Always follow the procedures and
precautions in this owner's manual.
Page 615 of 719

614
uuMaintenance Under the Hood uOil Check
Maintenance
Oil Check
We recommend that you check the engi ne oil level every time you refuel.
Park the vehicle on level ground.
Turn off the power system. You can check the oil level without the engine having
run beforehand. If the engine has been running, wait approximately three minutes
before you check the oil. 1.Remove the dipstick (orange).
2. Wipe the dipstick with a clean cloth or
paper towel.
3. Insert the dipstick back all the way into its
hole.
4. Remove the dipstick again, and check the
level. It should be between the upper and
lower marks. Add oil if necessary.1Oil Check
If the oil level is near or below the lower mark, slowly
add oil, being carefu l not to overfill.
Upper Mark
Lower Mark
Page 624 of 719

623
Maintenance
Replacing Light Bulbs
Headlights
Headlights are LED type. Have an authorized Honda dealer inspect and replace the
light assembly.
Front Turn Signal, Parkin g/Daytime Running Lights
Front turn signal, parking/daytime running lights are LED type. Have an authorized
Honda dealer inspect and replace the light assembly.
Front Side Marker Lights
Front side marker lights are LED type. Have an authorized Hond a dealer inspect and
replace the light assembly.
Side Turn Signal/Emer gency Indicator Lights
Door mirror side turn lights are LED type. Have an authorized Honda dealer inspect
and replace the light assembly.
1 Headlights
The headlight aim is set by the factory, and does not
need to be adjusted. Howeve r, if you regularly carry
heavy items in the cargo area or tow a trailer, have
the aiming readjusted at a dealer or by a qualified
technician.