2023 FORD F650/750 change
[x] Cancel search: changePage 48 of 378
4. While the safety belt warning light is
on, buckle and then unbuckle the
safety belt. After Step 4, the safety belt
warning light flashes for confirmation.
• This will switch the feature off for that
seating position if it is currently on.
• This will switch the feature on for that
seating position if it is currently off.
CHILD RESTRAINT AND
SEATBELT MAINTENANCE
Inspect the vehicle seatbelts and child
safety seat systems periodically to make
sure they work properly and are not
damaged. Inspect the vehicle and child
restraint seatbelts to make sure there are
no nicks, tears or cuts. Replace if
necessary. All vehicle seatbelt assemblies,
including retractors, buckles, front seatbelt
buckle assemblies, buckle support
assemblies (slide bar-if equipped),
shoulder belt height adjusters (if
equipped), shoulder belt guide on seat
backrest (if equipped), child safety seat
LATCH and tether anchors, and attaching
hardware, should be inspected after a
crash. Read the child restraint
manufacturer's instructions for additional
inspection and maintenance information
specific to the child restraint.
We recommend that all seatbelt
assemblies in use in vehicles involved in a
crash be replaced. However, if the crash
was minor and an authorized dealer finds
that the belts do not show damage and
continue to operate properly, they do not
need to be replaced. Seatbelt assemblies
not in use during a crash should also be
inspected and replaced if either damage
or improper operation is noted.
Properly care for seatbelts. See Vehicle
Care (page 262).
SEATBELT EXTENSIONS
WARNING: Persons who fit into
the vehicle's seatbelt should not use an
extension. Unnecessary use could result
in serious personal injury in the event of
a crash.
WARNING: Only use extensions
provided free of charge by our dealers.
The dealer will provide an extension
designed specifically for this vehicle,
model year and seating position. The use
of an extension intended for another
vehicle, model year or seating position
may not offer you the full protection of
your vehicle's seatbelt restraint system.
WARNING: Never use seatbelt
extensions to install child restraints.
WARNING: Do not use a seatbelt
extension with an inflatable seatbelt.
WARNING: Do not use extensions
to change the way the seatbelt fits
across the torso, over the lap or to make
the seatbelt buckle easier to reach.
If, because of body size or driving position,
it is not possible to properly fasten the
seatbelt over your lap and shoulder, an
extension that is compatible with the
seatbelts is available free of charge from
our dealers. Only use our seatbelt
extensions made by the original equipment
seatbelt manufacturer with our seatbelts.
Ask your authorized dealer if your extension
is compatible with your vehicle restraint
system.
44
Seatbelts
Page 49 of 378

GENERAL INFORMATION ON
RADIO FREQUENCIES
This device complies with Part 15 of the
FCC Rules and with Industry Canada
license-exempt RSS standard(s).
Operation is subject to the following two
conditions: (1) This device may not cause
harmful interference, and (2) This device
must accept any interference received,
including interference that may cause
undesired operation.
WARNING: Changes or
modifications not expressively approved
by the party responsible for compliance
could void the user's authority to operate
the equipment. The term "IC:" before the
radio certification number only signifies
that Industry Canada technical
specifications were met.
The typical operating range for your
transmitter is approximately 33 ft (10 m).
Vehicles with the remote start feature will
have a greater range.
One of the following could cause a
decrease in operating range:
• Weather conditions.
• Nearby radio towers.
• Structures around the vehicle.
• Other vehicles parked next to your
vehicle.
The radio frequency used by your remote
control can also be used by other radio
transmitters, for example amateur radios,
medical equipment, wireless headphones,
wireless remote controls, cell phones,
battery chargers and alarm systems. If the
frequencies are jammed, you will not be
able to use your remote control. You can
lock and unlock the doors with the key.
Note:Make sure to lock your vehicle before
leaving it unattended.Note:If you are in range, the remote control
will operate if you press any button
unintentionally.
Note:The remote control contains sensitive
electrical components. Exposure to moisture
or impact may cause permanent damage.
Intelligent Access (If Equipped)
The system uses a radio frequency signal
to communicate with your vehicle and
authorize your vehicle to unlock when one
of the following conditions are met:
• You activate the front exterior door
handle switch.
• You press the luggage compartment
button.
• You press a button on the transmitter.
If excessive radio frequency interference
is present in the area or if the transmitter
battery is low, you may need to
mechanically unlock your door. You can
use the mechanical key blade in your
intelligent access key to open the driver
door in this situation. See Remote
Control (page 46).
45
Keys and Remote Controls
Page 52 of 378

LOCKING AND UNLOCKING
You can use the power door lock control
or the remote control to lock and unlock
your vehicle.
Power Door Locks (If Equipped)
The power door lock control is on the driver
and front passenger door panels.
ABE163049
Unlock. A
Lock. B
Remote Control (If Equipped)
Unlocking the Doors (Two-Stage
Unlock)
E138629
Press the button to unlock the
driver door.
Press the button again within
three seconds to unlock all doors. The
direction indicators flash.
Press and hold both the lock and unlock
buttons on the remote control for four
seconds to disable or enable two-stage
unlocking. Disabling two-stage unlocking
allows all vehicle doors to unlock with one
press of the button. The direction
indicators flash twice to indicate a change
to the unlocking mode. The unlocking
mode applies to the remote control.Locking the Doors
E138623
Press the button to lock all the
doors. The direction indicators
flash.
Press the button again within three
seconds to confirm that all the doors lock.
The doors lock again, the horn sounds and
the direction indicators flash if all the doors
lock.
Mislock
If any door is open or if the hood is open on
vehicles with an anti-theft alarm or remote
start, the horn sounds twice and the lamps
do not flash.
Smart Unlocks (If Equipped)
This feature helps prevent you from locking
yourself out of your vehicle if your key is
still in the ignition.
When you open the driver door and lock
your vehicle with the power door lock
control, all the doors lock, then unlock if
your key is still in the ignition.
You can still lock your vehicle with the key
in the ignition by:
• Using the manual lock on the door.
• Locking the driver door with a key.
• Using the lock button on the remote
control.
Autolock (If Equipped)
Autolock locks all the doors when:
• All doors closed.
• The ignition is on.
• You shift into any gear putting your
vehicle in motion.
• Your vehicle reaches a speed greater
than 12 mph (20 km/h).
48
Doors and Locks
Page 58 of 378

GENERAL INFORMATION
Condensation in the Exterior Front
Lamps and Rear Lamps
Exterior front lamps and rear lamps have
vents to accommodate normal changes
in air pressure.
Condensation can be a natural by-product
of this design. When moist air enters the
lamp assembly through the vents, there is
a possibility that condensation can occur
when the temperature is cold. When
normal condensation occurs, a fine mist
can form on the interior of the lens. The
fine mist eventually clears and exits
through the vents during normal operation.
Clearing time may take as long as 48 hours
under dry weather conditions.
Examples of acceptable condensation are:
• The presence of a fine mist (no streaks,
drip marks or large droplets).
• A fine mist covers less than 50% of the
lens.
Examples of unacceptable condensation
are:
• A water puddle inside the lamp.
• Streaks, drip marks or large droplets
present on the interior of the lens.
If you see any unacceptable condensation,
have your vehicle checked by an authorized
dealer.
LIGHTING CONTROL
E142449
Lamps off. A
Parking lamps, instrument panel
lamps, license plate lamps and
rear lamps. B
Headlamps. C
Headlamp High Beam
E308790E308790
Push the lever away from you to
switch the high beam on.
Push the lever forward again or pull the
lever toward you to switch the high beams
off.
54
Lighting
Page 69 of 378

Engine Oil Pressure Gauge
Indicates engine oil pressure. At normal
operating temperature, the level indicator
is in the normal range. If the pressure gauge
falls below the normal range, stop your
vehicle, switch off the engine and check
the engine oil level. Add oil if needed. If the
oil level is correct, have your vehicle
checked by an authorized dealer.
Engine Coolant Temperature
Gauge
WARNING: Do not remove the
coolant reservoir cap when the engine is
on or the cooling system is hot. Wait 10
minutes for the cooling system to cool
down. Cover the coolant reservoir cap
with a thick cloth to prevent the
possibility of scalding and slowly remove
the cap. Failure to follow this instruction
could result in personal injury.
Indicates engine coolant temperature. At
normal operating temperature, the level
indicator is in the normal range. If the
engine coolant temperature exceeds the
normal range, stop your vehicle as soon as
possible, switch off the engine and let the
engine cool.
Fuel Gauge
The fuel gauge indicates about how much
fuel is in the fuel tank.
The arrow adjacent to the fuel pump
symbol indicates on which side of your
vehicle the fuel filler door is located.
Note:The fuel gauge may vary slightly
when your vehicle is moving or on a slope.Low Fuel Reminder
A low fuel level reminder displays and
sounds when the distance to empty
reaches 50 mi (80 km), 25 mi (40 km),
10 mi (20 km) and 0 mi (0 km) for all
vehicle keys.
Note:The low fuel reminder can appear at
different fuel gauge positions depending on
fuel economy conditions. This variation is
normal.
Distance to Empty
Indicates the approximate distance your
vehicle can travel on the fuel remaining in
the tank. Changes in driving pattern can
cause the value to not only decrease but
also increase or stay constant for periods
of time.
Configurable Gauge
Transmission Fluid Temperature Gauge
Indicates transmission fluid temperature.
At normal operating temperature, the level
indicator is in the normal range. If the
transmission fluid temperature exceeds
the normal range, stop your vehicle as soon
as possible and verify the airflow is not
restricted by snow or debris blocking
airflow through the grille.
Special operating conditions such as
snowplowing, towing, or off-road use may
cause higher than normal operating
temperatures. See Special Operating
Conditions Scheduled Maintenance
(page 329).
To lower the transmission temperature
into the normal range, alter the severity of
your driving conditions. Operating the
transmission for extended periods with the
gauge in the higher than normal area may
cause internal transmission damage. If the
gauge continues to show high
temperatures, see an authorized dealer.
65
Instrument Cluster
Page 83 of 378
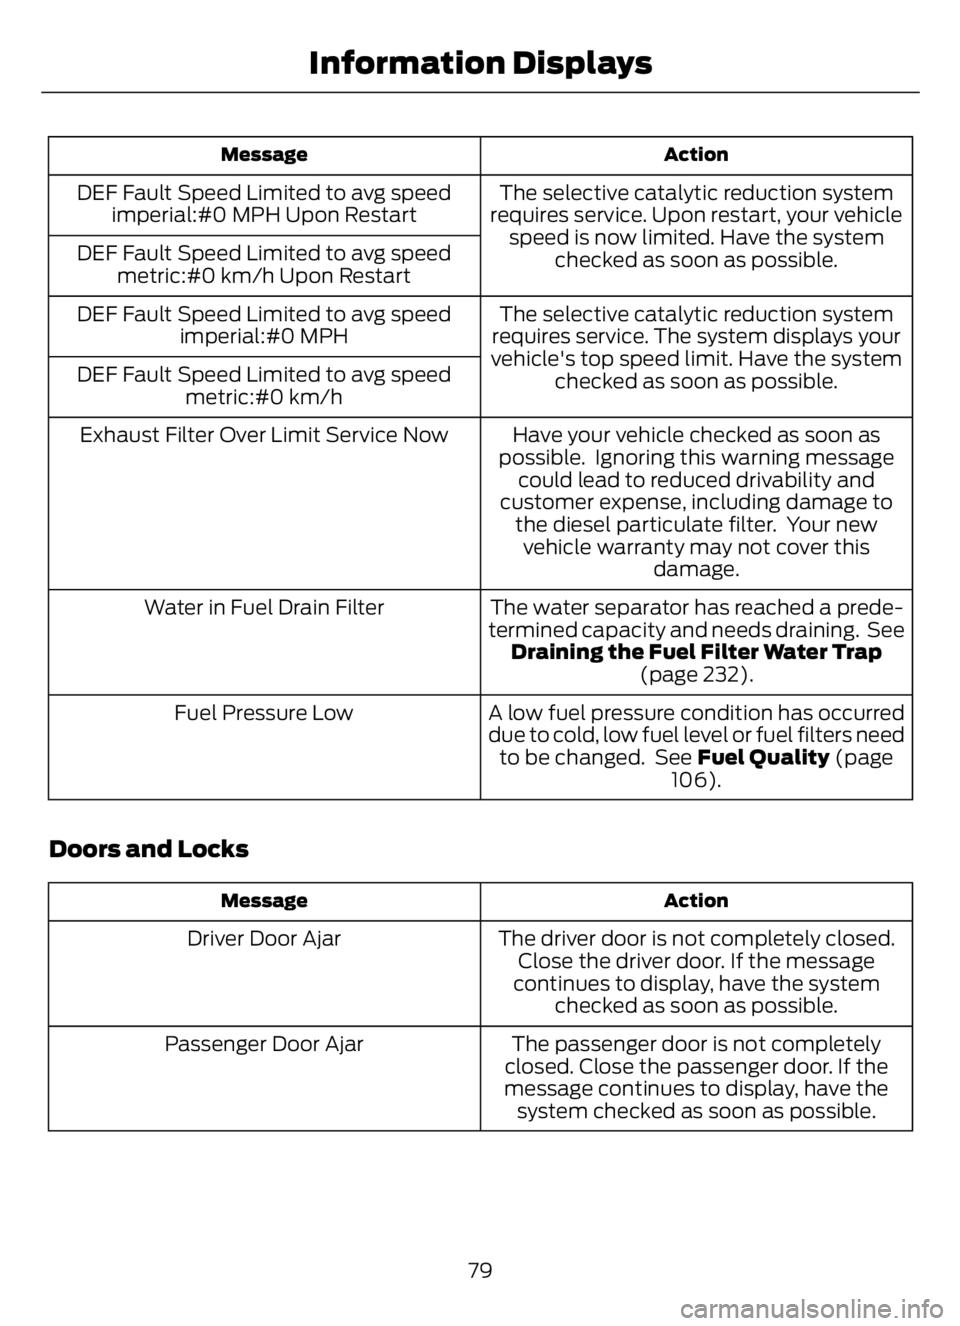
Action Message
The selective catalytic reduction system
requires service. Upon restart, your vehicle
speed is now limited. Have the system
checked as soon as possible. DEF Fault Speed Limited to avg speed
imperial:#0 MPH Upon Restart
DEF Fault Speed Limited to avg speed
metric:#0 km/h Upon Restart
The selective catalytic reduction system
requires service. The system displays your
vehicle's top speed limit. Have the system
checked as soon as possible. DEF Fault Speed Limited to avg speed
imperial:#0 MPH
DEF Fault Speed Limited to avg speed
metric:#0 km/h
Have your vehicle checked as soon as
possible. Ignoring this warning message
could lead to reduced drivability and
customer expense, including damage to
the diesel particulate filter. Your new
vehicle warranty may not cover this
damage. Exhaust Filter Over Limit Service Now
The water separator has reached a prede-
termined capacity and needs draining. See
Draining the Fuel Filter Water Trap
(page 232). Water in Fuel Drain Filter
A low fuel pressure condition has occurred
due to cold, low fuel level or fuel filters need
to be changed. See Fuel Quality (page
106). Fuel Pressure Low
Doors and Locks
Action Message
The driver door is not completely closed.
Close the driver door. If the message
continues to display, have the system
checked as soon as possible. Driver Door Ajar
The passenger door is not completely
closed. Close the passenger door. If the
message continues to display, have the
system checked as soon as possible. Passenger Door Ajar
79
Information Displays
Page 85 of 378
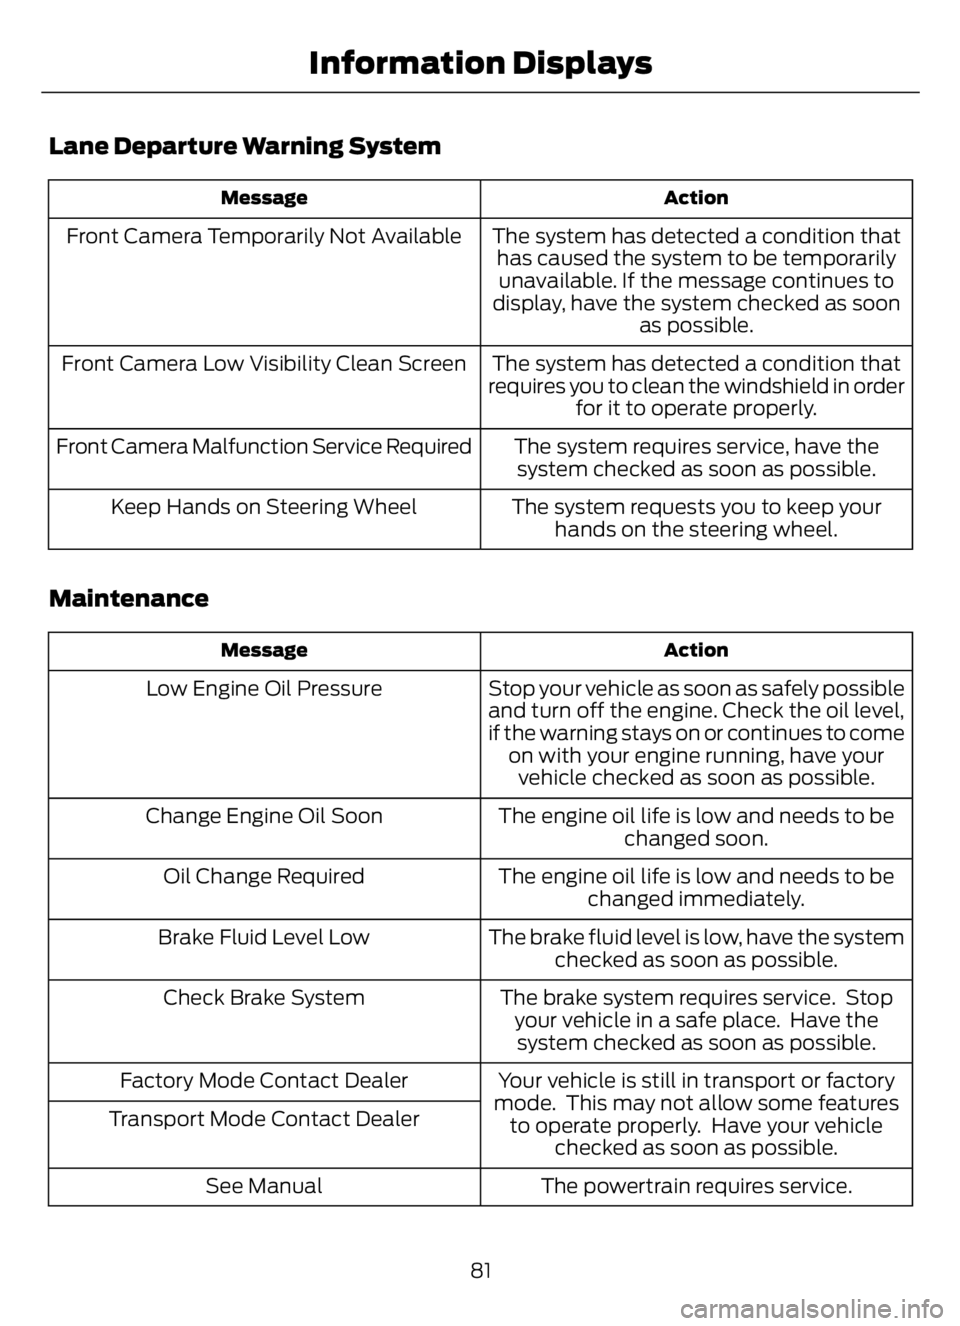
Lane Departure Warning System
Action Message
The system has detected a condition that
has caused the system to be temporarily
unavailable. If the message continues to
display, have the system checked as soon
as possible. Front Camera Temporarily Not Available
The system has detected a condition that
requires you to clean the windshield in order
for it to operate properly. Front Camera Low Visibility Clean Screen
The system requires service, have the
system checked as soon as possible. Front Camera Malfunction Service Required
The system requests you to keep your
hands on the steering wheel. Keep Hands on Steering Wheel
Maintenance
Action Message
Stop your vehicle as soon as safely possible
and turn off the engine. Check the oil level,
if the warning stays on or continues to come
on with your engine running, have your
vehicle checked as soon as possible. Low Engine Oil Pressure
The engine oil life is low and needs to be
changed soon. Change Engine Oil Soon
The engine oil life is low and needs to be
changed immediately. Oil Change Required
The brake fluid level is low, have the system
checked as soon as possible. Brake Fluid Level Low
The brake system requires service. Stop
your vehicle in a safe place. Have the
system checked as soon as possible. Check Brake System
Your vehicle is still in transport or factory
mode. This may not allow some features
to operate properly. Have your vehicle
checked as soon as possible. Factory Mode Contact Dealer
Transport Mode Contact Dealer
The powertrain requires service. See Manual
81
Information Displays
Page 110 of 378

personal injury or sickness may result.
If you splash fuel on your skin, promptly
wash your skin thoroughly with soap
and water. Consult a physician
immediately if you experience an
adverse reaction.
Low Fuel Pressure (If Equipped)
Diesel engine vehicles have a low fuel
pressure detection system.
The following are possible causes for a low
fuel pressure warning message to appear
in the information display:
• Cold start or during cold operation
below 32°F (0°C). If the low fuel
pressure message appears during a
cold start or up to 10 minutes after the
initial cold start, monitor the
information display. If the low fuel
pressure message disappears and does
not re-appear after the engine has fully
warmed up, waxed or gelled fuel is
what most likely caused the message.
Do not use alcohol based additives to
correct fuel gelling. This may result in
damage to the fuel injectors and
systems. Use an anti-gel additive. See
Fuel Quality (page 106).
Note:The vehicle Warranty may be void if
you use additives that do not meet or
exceed Ford specifications. If the low fuel
pressure message persistently appears after
re-fueling and then disappears when the
engine has fully warmed up, consider using
different fuel sources.• Low fuel operation: If the low fuel
pressure message appears when your
vehicle is warm and during low fuel
tank level operation (near empty),
refuel your vehicle. If the message
reappears after fueling, see below. If
the message does not come back, the
low fuel pressure condition was due to
low fuel levels in the fuel tank.
• Normal operation: If the low fuel
pressure message appears during
normal operation when the engine is
fully warm, and fuel level is not low,
you must change the fuel filters
regardless of the maintenance
schedule interval.
• If replacement of the fuel filter does
not remedy the low fuel pressure
message during normal operation as
defined above, take the vehicle to an
authorized dealer.
FUEL QUALITY - DIESEL
Fuel Requirements - Choosing The
Right Fuel: Vehicles Operated
Where Ultra Low Sulfur Diesel Fuel
Is Required (United
States/Canada/Puerto Rico/U.S.
Virgin Islands And Other Locales)
You should use Ultra-Low Sulfur Diesel
fuel (also known as ULSD) designated as
number 1-D or 2-D with a maximum of
15-ppm sulfur in your diesel vehicle. You
may operate your vehicle on diesel fuels
containing up to 20% biodiesel, also
known as B20. These fuels should meet
the ASTM D975 diesel or the ASTM D7467
B6-B20 biodiesel industry specifications.
Outside of North America, use fuels
meeting EN590 or equivalent local market
standard.
Note:The vehicle Warranty does not cover
damage caused by using an improper type
of fuel or fuel additive.
106
Fuel and Refueling