Page 116 of 476

Cadillac XT4 Owner Manual (GMNA-Localizing-U.S./Canada/Mexico-
16412876) - 2023 - CRC - 3/25/22
Instruments and Controls 115
Clock
Set the time and date using
the infotainment system. See
"Time/Date" under Settings
0203.
Power Outlets
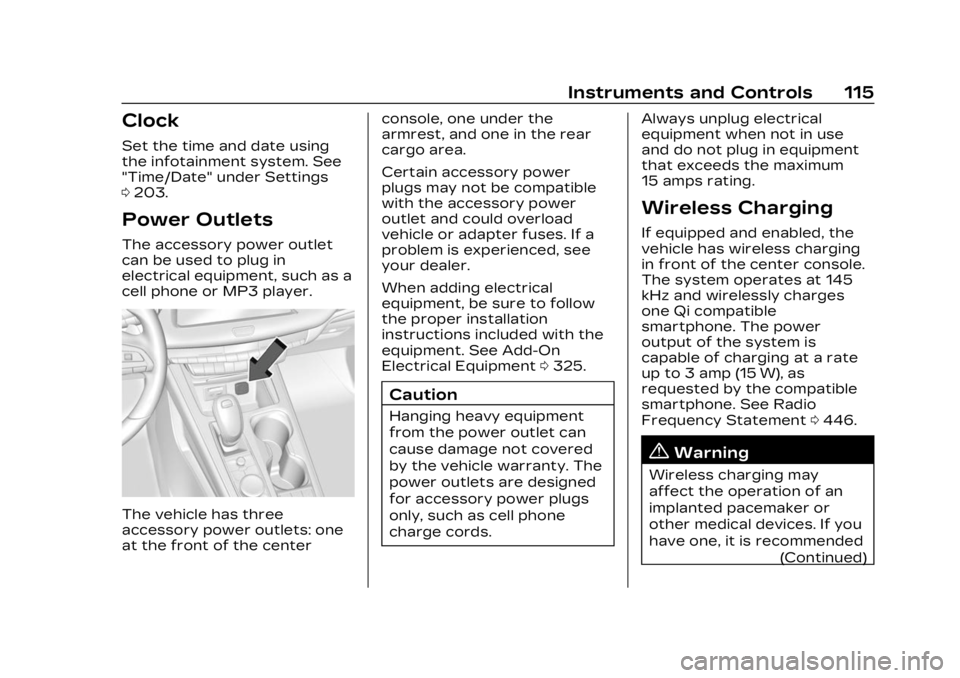
The accessory power outlet
can be used to plug in
electrical equipment, such as a
cell phone or MP3 player.
The vehicle has three
accessory power outlets: one
at the front of the center console, one under the
armrest, and one in the rear
cargo area.
Certain accessory power
plugs may not be compatible
with the accessory power
outlet and could overload
vehicle or adapter fuses. If a
problem is experienced, see
your dealer.
When adding electrical
equipment, be sure to follow
the proper installation
instructions included with the
equipment. See Add-On
Electrical Equipment
0325.
Caution
Hanging heavy equipment
from the power outlet can
cause damage not covered
by the vehicle warranty. The
power outlets are designed
for accessory power plugs
only, such as cell phone
charge cords. Always unplug electrical
equipment when not in use
and do not plug in equipment
that exceeds the maximum
15 amps rating.
Wireless Charging
If equipped and enabled, the
vehicle has wireless charging
in front of the center console.
The system operates at 145
kHz and wirelessly charges
one Qi compatible
smartphone. The power
output of the system is
capable of charging at a rate
up to 3 amp (15 W), as
requested by the compatible
smartphone. See Radio
Frequency Statement
0446.
{Warning
Wireless charging may
affect the operation of an
implanted pacemaker or
other medical devices. If you
have one, it is recommended
(Continued)
Page 204 of 476

Cadillac XT4 Owner Manual (GMNA-Localizing-U.S./Canada/Mexico-
16412876) - 2023 - CRC - 3/25/22
Infotainment System 203
apply. For Android Auto
support and to see if your
phone is compatible, see
https://support.google.com/
androidauto. For Apple
CarPlay support and to see if
your phone is compatible, see
www.apple.com/ios/carplay/.
Apple or Google may change
or suspend availability at any
time. Android Auto, Android,
Google, Google Play, and other
marks are trademarks of
Google Inc.; Apple CarPlay is a
trademark of Apple Inc.
Press
{on the center stack to
exit Android Auto or Apple
CarPlay. To enter back into
Android Auto or Apple
CarPlay, press and hold
{on
the center stack.
Apple CarPlay and Android
Auto can be disabled from the
infotainment system. To do
this, touch Home, Settings,
and then touch the Apps tab
along the top of the display. Use the On/Off toggled to
turn off Apple CarPlay or
Android Auto.
Settings
Certain settings can be
managed in the Owner Center
sites when an account is
established, and may be
modified if other users have
accessed the vehicle or
created accounts. This may
result in changes to the
security or functionality of the
infotainment system. Some
settings may also be
transferred to a new vehicle,
if equipped. For instructions,
see Online Account
0438.
Refer to the User Terms and
Privacy Statement for
important details. To view,
touch the Settings icon on the
Home Page of the
infotainment display. The settings menu may be
organized into four categories.
Select the desired category by
touching System, Apps,
Vehicle, or Personal.
To access the personalization
menus:
1. Touch Settings on the Home Page on the
infotainment display.
2. Touch the desired category to display a list of
available options.
3. Touch to select the desired feature setting.
4. Touch the options on the infotainment display to
disable or enable a feature.
5. Touch
zto go to the top
level of the Settings menu.
System
The menu may contain the
following:
Time / Date
Allows setting of the clock.
Page 342 of 476

Cadillac XT4 Owner Manual (GMNA-Localizing-U.S./Canada/Mexico-
16412876) - 2023 - CRC - 3/25/22
Vehicle Care 341
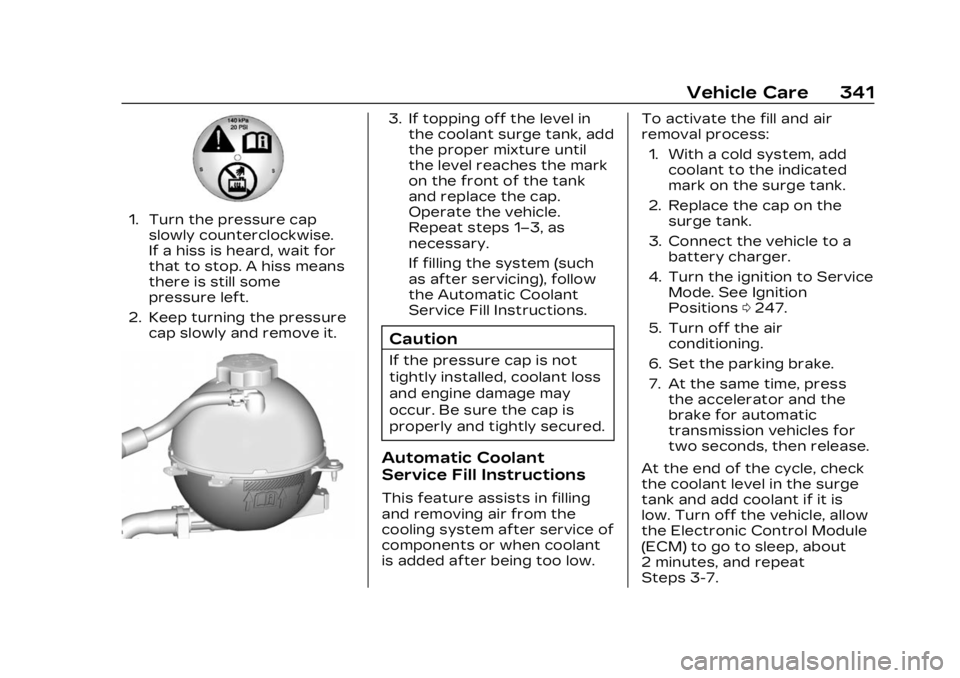
1. Turn the pressure capslowly counterclockwise.
If a hiss is heard, wait for
that to stop. A hiss means
there is still some
pressure left.
2. Keep turning the pressure cap slowly and remove it.
3. If topping off the level inthe coolant surge tank, add
the proper mixture until
the level reaches the mark
on the front of the tank
and replace the cap.
Operate the vehicle.
Repeat steps 1–3, as
necessary.
If filling the system (such
as after servicing), follow
the Automatic Coolant
Service Fill Instructions.
Caution
If the pressure cap is not
tightly installed, coolant loss
and engine damage may
occur. Be sure the cap is
properly and tightly secured.
Automatic Coolant
Service Fill Instructions
This feature assists in filling
and removing air from the
cooling system after service of
components or when coolant
is added after being too low. To activate the fill and air
removal process:
1. With a cold system, add coolant to the indicated
mark on the surge tank.
2. Replace the cap on the surge tank.
3. Connect the vehicle to a battery charger.
4. Turn the ignition to Service Mode. See Ignition
Positions 0247.
5. Turn off the air conditioning.
6. Set the parking brake.
7. At the same time, press the accelerator and the
brake for automatic
transmission vehicles for
two seconds, then release.
At the end of the cycle, check
the coolant level in the surge
tank and add coolant if it is
low. Turn off the vehicle, allow
the Electronic Control Module
(ECM) to go to sleep, about
2 minutes, and repeat
Steps 3-7.