Page 596 of 658
594
uuIf a Tire Goes Flat uTemporarily Repairing a Flat Tire
Handling the Unexpected
Then, drive carefully for 10 more minutes
or until you reach the nearest service
station, whichever is sooner. Do not
exceed 50 mph (80 km/h). If you have not
reached a service station, stop and check
the tire pressure.
u You should repeat this procedure as
long as the air pressure is within this
range.
7. Unplug the kit from the accessory power
socket.
8. Unscrew the sealant/air hose from the tire
valve stem. Reinstall the valve cap.
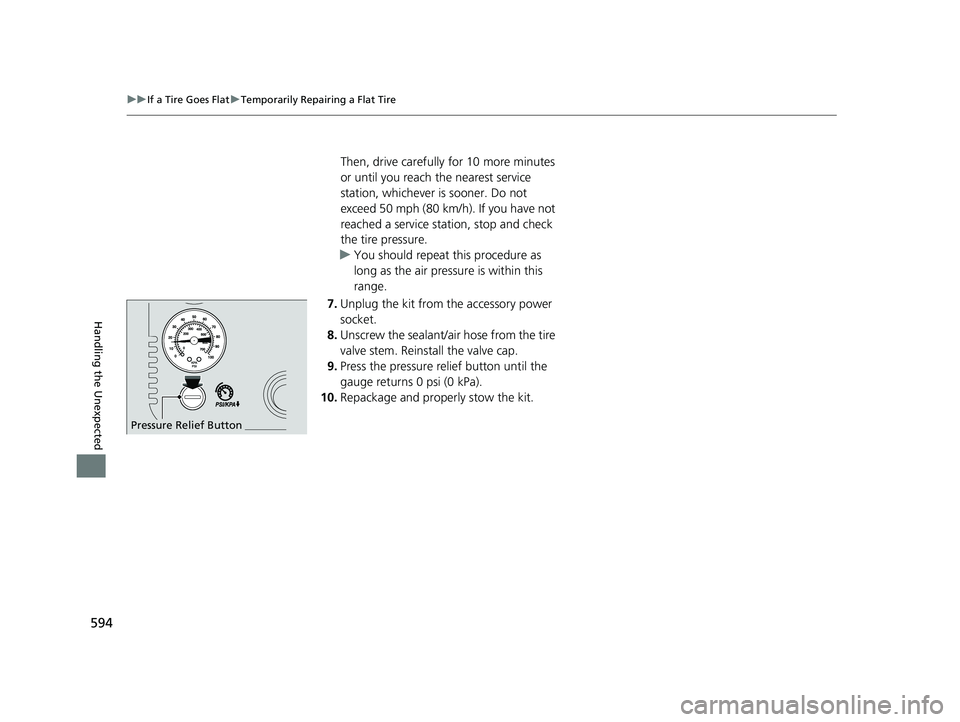
9. Press the pressure relief button until the
gauge returns 0 psi (0 kPa).
10. Repackage and properly stow the kit.
Pressure Relief Button
23 ACURA TLX-31TGV6200.book 594 ページ 2022年8月4日 木曜日 午後1時59分
Page 599 of 658
597
uuIf a Tire Goes Flat uTemporarily Repairing a Flat Tire
Handling the Unexpected
12. Turn off the kit.
u Check the pressure gauge on the air
compressor.
u If overinflated, press the pressure relief
button.
13. Unplug the kit from the accessory power
socket.
14. Unscrew the sealant/ai r hose from the tire
valve stem. Reinstall the valve cap.
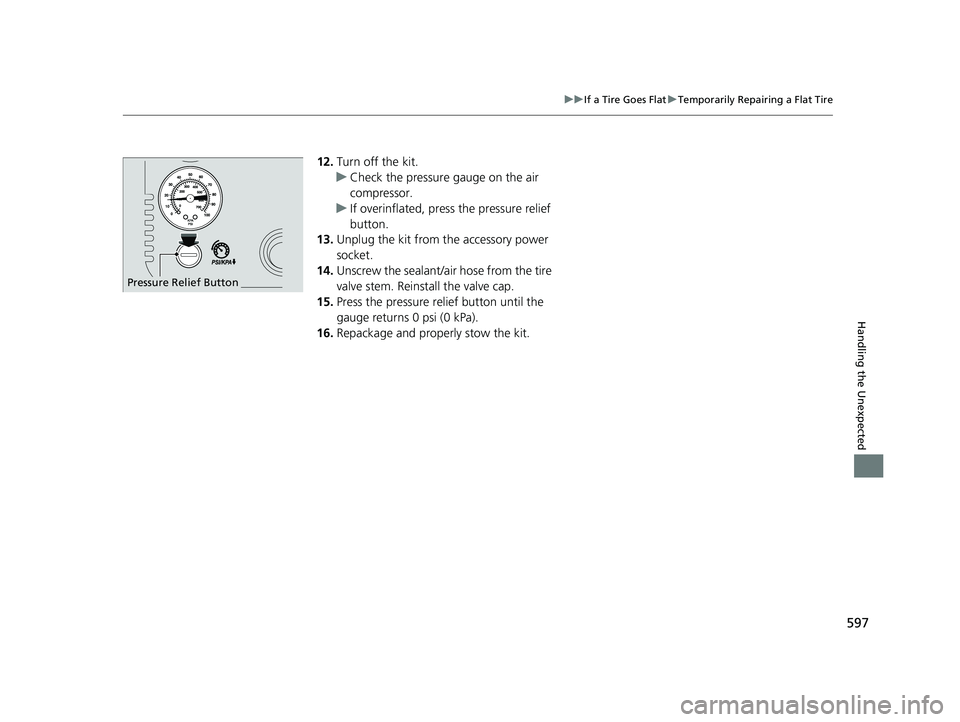
15. Press the pressure relief button until the
gauge returns 0 psi (0 kPa).
16. Repackage and properly stow the kit.
Pressure Relief Button
23 ACURA TLX-31TGV6200.book 597 ページ 2022年8月4日 木曜日 午後1時59分
Page 600 of 658
598
uuIf a Tire Goes Flat uChanging a Flat Tire
Handling the Unexpected
Changing a Flat Tire
If a tire goes flat while driving, grasp the steering wheel firmly and brake gradually
to reduce speed. Then, stop in a safe place. Replace the flat tire with a compact
spare tire. Go to a dealer as soon as possible to have th e full-size tire repaired or
replaced.
1. Park the vehicle on a firm, level, non-slippery surface and apply the parking brake.
2. Put the transmission into
(P.
3. Turn on the hazard warning lights an d set the power mode to VEHICLE OFF.
Models with optional spare tire
1Changing a Flat Tire
Follow compact spare precautions:
Periodically check the tire pressure of the compact
spare. It should be set to the specified pressure.
Specified Pressure: 60 psi (420 kPa, 4.2 kgf/cm
2)
When driving with the compact spare tire, keep the
vehicle speed under 50 mph (80 km/h). Replace with
a full-size tire as soon as possible.
The compact spare tire and wheel in your vehicle are
specifically for this model. Do not use them with
another vehicle. Do not us e another type of compact
spare tire or wheel with your vehicle.
Do not mount tire chains on a compact spare tire.
If a chain-mounted front tire goes flat, remove one of
the full-size rear tires and replace it with the compact
spare tire. Remove the flat front tire and replace it
with the full-size tire that was removed from the rear.
Mount the tire chains on the front tire.
NOTICE
Do not use the jack if it doesn
Page 606 of 658

uuIf a Tire Goes Flat uChanging a Flat Tire
604
Handling the Unexpected
If you replace a flat tire with the spare tire, the low tire pressure/TPMS indicator
comes on while you are driving. Afte r driving for a few miles (kilometers), Tire
Pressure Monitor System Problem. Ch eck Tire Pressure. See Your Dealer. will
appear on the multi-information display an d the indicator will start blinking for a
short time and then stay on; however, this is normal and is no cause for concern.
If you replace the tire with a full-size tire, the warning message on the multi-
information display and the low tire pressu re/TPMS indicator will go off after a few
miles (kilometers).
■TPMS and the Compact Spare Tire1 TPMS and the Compact Spare Tire
The system cannot monitor th e pressure of the spare
tire. Manually check the spare tire pressure to be sure
that it is correct.
Use the TPMS specific whee ls. Each is equipped with
a tire pressure sensor mount ed inside the tire behind
the tire valve stem.
23 ACURA TLX-31TGV6200.book 604 ページ 2022年8月4日 木曜日 午後1時59分
Page 607 of 658

605
Handling the Unexpected
Engine Does Not Start
Checking the Engine
If the engine does not start, check the starter.
If you cannot start the engine after checking all the items in the list above, have your vehicle checked by a dealer.
If you must start the vehicle immediately, use an assisting vehicle or booster battery to jump start it.
2If the Battery Is Dead P. 608
Starter conditionChecklist
Starter doesn’t turn or turns
over slowly.
The battery may be dead. Check
each of the items on the right and
respond accordingly.Check for a message on the multi-information display.
●If the To Start, Hold Remote Near Start Button message appears
2If the Keyless Remote Battery is Weak P. 606
uMake sure the keyless remote is in its operating range.
2 ENGINE START/STOP Button Operating Range P. 146
Check the fuses.
Check all fuses, or have your vehicle checked by a dealer.
2Inspecting and Changing Fuses P. 628
The starter turns over normally
but the engine doesn’t start.
There may be a problem with a
fuse. Check each of the items on
the right and respond accordingly. Review the engine start procedure.
Follow its instructions, and try
to start the engine again.
2 Starting the Engine P. 374
Check the immobilizer system indicator.
When the immobilizer system indicator is blinking, the engine cannot be started.
2Immobilizer System P. 139
2 Immobilizer System Indicator P. 91
Check the fuel level.
There should be enough fuel in the tank.
2 Fuel Gauge P. 97
Check the fuses.
Check all fuses, or have the vehicle checked by a dealer.
2Inspecting and Changing Fuses P. 628
If the problem continues:
2Emergency Towing P. 629
23 ACURA TLX-31TGV6200.book 605 ページ 2022年8月4日 木曜日 午後1時59分
Page 611 of 658
609
uuIf the Battery Is Dead uJump Starting Procedure
Continued
Handling the Unexpected
2. Connect the first jumper cable to your
vehicle’s jump start box + terminal as
shown. Do not connect this jumper cable to
any other part.
3. Connect the other end of the first jumper
cable to the booster battery + terminal.
u Use a 12-volt booster battery only.
u When using an automotive battery
charger to boost your 12-volt battery,
select a lower charging voltage than 15-
volt. Check the charger manual for the
proper setting.
4. Connect the second jumper cable to the
booster battery - terminal.
Booster Battery
Jump Start Box + Terminal
2.0 L engine models
3.0 L engine models
Booster Battery
Jump Start Box + Terminal
23 ACURA TLX-31TGV6200.book 609 ページ 2022年8月4日 木曜日 午後1時59分
Page 612 of 658

uuIf the Battery Is Dead uJump Starting Procedure
610
Handling the Unexpected
5. Connect the other end of the second
jumper cable to the GND terminal as
shown. Do not connect this jumper cable to
any other part.
6. If your vehicle is connected to another
vehicle, start the assi sting vehicle’s engine
and increase its rpm slightly.
7. Attempt to start your vehicle’s engine. If it
turns over slowly, check that the jumper
cables have good metal-to-metal contact.
Once your vehicle’s engine has started, re move the jumper cables in the following
order.
1. Disconnect the jumper cable from your vehicle’s ground.
2. Disconnect the other end of the jumper cable from the booster battery -
terminal.
3. Disconnect the jumper cable from your vehicle’s jump start box + terminal.
4. Disconnect the other end of the jumper cable from the booster battery +
terminal.
Have your vehicle inspected by a n earby service station or a dealer.1If the Battery Is Dead
The vehicle stability assist
TM (VSA ®) system, vehicle
stability assistTM (VSA ®) OFF, adaptive cruise control
(ACC) with low speed follow, and safety support
indicators may come on in amber along with a
message in the multi-information display when you
set the power mode to ON after reconnecting a
battery.
Drive a short distance at more than 12 mph (20
km/h).
Each indicator should go off. If any do not, have your
vehicle checked by a dealer.
All models
■What to Do After the Engine Starts
23 ACURA TLX-31TGV6200.book 610 ページ 2022年8月4日 木曜日 午後1時59分
Page 614 of 658

uuOverheating uHow to Handle Overheating
612
Handling the Unexpected
■Next thing to do
1.Check that the cooling fan is operating and
stop the engine once the temperature
gauge goes down.
u If the cooling fan is not operating,
immediately stop the engine.
2. Once the engine has cooled down, inspect
the coolant level an d check the cooling
system components for leaks.
u If the coolant level in the reserve tank is
low, remove the engine compartment
cover (A) then add coolant until it
reaches the MAX mark.
2Engine Compartment Cover P. 535
uIf there is no coolan t in the reserve tank,
check that the radiator is cool. Cover the
radiator cap with a heavy cloth and open
the cap. If necessary, add coolant up to
the base of the filler neck, and put the
cap back on.
1 How to Handle Overheating
3WARNING
Removing the radiator cap while the
engine is hot can cause the coolant to spray
out, seriously scalding you.
Always let the engine and radiator cool
down before removing the radiator cap.
2.0 L engine models
MAX
MIN
Reserve Tank
2.0 L engine models2.0 L engine models
23 ACURA TLX-31TGV6200.book 612 ページ 2022年8月4日 木曜日 午後1時59分