2022 TOYOTA PROACE CITY VERSO bonnet
[x] Cancel search: bonnetPage 3 of 320
3
Contents
Speed Limit Recognition and Recommendation 156Speed limiter 159Fixed speed limiter 161Cruise control - particular recommendations 162Programmable cruise control 162Adaptive Cruise Control 165Memorising speeds 169Active Safety Brake with Collision Risk Alert and Intelligent emergency braking assistance 169Active Lane Departure Warning System 173Blind Spot Monitoring System 176Distraction detection 178Parking sensors 179Reversing Camera 182Surround Rear Vision 183Top Rear Vision 186Park Assist 188
7Practical information
Compatibility of fuels 192Refuelling 192Misfuel prevention (Diesel) 194Charging system (Electric) 195Charging the traction battery (Electric) 202Energy economy mode 206Snow chains 206Very cold climate screen 207Towing device 208Overload indicator 209Roof bars / Roof rack 210Bonnet 2 11Engine compartment 212Checking levels 213Speed checks 215
AdBlue® (Diesel engines) 217Free-wheeling 220Advice on care and maintenance 221
8In the event of a breakdown
Running out of fuel (Diesel) 223Tool kit 223Temporary puncture repair kit 225Spare wheel 227Changing a bulb 230Fuses 23612 V battery / Accessory battery 237Towing 241
9Technical data
Dimensions 243Engine technical data and towed loads 248Petrol motors 249Diesel motors 251Electric motor 253Identification markings 254
10 Touch screen BLUETOOTH audio system
First steps 255Steering mounted controls 256Menus 256Radio 258DAB (Digital Audio Broadcasting) radio 259Media 259Telephone 261Settings 262Frequently asked questions 263
11TOYOTA Connect Radio
First steps 265Steering mounted controls 266Menus 267Applications 268Radio 268DAB (Digital Audio Broadcasting) radio 270Media 271Telephone 272Settings 275Frequently asked questions 277
12TOYOTA Connect Nav
First steps 279Steering mounted controls 280Menus 280Voice commands 282Navigation 286Connected navigation 288Applications 291Radio 294DAB (Digital Audio Broadcasting) radio 295Media 296Telephone 297Settings 300Frequently asked questions 303
■Alphabetical index
Page 4 of 320
4
Presentation
Presentation
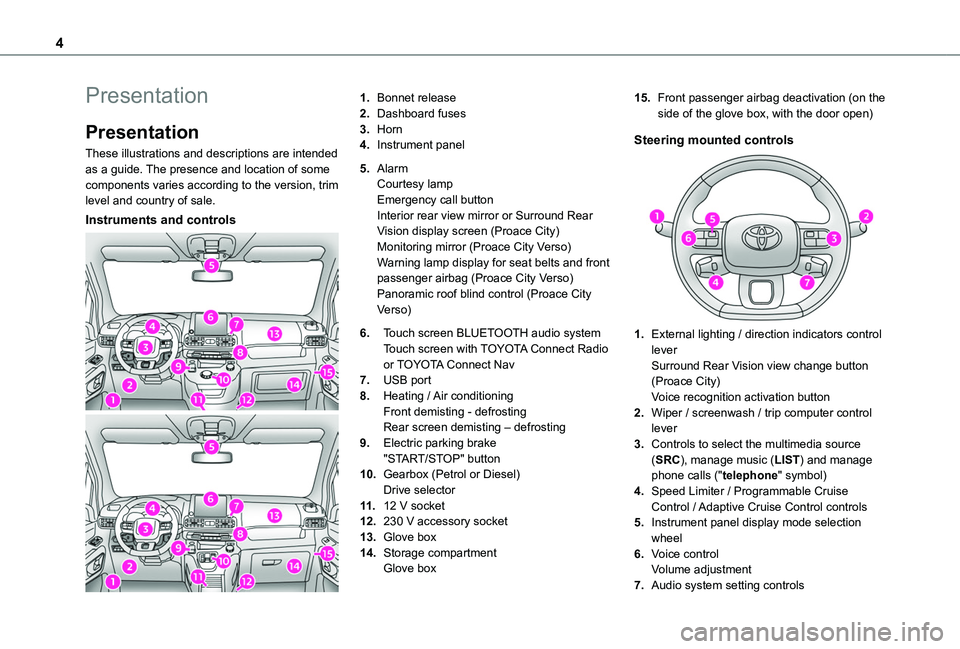
These illustrations and descriptions are intended as a guide. The presence and location of some components varies according to the version, trim level and country of sale.
Instruments and controls
1.Bonnet release
2.Dashboard fuses
3.Horn
4.Instrument panel
5.AlarmCourtesy lampEmergency call buttonInterior rear view mirror or Surround Rear Vision display screen (Proace City)Monitoring mirror (Proace City Verso)Warning lamp display for seat belts and front passenger airbag (Proace City Verso)Panoramic roof blind control (Proace City Verso)
6.Touch screen BLUETOOTH audio systemTouch screen with TOYOTA Connect Radio or TOYOTA Connect Nav
7.USB port
8.Heating / Air conditioningFront demisting - defrostingRear screen demisting – defrosting
9.Electric parking brake"START/STOP" button
10.Gearbox (Petrol or Diesel)Drive selector
11 .12 V socket
12.230 V accessory socket
13.Glove box
14.Storage compartmentGlove box
15.Front passenger airbag deactivation (on the side of the glove box, with the door open)
Steering mounted controls
1.External lighting / direction indicators control leverSurround Rear Vision view change button (Proace City)Voice recognition activation button
2.Wiper / screenwash / trip computer control lever
3.Controls to select the multimedia source
(SRC), manage music (LIST) and manage phone calls ("telephone" symbol)
4.Speed Limiter / Programmable Cruise Control / Adaptive Cruise Control controls
5.Instrument panel display mode selection wheel
6.Voice controlVolume adjustment
7.Audio system setting controls
Page 7 of 320
7
Overview
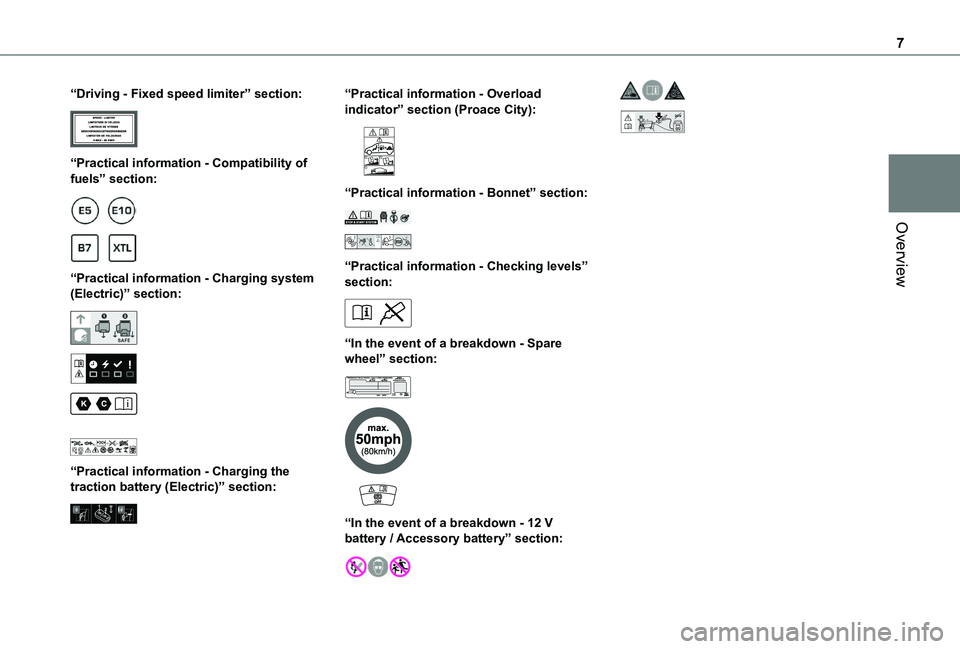
“Driving - Fixed speed limiter” section:
“Practical information - Compatibility of fuels” section:
“Practical information - Charging system (Electric)” section:
“Practical information - Charging the traction battery (Electric)” section:
“Practical information - Overload indicator” section (Proace City):
“Practical information - Bonnet” section:
“Practical information - Checking levels” section:
“In the event of a breakdown - Spare wheel” section:
“In the event of a breakdown - 12 V battery / Accessory battery” section:
24V12V
Page 22 of 320
22
With digital instrument panelThe configuration of some parameters of the vehicle is done by pressing the "Check" button in the Driving / Vehicle touch screen menu.
Distance recorders
The total and trip distances are displayed for thirty seconds when the ignition is switched off, when the driver's door is opened and when the vehicle is locked or unlocked.
Total distance recorder
This recorder measures the total distance travelled by the vehicle since its initial registration.
Trip distance recorder
This recorder measures the distance travelled since it was last reset by the driver.Resetting the trip recorderWith LCD symbols, LCD text or matrix instrument panel
► With the ignition on, press the button until zeros appear.
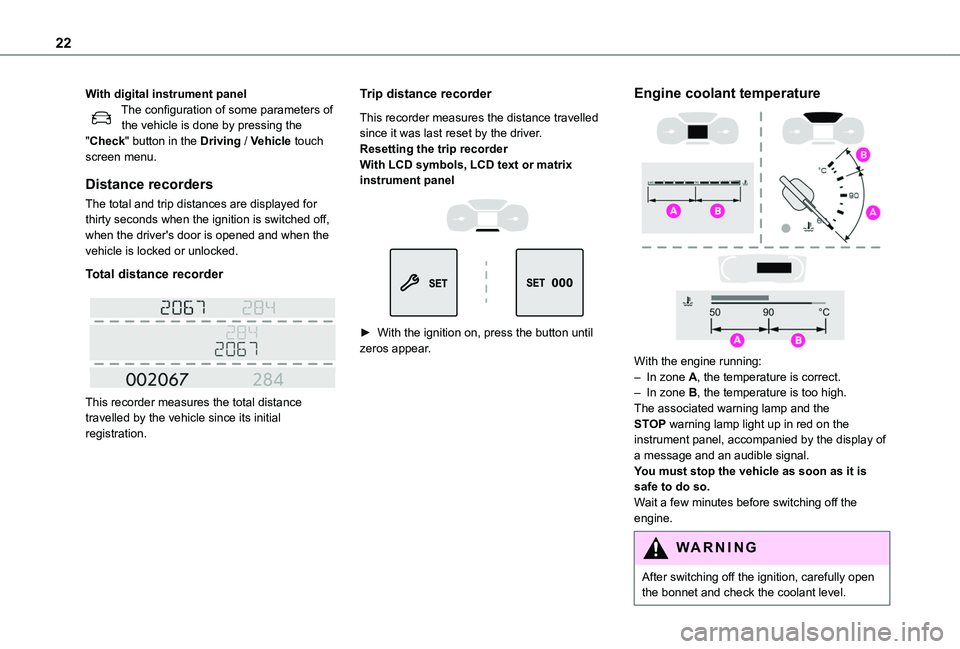
Engine coolant temperature
With the engine running:– In zone A, the temperature is correct.– In zone B, the temperature is too high. The associated warning lamp and the STOP warning lamp light up in red on the instrument panel, accompanied by the display of a message and an audible signal.You must stop the vehicle as soon as it is safe to do so.Wait a few minutes before switching off the engine.
WARNI NG
After switching off the ignition, carefully open the bonnet and check the coolant level.
Page 49 of 320
49
Access
2
NOTIC E
The rear bumper has been reinforced to serve as a step when entering the vehicle.
WARNI NG
Never fasten a load to the roof flap.
WARNI NG
Never drive without the support bar in place.The rear doors will only lock when the support bar is installed.When the roof flap is open, take care when driving where height is restricted.Never rest loads directly on the rear doors.Comply with the usual indications for warning other drivers.Only use the roof flap on short trips.
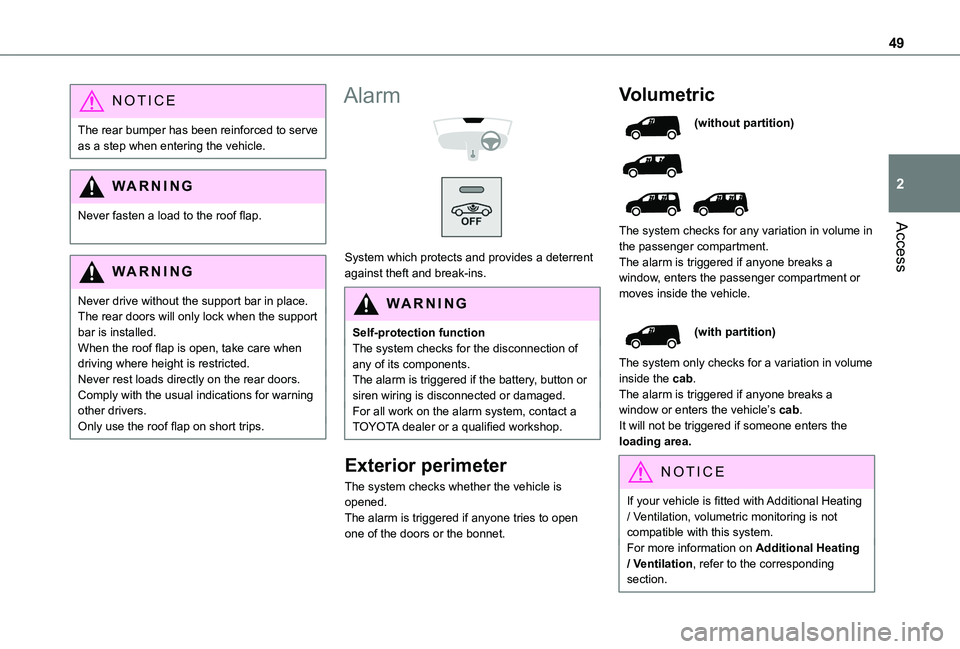
Alarm
System which protects and provides a deterrent against theft and break-ins.
WARNI NG
Self-protection functionThe system checks for the disconnection of any of its components.The alarm is triggered if the battery, button or siren wiring is disconnected or damaged.For all work on the alarm system, contact a TOYOTA dealer or a qualified workshop.
Exterior perimeter
The system checks whether the vehicle is opened.The alarm is triggered if anyone tries to open one of the doors or the bonnet.
Volumetric
(without partition)
The system checks for any variation in volume in the passenger compartment.The alarm is triggered if anyone breaks a window, enters the passenger compartment or moves inside the vehicle.
(with partition)
The system only checks for a variation in volume inside the cab.The alarm is triggered if anyone breaks a window or enters the vehicle’s cab.It will not be triggered if someone enters the loading area.
NOTIC E
If your vehicle is fitted with Additional Heating / Ventilation, volumetric monitoring is not compatible with this system.For more information on Additional Heating / Ventilation, refer to the corresponding section.
Page 50 of 320
50
Anti-tilt monitoring
The system checks for any change in the attitude of the vehicle.The alarm is triggered if the vehicle is lifted or moved.
NOTIC E
When the vehicle is parked, the alarm will not be triggered if the vehicle is knocked.
Locking the vehicle with full
alarm system
Activation
► Switch off the engine and exit the vehicle.► Lock the vehicle using the remote control or the "Keyless Entry and Starting" system.The monitoring system is active: the red indicator lamp in the button flashes every second and the direction indicators come on for about 2 seconds.
NOTIC E
Following an instruction to lock the vehicle, the exterior perimeter monitoring is activated after 5 seconds and the interior volumetric
and anti-tilt monitoring after 45 seconds.
NOTIC E
If an opening (door, boot or bonnet) is not closed properly, the vehicle is not locked but the exterior perimeter monitoring will be activated after 45 seconds at the same time as the interior volumetric and anti-tilt monitoring.
Deactivation
► Press the unlocking button on the remote control.or► Unlock the vehicle with the Keyless Entry and Starting system.The monitoring system is deactivated: the indicator lamp in the button goes off and the direction indicators flash for about 2 seconds.
NOTIC E
When the vehicle automatically locks itself again (as happens if a door or the boot is not opened within 30 seconds of unlocking), the monitoring system is also reactivated automatically.
Locking the vehicle
with exterior perimeter
monitoring only
Disable volumetric and anti-tilt monitoring to avoid unwanted alarm triggering in certain cases, such as:– Slightly open window or sunroof. – Washing the vehicle.– Changing a wheel.– Towing your vehicle.– Transport on a ship or ferry.
Deactivating the interior volumetric
and anti-tilt monitoring
► Switch off the ignition and within 10 seconds press the alarm button until its red indicator lamp is on fixed.► Get out of the vehicle.► Immediately lock the vehicle using the remote control or the "Keyless Entry and Starting" system.Only the exterior perimeter monitoring is
activated; the red indicator lamp in the button flashes every second.
NOTIC E
To be taken into account, the deactivation must be carried out every time the ignition is switched off.
Page 96 of 320
96
WARNI NG
MaintenanceClean the windscreen regularly, particularly the area in front of the camera.The internal surface of the windscreen can also become misted around the camera. In humid and cold weather, demist the windscreen regularly.Do not allow snow to accumulate on the bonnet or roof of the vehicle as this could obstruct the camera.
Automatic headlamp
dipping
WARNI NG
For more information, refer to the General recommendations for automatic lighting systems.
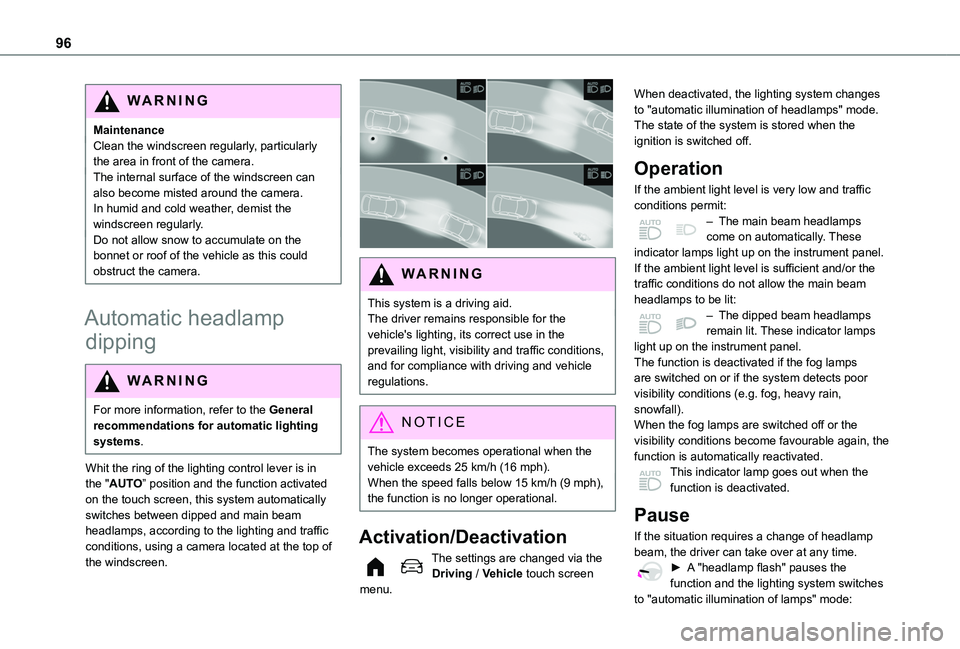
Whit the ring of the lighting control lever is in the "AUTO” position and the function activated on the touch screen, this system automatically switches between dipped and main beam headlamps, according to the lighting and traffic conditions, using a camera located at the top of the windscreen.
WARNI NG
This system is a driving aid.The driver remains responsible for the vehicle's lighting, its correct use in the prevailing light, visibility and traffic conditions, and for compliance with driving and vehicle regulations.
NOTIC E
The system becomes operational when the vehicle exceeds 25 km/h (16 mph).When the speed falls below 15 km/h (9 mph), the function is no longer operational.
Activation/Deactivation
The settings are changed via the Driving / Vehicle touch screen menu.
When deactivated, the lighting system changes to "automatic illumination of headlamps" mode.The state of the system is stored when the ignition is switched off.
Operation
If the ambient light level is very low and traffic conditions permit:– The main beam headlamps come on automatically. These indicator lamps light up on the instrument panel.If the ambient light level is sufficient and/or the traffic conditions do not allow the main beam headlamps to be lit:– The dipped beam headlamps remain lit. These indicator lamps light up on the instrument panel.The function is deactivated if the fog lamps are switched on or if the system detects poor visibility conditions (e.g. fog, heavy rain, snowfall).When the fog lamps are switched off or the visibility conditions become favourable again, the
function is automatically reactivated.This indicator lamp goes out when the function is deactivated.
Pause
If the situation requires a change of headlamp beam, the driver can take over at any time.► A "headlamp flash" pauses the function and the lighting system switches
to "automatic illumination of lamps" mode:
Page 97 of 320
97
Lighting and visibility
4
– If the "AUTO" and "Dipped beam" indicator lamps were on, the system changes to main beam.– If the "AUTO" and "Main beam" indicator lamps were on, the system changes to dipped beam.► To reactivate the function, once again switch the headlamps manually between dipped and main beam.
NOTIC E
The system may be disrupted or not work correctly:– When visibility conditions are poor (snowfall, heavy rain, etc.).– If the windscreen in front of the camera is dirty, misted or obscured (for example, by a sticker).– If the vehicle is facing highly reflective signs.When the system detects thick fog, it temporarily deactivates the function.
The system is not able to detect:– Road users that do not have their own lighting, such as pedestrians.– Vehicles whose lighting is obscured (for example, vehicles driving behind a safety barrier on a motorway).– Vehicles at the top or bottom of a steep slope, on winding roads, on crossroads.
WARNI NG
Clean the windscreen regularly, particularly the area in front of the camera.The internal surface of the windscreen can also become misted around the camera. In humid and cold weather, demist the windscreen regularly.Do not allow snow to accumulate on the bonnet or roof of the vehicle as this could obstruct the detection camera.
Headlamp beam height
adjustment
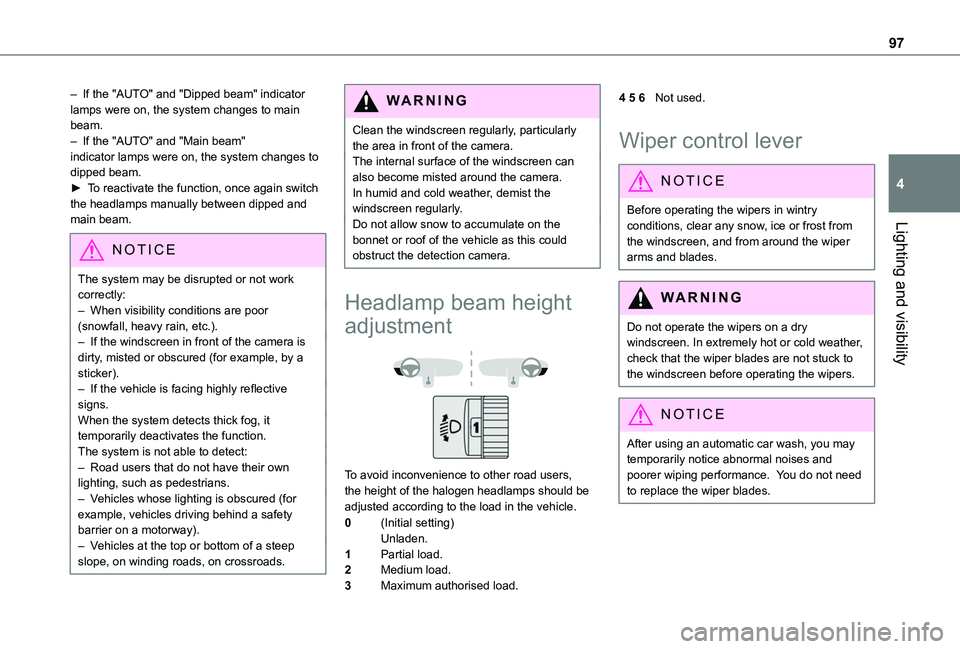
To avoid inconvenience to other road users, the height of the halogen headlamps should be adjusted according to the load in the vehicle.
0(Initial setting)Unladen.
1Partial load.
2Medium load.
3Maximum authorised load.
4 5 6Not used.
Wiper control lever
NOTIC E
Before operating the wipers in wintry conditions, clear any snow, ice or frost from the windscreen, and from around the wiper arms and blades.
WARNI NG
Do not operate the wipers on a dry windscreen. In extremely hot or cold weather, check that the wiper blades are not stuck to the windscreen before operating the wipers.
NOTIC E
After using an automatic car wash, you may temporarily notice abnormal noises and poorer wiping performance. You do not need to replace the wiper blades.