2022 TOYOTA PROACE CITY manual radio set
[x] Cancel search: manual radio setPage 27 of 320
27
Instruments
1
Lighting dimmer
This control lets you manually adjust the brightness of the instrument panel according to the exterior light level.
With LCD symbols, LCD text
or matrix instrument panel
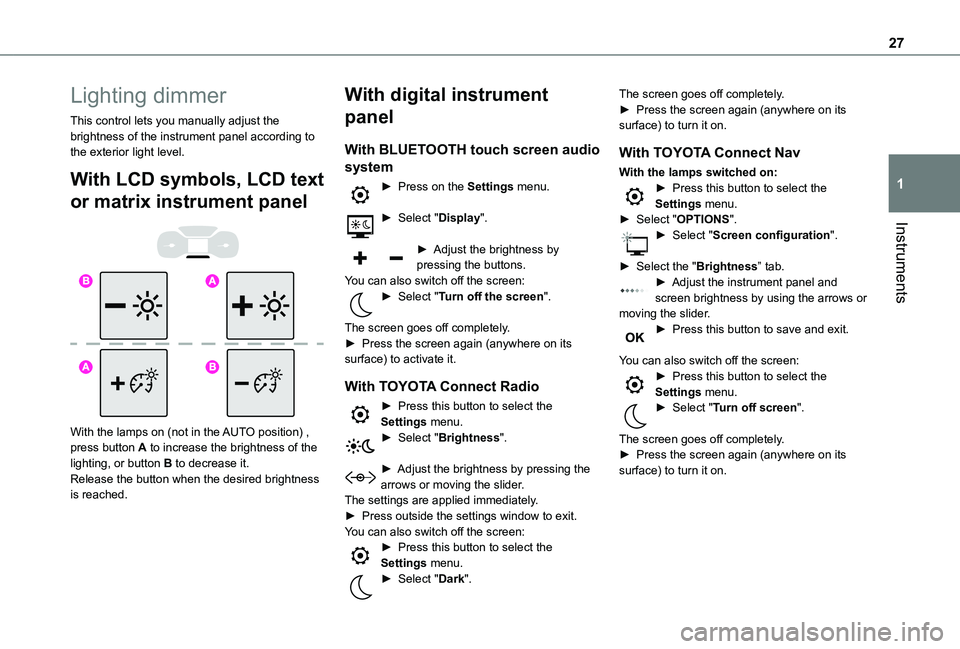
With the lamps on (not in the AUTO position) , press button A to increase the brightness of the lighting, or button B to decrease it.Release the button when the desired brightness is reached.
With digital instrument
panel
With BLUETOOTH touch screen audio
system
► Press on the Settings menu.
► Select "Display".
► Adjust the brightness by pressing the buttons.You can also switch off the screen:► Select "Turn off the screen".
The screen goes off completely.► Press the screen again (anywhere on its surface) to activate it.
With TOYOTA Connect Radio
► Press this button to select the Settings menu.► Select "Brightness".
► Adjust the brightness by pressing the arrows or moving the slider.The settings are applied immediately.► Press outside the settings window to exit.You can also switch off the screen:► Press this button to select the Settings menu.► Select "Dark".
The screen goes off completely.► Press the screen again (anywhere on its surface) to turn it on.
With TOYOTA Connect Nav
With the lamps switched on:► Press this button to select the Settings menu.► Select "OPTIONS".► Select "Screen configuration".
► Select the "Brightness” tab.► Adjust the instrument panel and screen brightness by using the arrows or moving the slider.► Press this button to save and exit.
You can also switch off the screen:► Press this button to select the Settings menu.► Select "Turn off screen".
The screen goes off completely.
► Press the screen again (anywhere on its surface) to turn it on.
Page 29 of 320
29
Instruments
1
Current consumption
(mpg or l/100 km or km/l)(miles/kWh or kWh/100 km or km/kWh) (Electric) / Calculated during the last few seconds.This function is only displayed at speeds above 19 mph (30 km/h) (Diesel).
Average consumption
(mpg or l/100 km or km/l)(miles/kWh or kWh/100 km or km/kWh) (Electric) / Calculated since the last trip computer reset.
Average speed
(mph or km/h)Calculated since the last trip computer reset.
Distance travelled
(km or miles)Calculated since the last trip computer reset.
Stop & Start time counter
(minutes/seconds or hours/minutes)
If your vehicle is fitted with Stop & Start, a time counter calculates the time spent in STOP mode during a journey.It resets to zero every time the ignition is switched on.
Touch screen
BLUETOOTH audio
system
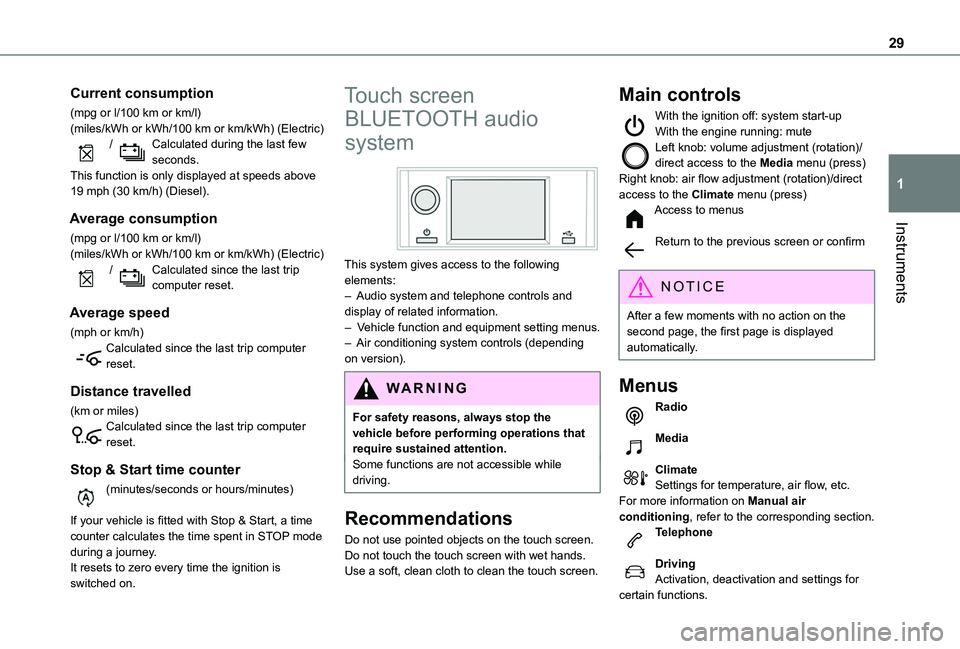
This system gives access to the following elements:– Audio system and telephone controls and display of related information.– Vehicle function and equipment setting menus.– Air conditioning system controls (depending on version).
W ARNI NG
For safety reasons, always stop the vehicle before performing operations that require sustained attention.Some functions are not accessible while driving.
Recommendations
Do not use pointed objects on the touch screen.
Do not touch the touch screen with wet hands.Use a soft, clean cloth to clean the touch screen.
Main controls
With the ignition off: system start-upWith the engine running: muteLeft knob: volume adjustment (rotation)/direct access to the Media menu (press)Right knob: air flow adjustment (rotation)/direct access to the Climate menu (press)Access to menus
Return to the previous screen or confirm
NOTIC E
After a few moments with no action on the second page, the first page is displayed automatically.
Menus
Radio
Media
ClimateSettings for temperature, air flow, etc.For more information on Manual air conditioning, refer to the corresponding section.Telephone
DrivingActivation, deactivation and settings for certain functions.
Page 268 of 320
268
Navigation
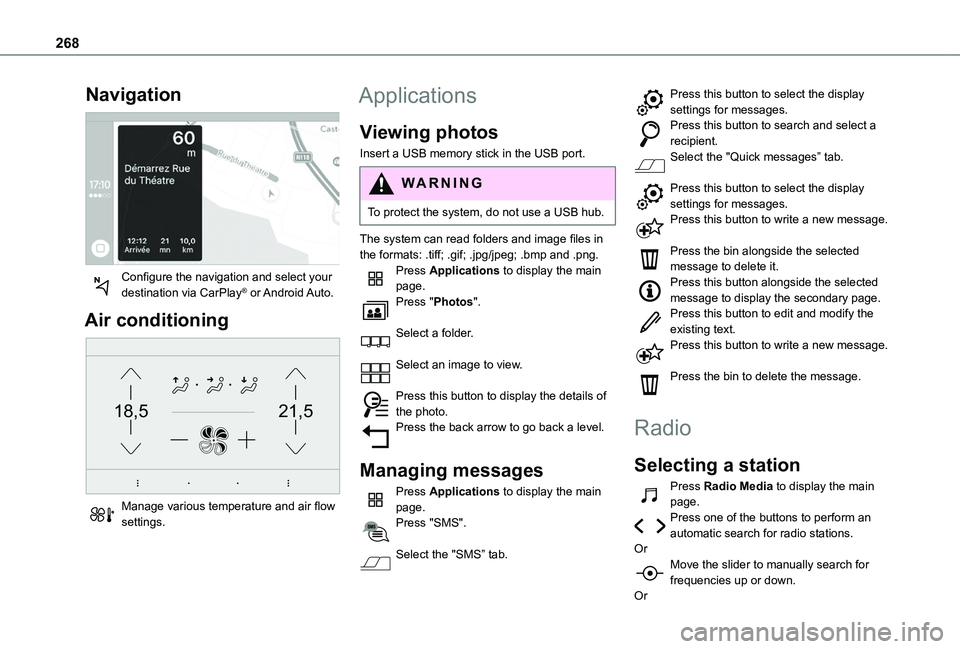
Configure the navigation and select your destination via CarPlay® or Android Auto.
Air conditioning
21,518,5
Manage various temperature and air flow settings.
Applications
Viewing photos
Insert a USB memory stick in the USB port.
WARNI NG
To protect the system, do not use a USB hub.
The system can read folders and image files in
the formats: .tiff; .gif; .jpg/jpeg; .bmp and .png.Press Applications to display the main page.Press "Photos".
Select a folder.
Select an image to view.
Press this button to display the details of the photo.Press the back arrow to go back a level.
Managing messages
Press Applications to display the main page.Press "SMS".
Select the "SMS” tab.
Press this button to select the display settings for messages.Press this button to search and select a recipient.Select the "Quick messages” tab.
Press this button to select the display settings for messages.Press this button to write a new message.
Press the bin alongside the selected message to delete it.Press this button alongside the selected message to display the secondary page.Press this button to edit and modify the existing text.Press this button to write a new message.
Press the bin to delete the message.
Radio
Selecting a station
Press Radio Media to display the main page.Press one of the buttons to perform an automatic search for radio stations.OrMove the slider to manually search for frequencies up or down.
Or
Page 273 of 320
273
TOYOTA Connect Radio
11
NOTIC E
When the USB cable is disconnected and the ignition is switched off then back on, the system will not automatically switch to Radio Media mode; the source must be changed manually.
The CarPlay® navigation can be accessed at any time by pressing the system's Navigation button.
Android Auto smartphone
connection
Depending on country.On the smartphone, download the Android Auto application.
NOTIC E
The "Android Auto" function requires the use of a compatible smartphone and applications.
Telephone not connected by
Bluetooth®
Connect a USB cable. The smartphone charges when connected by a USB cable.From the system, press "Telephone" to display the main page.Press "Android Auto" to start the application in the system.
Depending on the smartphone, it may be necessary to activate the "Android Auto" function.During the procedure, several screen pages relating to certain features are displayed.Accept to start and complete the connection.When connecting a smartphone to the system, we recommend enabling Bluetooth® on the smartphone.
Telephone connected by Bluetooth®
From the system, press "Telephone" to display the main page.Press the "PHONE" button to display the secondary page.Press "Android Auto" to start the application in the system.Access to the different audio sources remains available in the margin of the Android Auto display, using the touch buttons located in the upper bar.Access to the menus for the system is possible
at any time using the dedicated buttons.
NOTIC E
There may be a pause before applications become available, depending on the quality of the network.
Pairing a Bluetooth®
telephone
WARNI NG
The services available depend on the network, the SIM card and the compatibility of the Bluetooth devices used. Consult the telephone user guide and the service provider
to check which services are available.
NOTIC E
The Bluetooth function must be activated and the telephone configured as "Visible to all” (in the telphone settings).
To complete the pairing, whichever procedure is used (from the telephone or from the system), ensure that the code is the same in the system and in the telephone.
NOTIC E
If the pairing procedure fails, we recommend deactivating and then reactivating the Bluetooth function on the telephone.
Page 294 of 320
294
Radio
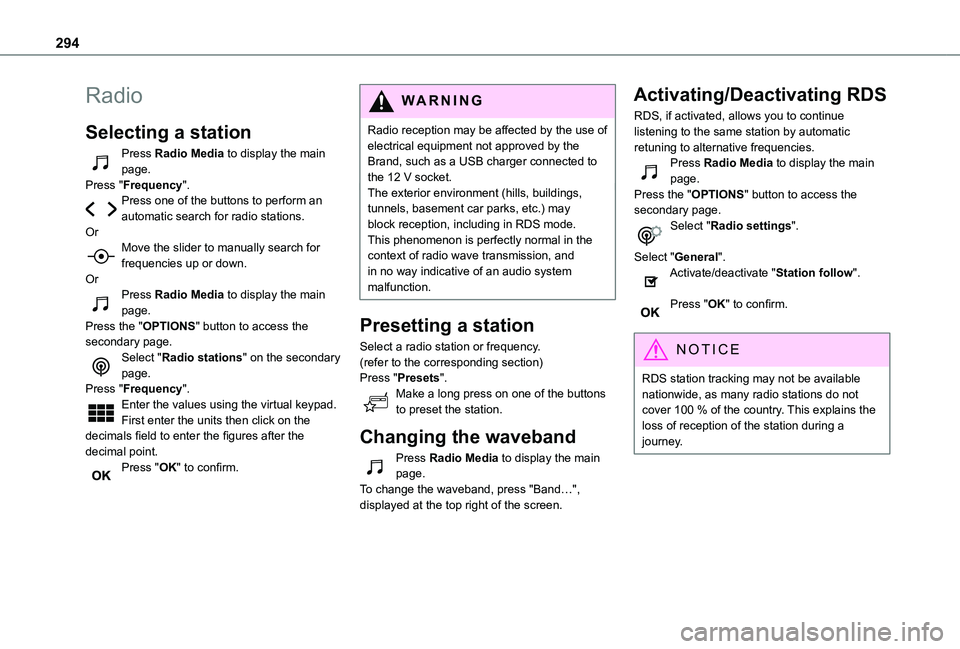
Selecting a station
Press Radio Media to display the main page.Press "Frequency".Press one of the buttons to perform an automatic search for radio stations.OrMove the slider to manually search for frequencies up or down.OrPress Radio Media to display the main page.Press the "OPTIONS" button to access the secondary page.Select "Radio stations" on the secondary page.Press "Frequency".Enter the values using the virtual keypad.First enter the units then click on the decimals field to enter the figures after the
decimal point.Press "OK" to confirm.
WARNI NG
Radio reception may be affected by the use of electrical equipment not approved by the Brand, such as a USB charger connected to the 12 V socket.The exterior environment (hills, buildings, tunnels, basement car parks, etc.) may block reception, including in RDS mode. This phenomenon is perfectly normal in the context of radio wave transmission, and in no way indicative of an audio system malfunction.
Presetting a station
Select a radio station or frequency.(refer to the corresponding section)Press "Presets".Make a long press on one of the buttons to preset the station.
Changing the waveband
Press Radio Media to display the main page.To change the waveband, press "Band…", displayed at the top right of the screen.
Activating/Deactivating RDS
RDS, if activated, allows you to continue listening to the same station by automatic retuning to alternative frequencies.Press Radio Media to display the main page.Press the "OPTIONS" button to access the secondary page.Select "Radio settings".
Select "General".Activate/deactivate "Station follow".
Press "OK" to confirm.
NOTIC E
RDS station tracking may not be available nationwide, as many radio stations do not cover 100 % of the country. This explains the loss of reception of the station during a journey.