2022 TOYOTA PROACE CITY radio
[x] Cancel search: radioPage 67 of 320
67
Ease of use and comfort
3
12 V accessory socket(s)
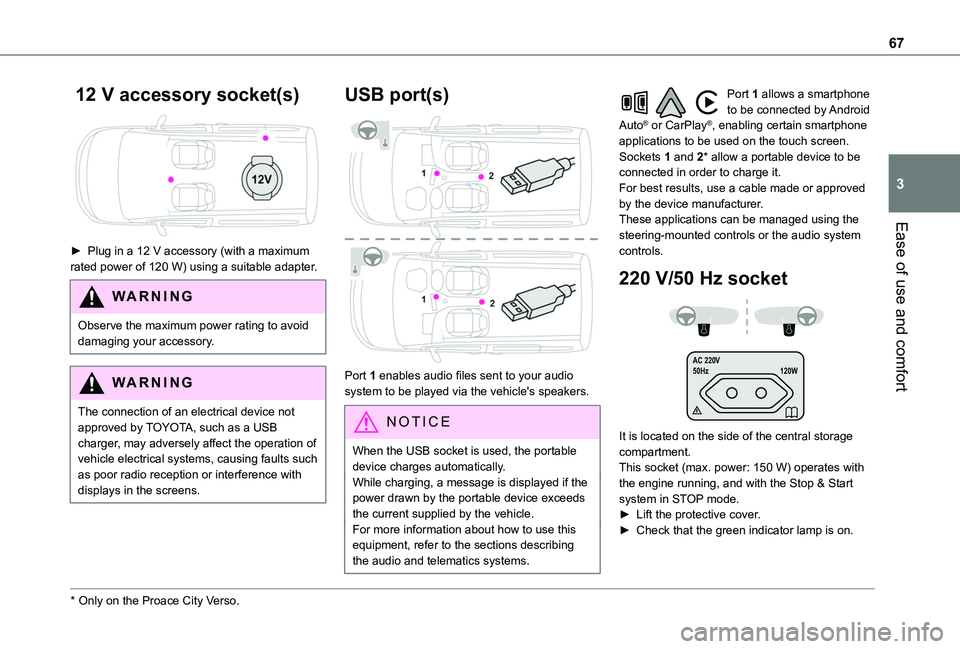
► Plug in a 12 V accessory (with a maximum rated power of 120 W) using a suitable adapter.
WARNI NG
Observe the maximum power rating to avoid damaging your accessory.
WARNI NG
The connection of an electrical device not approved by TOYOTA, such as a USB charger, may adversely affect the operation of vehicle electrical systems, causing faults such as poor radio reception or interference with
displays in the screens.
* Only on the Proace City Verso.
USB port(s)
Port 1 enables audio files sent to your audio system to be played via the vehicle's speakers.
N OTIC E
When the USB socket is used, the portable device charges automatically.While charging, a message is displayed if the power drawn by the portable device exceeds the current supplied by the vehicle.For more information about how to use this
equipment, refer to the sections describing the audio and telematics systems.
Port 1 allows a smartphone to be connected by Android Auto® or CarPlay®, enabling certain smartphone applications to be used on the touch screen.Sockets 1 and 2* allow a portable device to be connected in order to charge it.For best results, use a cable made or approved by the device manufacturer.These applications can be managed using the steering-mounted controls or the audio system controls.
220 V/50 Hz socket
AC 220 V
50Hz 120W
It is located on the side of the central storage compartment.This socket (max. power: 150 W) operates with the engine running, and with the Stop & Start system in STOP mode.► Lift the protective cover.► Check that the green indicator lamp is on.
Page 87 of 320
87
Ease of use and comfort
3
Rear heating and air
conditioning
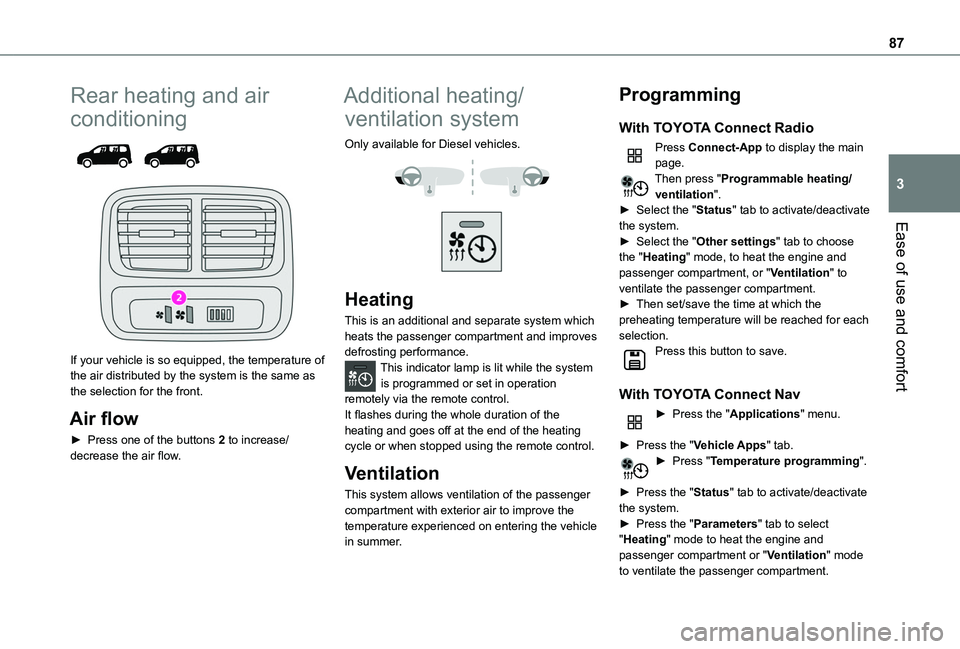
If your vehicle is so equipped, the temperature of the air distributed by the system is the same as the selection for the front.
Air flow
► Press one of the buttons 2 to increase/decrease the air flow.
Additional heating/
ventilation system
Only available for Diesel vehicles.
Heating
This is an additional and separate system which heats the passenger compartment and improves defrosting performance.This indicator lamp is lit while the system is programmed or set in operation remotely via the remote control.It flashes during the whole duration of the heating and goes off at the end of the heating cycle or when stopped using the remote control.
Ventilation
This system allows ventilation of the passenger compartment with exterior air to improve the temperature experienced on entering the vehicle in summer.
Programming
With TOYOTA Connect Radio
Press Connect-App to display the main page.Then press "Programmable heating/ventilation".► Select the "Status" tab to activate/deactivate the system.► Select the "Other settings" tab to choose the "Heating" mode, to heat the engine and passenger compartment, or "Ventilation" to ventilate the passenger compartment.► Then set/save the time at which the preheating temperature will be reached for each selection.Press this button to save.
With TOYOTA Connect Nav
► Press the "Applications" menu.
► Press the "Vehicle Apps" tab.► Press "Temperature programming".
► Press the "Status" tab to activate/deactivate the system.► Press the "Parameters" tab to select "Heating" mode to heat the engine and passenger compartment or "Ventilation" mode to ventilate the passenger compartment.
Page 101 of 320

101
Safety
5
General safety
recommendations
WARNI NG
Do not remove the labels attached in different places on your vehicle. They include safety warnings as well as identification information for the vehicle.
WARNI NG
For all work on your vehicle, use a qualified workshop that has the technical information, skills and equipment required, all of which a TOYOTA dealer is able to provide.
WARNI NG
Depending on country regulations, certain safety equipment may be mandatory: high
visibility safety vests, warning triangles, breathalysers, spare bulbs, spare fuses, fire extinguisher, first aid kit, mud flaps at the rear of the vehicle, etc.
WARNI NG
Installing electrical accessories:– The fitting of electrical equipment or accessories not approved by TOYOTA may cause excessive current consumption and faults and failures with the electrical system of your vehicle. Contact a TOYOTA dealer for information on the range of approved accessories.– As a safety measure, access to the diagnostic socket, used for the vehicle's electronic systems, is reserved strictly for TOYOTA dealers or qualified workshops, equipped with the special tools required (risk of malfunctions of the vehicle's electronic systems that could cause breakdowns or serious accidents). The Manufacturer cannot be held responsible if this advice is not followed.– Any modification or adaptation not intended or authorised by TOYOTA or carried out without meeting the technical requirements
defined by the Manufacturer will result in the suspension of the commercial warranty.
W ARNI NG
Installation of accessory radio communication transmittersBefore installing a radio communication transmitter with an external aerial, you must without fail contact a TOYOTA dealer for the specification of transmitters which can be fitted (frequency, maximum power, aerial position, specific installation requirements), in line with the Vehicle Electromagnetic Compatibility Directive (2004/104/EC).
NOTIC E
Declarations of conformity for radio equipmentThe relevant certificates are available on the https://www.toyota-tech.eu/RED website.
Page 180 of 320
180
Rear parking sensors
► Engage reverse gear to start the system (confirmed by an audible signal).The system is switched off when reverse gear is disengaged.
Audible assistance
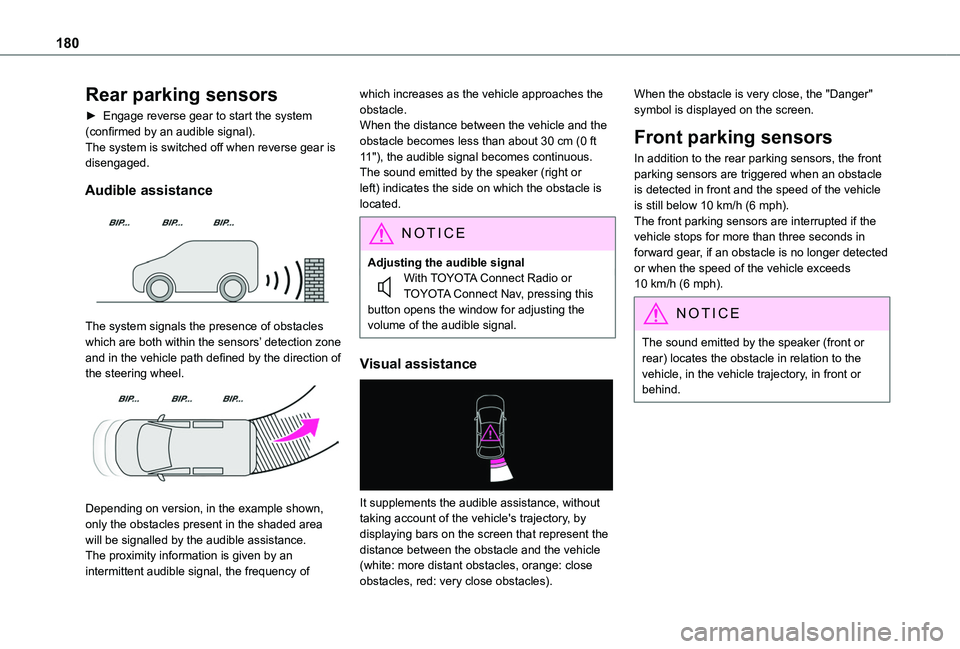
The system signals the presence of obstacles which are both within the sensors’ detection zone and in the vehicle path defined by the direction of the steering wheel.
Depending on version, in the example shown, only the obstacles present in the shaded area will be signalled by the audible assistance.The proximity information is given by an intermittent audible signal, the frequency of
which increases as the vehicle approaches the obstacle.When the distance between the vehicle and the obstacle becomes less than about 30 cm (0 ft 11"), the audible signal becomes continuous.The sound emitted by the speaker (right or left) indicates the side on which the obstacle is located.
NOTIC E
Adjusting the audible signalWith TOYOTA Connect Radio or TOYOTA Connect Nav, pressing this button opens the window for adjusting the volume of the audible signal.
Visual assistance
It supplements the audible assistance, without taking account of the vehicle's trajectory, by displaying bars on the screen that represent the distance between the obstacle and the vehicle (white: more distant obstacles, orange: close obstacles, red: very close obstacles).
When the obstacle is very close, the "Danger" symbol is displayed on the screen.
Front parking sensors
In addition to the rear parking sensors, the front parking sensors are triggered when an obstacle is detected in front and the speed of the vehicle is still below 10 km/h (6 mph).The front parking sensors are interrupted if the vehicle stops for more than three seconds in forward gear, if an obstacle is no longer detected or when the speed of the vehicle exceeds 10 km/h (6 mph).
NOTIC E
The sound emitted by the speaker (front or rear) locates the obstacle in relation to the vehicle, in the vehicle trajectory, in front or behind.
Page 240 of 320
240
Disconnecting/reconnecting
the battery
In order to maintain an adequate state of charge for starting the engine, we recommend disconnecting the battery if the vehicle is to be unused for an extended period.Before disconnecting the battery:► Close all openings (doors, boot, windows, roof).► Switch off all electricity-consuming devices (audio system, wipers, lamps, etc.).► Switch off the ignition and wait for 4 minutes.After accessing the battery, it is only necessary to disconnect the (+) terminal.
Quick-release terminal clamp
Disconnecting the (+) terminal
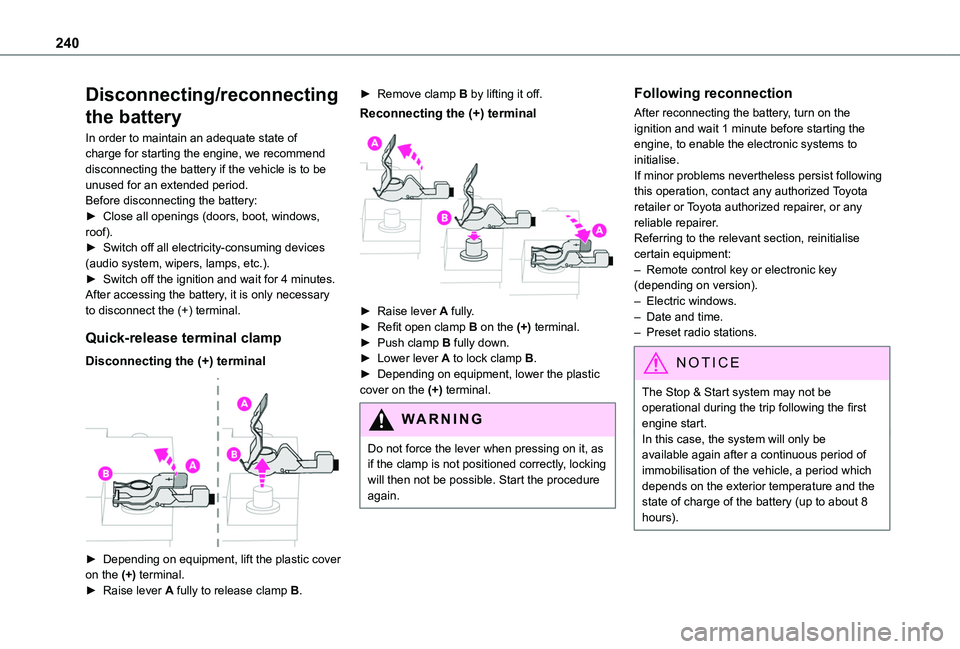
► Depending on equipment, lift the plastic cover on the (+) terminal.► Raise lever A fully to release clamp B.
► Remove clamp B by lifting it off.
Reconnecting the (+) terminal
► Raise lever A fully.► Refit open clamp B on the (+) terminal.► Push clamp B fully down.► Lower lever A to lock clamp B.► Depending on equipment, lower the plastic cover on the (+) terminal.
WARNI NG
Do not force the lever when pressing on it, as if the clamp is not positioned correctly, locking will then not be possible. Start the procedure again.
Following reconnection
After reconnecting the battery, turn on the ignition and wait 1 minute before starting the engine, to enable the electronic systems to initialise.If minor problems nevertheless persist following this operation, contact any authorized Toyota retailer or Toyota authorized repairer, or any reliable repairer.Referring to the relevant section, reinitialise certain equipment:– Remote control key or electronic key (depending on version).– Electric windows.– Date and time.– Preset radio stations.
NOTIC E
The Stop & Start system may not be operational during the trip following the first engine start.In this case, the system will only be
available again after a continuous period of immobilisation of the vehicle, a period which depends on the exterior temperature and the state of charge of the battery (up to about 8 hours).
Page 255 of 320
255
Touch screen BLUETOOTH audio system
10
Touch screen
BLUETOOTH audio
system
Multimedia audio system -
Bluetooth® telephone
NOTIC E
The functions and settings described vary according to the vehicle version and configuration.
WARNI NG
For safety reasons and because they require sustained attention by the driver, the following operations must be carried out with the vehicle stationary and the ignition on:– Pairing the smartphone with the system in Bluetooth mode.– Using the smartphone.– Changing the system settings and configuration.
NOTIC E
The system is protected in such a way that it will only operate in the vehicle.The Energy Economy Mode message is displayed when the system is about to enter the corresponding mode.
First steps
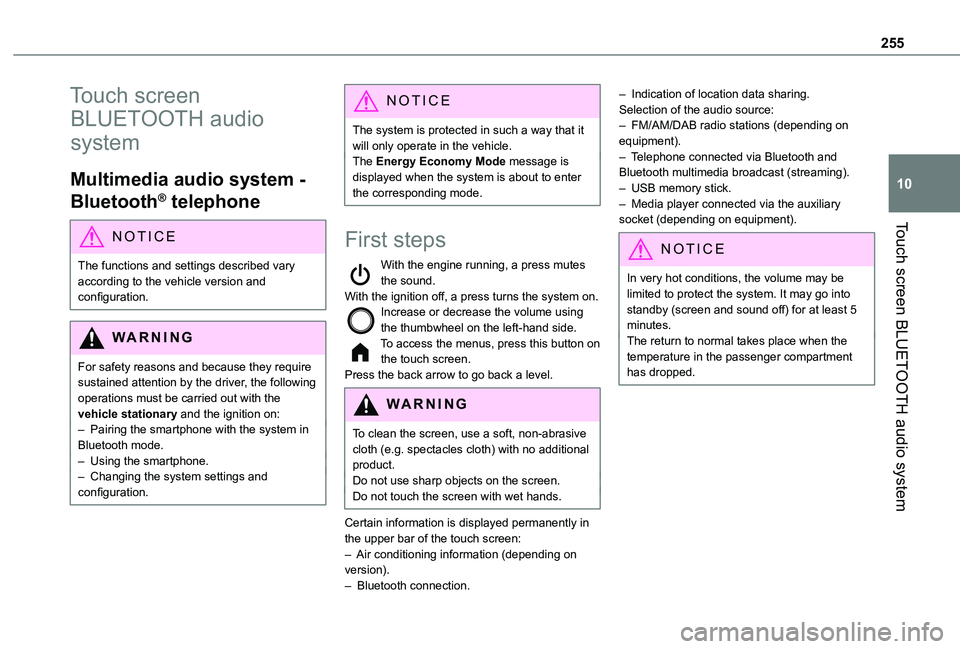
With the engine running, a press mutes the sound.With the ignition off, a press turns the system on.Increase or decrease the volume using the thumbwheel on the left-hand side.To access the menus, press this button on the touch screen.Press the back arrow to go back a level.
WARNI NG
To clean the screen, use a soft, non-abrasive cloth (e.g. spectacles cloth) with no additional product.Do not use sharp objects on the screen.Do not touch the screen with wet hands.
Certain information is displayed permanently in the upper bar of the touch screen:– Air conditioning information (depending on version).– Bluetooth connection.
– Indication of location data sharing.Selection of the audio source:– FM/AM/DAB radio stations (depending on equipment).– Telephone connected via Bluetooth and Bluetooth multimedia broadcast (streaming).– USB memory stick.– Media player connected via the auxiliary socket (depending on equipment).
NOTIC E
In very hot conditions, the volume may be limited to protect the system. It may go into standby (screen and sound off) for at least 5 minutes.The return to normal takes place when the temperature in the passenger compartment has dropped.
Page 256 of 320
256
Steering mounted controls
Steering mounted controls -
Type 1
Radio:Select the previous/next preset radio station.Select the previous/next item in a menu or a list.Media:Select the previous/next track.Select the previous/next item in a menu or a list.Radio:Short press: display the list of radio stations.Long press: update the list.Media:Short press: display the list of folders.Long press: display the available sorting options.Short press: change audio source (radio;
USB; AUX if equipment connected; CD; streaming).Long press: display the call log.
Short press during an incoming call: accept the call.Short press during a call in progress: end the call.Confirm a selection.
Increase volume.
Decrease volume.
Mute/restore sound by simultaneously pressing the increase and decrease volume buttons.
Steering mounted controls -
Type 2
Voice commands:This control is located on the steering wheel or at the end of the lighting control stalk (depending on equipment).Short press, smartphone voice commands via the system.Increase volume.
Decrease volume.Mute by pressing the volume increase
and decrease buttons simultaneously (depending on equipment).Restore the sound by pressing one of the two volume buttons.Change the multimedia source.
Short press: display the calls log.Short press during an incoming call: accept the call.
Long press during an incoming call: reject the call.Short press during a call in progress: end the call.Radio (rotate): previous/next preset station.Media (rotate): previous/next track, move in a list.Short press: confirm a selection; if nothing selected, access to presets.Radio: display the list of stations.Media: display the list of tracks.
Menus
Radio
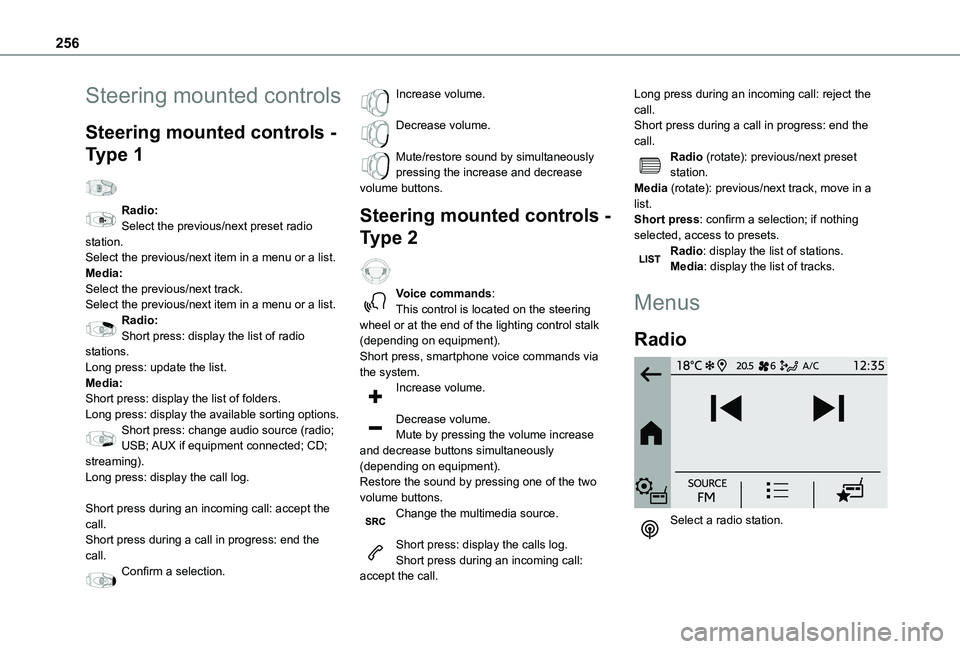
Select a radio station.
Page 258 of 320
258
Radio
Choose the band
Press the "Radio" menu.
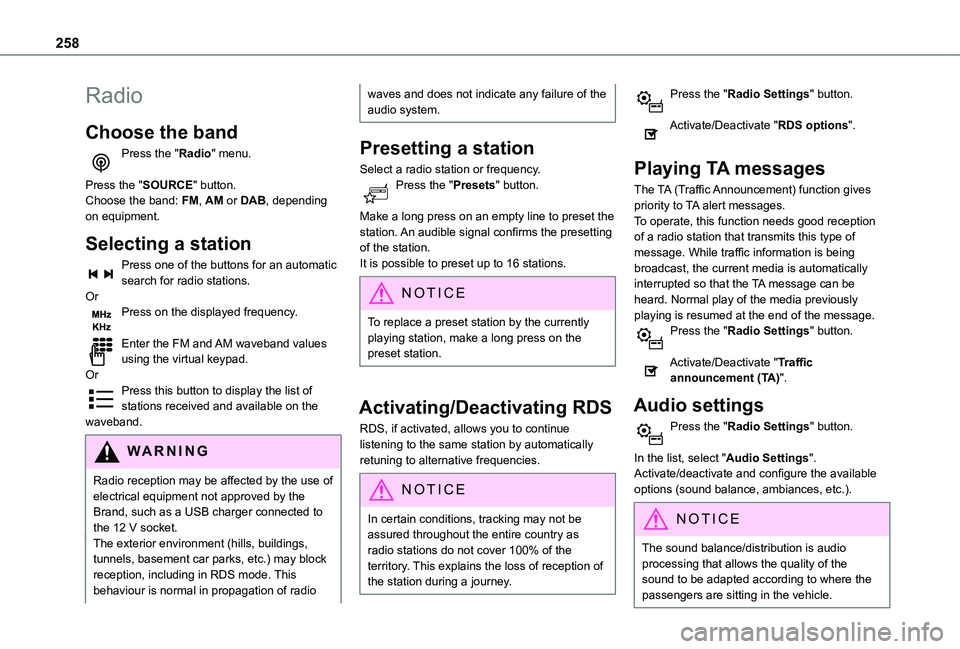
Press the "SOURCE" button.Choose the band: FM, AM or DAB, depending on equipment.
Selecting a station
Press one of the buttons for an automatic search for radio stations.OrPress on the displayed frequency.
Enter the FM and AM waveband values using the virtual keypad.OrPress this button to display the list of stations received and available on the waveband.
WARNI NG
Radio reception may be affected by the use of electrical equipment not approved by the Brand, such as a USB charger connected to the 12 V socket.The exterior environment (hills, buildings, tunnels, basement car parks, etc.) may block reception, including in RDS mode. This behaviour is normal in propagation of radio
waves and does not indicate any failure of the audio system.
Presetting a station
Select a radio station or frequency.Press the "Presets" button.
Make a long press on an empty line to preset the station. An audible signal confirms the presetting of the station.It is possible to preset up to 16 stations.
NOTIC E
To replace a preset station by the currently playing station, make a long press on the preset station.
Activating/Deactivating RDS
RDS, if activated, allows you to continue listening to the same station by automatically retuning to alternative frequencies.
NOTIC E
In certain conditions, tracking may not be assured throughout the entire country as
radio stations do not cover 100% of the territory. This explains the loss of reception of the station during a journey.
Press the "Radio Settings" button.
Activate/Deactivate "RDS options".
Playing TA messages
The TA (Traffic Announcement) function gives priority to TA alert messages.To operate, this function needs good reception of a radio station that transmits this type of message. While traffic information is being broadcast, the current media is automatically interrupted so that the TA message can be heard. Normal play of the media previously playing is resumed at the end of the message.Press the "Radio Settings" button.
Activate/Deactivate "Traffic announcement (TA)".
Audio settings
Press the "Radio Settings" button.
In the list, select "Audio Settings".Activate/deactivate and configure the available options (sound balance, ambiances, etc.).
NOTIC E
The sound balance/distribution is audio processing that allows the quality of the sound to be adapted according to where the passengers are sitting in the vehicle.