Page 27 of 212

Warning: Ensure that the seat belt is
positioned correctly and that the
shoulder anchor is locked into position
before driving. Riding in a moving vehicle
with the seat belt positioned incorrectly
or with the shoulder anchor not locked
into position can reduce the effectiveness
of the seat belt in a collision.
To Release a Belt
Hold the belt near the buckle to prevent the
belt from retracting too quickly, then press the
button on the buckle. The belt retracts
automatically. Ensure there is no obstruction
that prevents the belt from fully retracting.
The belt should not hang loose. If a seat belt does not fully retract, contact Tesla.
Wearing Seat Belts When Pregnant
Do not put the lap or shoulder sections of the seat belt over the abdominal area. Wear thelap section of the belt as low as possibleacross the hips, not the waist. Position the
shoulder portion of the belt between the
breasts and to the side of the abdomen. Consult your doctor for specific guidance.
Warning: Never place anything between
you and the seat belt to cushion the
impact in the event of a collision.Seat Belt Pre-tensioners
The front seat belts are equipped with
pre �
Page 28 of 212
3.With the webbing half unreeled, hold the
tongue plate and pull forward quickly. The
mechanism should lock automatically and
prevent further unreeling.
If a seat belt fails any of these tests, contact
Tesla immediately.
For information about cleaning seat belts, see
Seat Belts on page 171.
Seat Belt WarningsWarning: Seat belts should be worn by all
occupants at all times, even if driving for
a very short distance. Failure to do so
increases the risk of injury or death if a collision occurs.Warning: Secure small children in a
suitable child safety seat (see Child
Safety Seats on page 29). Always follow
the child safety seat manufacturer
Page 50 of 212

Starting and Powering
Off
Starting When you open a door, Model X powers on
the instrument panel and touchscreen and you
can operate all controls.
To drive Model X:
1. PRESS THE BRAKE PEDAL - Model X
powers on and is ready to drive.
2. SELECT A GEAR - Move the gear lever all
the way down for Drive and all the way up
for Reverse. See Shifting Gears on page
52.
Note: If Passive Entry is off and you do not
press the brake pedal to start Model X within
approximately five minutes, a message
displays on the instrument panel and you must
use the key to lock then unlock Model X again before starting the vehicle.
Everything you need to know when driving
Model X displays on the instrument panel.
Key Not Inside
If Model X does not detect a key when you
press the brake, the instrument panel displays
a message telling you that a key is not inside.
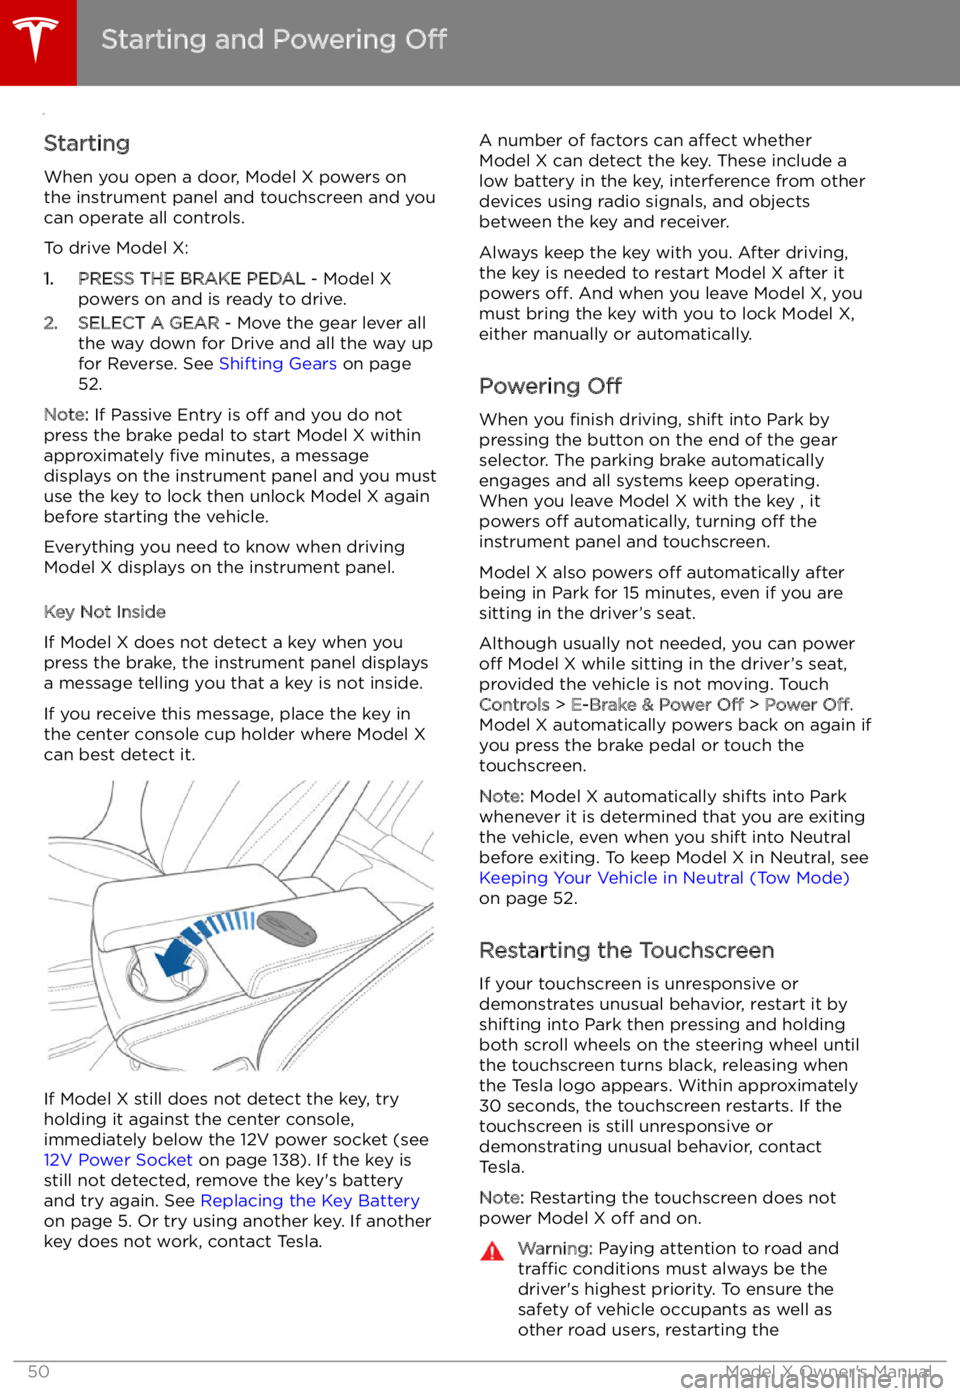
If you receive this message, place the key in
the center console cup holder where Model X can best detect it.
If Model X still does not detect the key, try
holding it against the center console,
immediately below the 12V power socket (see
12V Power Socket on page 138). If the key is
still not detected, remove the key
Page 55 of 212
IndicatorDescription
An ABS (Anti-lock Braking System) fault is detected. See Brakes on page 65.
Contact Tesla immediately.The parking brake is manually applied. See Parking Brake on page 66.A parking brake fault is detected. Contact Tesla. See Parking Brake on page 66.Vehicle Hold is actively applying the brakes. See Vehicle Hold on page 70.Tire pressure warning. The pressure of a tire is out of range. If a fault with the Tire
Pressure Monitoring System (TPMS) is detected, the indicator
Page 59 of 212
Lights
Controlling Lights Touch Controls on the bottom corner of the touchscreen to control most of the lights.
In addition to the lights that you can control from the touchscreen, Model X has convenience
lights that turn on and off automatically based on what you are doing. For example, you will
notice interior lights, marker lights, tail lights, door handle lights, and puddle lights that turn on
when you unlock Model X, when you open a door, and when you shift into Park. They turn off
automatically after a minute or two or when you shift into a driving gear or lock Model X.
Lights
Driving59
Page 60 of 212

1.Touch to control front driver side map light.
2. If you touch DOME, a popup appears that allow you to control cabin lights. If cabin lights are
set to ON, all interior cabin lights, including the light in the rear trunk, turn on when you
unlock Model X, open a door upon exiting, or shift into P (Park). They turn off after 60
seconds, when you lock Model X, or when you shift into a driving gear. If set to AUTO, cabin
lights turn on only when little or no light is detected.
You can also turn on an individual dome light by touching its lens. If you manually turn a domelight on, it turns off when Model X powers off. If Model X was already powered off when you
manually turned the light on, it turns off after 60 minutes.
3. If you turn on AMBIENT lights, the lights on the door arm rests turn on whenever the
headlights are on.
4. Touch to control front passenger side map light.
5. Touch to turn the fog lights on or off. Fog lights operate only when low beam headlights are
on. When headlights are turned off, fog lights also turn off.
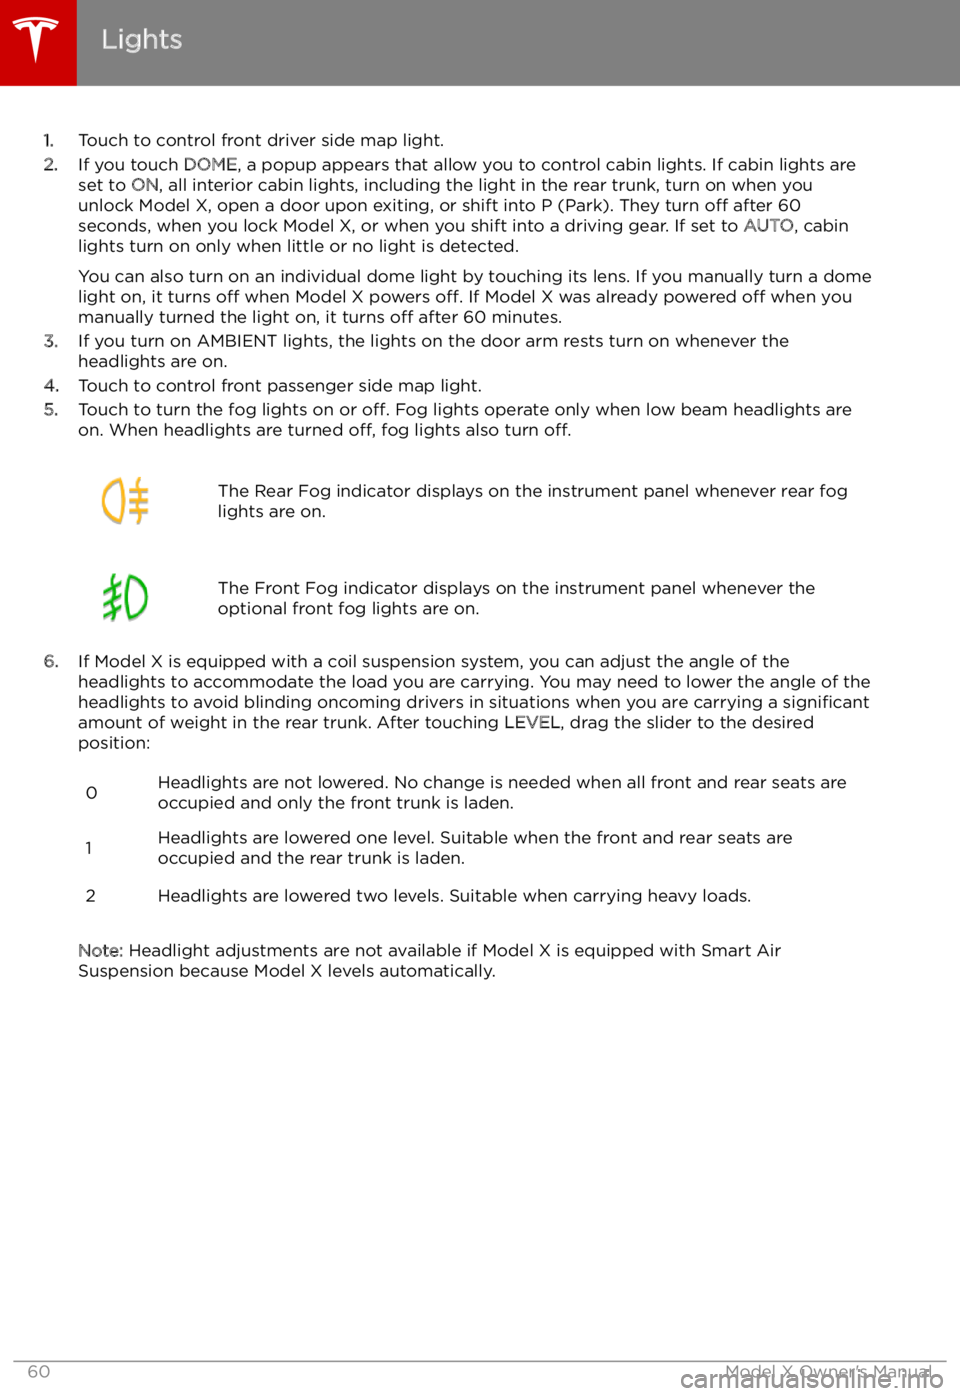
The Rear Fog indicator displays on the instrument panel whenever rear fog
lights are on.The Front Fog indicator displays on the instrument panel whenever the
optional front fog lights are on.
6. If Model X is equipped with a coil suspension system, you can adjust the angle of the
headlights to accommodate the load you are carrying. You may need to lower the angle of theheadlights to avoid blinding oncoming drivers in situations when you are carrying a significant
amount of weight in the rear trunk. After touching LEVEL, drag the slider to the desired
position:
0Headlights are not lowered. No change is needed when all front and rear seats are
occupied and only the front trunk is laden.1Headlights are lowered one level. Suitable when the front and rear seats are occupied and the rear trunk is laden.2Headlights are lowered two levels. Suitable when carrying heavy loads.
Note: Headlight adjustments are not available if Model X is equipped with Smart Air
Suspension because Model X levels automatically.
Lights
60Model X Owner
Page 65 of 212
Brakes
Braking Systems
Warning: Properly functioning braking
systems are critical to ensure safety. If you experience a problem with the brake
pedal, brake caliper, or any component of
a Model X braking system, contact Tesla
immediately.
Model X has an anti-lock braking system
(ABS) that prevents the wheels from locking
when you apply maximum brake pressure. This
improves steering control during heavy
braking in most road conditions.
During emergency braking conditions, the
ABS constantly monitors the speed of each
wheel and varies the brake pressure according
to the grip available.
The alteration of brake pressure can be felt as
a pulsing sensation through the brake pedal.
This demonstrates that the ABS is operating
and is not a cause for concern. Keep firm and
steady pressure on the brake pedal while
experiencing the pulsing.
The ABS indicator
Page 84 of 212

Warning: You must use the Model X trailer
hitch when towing a trailer. Never attempt
to attach a different type of trailer hitch.
To install the trailer hitch:
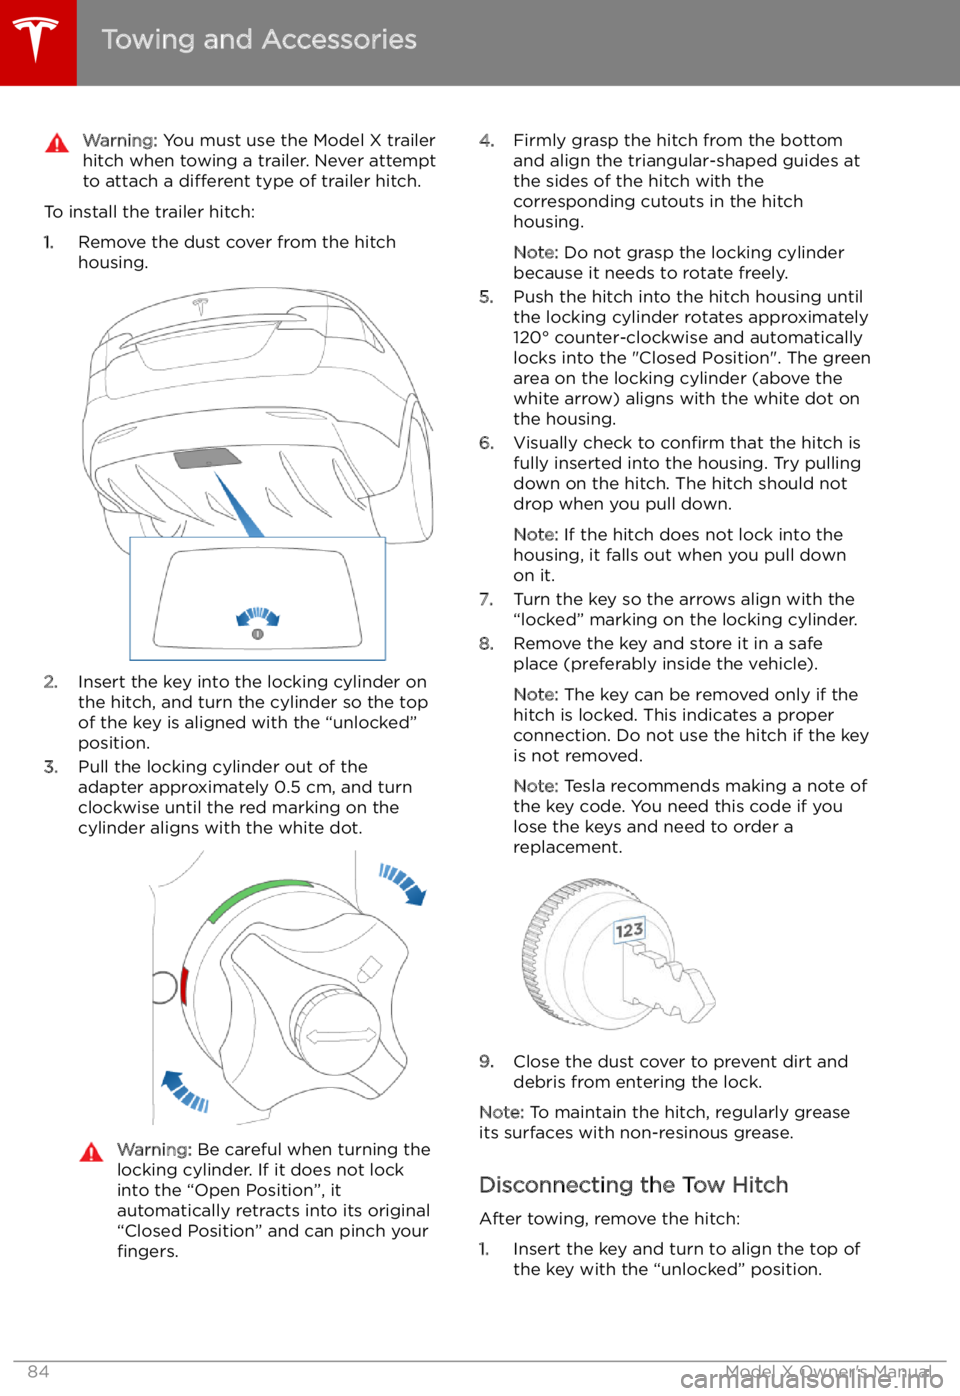
1. Remove the dust cover from the hitch
housing.
2. Insert the key into the locking cylinder on
the hitch, and turn the cylinder so the top of the key is aligned with the “unlocked”
position.
3. Pull the locking cylinder out of the
adapter approximately 0.5 cm, and turn
clockwise until the red marking on the
cylinder aligns with the white dot.
Warning: Be careful when turning the
locking cylinder. If it does not lock
into the “Open Position”, it
automatically retracts into its original
“Closed Position” and can pinch your fingers.4. Firmly grasp the hitch from the bottom
and align the triangular-shaped guides at
the sides of the hitch with the
corresponding cutouts in the hitch
housing.
Note: Do not grasp the locking cylinder
because it needs to rotate freely.
5. Push the hitch into the hitch housing until
the locking cylinder rotates approximately
120