2022 TESLA MODEL X instrument panel
[x] Cancel search: instrument panelPage 60 of 212
1.Touch to control front driver side map light.
2. If you touch DOME, a popup appears that allow you to control cabin lights. If cabin lights are
set to ON, all interior cabin lights, including the light in the rear trunk, turn on when you
unlock Model X, open a door upon exiting, or shift into P (Park). They turn off after 60
seconds, when you lock Model X, or when you shift into a driving gear. If set to AUTO, cabin
lights turn on only when little or no light is detected.
You can also turn on an individual dome light by touching its lens. If you manually turn a domelight on, it turns off when Model X powers off. If Model X was already powered off when you
manually turned the light on, it turns off after 60 minutes.
3. If you turn on AMBIENT lights, the lights on the door arm rests turn on whenever the
headlights are on.
4. Touch to control front passenger side map light.
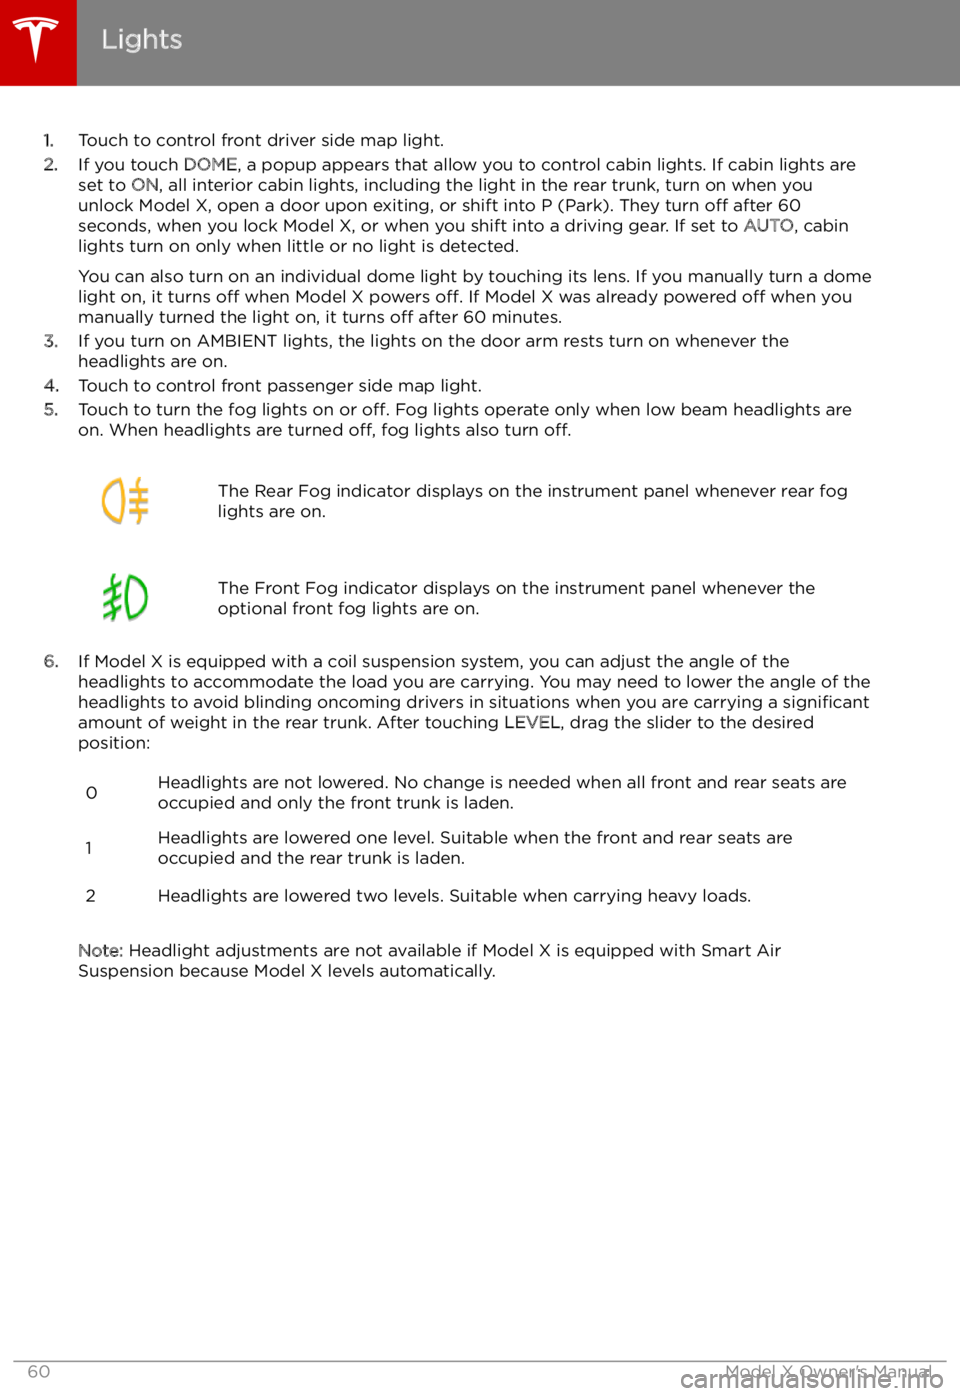
5. Touch to turn the fog lights on or off. Fog lights operate only when low beam headlights are
on. When headlights are turned off, fog lights also turn off.
The Rear Fog indicator displays on the instrument panel whenever rear fog
lights are on.The Front Fog indicator displays on the instrument panel whenever the
optional front fog lights are on.
6. If Model X is equipped with a coil suspension system, you can adjust the angle of the
headlights to accommodate the load you are carrying. You may need to lower the angle of theheadlights to avoid blinding oncoming drivers in situations when you are carrying a significant
amount of weight in the rear trunk. After touching LEVEL, drag the slider to the desired
position:
0Headlights are not lowered. No change is needed when all front and rear seats are
occupied and only the front trunk is laden.1Headlights are lowered one level. Suitable when the front and rear seats are occupied and the rear trunk is laden.2Headlights are lowered two levels. Suitable when carrying heavy loads.
Note: Headlight adjustments are not available if Model X is equipped with Smart Air
Suspension because Model X levels automatically.
Lights
60Model X Owner
Page 62 of 212
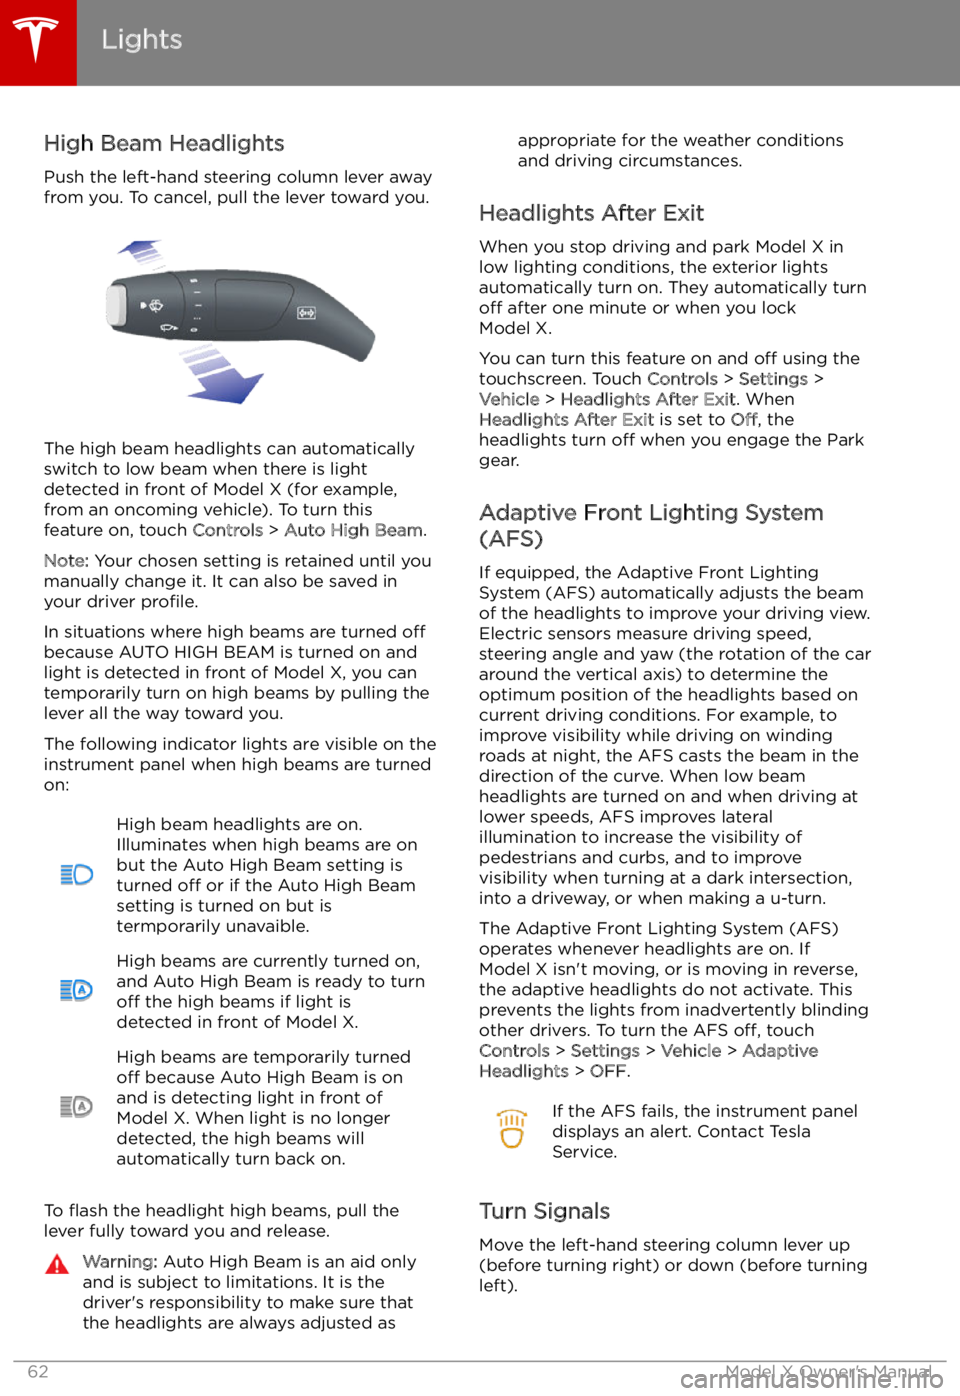
High Beam HeadlightsPush the left-hand steering column lever away
from you. To cancel, pull the lever toward you.
The high beam headlights can automatically
switch to low beam when there is light
detected in front of Model X (for example,
from an oncoming vehicle). To turn this
feature on, touch Controls > Auto High Beam .
Note: Your chosen setting is retained until you
manually change it. It can also be saved in
your driver profile.
In situations where high beams are turned off
because AUTO HIGH BEAM is turned on and light is detected in front of Model X, you cantemporarily turn on high beams by pulling the
lever all the way toward you.
The following indicator lights are visible on the
instrument panel when high beams are turned
on:
High beam headlights are on.
Illuminates when high beams are on but the Auto High Beam setting is
turned off or if the Auto High Beam
setting is turned on but is
termporarily unavaible.High beams are currently turned on,
and Auto High Beam is ready to turn
off the high beams if light is
detected in front of Model X.High beams are temporarily turned
off because Auto High Beam is on
and is detecting light in front of
Model X. When light is no longer
detected, the high beams will
automatically turn back on.
To
Page 63 of 212

The turn signals stop operating when canceledby the steering wheel, or when you return the
lever to the central position.
The corresponding turn signal
indicator lights up on the instrument
panel when a turn signal is
operating. You also hear a clicking
sound.Warning: If you have purchased the
optional Enhanced Autopilot or Full Self-
Driving Capability packages and Traffic-
Aware Cruise Control is active, engaging
a turn signal can cause Model X to
accelerate when using Traffic-Aware
Cruise Control in specific situations (see
Overtake Acceleration on page 92).Warning: If you have purchased the
optional Enhanced Autopilot or Full Self-
Driving Capability packages and
Autosteer is active, engaging a turn signal
may cause Model X to change lanes (see Auto Lane Change on page 98).
Lane Change Flash
To indicate a lane change, quickly press the
lever up or down against the spring pressure,
then release. The corresponding turn signal
Page 66 of 212
Warning: In snowy or icy conditions
Model X may experience traction loss
during regenerative braking, particularly
when in the Standard setting and/or not
using winter tires. Tesla recommends
using the Low setting (see To Set the
Regenerative Braking Level on page 66)
in snowy or icy conditions to help maintain vehicle stability.
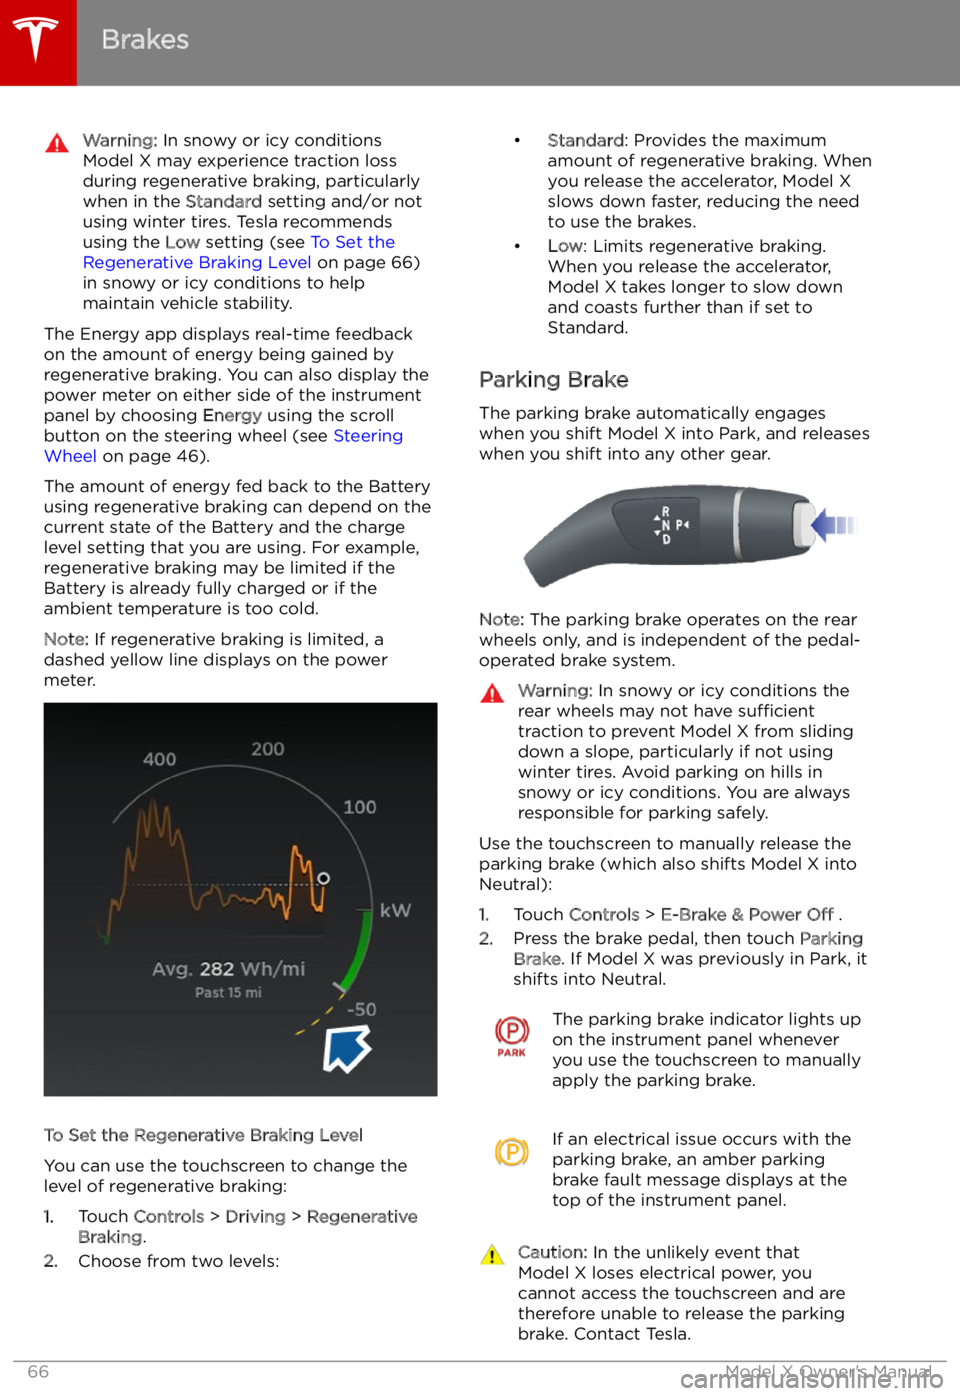
The Energy app displays real-time feedbackon the amount of energy being gained by
regenerative braking. You can also display the
power meter on either side of the instrument
panel by choosing Energy using the scroll
button on the steering wheel (see Steering
Wheel on page 46).
The amount of energy fed back to the Battery using regenerative braking can depend on the
current state of the Battery and the charge
level setting that you are using. For example,
regenerative braking may be limited if the Battery is already fully charged or if the
ambient temperature is too cold.
Note: If regenerative braking is limited, a
dashed yellow line displays on the power
meter.
To Set the Regenerative Braking Level
You can use the touchscreen to change the
level of regenerative braking:
1. Touch Controls > Driving > Regenerative
Braking .
2. Choose from two levels:
Page 68 of 212
Park Assist
How Park Assist Works
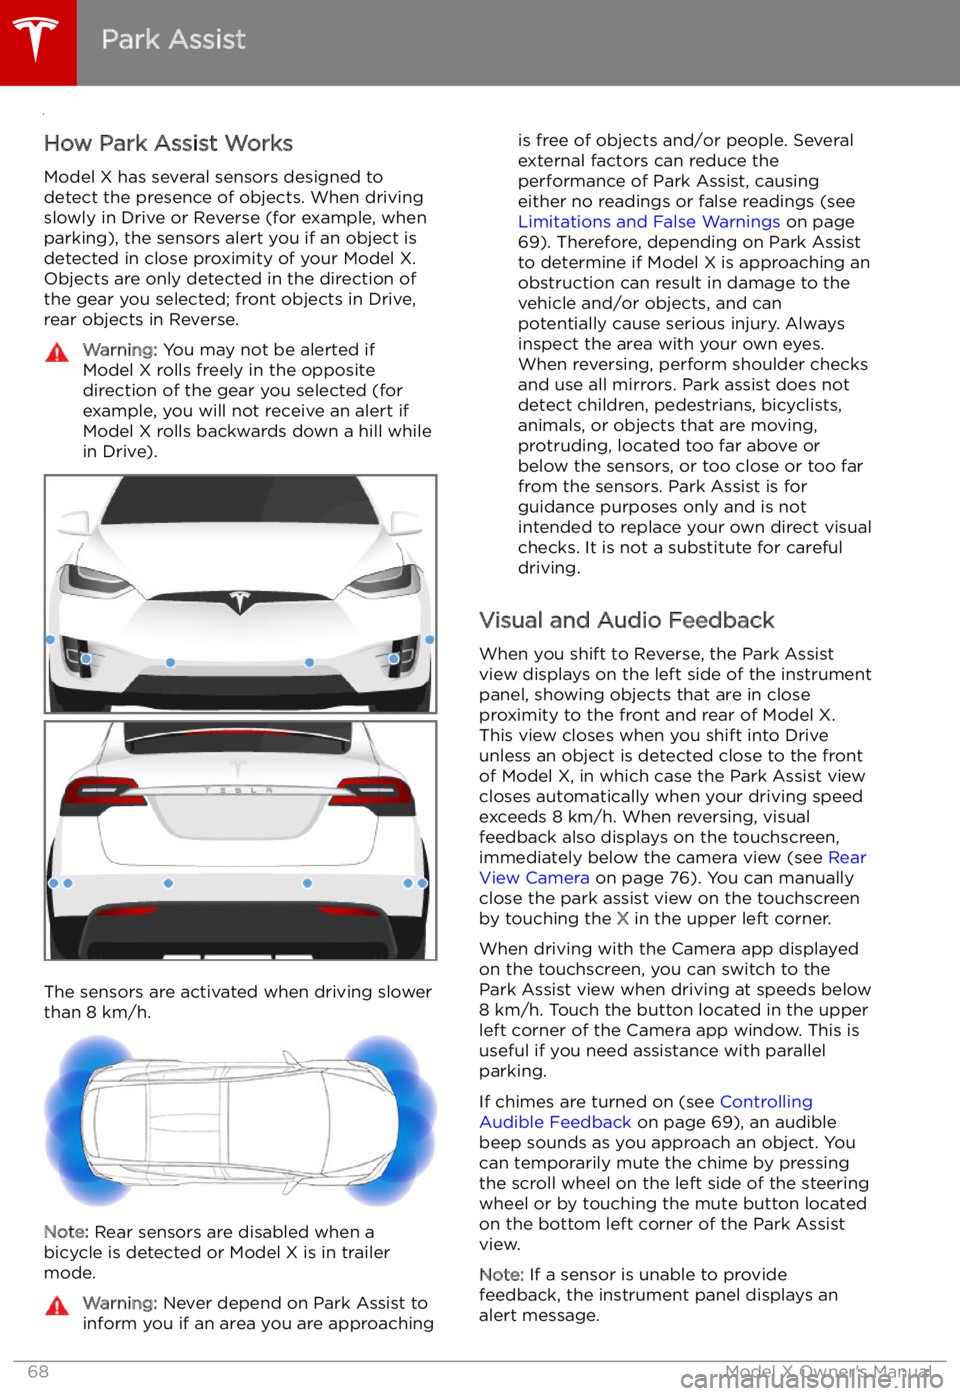
Model X has several sensors designed to
detect the presence of objects. When driving
slowly in Drive or Reverse (for example, when
parking), the sensors alert you if an object is
detected in close proximity of your Model X.
Objects are only detected in the direction of
the gear you selected; front objects in Drive,
rear objects in Reverse.
Warning: You may not be alerted if
Model X rolls freely in the opposite
direction of the gear you selected (for
example, you will not receive an alert if
Model X rolls backwards down a hill while
in Drive).
The sensors are activated when driving slower
than 8 km/h.
Note: Rear sensors are disabled when a
bicycle is detected or Model X is in trailer
mode.
Warning: Never depend on Park Assist to
inform you if an area you are approachingis free of objects and/or people. Several
external factors can reduce the
performance of Park Assist, causing
either no readings or false readings (see
Limitations and False Warnings on page
69). Therefore, depending on Park Assist
to determine if Model X is approaching an
obstruction can result in damage to the vehicle and/or objects, and can
potentially cause serious injury. Always
inspect the area with your own eyes.
When reversing, perform shoulder checks and use all mirrors. Park assist does not
detect children, pedestrians, bicyclists,
animals, or objects that are moving, protruding, located too far above or
below the sensors, or too close or too far
from the sensors. Park Assist is for
guidance purposes only and is not intended to replace your own direct visual
checks. It is not a substitute for careful
driving.
Visual and Audio Feedback
When you shift to Reverse, the Park Assist
view displays on the left side of the instrument
panel, showing objects that are in close
proximity to the front and rear of Model X.
This view closes when you shift into Drive
unless an object is detected close to the front
of Model X, in which case the Park Assist view
closes automatically when your driving speed
exceeds 8 km/h. When reversing, visual
feedback also displays on the touchscreen, immediately below the camera view (see Rear
View Camera on page 76). You can manually
close the park assist view on the touchscreen by touching the X in the upper left corner.
When driving with the Camera app displayed on the touchscreen, you can switch to the
Park Assist view when driving at speeds below
8 km/h. Touch the button located in the upper
left corner of the Camera app window. This is
useful if you need assistance with parallel parking.
If chimes are turned on (see Controlling
Audible Feedback on page 69), an audible
beep sounds as you approach an object. You
can temporarily mute the chime by pressing
the scroll wheel on the left side of the steering
wheel or by touching the mute button located
on the bottom left corner of the Park Assist
view.
Note: If a sensor is unable to provide
feedback, the instrument panel displays an
alert message.
Park Assist
68Model X Owner
Page 76 of 212
Rear View Camera
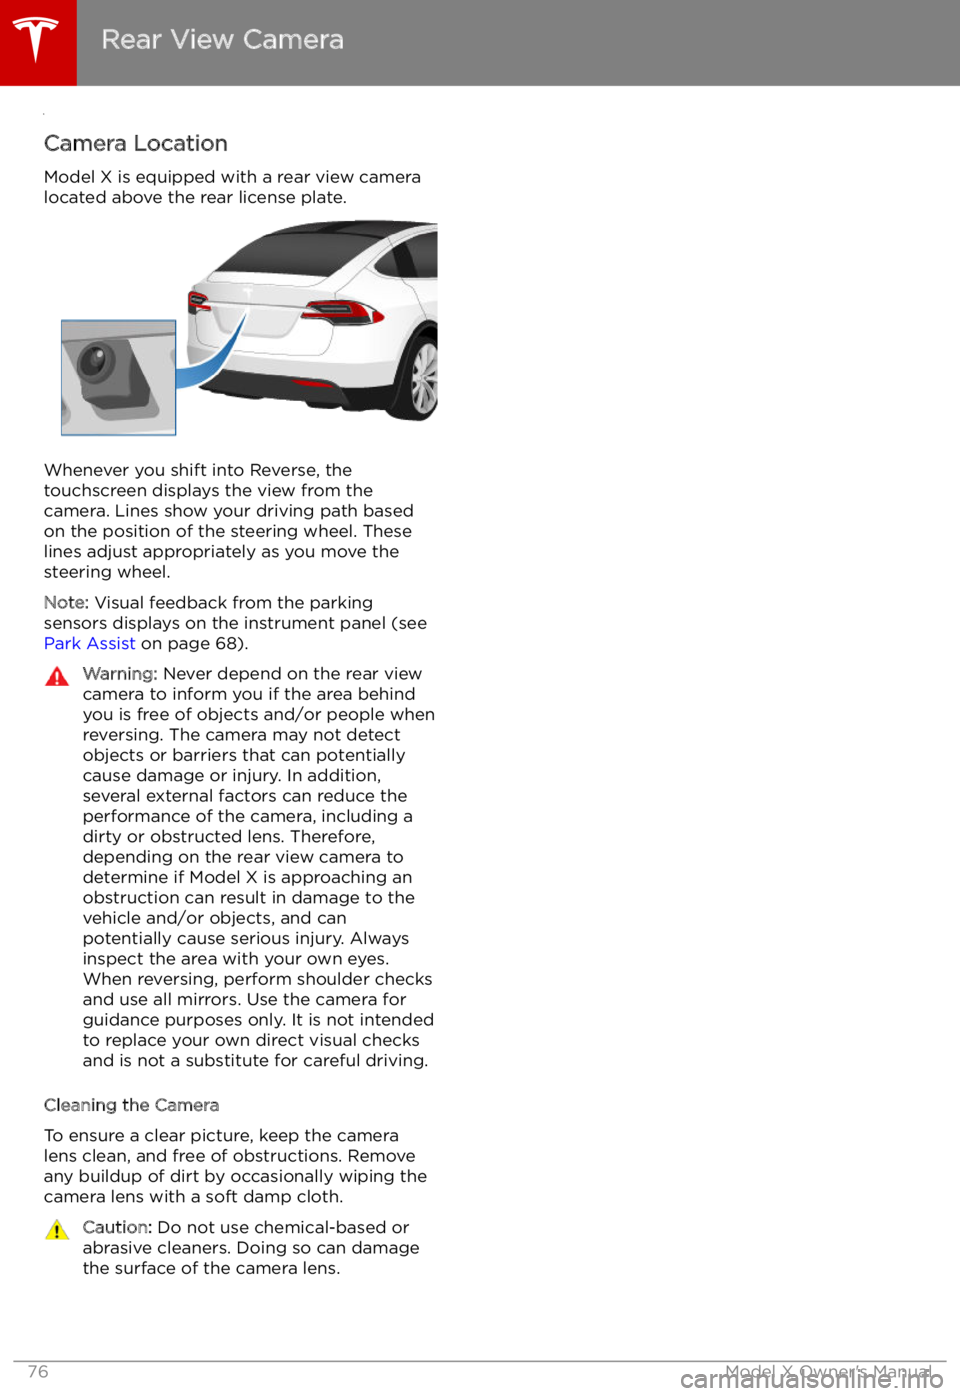
Camera Location
Model X is equipped with a rear view camera
located above the rear license plate.
Whenever you shift into Reverse, the
touchscreen displays the view from the
camera. Lines show your driving path based
on the position of the steering wheel. These
lines adjust appropriately as you move the
steering wheel.
Note: Visual feedback from the parking
sensors displays on the instrument panel (see
Park Assist on page 68).
Warning: Never depend on the rear view
camera to inform you if the area behind
you is free of objects and/or people when
reversing. The camera may not detect
objects or barriers that can potentially
cause damage or injury. In addition, several external factors can reduce the
performance of the camera, including a
dirty or obstructed lens. Therefore,
depending on the rear view camera to
determine if Model X is approaching an
obstruction can result in damage to the vehicle and/or objects, and can
potentially cause serious injury. Always
inspect the area with your own eyes.
When reversing, perform shoulder checks and use all mirrors. Use the camera forguidance purposes only. It is not intendedto replace your own direct visual checks
and is not a substitute for careful driving.
Cleaning the Camera
To ensure a clear picture, keep the camera
lens clean, and free of obstructions. Remove
any buildup of dirt by occasionally wiping the camera lens with a soft damp cloth.
Caution: Do not use chemical-based or
abrasive cleaners. Doing so can damage
the surface of the camera lens.
Rear View Camera
76Model X Owner
Page 90 of 212

The gray speedometer icon
on the instrument panel
turns blue and displays the
set speed to indicate that
Traffic-Aware Cruise Control
is active.
Note: The minimum set speed is 30 km/h. The
maximum set speed is 150 km/h. It is the
driver
Page 99 of 212
Note: Auto Lane Change assists in moving
Model X one lane at a time. Moving into an
additional lane requires you to engage the
turn signal a second time after the first lane
change is complete.Warning: If Auto Lane Change aborts
during a lane change (for example, Auto
Lane Change cannot detect the outside
of the target lane midway through the
lane change), Model X returns to its
original driving lane.
When Auto Lane Change is active, it is
important to monitor its performance by
watching the driving path in front of you and
the surrounding area. Stay prepared to take
over steering at any time. As you are crossing
over into the adjacent lane, the instrument
panel displays the lane marking as a dashed
blue line. Once in your new lane, lane markings
are displayed as solid blue lines again.
In situations where Auto Lane Change is
unable to operate at optimal performance, or
cannot operate due to inadequate data, the
instrument panel displays a series of warnings.
Therefore, when using Auto Lane Change,
always pay attention to the instrument panel
and be prepared to manually steer Model X.
Warning: When Auto Lane Change is
actively assisting in steering Model X, the steering wheel moves accordingly.
Although you must have your hands on
the steering wheel, any significant
restriction of or force on the steering wheel