2022 SUZUKI JIMNY Hood
[x] Cancel search: HoodPage 9 of 421

SERVICE STATION GUIDE
1. Engine hood release handle (see section 5) 2. Engine coolant (see section 6) 3. Windshield washer fiuid/ Headlight washer fiuid (see section 6) 4. Engine oil dipstick
(see section 6) 5. Lead-acid battery (see section 6) 6. Fuel lid release lever (see section 5 / see section 9) 7. Tyre pressure (see tyre information label on driver's door lock pillar) 8. Tyre/wheel replacement tools (see section 7) 9. Spare tyre (see section 6)
LHD: Left Hand Drive RHD: Right Hand Drive
78RB01001
Page 12 of 421

ILLUSTRATED TABLE OF CONTENTS
EXTERIOR, FRONT
1. Engine hood (P.5-2) 2. Windshield wipers (P.2-67) 3. Dual sensor (if equipped) (P.3-27) 4. Headlight washer (if equipped) (P.2-65, 6-46) 5. Headlights (P.2-55, 6-47) 6. Frame (towing) hook (P.5-14) 7. Front fog lights (if equipped) (P.2-60, 6-50)/ Daytime running lights (D.R.L.) (if equipped) (P.2-55, 2-58) 8. Outside rearview mirrors (P.2-13) 9. Door locks (P.2-2) 10. Front turn signal (P.2-66, 6-48) 11. Side turn signal (P.2-66, 6-49)
1 2 3
I
5 4 6 7 10 11 8 9
78RB01002
Page 16 of 421

ILLUSTRATED TABLE OF CONTENTS
1. Fuses (P.6-42) 2. Lighting control lever (P.2-55)/ Turn signal control lever (P.2-66)/ Front fog light switch (if equipped) (P.2-60)/Rear fog light switch (if equipped) (P.2-60) 3. Remote audio controls (if equipped) (P.5-74) 4. Driver's front airbag (P.1-37) 5. Cruise control switches (if equipped) (P.3-22)/ Speed limiter switches (if equipped) (P.3-25) 6. Dual sensor brake support OFF switch (if equipped) (P.3-37) 7. Lane departure warning OFF switch (if equipped) (P.3-38) 8. Headlight washer switch (if equipped) (P.2-65) 9. Headlight leveling switch (if equipped) (P.2-65) 10. Engine hood release handle (P.5-2) 11. Fuel lid release lever (P.5-1) 12. Tilt steering column lock lever (P.2-70) 13. Hands-free switches (if equipped) (P.5-62) 14. Electric mirror control switch (if equipped) (P.2-14)
VIEW B 2 3 4 5
1
-----18·'"' 0til G ... : -\¥-' OFF OFF
' _____ )
9 8 7 6
78RB01006
Page 64 of 421

FOR SAFE DRIVING
80J101
• Landing hard or falling
1-43
Side airbags and side curtain airbags may not inflate
=
80J121
,,
'>
ij = ~ ,
*'4:I
80J122
Impact from the side to the vehicle body other than the passenger compartment
80J123
Impact from the side at an oblique angle
~~,c] fr.
_;,~" 0 1 "1
\
80J124
Impact from the side by a high hood vehicle
Page 79 of 421

80JM133
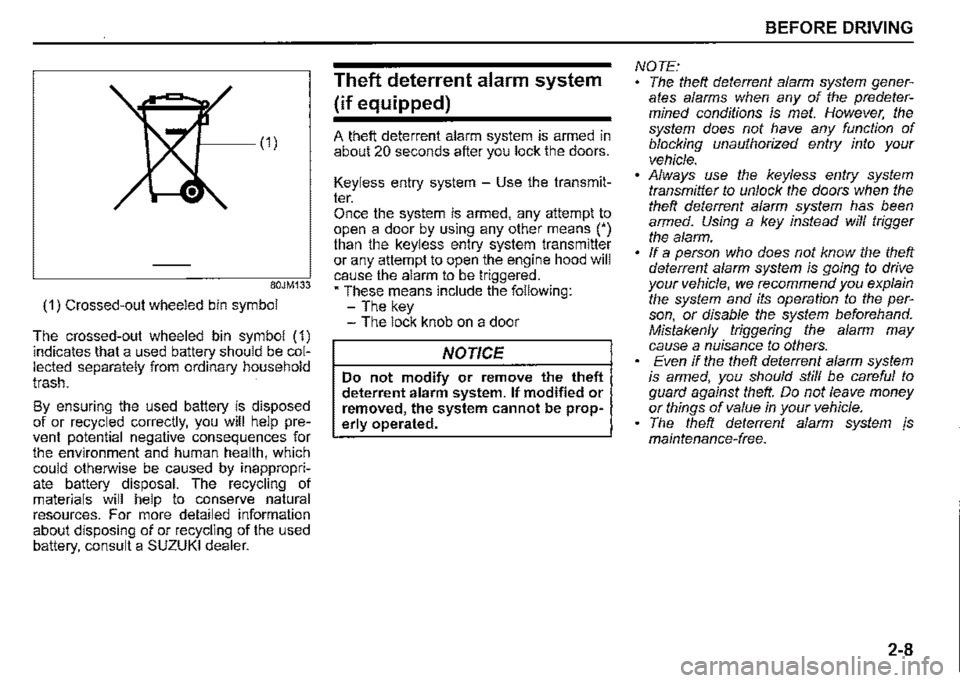
(1) Crossed-out wheeled bin symbol
The crossed-out wheeled bin symbol (1) indicates that a used battery should be collected separately from ordinary household trash.
By ensuring the used battery is disposed of or recycled correctly, you will help prevent potential negative consequences for the environment and human health, which could otherwise be caused by inappropriate battery disposal. The recycling of materials will help to conserve natural resources. For more detailed information about disposing of or recycling of the used battery, consult a SUZUKI dealer.
Theft deterrent alarm system
(if equipped)
A theft deterrent alarm system is armed in about 20 seconds after you lock the doors.
Keyless entry system -Use the transmitter. Once the system is armed, any attempt to open a door by using any other means (') than the keyless entry system transmitter or any attempt to open the engine hood will cause the alarm to be triggered. • These means include the following: -The key -The lock knob on a door
NOTICE
Do not modify or remove the theft deterrent alarm system. If modified or removed, the system cannot be properly operated.
BEFORE DRIVING
NOTE: The theft deterrent alarm system generates alarms when any of the predetermined conditions is met. However, the system does not have any function of blocking unauthorized entry into your vehicle. Always use the keyless entry system transmitter to unlock the doors when the theft deterrent alarm system has been armed. Using a key instead will trigger the alarm. If a person who does not know the theft deterrent alarm system is going to drive your vehicle, we recommend you explain the system and its operation to the person, or disable the system beforehand. Mistakenly triggering the alarm may cause a nuisance to others. Even if the theft deterrent alarm system is armed, you should still be careful to guard against theft. Do not leave money or things of value in your vehicle. The theft deterrent alarm system js maintenance-free.
2-8
Page 80 of 421

BEFORE DRIVING
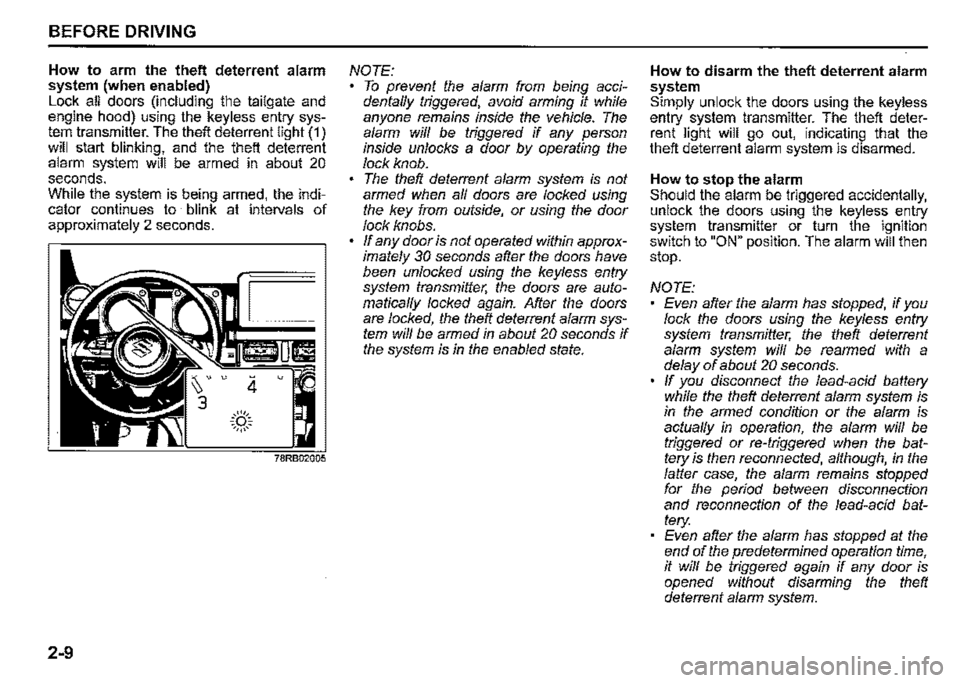
How to arm the theft deterrent alarm system (when enabled) Lock all doors (including the tailgate and engine hood) using the keyless entry system transmitter. The theft deterrent light (1) will start blinking, and the theft deterrent alarm system will be armed in about 20 seconds. While the system is being armed, the indicator continues to blink at intervals of approximately 2 seconds.
2-9
4 u
.::(')::. ~,,,,,~
NOTE: To prevent the alarm from being accidentaffy triggered, avoid arming it while anyone remains inside the vehicle. The alarm wiff be triggered if any person inside unlocks a door by operating the lock knob. The theft deterrent alarm system is not armed when af/ doors are locked using the key from outside, or using the door lock knobs. ff any door is not operated within approximately 30 seconds after the doors have been unlocked using the keyless entry system transmitter, the doors are automaticaf/y locked again. After the doors are locked, the theft deterrent alarm system wiff be armed in about 20 seconds if the system is in the enabled state.
How to disarm the theft deterrent alarm system Simply unlock the doors using the keyless entry system transmitter. The theft deterrent light will go out, indicating that the theft deterrent alarm system is disarmed.
How to stop the alarm Should the alarm be triggered accidentally, unlock the doors using the keyless entry system transmitter or turn the ignition switch to "ON" position. The alarm will then stop.
NOTE: Even after the alarm has stopped, if you lock the doors using the keyless entry system transmitter, the theft deterrent alarm system wiff be rearmed with a delay of about 20 seconds. ff you disconnect the lead-acid battery while the theft deterrent alarm system is in the armed condition or the alarm is actuaf/y in operation, the alarm will be triggered or re-triggered when the battery is then reconnected, although, in the falter case, the alarm remains stopped for the period between disconnection and reconnection of the lead-acid battery: Even after the alarm has stopped at the end of the predetermined operation time, it wiff be triggered again if any door is opened without disarming the theft deterrent alarm system.
Page 152 of 421

OPERATING YOUR VEHICLE
Daily inspection checklist
Before driving
60A187
1) Check that windows, mirrors, lights and reflectors are clean and unobstructed. 2) Visually check the tyres for the follow-ing points: -the depth of the tread groove -abnormal wear, cracks and damage -loose wheel nuts -existence of foreign material such as nails, stones, etc.
Refer to "Tyres" in "INSPECTION AND MAINTENANCE" section for details. 3) Look for fluid and oil leakage.
3-1
NOTE: It is normal for water to drip from the air conditioning system while and after use.
4) Check that the hood is fully closed and latched. 5) Check the headlights, turn signal lights, brake lights and horn for proper operation. 6) Adjust the seat and head restraint. 7) Check the brake pedal and the parking brake lever. 8) Adjust the mirrors. 9) Check that you and all passengers have properly fastened by the seat belts. 1 0)Check that all warning lights come on as the ignition switch is turned to "ON" position. 11 )Check all gauges. 12)Check that the brake system warning light turns off when the parking brake is released.
Once a week, or each time you fill your fuel tank, perform the following under-hood checks:
1) Engine oil level 2) Coolant level 3) Brake fluid level 4) Battery fluid (acid) level 5) Windshield washer fluid level
6) Hood latch operation Pull the hood release handle inside the vehicle. Check that you cannot open . the hood further without releasing the secondary latch. Close the hood securely after checking for proper latch operation. See the item "All latches, hinges and locks" of "Chassis, body and others" in "Maintenance schedule" in "INSPECTION AND MAINTENANCE" section for lubrication schedule.
A WARNING
Check that the hood is fully closed and latched before driving. If it is not, it can fly up unexpectedly during driving, obstructing your view and resulting in an accident.
Once a month, or each time you fill your fuel tank, check the tyre pressure using a tyre pressure gauge. Also check the tyre pressure of the spare tyre.
Page 235 of 421

OTHER CONTROLS AND EQUIPMENT
OTHER CONTROLS AND EQUIPMENT
Fuel filler cap ....................................................................... 5-1
Engine hood ........................................................................ 5-2
Sun visor .............................................................................. 5-4
Interior light ......................................................................... 5-5
Accessory socket ................................................................ 5-6
USB socket (if equipped) .................................................... 5-7
Assist grips .......................................................................... 5-8 -
Ride-in assist grip ............................................................... 5-8
Glove box ............................................................................. 5-9
Cup holder and storage area ............................................. 5-10
Footrest (if equipped) ......................................................... 5-13
I
Luggage compartment carpet ............................................ 5-13
Frame hooks ........................................................................ 5-14
Heating and air conditioning system ................................ 5-16
Manual heating and air conditioning system ................... 5-17
60G407 Automatic heating and air conditioning system
(climate control) .................................................................. 5-23
Radio antenna ..................................................................... 5-30
Installation of radio frequency transmitters ..................... 5-30
Audio system (Type A/ Type B / Type C) (if equipped) ... 5-31