2022 SUBARU IMPREZA speed display
[x] Cancel search: speed displayPage 84 of 124

Lane Sway Warning
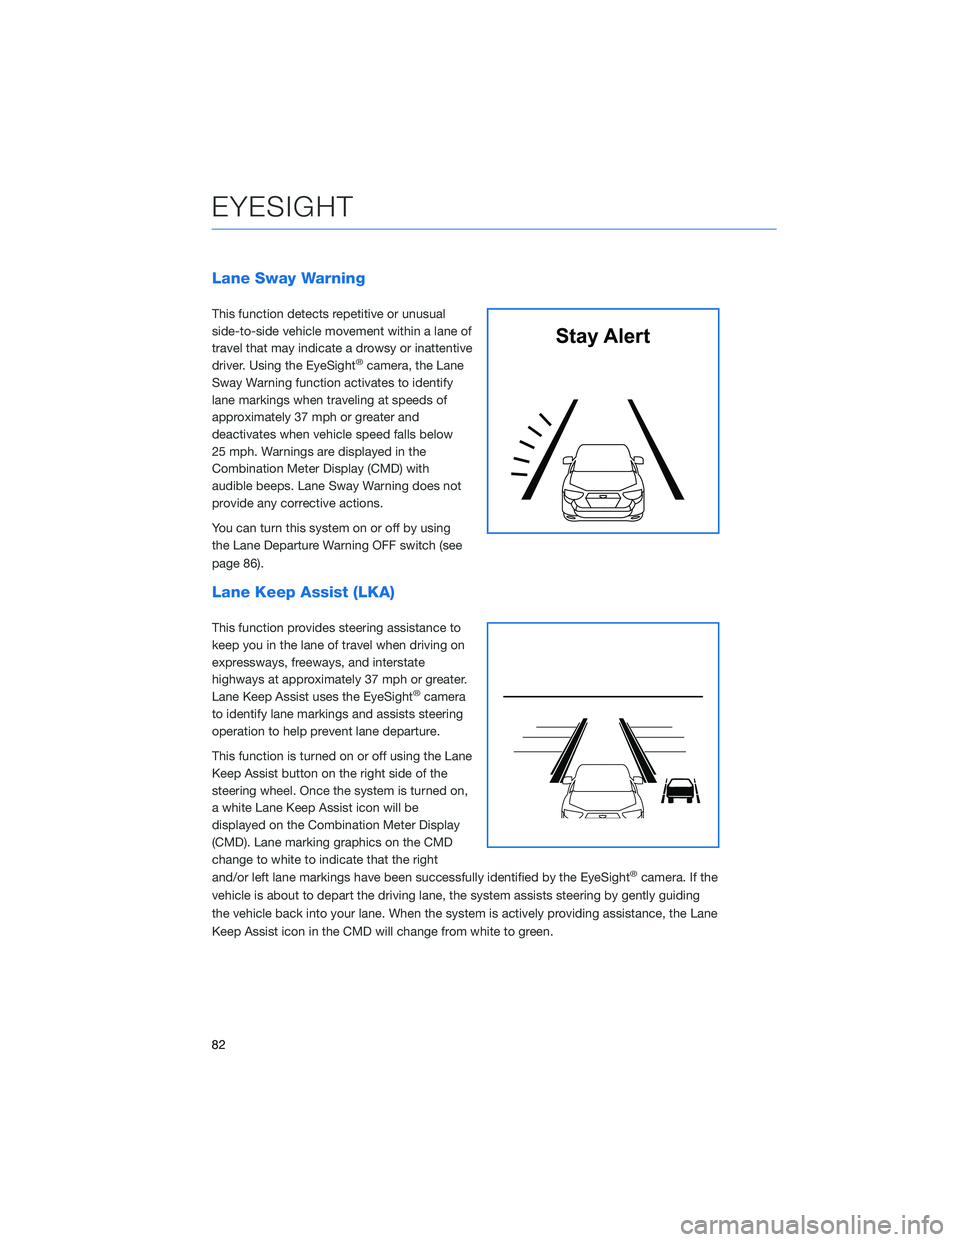
This function detects repetitive or unusual
side-to-side vehicle movement within a lane of
travel that may indicate a drowsy or inattentive
driver. Using the EyeSight
®camera, the Lane
Sway Warning function activates to identify
lane markings when traveling at speeds of
approximately 37 mph or greater and
deactivates when vehicle speed falls below
25 mph. Warnings are displayed in the
Combination Meter Display (CMD) with
audible beeps. Lane Sway Warning does not
provide any corrective actions.
You can turn this system on or off by using
the Lane Departure Warning OFF switch (see
page 86).
Lane Keep Assist (LKA)
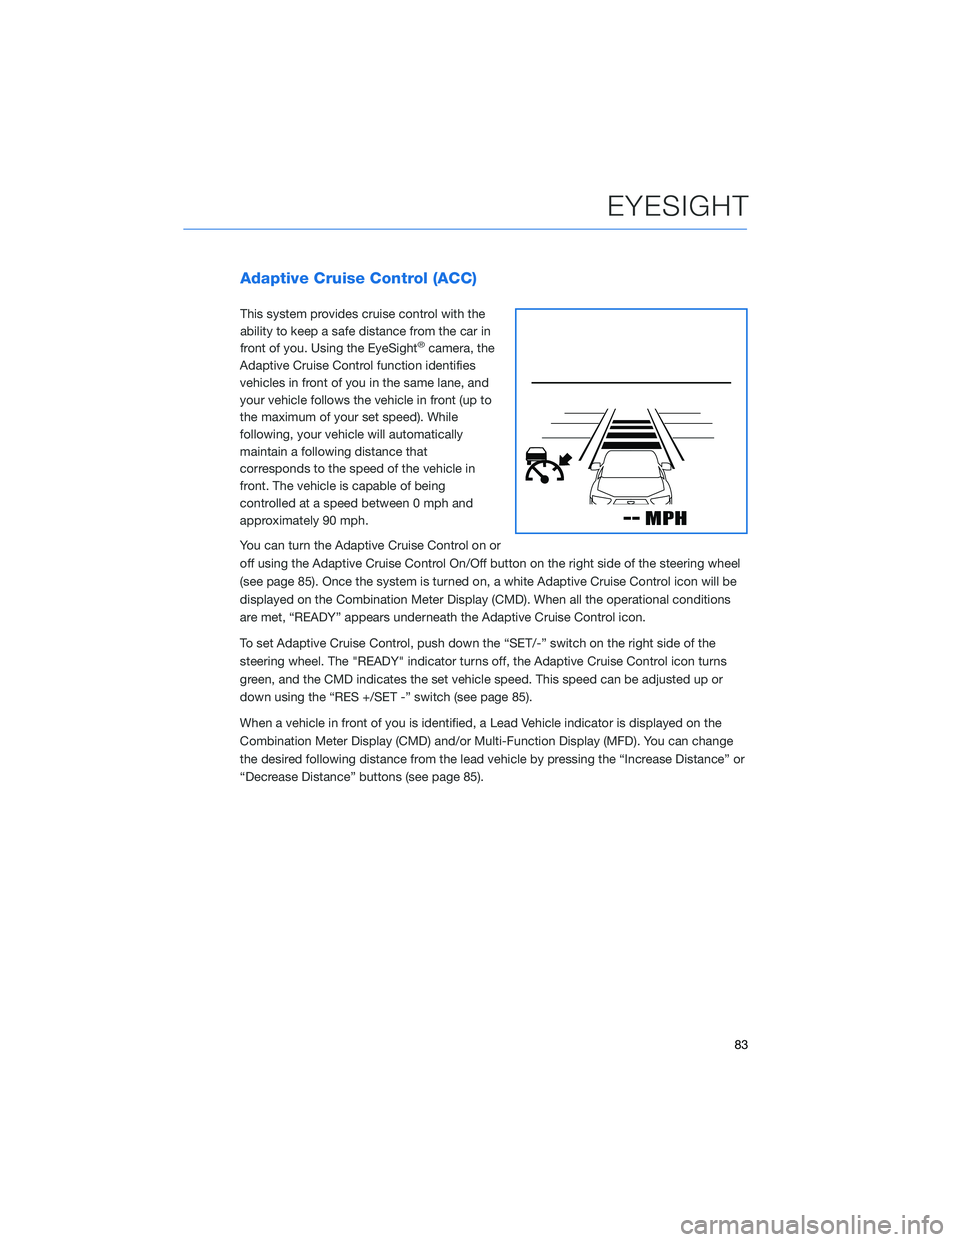
This function provides steering assistance to
keep you in the lane of travel when driving on
expressways, freeways, and interstate
highways at approximately 37 mph or greater.
Lane Keep Assist uses the EyeSight
®camera
to identify lane markings and assists steering
operation to help prevent lane departure.
This function is turned on or off using the Lane
Keep Assist button on the right side of the
steering wheel. Once the system is turned on,
a white Lane Keep Assist icon will be
displayed on the Combination Meter Display
(CMD). Lane marking graphics on the CMD
change to white to indicate that the right
and/or left lane markings have been successfully identified by the EyeSight
®camera. If the
vehicle is about to depart the driving lane, the system assists steering by gently guiding
the vehicle back into your lane. When the system is actively providing assistance, the Lane
Keep Assist icon in the CMD will change from white to green.
Stay Alert
EYESIGHT
82
Page 85 of 124

Adaptive Cruise Control (ACC)
This system provides cruise control with the
ability to keep a safe distance from the car in
front of you. Using the EyeSight
®camera, the
Adaptive Cruise Control function identifies
vehicles in front of you in the same lane, and
your vehicle follows the vehicle in front (up to
the maximum of your set speed). While
following, your vehicle will automatically
maintain a following distance that
corresponds to the speed of the vehicle in
front. The vehicle is capable of being
controlled at a speed between 0 mph and
approximately 90 mph.
You can turn the Adaptive Cruise Control on or
off using the Adaptive Cruise Control On/Off button on the right side of the steering wheel
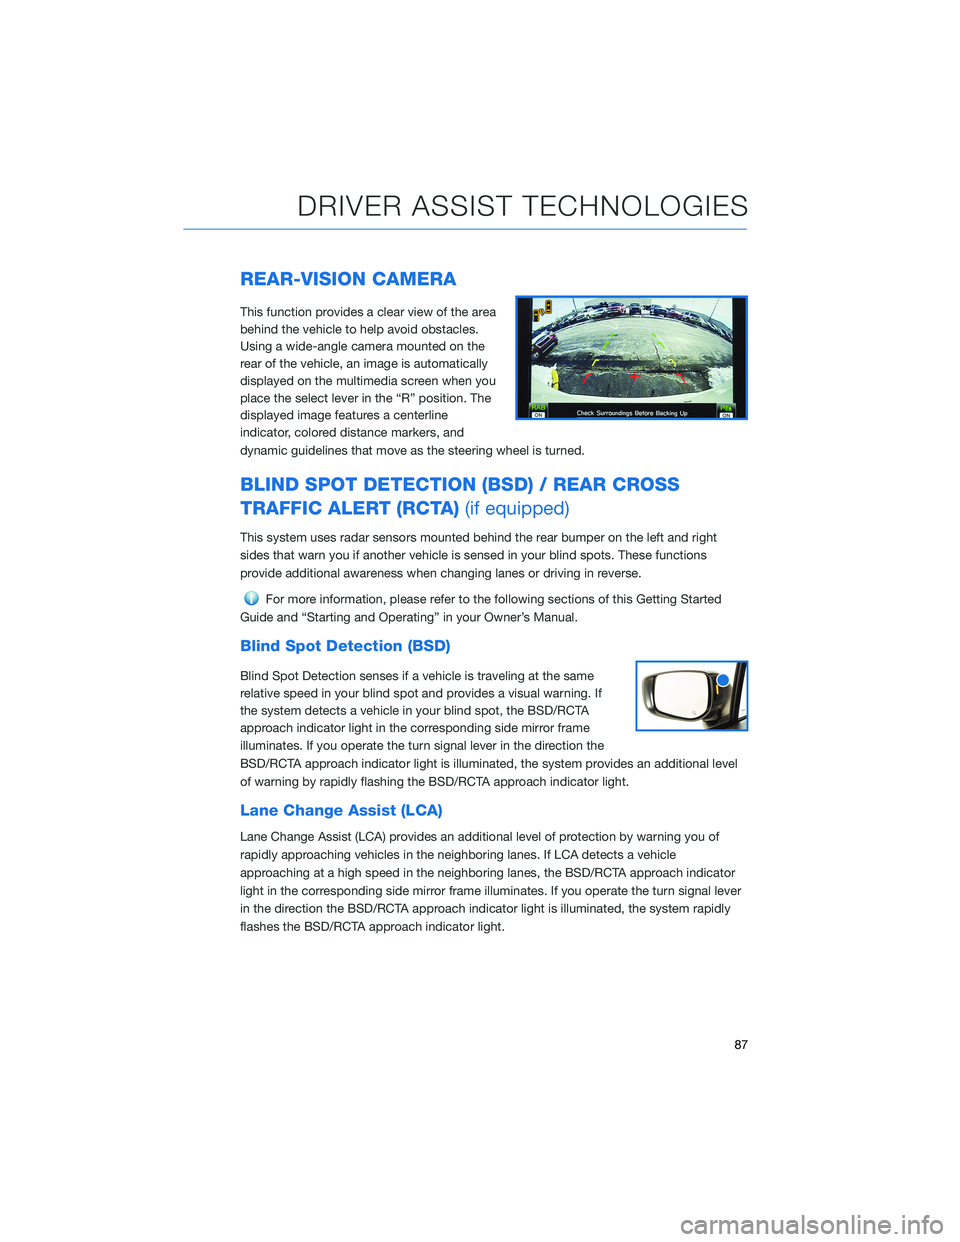
(see page 85). Once the system is turned on, a white Adaptive Cruise Control icon will be
displayed on the Combination Meter Display (CMD). When all the operational conditions
are met, “READY” appears underneath the Adaptive Cruise Control icon.
To set Adaptive Cruise Control, push down the “SET/-” switch on the right side of the
steering wheel. The "READY" indicator turns off, the Adaptive Cruise Control icon turns
green, and the CMD indicates the set vehicle speed. This speed can be adjusted up or
down using the “RES +/SET -” switch (see page 85).
When a vehicle in front of you is identified, a Lead Vehicle indicator is displayed on the
Combination Meter Display (CMD) and/or Multi-Function Display (MFD). You can change
the desired following distance from the lead vehicle by pressing the “Increase Distance” or
“Decrease Distance” buttons (see page 85).
EYESIGHT
83
Page 86 of 124

Conventional Cruise Control
Conventional Cruise Control maintains a
constant traveling speed you set, but it does
not adapt to the other vehicles in front of you.
To activate Conventional Cruise Control, press
the Adaptive Cruise Control On/Off button to
set Adaptive Cruise Control into standby
status. Then, with Adaptive Cruise Control in
standby status, press and hold the “Increase
Distance” or “Decrease Distance” button on
the steering wheel for approximately two
seconds.
The Cruise Control indicator on the
Combination Meter Display (CMD) will change
from the Adaptive Cruise Control icon to the
Conventional Cruise Control icon, and the “READY” indicator appears when all operational
conditions are met. Use the accelerator to reach the desired speed, then use the RES
+/SET - switch to set the vehicle speed.
Lead Vehicle Start Alert
This function will provide a visual and audible
alert when a stopped vehicle in front of you
begins to move, and your vehicle remains
stationary. Warnings are displayed in the
Combination Meter Display (CMD) with
audible beeps. Lead Vehicle Start Alert is
helpful in situations where you may become
temporarily distracted at a traffic light, and the
vehicle ahead begins to move.
This function can be customized. To change
this setting, use the steering wheel mounted
“i/SET” switches to access the EyeSight
®
settings menu on the CMD.
Vehicle AheadHas Moved
EYESIGHT
84
Page 87 of 124

STEERING WHEEL CONTROLS
Adaptive Cruise Control
1Adaptive Cruise Control On/Off: Press
to turn Adaptive Cruise Control (ACC) on
or off.
2 Lane Keep Assist: Press to turn Lane
Keep Assist on or off.
3 Increase Distance: Press to increase the
following distance setting while using
Adaptive Cruise Control. Press and hold
to change to Conventional Cruise
Control.
4 Decrease Distance: Press to decrease
the following distance setting while using
Adaptive Cruise Control. Press and hold
to change to Conventional Cruise
Control.
5 Resume (RES)/Increase Speed and Set
(SET)/Decrease Speed: Press the
switch down to set an initial target speed. Once set, press up or down to adjust the
target speed.
• Adjust by 5 mph: • Briefly press the switch up to increase the target speed by 5 mph.
• Briefly press the switch down to decrease the target speed by 5 mph.
• Adjust by 1 mph: • Press and hold the switch up to increase the target speed in 1 mph increments.
• Press and hold the switch down to decrease the target speed in 1 mphincrements.
• The Cruise Control Acceleration Characteristics can be adjusted to four different levels depending on your preference. The four levels are:
•Lv.1Eco
• Lv. 2 Comfort
• Lv. 3 Standard
• Lv. 4 Dynamic
To change this setting, use the steering wheel mounted “i/SET” switches to access
the EyeSight
®settings menu on the Combination Meter Display (CMD).
Adaptive Cruise Control Switches
EYESIGHT
85
Page 89 of 124

REAR-VISION CAMERA
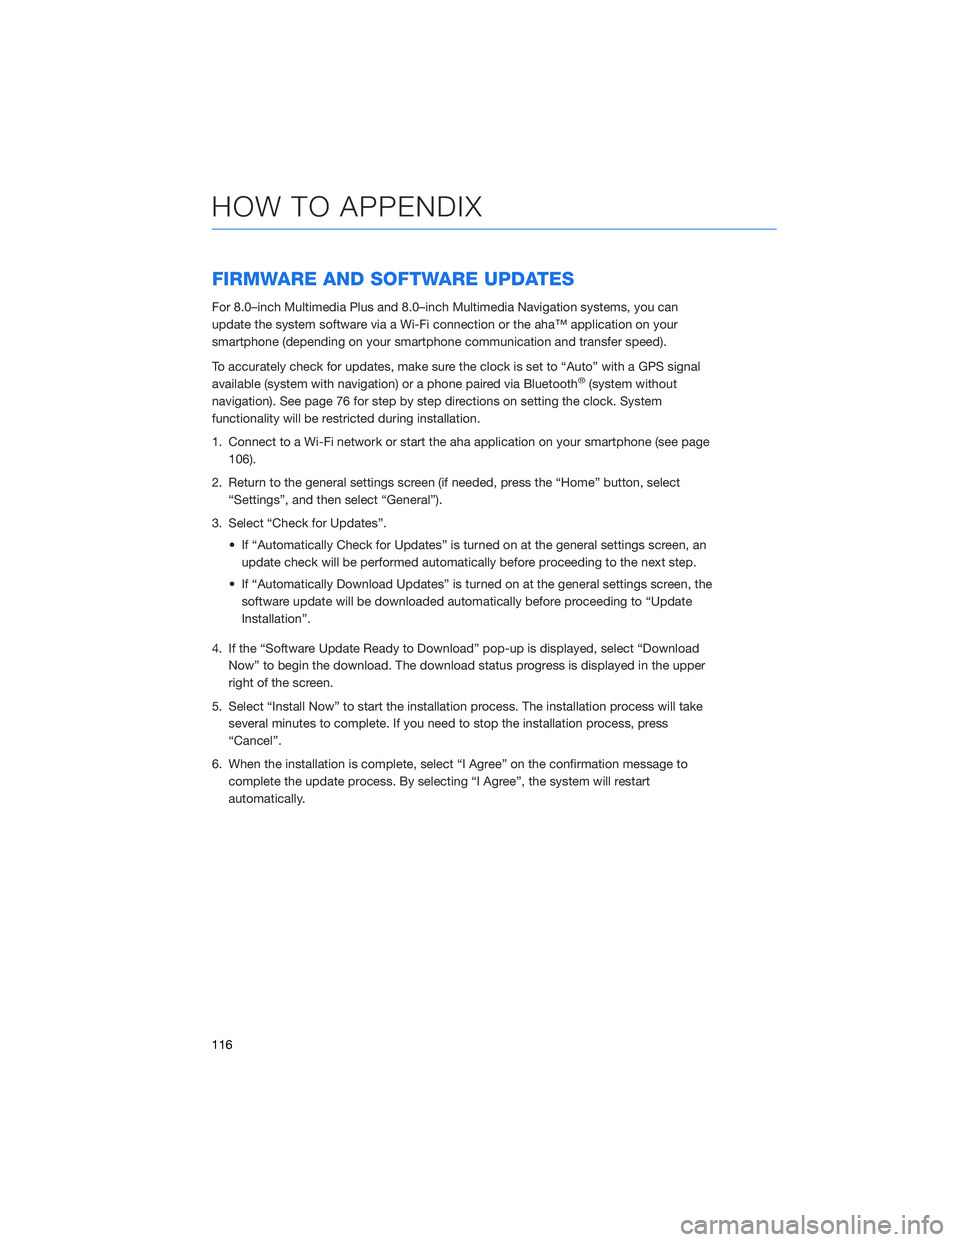
This function provides a clear view of the area
behind the vehicle to help avoid obstacles.
Using a wide-angle camera mounted on the
rear of the vehicle, an image is automatically
displayed on the multimedia screen when you
place the select lever in the “R” position. The
displayed image features a centerline
indicator, colored distance markers, and
dynamic guidelines that move as the steering wheel is turned.
BLIND SPOT DETECTION (BSD) / REAR CROSS
TRAFFIC ALERT (RCTA)(if equipped)
This system uses radar sensors mounted behind the rear bumper on the left and right
sides that warn you if another vehicle is sensed in your blind spots. These functions
provide additional awareness when changing lanes or driving in reverse.
For more information, please refer to the following sections of this Getting Started
Guide and “Starting and Operating” in your Owner’s Manual.
Blind Spot Detection (BSD)
Blind Spot Detection senses if a vehicle is traveling at the same
relative speed in your blind spot and provides a visual warning. If
the system detects a vehicle in your blind spot, the BSD/RCTA
approach indicator light in the corresponding side mirror frame
illuminates. If you operate the turn signal lever in the direction the
BSD/RCTA approach indicator light is illuminated, the system provides an additional level
of warning by rapidly flashing the BSD/RCTA approach indicator light.
Lane Change Assist (LCA)
Lane Change Assist (LCA) provides an additional level of protection by warning you of
rapidly approaching vehicles in the neighboring lanes. If LCA detects a vehicle
approaching at a high speed in the neighboring lanes, the BSD/RCTA approach indicator
light in the corresponding side mirror frame illuminates. If you operate the turn signal lever
in the direction the BSD/RCTA approach indicator light is illuminated, the system rapidly
flashes the BSD/RCTA approach indicator light.
DRIVER ASSIST TECHNOLOGIES
87
Page 118 of 124

FIRMWARE AND SOFTWARE UPDATES
For 8.0–inch Multimedia Plus and 8.0–inch Multimedia Navigation systems, you can
update the system software via a Wi-Fi connection or the aha™ application on your
smartphone (depending on your smartphone communication and transfer speed).
To accurately check for updates, make sure the clock is set to “Auto” with a GPS signal
available (system with navigation) or a phone paired via Bluetooth
®(system without
navigation). See page 76 for step by step directions on setting the clock. System
functionality will be restricted during installation.
1. Connect to a Wi-Fi network or start the aha application on your smartphone (see page 106).
2. Return to the general settings screen (if needed, press the “Home” button, select “Settings”, and then select “General”).
3. Select “Check for Updates”. • If “Automatically Check for Updates” is turned on at the general settings screen, anupdate check will be performed automatically before proceeding to the next step.
• If “Automatically Download Updates” is turned on at the general settings screen, the software update will be downloaded automatically before proceeding to “Update
Installation”.
4. If the “Software Update Ready to Download” pop-up is displayed, select “Download Now” to begin the download. The download status progress is displayed in the upper
right of the screen.
5. Select “Install Now” to start the installation process. The installation process will take several minutes to complete. If you need to stop the installation process, press
“Cancel”.
6. When the installation is complete, select “I Agree” on the confirmation message to complete the update process. By selecting “I Agree”, the system will restart
automatically.
HOW TO APPENDIX
116