2022 RAM CHASSIS CAB ignition
[x] Cancel search: ignitionPage 195 of 428

MULTIMEDIA193
Time Format This setting will allow you to set the time format (AM/PM). Sync Time With GPS
must be “Off” for this setting to be available. The “12 hrs” setting will set the
time to a 12-hour format. The “24 hrs” setting will set the time to a 24-hour
format.
Voice Options This setting will allow you to change the voice options for the radio to “Male”
or “Female”.
Wake Up Word This setting will allow you to set the system “Wake Up” word. The available
options are “Off”, “Hey, Uconnect”, and “Hey, Ram”.
Voice Barge-in This setting will allow Voice Barge-in to be turned on or off.
Show Command List This setting will allow the Command List to be shown. The options are “On”
and “Off”.
Navigation Settings This setting will redirect to the list of Navigation settings. Refer to your
Uconnect Owner’s Manual Supplement for further information.
Auto-On Driver Heated/Ventilated Seat & Heated Steering Wheel This setting will activate the vehicle’s comfort system and heated seats or
heated steering wheel when the vehicle is remote started or ignition is
started. The “Off” setting will not activate the comfort systems. The “Remote
Start” setting will only activate the comfort systems when using Remote Start.
The “All Start” setting will activate the comfort systems whenever the vehicle
is started.
Radio Power Off This setting will keep certain electrical features running after the engine is
turned off. When any door is opened, the electronics will deactivate. The
available settings are “0 sec”, “45 sec”, “5 min”, and “10 min”.
Radio Off With Door This setting will allow you to determine if the radio shuts off when any of the
doors are opened.
Audio Settings This setting will open the submenu, containing the audio settings
Ú
page 207.
Setting Name Description
5
22_DPF_OM_EN_USC_t.book Page 193
Page 204 of 428

202MULTIMEDIA
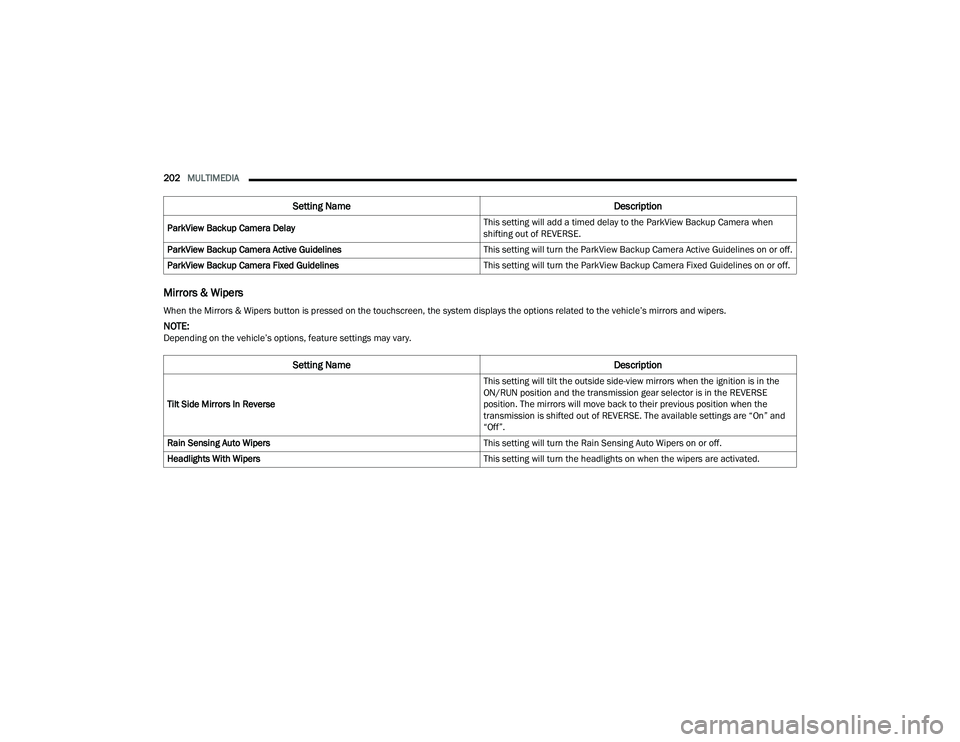
Mirrors & Wipers
ParkView Backup Camera Delay This setting will add a timed delay to the ParkView Backup Camera when
shifting out of REVERSE.
ParkView Backup Camera Active Guidelines This setting will turn the ParkView Backup Camera Active Guidelines on or off.
ParkView Backup Camera Fixed Guidelines This setting will turn the ParkView Backup Camera Fixed Guidelines on or off.
Setting NameDescription
When the Mirrors & Wipers button is pressed on the touchscreen, the system displays the options related to the vehicle’s mirrors and wipers.
NOTE:Depending on the vehicle’s options, feature settings may vary.
Setting NameDescription
Tilt Side Mirrors In Reverse This setting will tilt the outside side-view mirrors when the ignition is in the
ON/RUN position and the transmission gear selector is in the REVERSE
position. The mirrors will move back to their previous position when the
transmission is shifted out of REVERSE. The available settings are “On” and
“Off”.
Rain Sensing Auto Wipers This setting will turn the Rain Sensing Auto Wipers on or off.
Headlights With Wipers This setting will turn the headlights on when the wipers are activated.
22_DPF_OM_EN_USC_t.book Page 202
Page 207 of 428

MULTIMEDIA205
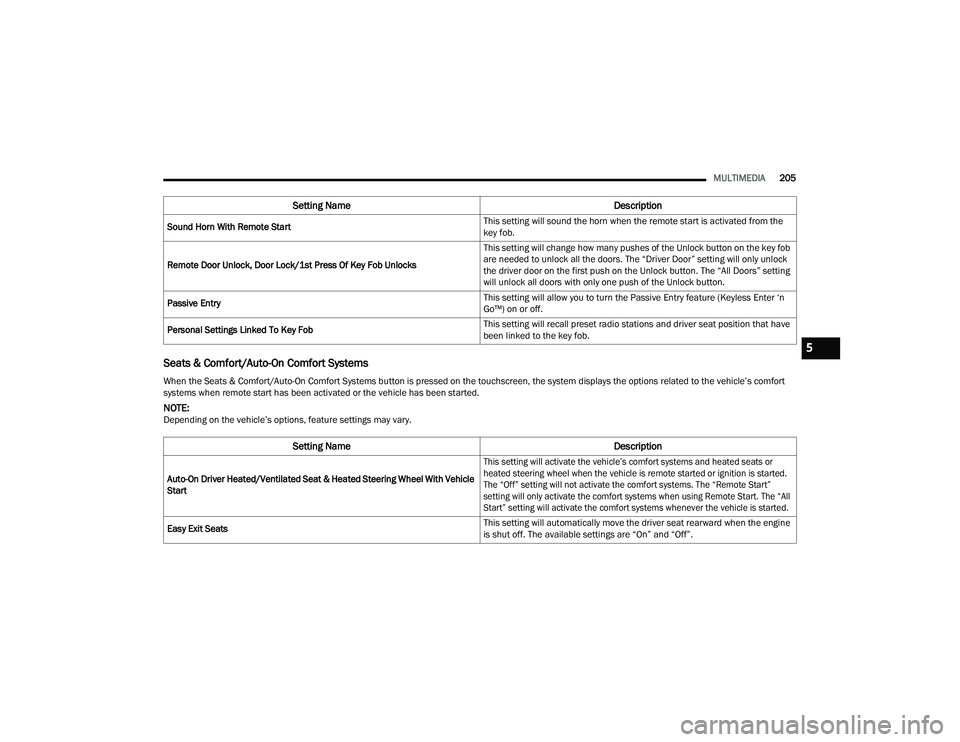
Seats & Comfort/Auto-On Comfort Systems
Sound Horn With Remote Start This setting will sound the horn when the remote start is activated from the
key fob.
Remote Door Unlock, Door Lock/1st Press Of Key Fob Unlocks This setting will change how many pushes of the Unlock button on the key fob
are needed to unlock all the doors. The “Driver Door” setting will only unlock
the driver door on the first push on the Unlock button. The “All Doors” setting
will unlock all doors with only one push of the Unlock button.
Passive Entry This setting will allow you to turn the Passive Entry feature (Keyless Enter ‘n
Go™) on or off.
Personal Settings Linked To Key Fob This setting will recall preset radio stations and driver seat position that have
been linked to the key fob.
When the Seats & Comfort/Auto-On Comfort Systems button is pressed on the touchscreen, the system displays the options related to the vehicle’s comfort
systems when remote start has been activated or the vehicle has been started.
NOTE:Depending on the vehicle’s options, feature settings may vary.
Setting Name Description
Auto-On Driver Heated/Ventilated Seat & Heated Steering Wheel With Vehicle
Start
This setting will activate the vehicle’s comfort systems and heated seats or
heated steering wheel when the vehicle is remote started or ignition is started.
The “Off” setting will not activate the comfort systems. The “Remote Start”
setting will only activate the comfort systems when using Remote Start. The “All
Start” setting will activate the comfort systems whenever the vehicle is started.
Easy Exit Seats This setting will automatically move the driver seat rearward when the engine
is shut off. The available settings are “On” and “Off”.
Setting Name
Description
5
22_DPF_OM_EN_USC_t.book Page 205
Page 208 of 428

206MULTIMEDIA
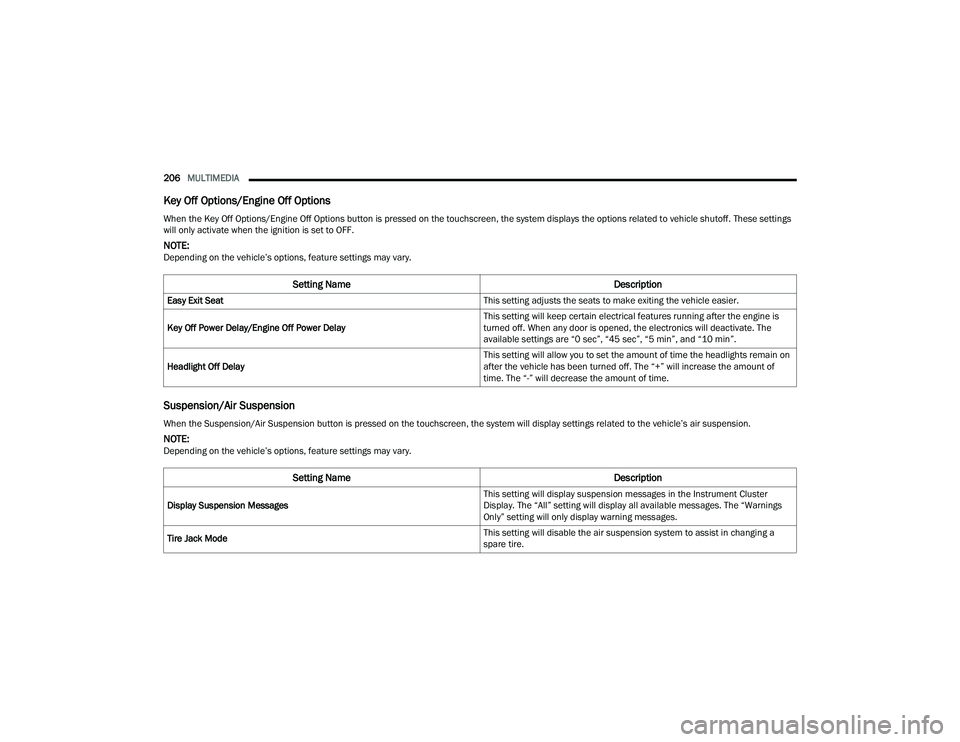
Key Off Options/Engine Off Options
Suspension/Air Suspension
When the Key Off Options/Engine Off Options button is pressed on the touchscreen, the system displays the options related to vehicle shutoff. These settings
will only activate when the ignition is set to OFF.
NOTE:Depending on the vehicle’s options, feature settings may vary.
Setting Name Description
Easy Exit Seat This setting adjusts the seats to make exiting the vehicle easier.
Key Off Power Delay/Engine Off Power Delay This setting will keep certain electrical features running after the engine is
turned off. When any door is opened, the electronics will deactivate. The
available settings are “0 sec”, “45 sec”, “5 min”, and “10 min”.
Headlight Off Delay This setting will allow you to set the amount of time the headlights remain on
after the vehicle has been turned off. The “+” will increase the amount of
time. The “-” will decrease the amount of time.
When the Suspension/Air Suspension button is pressed on the touchscreen, the system will display settings related to the vehicle’s air suspension.
NOTE:Depending on the vehicle’s options, feature settings may vary.
Setting Name
Description
Display Suspension Messages This setting will display suspension messages in the Instrument Cluster
Display. The “All” setting will display all available messages. The “Warnings
Only” setting will only display warning messages.
Tire Jack Mode This setting will disable the air suspension system to assist in changing a
spare tire.
22_DPF_OM_EN_USC_t.book Page 206
Page 223 of 428

MULTIMEDIA221
MEDIA MODE
Operating Media Mode
Uconnect 3 With 5-inch Display Operating Media Mode
Media Mode is entered by pushing the MEDIA
button located on the faceplate.
Audio Source Selection
Once in Media Mode, press the Source or Source
Select button on the touchscreen and the desired
mode button on the touchscreen. USB, AUX, and
Bluetooth® are the Media sources available.
When available, you can select the Browse button
on the touchscreen to be given these options:
Now Playing
Artists
Albums
Genres
Songs
Playlists
Folders
For the Uconnect 3 With 5-inch Display, Media
Mode is entered by pushing the MEDIA button
located on the faceplate.
Types of Media Modes
USB MODE
Overview
USB Mode is entered by inserting a USB device into
the USB port, or by pushing the MEDIA button on
the faceplate and then selecting the USB button.
On the Uconnect 3 With 5-inch Display, if you insert
a USB device with the ignition in ON/RUN, the unit
will switch to USB Mode and begin to play. The display will show the track number and index time
in minutes and seconds. Play will begin at the start
of track 1.
BLUETOOTH® MODE
Overview
Bluetooth® Streaming Audio or Bluetooth® Mode
is entered by pairing a Bluetooth® device,
containing music, to the Uconnect system.
Before proceeding, the Bluetooth® device must be
paired to the Uconnect Phone to communicate
with the Uconnect system.
On the Uconnect 3 With 5-inch Display, push the
MEDIA button located on the faceplate. Once in
Media Mode, press the Source button on the
touchscreen and select the Bluetooth® button
Ú
page 223.
To access Bluetooth® Mode, press the Bluetooth®
button on the left side of the touchscreen or under
the Source Select/Select Source button (if
equipped).
AUX MODE
Overview
Auxiliary Mode (AUX) is entered by inserting an AUX
device using a cable with a 3.5 mm audio jack into
the AUX port, or by pushing the MEDIA button on
the faceplate, selecting the Source button and
then the AUX button.
1 — Seek Down
2 — Browse
3 — Source
4 — Pause/Play
5 — Info
6 — More Options
7 — Seek Up
5
22_DPF_OM_EN_USC_t.book Page 221
Page 224 of 428

222MULTIMEDIA
To insert an Auxiliary device, gently insert the
Auxiliary device cable into the AUX port. If you
insert an Auxiliary device with the ignition and the
radio on, the unit will switch to AUX Mode and
begin to play.
Controlling The Auxiliary Device
The control of the Auxiliary device (e.g., selecting
playlists, play, fast forward, etc.) cannot be
provided by the radio; use the device controls
instead. Adjust the volume with the Volume button,
Volume/Mute rotary knob, or the On/Off rotary
knob, or with the volume of the attached device.
NOTE:The radio unit is acting as the amplifier for audio
output from the Auxiliary device. Therefore, if the
volume control on the Auxiliary device is set too
low, there will be insufficient audio signal for the
radio unit to play the music on the device.
Seek Up /Seek Down
In USB Mode, press the Seek Up button on the
touchscreen for the next selection on the USB
device. Press and release the Seek Down button
on the touchscreen to return to the beginning of
the current selection, or to return to the beginning
of the previous selection if the USB device is within
the first three seconds of the current selection.
In Bluetooth® Mode, press and release the Seek
Up button on the touchscreen for the next
selection on the Bluetooth® device. Press and release the Seek Down button on the touchscreen
to return to the beginning of the current selection,
or return to the beginning of the previous selection
if the Bluetooth® device is within the first second
of the current selection.
Browse
In USB Mode, press the Browse button on the
touchscreen to display the browse window. In USB
Mode, the left side of the browse window displays
a list of ways you can browse through the contents
of the USB device. If supported by the device, you
can browse by Folder, Artist, Playlist, Album, Song,
etc. Press the desired button on the touchscreen
on the left side of the screen. The center of the
browse window shows items and their
sub-functions, which can be scrolled through by
pressing the Up and Down buttons to the right. The
TUNE/SCROLL knob can also be used to scroll.
On the Uconnect 3 With 5-inch Display, select the
Browse button on the touchscreen to scroll
through and select a desired track on the device.
Press the Exit button on the touchscreen if you
wish to cancel the Browse function.
Media Mode
In USB Mode, press the Media button on the
touchscreen to select the desired audio source:
USB.
In Bluetooth® Mode, press the Media button on
the touchscreen to select the desired audio
source: Bluetooth®.
In AUX Mode, press the Media button on the
touchscreen to select the desired audio source:
AUX.
Repeat
In USB Mode, press the Repeat button on the
touchscreen to toggle the repeat functionality. The
Repeat button on the touchscreen is highlighted
when active. The Radio will continue to play the
current track, repeatedly, as long as the repeat is
active. Press the Repeat button again to enter
Repeat All. The radio will continue to play all the
current tracks, repeatedly, as long as the repeat
function is active. To cancel Repeat, press the
Repeat button a third time.
Shuffle
In USB Mode, press the Shuffle button on the
touchscreen to play the selections on the USB
device in random order to provide an interesting
change of pace. Press the Shuffle button on the
touchscreen a second time to turn this feature off.
Audio
Audio settings can be accessed by pressing the
Audio button Ú
page 214.
22_DPF_OM_EN_USC_t.book Page 222
Page 228 of 428

226MULTIMEDIA
Uconnect 3 With 5-inch Display
NOTE:
You must have Bluetooth® enabled on your
phone to complete this procedure.
The vehicle must be in PARK or at a standstill.
Follow the steps below to pair your phone:
1. Place the ignition in the ACC or ON/RUN position.
2. Press the Phone button.
NOTE:
If there are no phones currently connected
with the system, a pop-up will appear asking
if you would like to pair a mobile phone.
This pop-up only appears when the user
enters Phone Mode and no other device(s)
have previously been paired. If the system
has a phone previously paired, even if no phone is currently connected with the
system, this pop-up will not appear.
3. Select “Yes” to begin the pairing process.
4. Search for available devices on your Bluetooth®-enabled mobile phone.
Press the Settings button on your mobile
phone.
Select “Bluetooth®” and ensure it is
enabled. Once enabled, the mobile phone
will begin to search for Bluetooth® connec -
tions.
NOTE:During the pairing procedure, you may receive a
pop-up on your touchscreen asking you to make
sure the PIN on the touchscreen matches the PIN
from the pop-up on your mobile phone.
5. If “No” is selected, and you still would like to pair a mobile phone, press the Phone Pairing
or Settings button from the Uconnect Phone
main screen.
Press the Paired Phones button or the Add
Device button.
Search for available devices on your
Bluetooth®-enabled mobile phone (see
below). When prompted on the phone,
select “Uconnect” and accept the connec -
tion request. 6. Uconnect Phone will display an in-progress
screen while the system is connecting.
7. When your mobile phone finds the Uconnect system, select “Uconnect.”
8. When prompted on the mobile phone, accept the connection request from Uconnect.
9. When the pairing process has successfully completed, the system will prompt you to
choose whether or not this is your favorite
phone. Selecting “Yes” will make this phone
the highest priority. This phone will take
precedence over other paired phones within
range and will connect to the Uconnect system
automatically when entering the vehicle. Only
one mobile phone and/or one Bluetooth®
audio device can be connected to the
Uconnect system at a time. If “No” is selected,
simply select “Uconnect” from the mobile
phone/audio device Bluetooth® screen, and
the Uconnect system will reconnect to the
Bluetooth® device.
NOTE:For phones which are not made a favorite, the
phone priority is determined by the order in which
it was paired. The most recent phone paired will
have the higher priority.
22_DPF_OM_EN_USC_t.book Page 226
Page 233 of 428

MULTIMEDIA231
CALL TERMINATION
To end a call in progress, momentarily press the
End Call button on the touchscreen or the Phone
End button on the steering wheel. Only the active
call(s) will be terminated and if there is a call on
hold, it will become the new active call.
REDIAL
Push the VR button and after the
“Listening” prompt and the following
beep, say “Redial.”
The Uconnect Phone will call the last number that
was dialed from your mobile phone.
CALL CONTINUATION
Call continuation is the progression of a phone call
on the Uconnect Phone after the vehicle ignition
has been switched to OFF.
NOTE:The call will remain within the vehicle audio system
until the phone becomes out of range for the
Bluetooth® connection. It is recommended to
press the Transfer button on the touchscreen
when leaving the vehicle.
Advanced Phone Connectivity
TRANSFER CALL TO AND FROM MOBILE
PHONE
The Uconnect Phone allows ongoing calls to be
transferred from your mobile phone without
terminating the call. To transfer an ongoing call
from your connected mobile phone to the
Uconnect Phone or vice versa, press the Transfer
button on the Phone main screen.
Things You Should Know About Uconnect
Phone
VOICE COMMAND
For the best performance:
Always wait for the beep before speaking
Speak normally, without pausing, just as you
would speak to a person sitting a few feet/
meters away from you
Ensure that no one other than you is speaking
during a voice command period
Low-To-Medium Blower Setting
Low-To-Medium Vehicle Speed
Low Road Noise
Smooth Road Surface
Fully Closed Windows
Dry Weather Conditions Even though the system is designed for many
languages and accents, the system may not always
work for some.
NOTE:It is recommended that you do not store names in
your Favorites phonebook while the vehicle is in
motion.
Number and name recognition rate is optimized
when the entries are not similar. You can say “O”
(letter “O”) for “0” (zero).
Even though international dialing for most number
combinations is supported, some shortcut dialing
number combinations may not be supported.
Audio Performance
Audio quality is maximized under:
Low-To-Medium Blower Setting
Low-To-Medium Vehicle Speed
Low Road Noise
WARNING!
ALWAYS drive safely with your hands on the
wheel. You have full responsibility and assume
all risks related to the use of the Uconnect
features and applications in this vehicle. Only
use Uconnect when it is safe to do so. Failure to
do so may result in an accident involving serious
injury or death.
5
22_DPF_OM_EN_USC_t.book Page 231