2022 NISSAN SENTRA heater
[x] Cancel search: heaterPage 152 of 528
WARNING
Do not disassemble the horn. Doing so
could affect proper operation of the
supplemental front air bag system.
Tampering with the supplemental
front air bag system may result in seri-
ous personal injury.
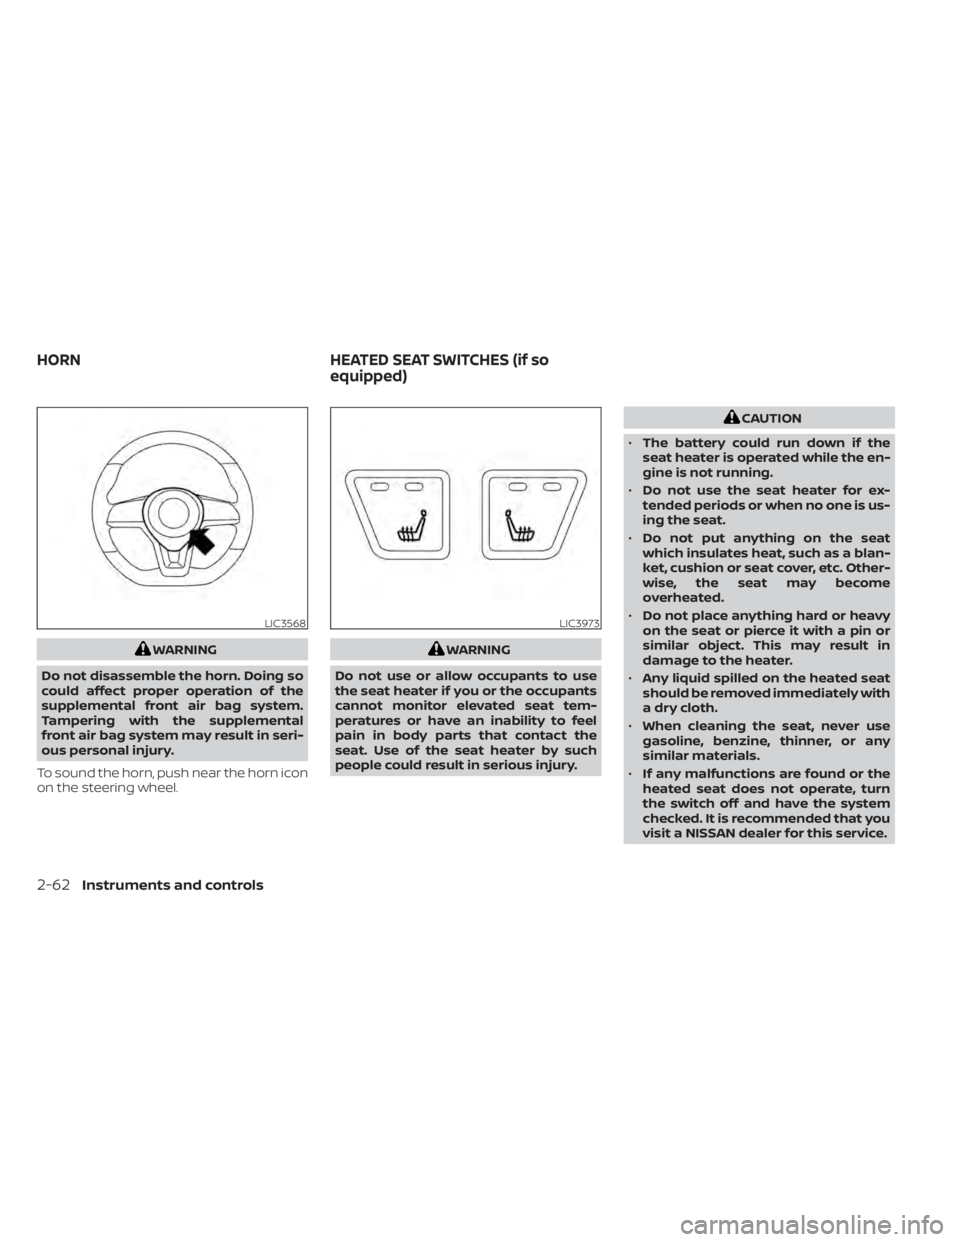
To sound the horn, push near the horn icon
on the steering wheel.
CAUTION
• The battery could run down if the
seat heater is operated while the en-
gine is not running.
• Do not use the seat heater for ex-
tended periods or when no one is us-
ing the seat.
• Do not put anything on the seat
which insulates heat, such as a blan-
ket, cushion or seat cover, etc. Other-
wise, the seat may become
overheated.
• Do not place anything hard or heavy
on the seat or pierce it with a pin or
similar object. This may result in
damage to the heater.
• Any liquid spilled on the heated seat
should be removed immediately with
a dry cloth.
• When cleaning the seat, never use
gasoline, benzine, thinner, or any
similar materials.
• If any malfunctions are found or the
heated seat does not operate, turn
the switch off and have the system
checked. It is recommended that you
visit a NISSAN dealer for this service.
LIC3973
HORN HEATED SEAT SWITCHES (if so
equipped)
Page 153 of 528
The front seats are warmed by built-in
heaters.
1. Start the engine.
2. To turn on, push the switch one time forthe LO position and one indicator light
will illuminate or twice for the HI position
and both indicators will illuminate.
The heater is controlled by a thermostat,
automatically turning the heater on and
off. The indicator light will remain on as
long as the switch is on.
3. When the seat is warmed or before you leave the vehicle, be sure to turn the
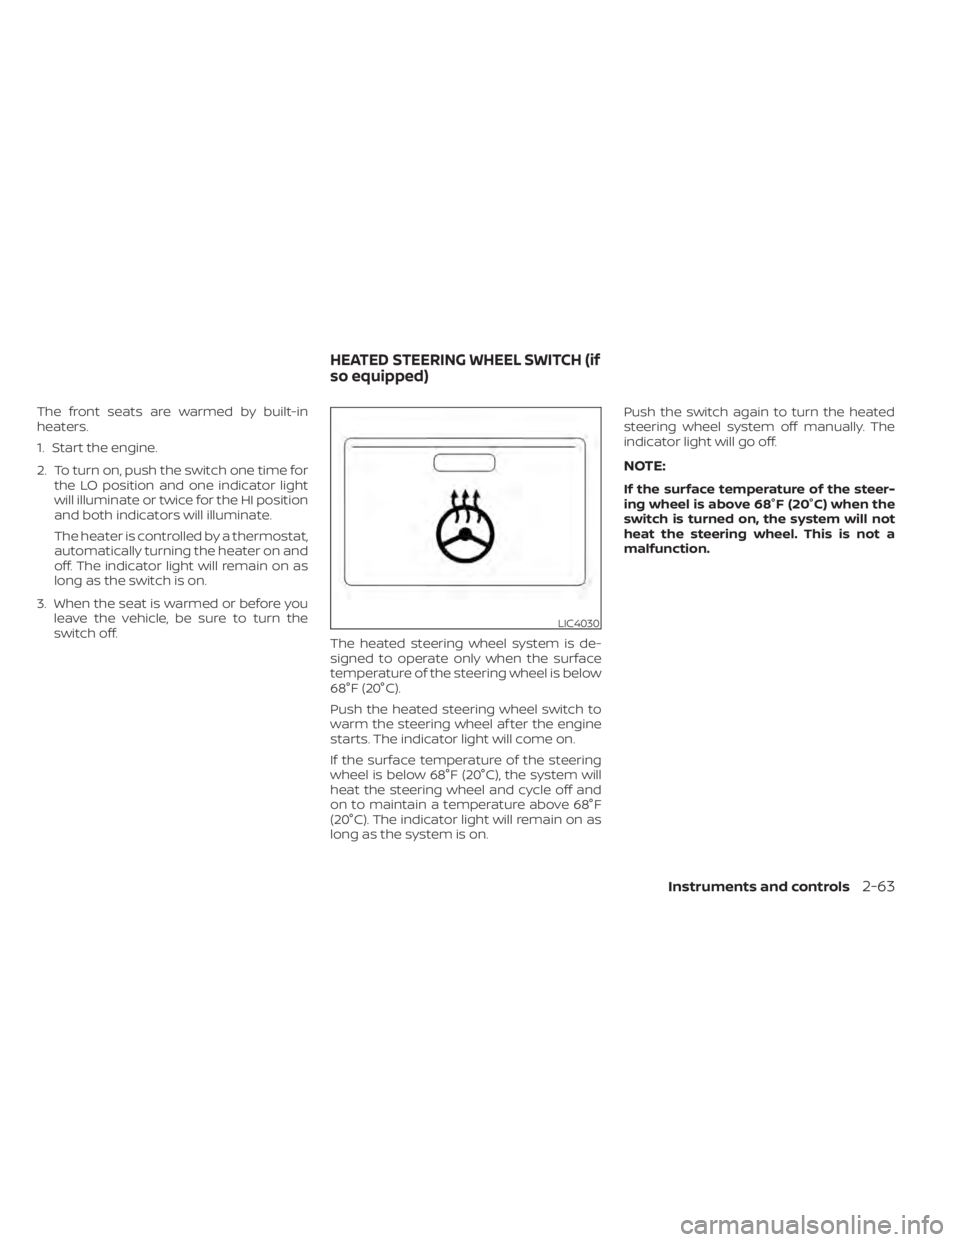
switch off. The heated steering wheel system is de-
signed to operate only when the surface
temperature of the steering wheel is below
68°F (20°C).
Push the heated steering wheel switch to
warm the steering wheel af ter the engine
starts. The indicator light will come on.
If the surface temperature of the steering
wheel is below 68°F (20°C), the system will
heat the steering wheel and cycle off and
on to maintain a temperature above 68°F
(20°C). The indicator light will remain on as
long as the system is on. Push the switch again to turn the heated
steering wheel system off manually. The
indicator light will go off.
NOTE:
If the surface temperature of the steer-
ing wheel is above 68°F (20°C) when the
switch is turned on, the system will not
heat the steering wheel. This is not a
malfunction.
Instruments and controls2-63
Page 202 of 528
4 Monitor, climate, audio, phone and
voice recognition systems
NissanConnect® Owner’s Manual...............4-2
Control panel buttons ...........................4-3
How to use the touch-screen ................4-4
How to use the
MENU button ...........4-6(brightness control) button .............4-8
How to use the VOL (volume) knob /
PUSH
(power)button....................4-8
Selecting menu from launch bar .............4-8
RearView Monitor (if so equipped) ...............4-9
RearView Monitor system operation .........4-10
How to read the displayed lines .............4-10
Difference between predicted and
actual distances ............................. 4-11
How to park with predicted course
lines (if so equipped) ........................ 4-12
Adjusting the screen ........................ 4-14
How to turn on and off predicted
course lines (if so equipped) .................4-14
RearView Monitor system limitations ........4-14
System maintenance ....................... 4-15
Intelligent Around View Monitor
(if so equipped) ................................. 4-16
Intelligent Around View Monitor system
operation ................................... 4-17
Difference between predicted and
actual distances ............................ 4-21How to park with predicted course
lines
......................................... 4-23
How to switch the display ...................4-24
Adjusting the screen ........................ 4-24
Intelligent Around View Monitor system
limitations .................................. 4-25
System maintenance .......................4-27
Moving Object Detection (MOD)
(if so equipped) ................................. 4-28
MOD system operation ......................4-29
Turning MOD on and off (if so equipped) .....4-30
MOD system limitations .....................4-31
System maintenance .......................4-32
Vents .......................................... 4-32
Heater and air conditioner (manual)
(if so equipped) ................................. 4-33
Controls ..................................... 4-34
Heater operation ............................ 4-34
Air conditioner operation ....................4-35
Air flow charts ............................... 4-37
Heater and air conditioner (automatic)
(if so equipped) ................................. 4-40
Automatic operation ........................ 4-41
Manual operation ........................... 4-42
Operating tips ............................... 4-43
Page 236 of 528
CONTROLS
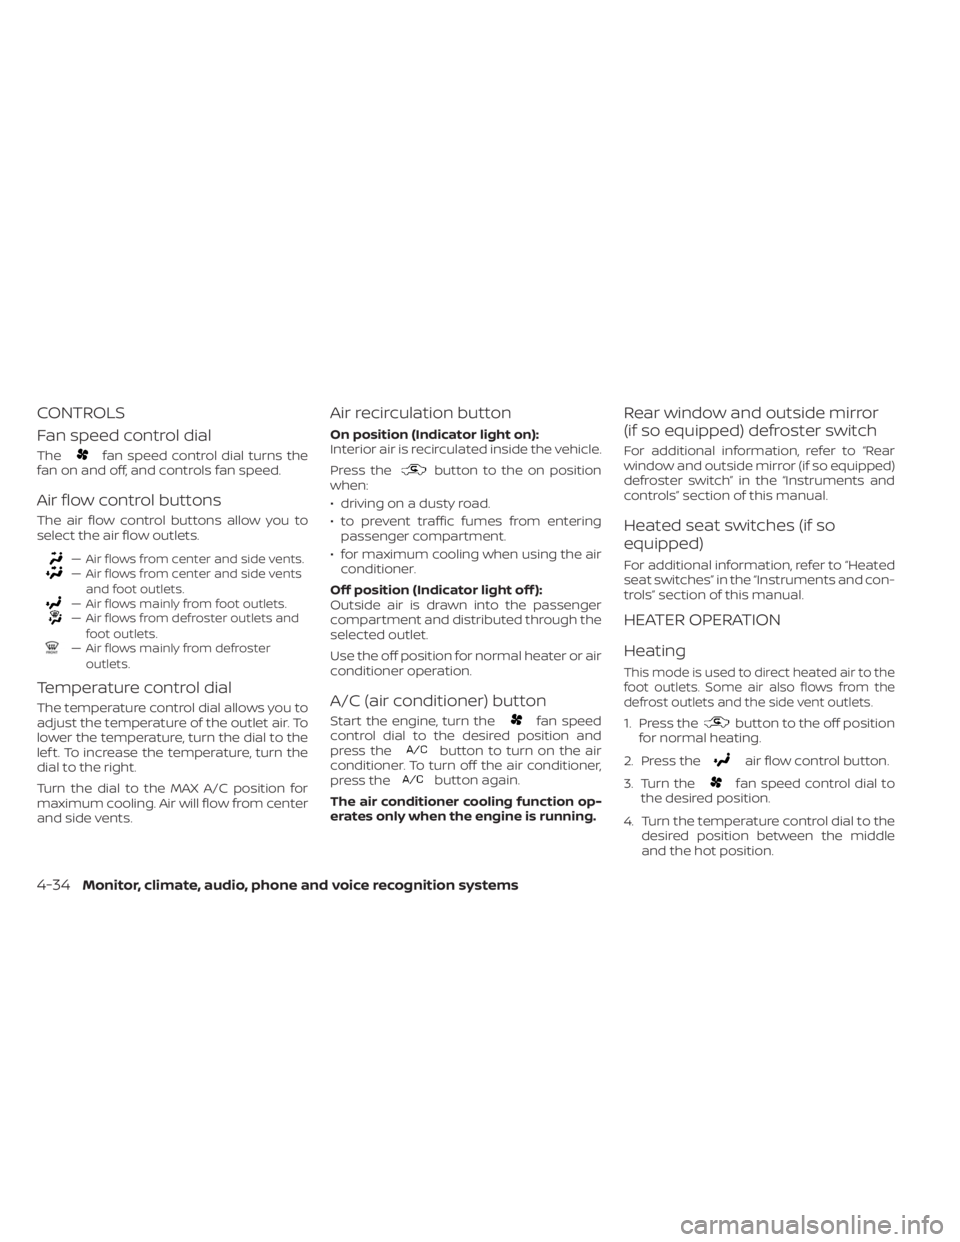
Fan speed control dial
Thefan speed control dial turns the
fan on and off, and controls fan speed.
Air flow control buttons
The air flow control buttons allow you to
select the air flow outlets.
— Air flows from center and side vents.— Air flows from center and side vents
and foot outlets.
— Air flows mainly from foot outlets.— Air flows from defroster outlets andfoot outlets.
— Air flows mainly from defrosteroutlets.
Temperature control dial
The temperature control dial allows you to
adjust the temperature of the outlet air. To
lower the temperature, turn the dial to the
lef t. To increase the temperature, turn the
dial to the right.
Turn the dial to the MAX A/C position for
maximum cooling. Air will flow from center
and side vents.
Air recirculation button
On position (Indicator light on):
Interior air is recirculated inside the vehicle.
Press the
button to the on position
when:
• driving on a dusty road.
• to prevent traffic fumes from entering passenger compartment.
• for maximum cooling when using the air conditioner.
Off position (Indicator light off ):
Outside air is drawn into the passenger
compartment and distributed through the
selected outlet.
Use the off position for normal heater or air
conditioner operation.
A/C (air conditioner) button
Start the engine, turn thefan speed
control dial to the desired position and
press the
button to turn on the air
conditioner. To turn off the air conditioner,
press the
button again.
The air conditioner cooling function op-
erates only when the engine is running.
Rear window and outside mirror
(if so equipped) defroster switch
For additional information, refer to “Rear
window and outside mirror (if so equipped)
defroster switch” in the “Instruments and
controls” section of this manual.
Heated seat switches (if so
equipped)
For additional information, refer to “Heated
seat switches” in the “Instruments and con-
trols” section of this manual.
HEATER OPERATION
Heating
This mode is used to direct heated air to the
foot outlets. Some air also flows from the
defrost outlets and the side vent outlets.
1. Press thebutton to the off position
for normal heating.
2. Press the
air flow control button.
3. Turn the
fan speed control dial to
the desired position.
4. Turn the temperature control dial to the desired position between the middle
and the hot position.
4-34Monitor, climate, audio, phone and voice recognition systems
Page 237 of 528
Ventilation
This mode directs outside air to the side
and center vents.
1. Press the
button to the off position.
2. Press the
air flow control button.
3. Turn the
fan speed control dial to
the desired position.
4. Turn the temperature control dial to the desired position.
Defrosting or defogging
This mode directs the air to the defrost
outlets to defrost/defog the windows.
1. Press the defrost/defog button
.
2. Turn the
fan speed control dial to
the desired position.
3. Turn the temperature control dial to the desired position between the middle
and the hot position.
• To quickly remove ice or fog from the win- dows, turn the
fan speed control dial
to the highest setting and the tempera-
ture control to the full HOT position. • When the
position is selected, the air
conditioner automatically turns on if the
outside temperature is more than 36°F
(2°C). This dehumidifies the air which
helps defog the windshield. The
mode automatically turns off, allowing
outside air to be drawn into the passen-
ger compartment to further improve the
defogging performance. The recircula-
tion mode cannot be activated in the
position.
Bi-level heating
The bi-level mode directs warmed air to
the side and center vents and to the front
and rear floor outlets.
1. Press the
button to the off position.
2. Press the
air flow control button.
3. Turn the
fan speed control dial to
the desired position.
4. Turn the temperature control dial to the desired position.
Heating and defogging
This mode heats the interior and defogs
the windshield.
1. Press the
air flow control button. 2. Turn the
fan speed control dial to
the desired position.
3. Turn the temperature control dial to the desired position between the middle
and the hot position.
• When the
position is selected, the
air conditioner automatically turns on if
the outside temperature is more than
36°F (2°C). This dehumidifies the air which
helps defog the windshield. The
mode automatically turns off, allowing
outside air to be drawn into the passen-
ger compartment to further improve the
defogging performance.
Operating tips
Clear snow and ice from the wiper blades
and air inlet in front of the windshield.
This improves heater operation.
AIR CONDITIONER OPERATION
Start the engine, turn thefan speed
control dial to the desired position, and
press the
button to activate the air
conditioner. When the air conditioner is on,
cooling and dehumidif ying functions are
added to the heater operation.
The air conditioner cooling function op-
erates only when the engine is running.
Monitor, climate, audio, phone and voice recognition systems4-35
Page 242 of 528
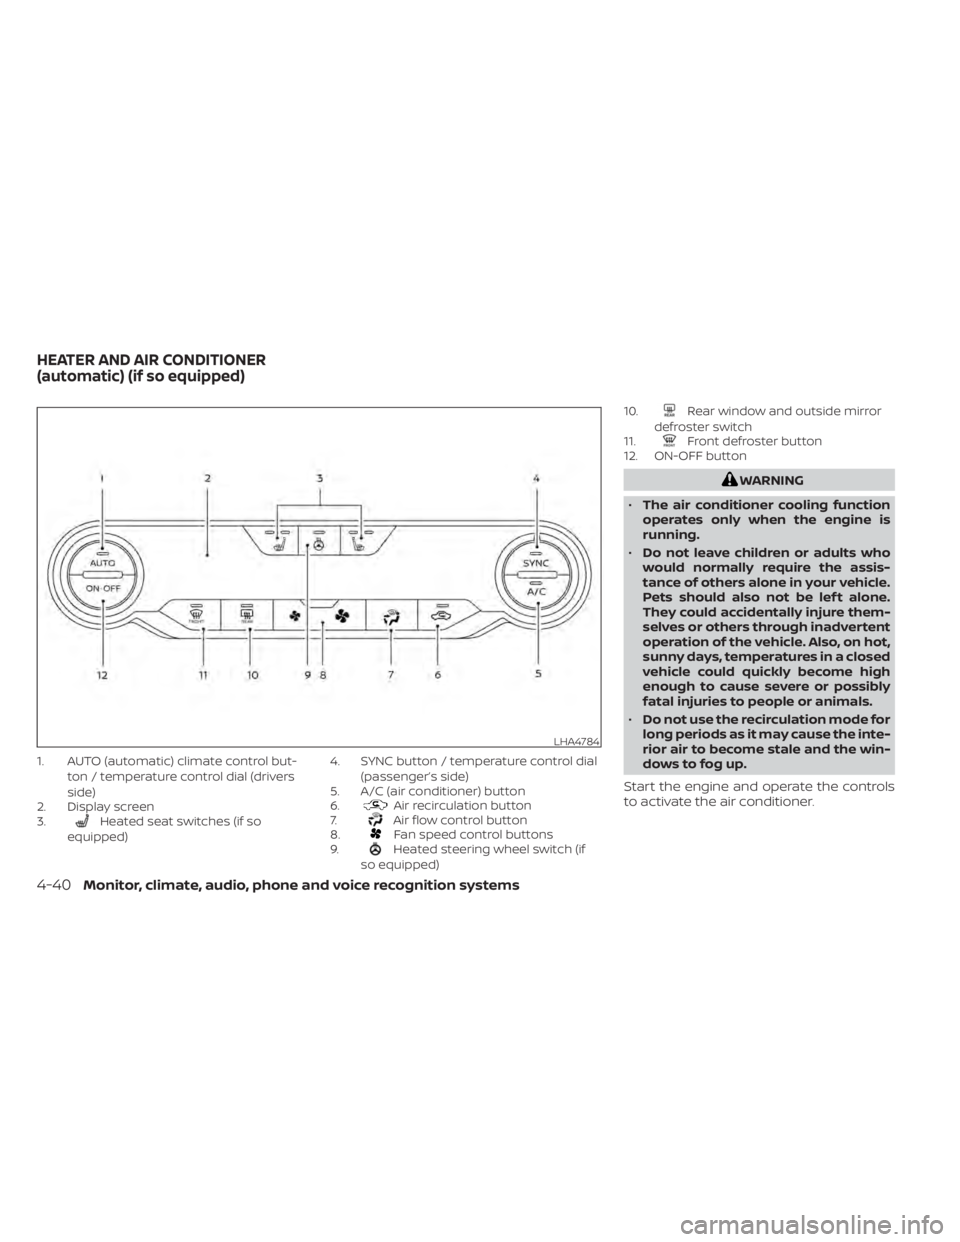
1. AUTO (automatic) climate control but-ton / temperature control dial (drivers
side)
2. Display screen
3.
Heated seat switches (if so
equipped) 4. SYNC button / temperature control dial
(passenger’s side)
5. A/C (air conditioner) button
6.Air recirculation button
7.Air flow control button
8.Fan speed control buttons
9.Heated steering wheel switch (if
so equipped) 10.
Rear window and outside mirror
defroster switch
11.
Front defroster button
12. ON-OFF button
LHA4784
HEATER AND AIR CONDITIONER
(automatic) (if so equipped)
Page 243 of 528
NOTE:
• Odors from inside and outside the ve-hicle can build up in the air conditioner
unit. Odor can enter the passenger
compartment through the vents.
• When parking, set the heater and air conditioner controls to turn off air re-
circulation to allow fresh air into the
passenger compartment. This should
help reduce odors inside the vehicle.
AUTOMATIC OPERATION
Cooling and/or dehumidified
heating (AUTO)
This mode may be used all year round as
the system automatically works to keep a
constant temperature. Air flow distribution,
air intake control, and fan speed are also
controlled automatically.
1. Press the AUTO button on.
2.
Turn the temperature control dial to the lef t
or right to set the desired temperature.
• Adjust the temperature display to about 75°F (24°C) for normal operation.
•
The temperature of the passenger com-
partment will be maintained automatically.
Air flow distribution, air intake control and fan
speed are also controlled automatically.
• A visible mist may be seen coming from the vents in hot, humid conditions as the
air is cooled rapidly. This does not indicate
a malfunction.
3. You can individually set driver's and front passenger's side temperature using
each temperature control dial. To syn-
chronize the driver’s and front passen-
ger’s temperature settings, press the
SYNC button.
Heating (A/C OFF)
The air conditioner does not activate. When
you need to heat only, use this mode.
1. Press the AUTO button.
2. Turn the temperature control dial to set the desired temperature.
• The temperature of the passenger com- partment will be maintained automati-
cally. Air flow distribution and fan speed
are also controlled automatically.
• Do not set the temperature lower than the outside air temperature. Otherwise,
the system may not work properly.
• Not recommended if windows fog up.
Dehumidified defrosting or
defogging
1. Press thefront defroster button on.
2. Turn the temperature control dial to set the desired temperature.
• To quickly remove ice from the outside of the windows, use the
fan speed con-
trol buttons to set the fan speed to maxi-
mum.
• As soon as possible af ter the windshield is clean, press the AUTO button to return
to the automatic mode.
• When the
front defroster button is
pressed, the air conditioner will automati-
cally be turned on at outside tempera-
tures above 36°F (2°C). The air recirculate
mode automatically turns off, allowing
outside air to be drawn into the passen-
ger compartment to further improve the
defogging performance.
Remote Engine Start with
Intelligent Climate Control (if so
equipped)
Vehicles equipped with automatic climate
controls and Remote Engine Start function
may go into automatic heating or cooling
Monitor, climate, audio, phone and voice recognition systems4-41
Page 255 of 528
Auxiliary (AUX) devices operation
Connecting auxiliary devices
Connect an AUX device into the AUX input
jack located on the center console below
the heater and air conditioner controls.
The AUX input jack accepts any standard
analog audio input such as from a portable
cassette player, CD player, MP3 player or
phone.
Insert a 1/8 in (3.5 mm) stereo mini plug in
the audio input jack. If a cable with a mono
plug is used, the audio output may not
function normally.
Activation and playing
Turn on the AUX device. Connect an AUX
cable to the AUX device and the AUX input
jack. Select AUX mode from the audio
source menu screen or by pressing the
Source button on the steering wheel.
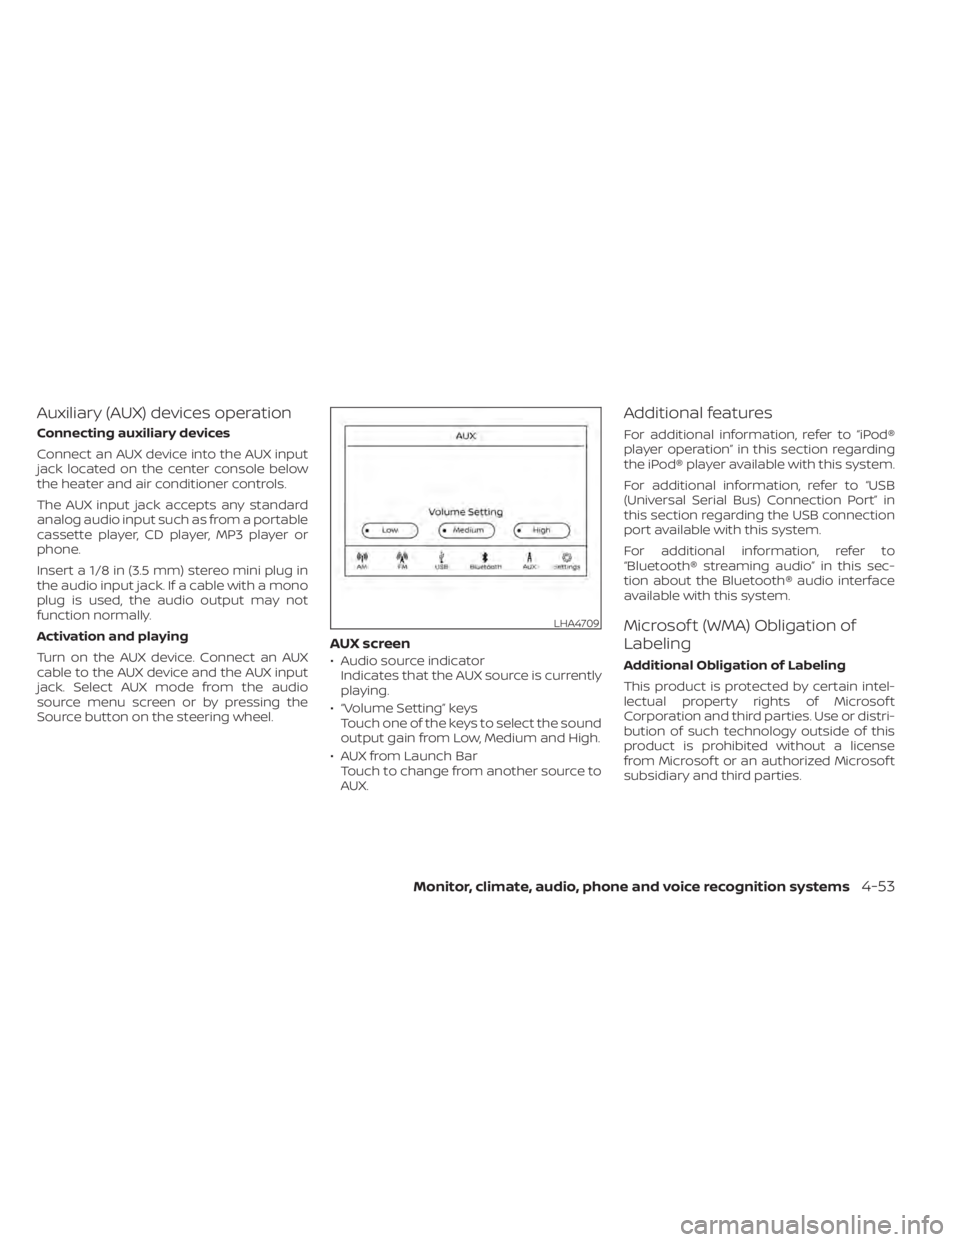
AUX screen
• Audio source indicatorIndicates that the AUX source is currently
playing.
• “Volume Setting” keys Touch one of the keys to select the sound
output gain from Low, Medium and High.
• AUX from Launch Bar Touch to change from another source to
AUX.
Additional features
For additional information, refer to “iPod®
player operation” in this section regarding
the iPod® player available with this system.
For additional information, refer to “USB
(Universal Serial Bus) Connection Port” in
this section regarding the USB connection
port available with this system.
For additional information, refer to
“Bluetooth® streaming audio” in this sec-
tion about the Bluetooth® audio interface
available with this system.
Microsof t (WMA) Obligation of
Labeling
Additional Obligation of Labeling
This product is protected by certain intel-
lectual property rights of Microsof t
Corporation and third parties. Use or distri-
bution of such technology outside of this
product is prohibited without a license
from Microsof t or an authorized Microsof t
subsidiary and third parties.
LHA4709