Page 85 of 528

Vehicle damage (or lack of it) is not always
an indication of proper knee air bag opera-
tion.
When the knee air bag inflates, a fairly loud
noise may be heard, followed by release of
smoke. This smoke is not harmful and
does not indicate a fire. Care should be
taken not to inhale it, as it may cause irrita-
tion and choking. Those with a history of a
breathing condition should get fresh air
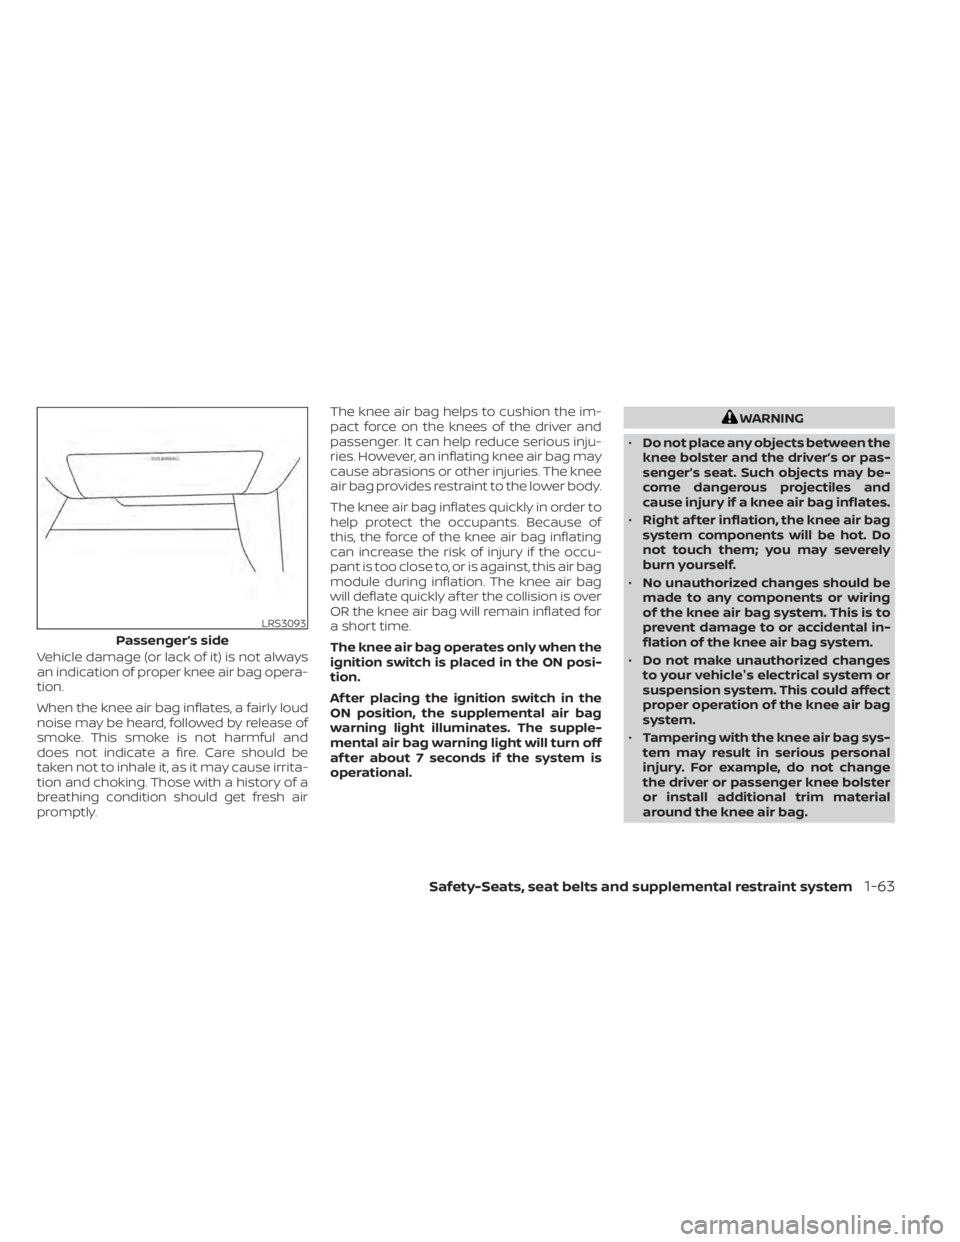
promptly.The knee air bag helps to cushion the im-
pact force on the knees of the driver and
passenger. It can help reduce serious inju-
ries. However, an inflating knee air bag may
cause abrasions or other injuries. The knee
air bag provides restraint to the lower body.
The knee air bag inflates quickly in order to
help protect the occupants. Because of
this, the force of the knee air bag inflating
can increase the risk of injury if the occu-
pant is too close to, or is against, this air bag
module during inflation. The knee air bag
will deflate quickly af ter the collision is over
OR the knee air bag will remain inflated for
a short time.
The knee air bag operates only when the
ignition switch is placed in the ON posi-
tion.
Af ter placing the ignition switch in the
ON position, the supplemental air bag
warning light illuminates. The supple-
mental air bag warning light will turn off
af ter about 7 seconds if the system is
operational.
WARNING
• Do not place any objects between the
knee bolster and the driver’s or pas-
senger’s seat. Such objects may be-
come dangerous projectiles and
cause injury if a knee air bag inflates.
• Right af ter inflation, the knee air bag
system components will be hot. Do
not touch them; you may severely
burn yourself.
• No unauthorized changes should be
made to any components or wiring
of the knee air bag system. This is to
prevent damage to or accidental in-
flation of the knee air bag system.
• Do not make unauthorized changes
to your vehicle's electrical system or
suspension system. This could affect
proper operation of the knee air bag
system.
• Tampering with the knee air bag sys-
tem may result in serious personal
injury. For example, do not change
the driver or passenger knee bolster
or install additional trim material
around the knee air bag.
Safety-Seats, seat belts and supplemental restraint system1-63
Page 87 of 528

The supplemental air bag warning lightis used to indicate malfunctions in the
pretensioner system. For additional infor-
mation, refer to "Supplemental air bag
warning light" in this section. If the opera-
tion of the supplemental air bag warning
light indicates there is a malfunction, have
the system checked. It is recommended
that you visit a NISSAN dealer for this ser-
vice.
When selling your vehicle, we request that
you inform the buyer about the preten-
sioner system and guide the buyer to the
appropriate sections in this Owner's
Manual.
SUPPLEMENTAL AIR BAG WARNING
LABELS
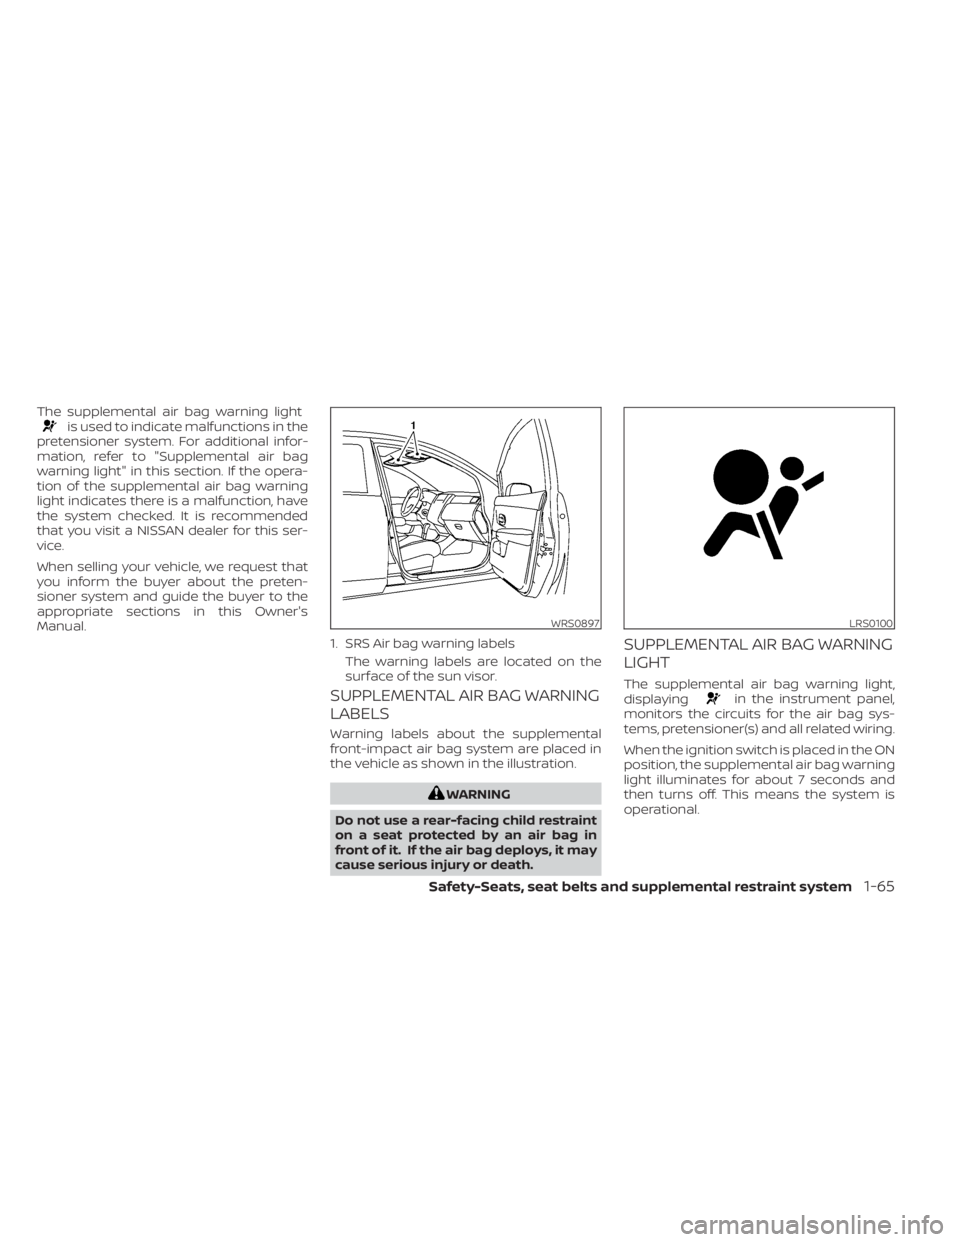
Warning labels about the supplemental
front-impact air bag system are placed in
the vehicle as shown in the illustration.
in the instrument panel,
monitors the circuits for the air bag sys-
tems, pretensioner(s) and all related wiring.
When the ignition switch is placed in the ON
position, the supplemental air bag warning
light illuminates for about 7 seconds and
then turns off. This means the system is
operational.
WRS0897
1. SRS Air bag warning labels
The warning labels are located on the
surface of the sun visor.
LRS0100
Page 92 of 528
1. Headlight/fog light (if so equipped)/turn signal switch (P. 2-55)
2. Steering wheel switch (P. 2-17) Audio controls (P. 4-45)
Bluetooth® Hands-Free Phone System
(P. 4-67)
3. Driver's supplemental air bag (P. 1-44) Horn (P. 2-62)
4. Meters and gauges (P. 2-4) Warning and indicators lights (P. 2-8)
Vehicle information display (P. 2-17),
(P. 2-34)
5. Cruise control switches (P. 5-58) Intelligent Cruise Control (ICC) switches
(if so equipped) (P. 5-59)
Bluetooth® Hands-Free Phone System
(P. 4-67)
6. Wiper and washer switch (P. 2-54)
7. Vents (P. 4-32)
8. Hazard warning flasher switch (P. 6-2)
9. Front passenger air bag status light
(P. 1-44)
10. Audio system (P. 4-45)
11. Front passenger supplemental air bag
(P. 1-44)
12. Glove box (P. 2-66)
13. Passenger supplemental knee air bag
(P. 1-44)
14. Shif t lever (P. 5-16)
15. Push-button ignition switch (P. 5-11)
16. Climate controls (P. 4-33, 4-40)
LII2638
INSTRUMENT PANEL
Page 95 of 528
Odometer/Twin trip odometer
The odometerO2and the twin trip odom-
eter
O1are displayed when the ignition
switch is placed in the ON position.
The odometer records the total distance
the vehicle has been driven.
The twin trip odometer records the dis-
tance of individual trips.
Changing the display
Press thebutton on the steering
wheel to change the display as follows:
Accel guide/Average fuel economy →In-
stant fuel economy/Average fuel economy
→ Average fuel economy →Average speed
→ Distance to empty →Trip A →Trip B
Resetting the trip odometer
Press thebutton on the steering
wheel for more than 1 second to reset the
currently displayed trip odometer to zero.
TACHOMETER
The tachometer indicates engine speed in
revolutions per minute (rpm).
Do not rev the engine into the red zone
O1.
LIC4056
4.2 inch (11 cm) Type A (if so equipped)
Instruments and controls2-5
Page 96 of 528
CAUTION
When engine speed approaches the
red zone, shif t to a higher gear or re-
duce engine speed. Operating the en-
gine in the red zone may cause serious
engine damage.
ENGINE COOLANT TEMPERATURE
GAUGE
NOTE:
The ignition switch must be placed in the
ON position for the gauge to give a
reading.
The gauge indicates the engine coolant
temperature. The engine coolant tempera-
ture is within the normal range when the
reading is within the zone
OAshown in the
illustration. The engine coolant temperature varies
with the outside air temperature and driv-
ing conditions.
2-6Instruments and controls
Page 97 of 528

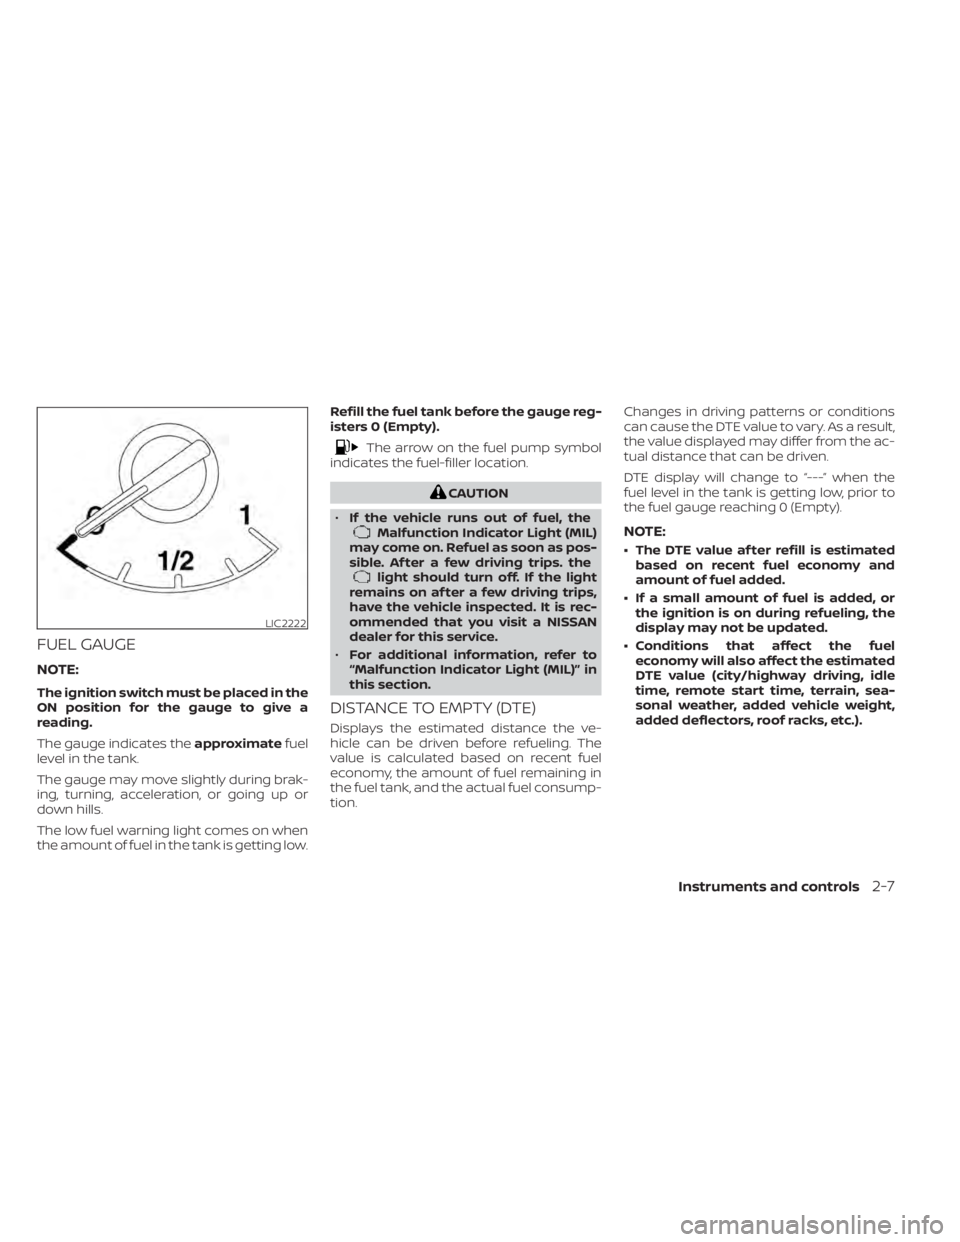
FUEL GAUGE
NOTE:
The ignition switch must be placed in the
ON position for the gauge to give a
reading.
The gauge indicates theapproximatefuel
level in the tank.
The gauge may move slightly during brak-
ing, turning, acceleration, or going up or
down hills.
The low fuel warning light comes on when
the amount of fuel in the tank is getting low. Refill the fuel tank before the gauge reg-
isters 0 (Empty).
Malfunction Indicator Light (MIL)
may come on. Refuel as soon as pos-
sible. Af ter a few driving trips. the
light should turn off. If the light
remains on af ter a few driving trips,
have the vehicle inspected. It is rec-
ommended that you visit a NISSAN
dealer for this service.
• For additional information, refer to
“Malfunction Indicator Light (MIL)” in
this section.
DISTANCE TO EMPTY (DTE)
Displays the estimated distance the ve-
hicle can be driven before refueling. The
value is calculated based on recent fuel
economy, the amount of fuel remaining in
the fuel tank, and the actual fuel consump-
tion. Changes in driving patterns or conditions
can cause the DTE value to vary. As a result,
the value displayed may differ from the ac-
tual distance that can be driven.
DTE display will change to “---” when the
fuel level in the tank is getting low, prior to
the fuel gauge reaching 0 (Empty).
NOTE:
• The DTE value af ter refill is estimated
based on recent fuel economy and
amount of fuel added.
• If a small amount of fuel is added, or the ignition is on during refueling, the
display may not be updated.
• Conditions that affect the fuel economy will also affect the estimated
DTE value (city/highway driving, idle
time, remote start time, terrain, sea-
sonal weather, added vehicle weight,
added deflectors, roof racks, etc.).
Page 99 of 528

CHECKING LIGHTS
With all doors closed, apply the parking
brake, fasten the seat belts and place the
ignition switch in the ON position without
starting the engine. The following lights (if
so equipped) will come on:
,,,,,or
The following lights (if so equipped) will
come on briefly and then go off:
,or,,,,
If any light does not come on or operate in
a way other than described, it may indicate
a burned-out bulb and/or a system mal-
function. Have the system checked. It is
recommended that you visit a NISSAN
dealer for this service.
Some indicators and warnings are also dis-
played on the vehicle information display
between the speedometer and tachom-
eter. For additional information, refer to “Ve-
hicle information display” in this section.
WARNING LIGHTS
For additional information on warnings
and indicators, refer to “Vehicle information
display” in this section.
orAnti-lock Braking
System (ABS)
warning light
When the ignition switch is placed in the ON
position, the ABS warning light illuminates
and then turns off. This indicates the ABS is
operational.
If the ABS warning light illuminates while
the engine is running or while driving, it
may indicate the ABS is not functioning
properly. Have the system checked. It is
recommended that you visit a NISSAN
dealer for this service.
If an ABS malfunction occurs, the anti-lock
function is turned off. The brake system
then operates normally but without anti-
lock assistance. For additional information,
refer to “Brake system” in the “Starting and
driving” section of this manual.
Automatic Emergency
Braking (AEB) with
Pedestrian Detection
system warning light
This light comes on when the ignition
switch is placed in the ON position. It turns
off af ter the engine is started.This light illuminates when the AEB with
Pedestrian Detection system is set to OFF
in the vehicle information display.
If the light illuminates when the AEB with
Pedestrian Detection system is on, it may
indicate that the system is unavailable. For
additional information, refer to “Automatic
Emergency Braking (AEB) with Pedestrian
Detection” and “Intelligent Forward Colli-
sion Warning (I-FCW)” in the “Starting and
driving” section of this manual.
orBrake warning
light
This light functions for both the parking
brake and the foot brake systems.
Parking brake indicator
When the ignition switch is placed in the ON
position, the light comes on when the park-
ing brake is applied.
Instruments and controls2-9
Page 100 of 528
Low brake fluid warning light
When the ignition switch is placed in the ON
position, the light warns of a low brake fluid
level. If the light comes on while the engine
is running with the parking brake not ap-
plied, stop the vehicle and perform the fol-
lowing:
1. Check the brake fluid level. Add brakefluid as necessary. For additional infor-
mation, refer to “Brake fluid” in the “Do-it-
yourself ” section of this manual.
2. If the brake fluid level is correct, have the warning system checked. It is recom-
mended that you visit a NISSAN dealer
for this service.