Page 94 of 300
Lane change signal
Move the lever up or down until the turn
signal begins to flash, but the lever does
not latch, to signal a lane change. Hold the
lever until the lane change is completed.
Move the lever up or down until the turn
signal begins to flash, but the lever does
not latch, and release the lever. The turn
signal will automatically flash three times (if
so equipped).
Choose the appropriate method to signal
a lane change based on road and traffic
conditions.To sound the horn, push near the horn icon
on the steering wheel.
indicator will come
on.
LIC2419LIC3344
HORN VEHICLE DYNAMIC CONTROL (VDC)
OFF SWITCH
Page 149 of 300

WARNING
The following actions can increase the
chance of losing control of the vehicle if
there is a sudden loss of tire air pres-
sure. Losing control of the vehicle may
cause a collision and result in personal
injury.
• The vehicle generally moves or pulls
in the direction of the flat tire.
• Do not rapidly apply the brakes.
• Do not rapidly release the accelerator
pedal.
• Do not rapidly turn the steering
wheel.
1. Remain calm and do not overreact.
2. Maintain a firm grip on the steering wheel with both hands and try to hold a
straight course.
3. When appropriate, slowly release the ac- celerator pedal to gradually slow the
vehicle.
4. Gradually steer the vehicle to a safe lo- cation off the road and away from traffic
if possible.
5. Lightly apply the brake pedal to gradu- ally stop the vehicle. 6. Turn on the hazard warning flashers and
contact a roadside emergency service
to change the tire. For additional infor-
mation, see “Changing a flat tire” (P. 6-3).
DRINKING ALCOHOL/DRUGS AND
DRIVING
Page 150 of 300

WARNING
• Never remove the ignition key or
place the ignition switch in the LOCK
position while driving. The steering
wheel will lock (for models with a
steering lock mechanism). This may
cause the driver to lose control of the
vehicle and could result in serious ve-
hicle damage or personal injury.
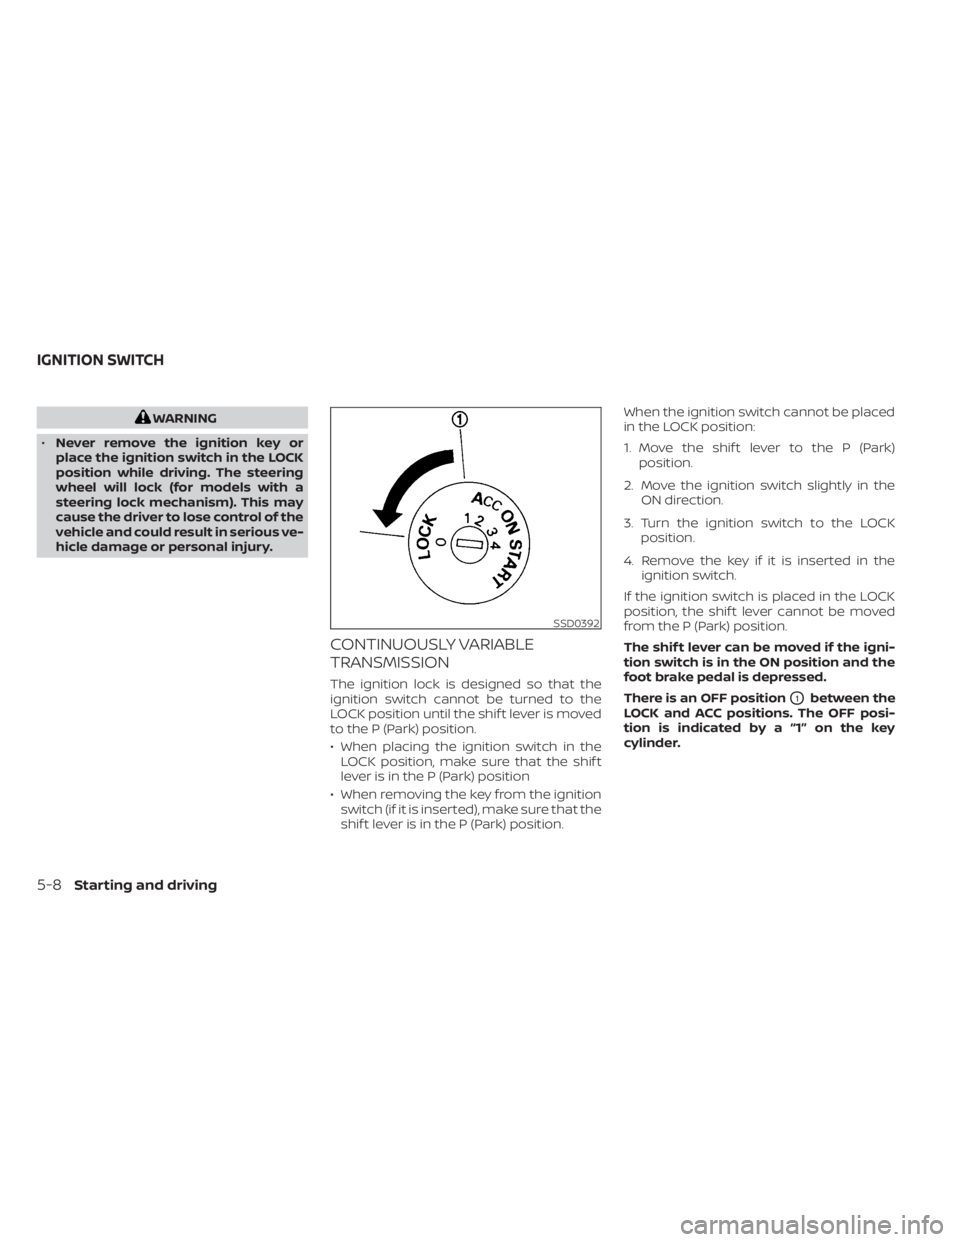
CONTINUOUSLY VARIABLE
TRANSMISSION
The ignition lock is designed so that the
ignition switch cannot be turned to the
LOCK position until the shif t lever is moved
to the P (Park) position.
• When placing the ignition switch in the LOCK position, make sure that the shif t
lever is in the P (Park) position
• When removing the key from the ignition switch (if it is inserted), make sure that the
shif t lever is in the P (Park) position. When the ignition switch cannot be placed
in the LOCK position:
1. Move the shif t lever to the P (Park)
position.
2. Move the ignition switch slightly in the ON direction.
3. Turn the ignition switch to the LOCK position.
4. Remove the key if it is inserted in the ignition switch.
If the ignition switch is placed in the LOCK
position, the shif t lever cannot be moved
from the P (Park) position.
The shif t lever can be moved if the igni-
tion switch is in the ON position and the
foot brake pedal is depressed.
There is an OFF position
O1between the
LOCK and ACC positions. The OFF posi-
tion is indicated by a “1” on the key
cylinder.
Page 166 of 300

•Tire type and condition may also af-
fect braking effectiveness.
– When replacing tires, install the
specified size of tires on all four
wheels.
– When installing a spare tire, make
sure that it is the proper size and
type as specified on the Tire and
Loading Information label. For ad-
ditional information, see “Tire and
Loading Information label”
(P. 8-31).
– For additional information, see
“Wheels and tires” (P. 8-29).
The ABS controls the brakes so the wheels
do not lock during hard braking or when
braking on slippery surfaces. The system
detects the rotation speed at each wheel
and varies the brake fluid pressure to pre-
vent each wheel from locking and sliding.
By preventing each wheel from locking, the
system helps the driver maintain steering
control and helps to minimize swerving
and spinning on slippery surfaces.Using the system
Depress the brake pedal and hold it down.
Depress the brake pedal with firm steady
pressure, but do not pump the brakes. The
Anti-lock Braking System will operate to
prevent the wheels from locking up. Steer
the vehicle to avoid obstacles.
Page 179 of 300

•If the low tire pressure warning light
illuminates while driving, avoid sud-
den steering maneuvers or abrupt
braking, reduce vehicle speed, pull
off the road to a safe location and
stop the vehicle as soon as possible.
Driving with under-inflated tires may
permanently damage the tires and
increase the likelihood of tire failure.
Serious vehicle damage could occur
and may lead to an accident and
could result in serious personal in-
jury. Check the tire pressure for all
four tires. Adjust the tire pressure to
the recommended COLD tire pres-
sure shown on the Tire and Loading
Information label to turn the low tire
pressure warning light OFF. If the
light still illuminates while driving af-
ter adjusting the tire pressure, a tire
may be flat or the TPMS may be mal-
functioning. If you have a flat tire, re-
place it with a spare tire as soon as
possible. If no tire is flat and all tires
are properly inflated, have the ve-
hicle checked. It is recommended
that you visit a NISSAN dealer for this
service. •
When using a wheel without the
TPMS such as the spare tire, the TPMS
will not function and the low tire
pressure warning light will flash for
approximately 1 minute. The light will
remain on af ter 1 minute. Have your
tires replaced and/or TPMS system
reset as soon as possible. It is recom-
mended that you visit a NISSAN
dealer for these services.
• Do not inject any tire liquid or aerosol
tire sealant into the tires, as this may
cause a malfunction of the tire pres-
sure sensors.
• Replacing tires with those not origi-
nally specified by NISSAN could af-
fect the proper operation of the
TPMS.
CHANGING A FLAT TIRE
If you have a flat tire, follow the instructions
below:
Stopping the vehicle
1. Safely move the vehicle off the road and away from traffic.
2. Turn on the hazard warning flashers. 3. Park on a level surface and apply the
parking brake. Move the shif t lever to P
(Park).
4. Turn off the engine.
5. Raise the hood to warn other traffic and to signal professional road assistance
personnel that you need assistance.
6. Have all passengers get out of the ve- hicle and stand in a safe place, away
from traffic and clear of the vehicle.