2022 NISSAN MURANO maintenance reset
[x] Cancel search: maintenance resetPage 105 of 508

•If the light illuminates while driving,
avoid sudden steering maneuvers or
abrupt braking, reduce vehicle
speed, pull off the road to a safe loca-
tion and stop the vehicle as soon as
possible. Driving with under-inflated
tires may permanently damage the
tires and increase the likelihood of
tire failure. Serious vehicle damage
could occur and may lead to an acci-
dent and could result in serious per-
sonal injury or death. Check the tire
pressure for all four tires. Adjust the
tire pressure to the recommended
COLD tire pressure shown on the Tire
and Loading Information label lo-
cated in the driver’s door opening to
turn the low tire pressure warning
light off. If the light still illuminates
while driving af ter adjusting the tire
pressure, a tire may be flat or the
TPMS may be malfunctioning. If you
have a flat tire, replace it with a spare
tire as soon as possible. If no tire is
flat and all tires are properly inflated,
have the vehicle checked. It is recom-
mended that you visit a NISSAN
dealer for this service. •
When using a wheel without the
TPMS such as the spare tire, the TPMS
will not function and the low tire
pressure warning light will flash for
approximately 1 minute. The light will
remain on af ter 1 minute. Have your
tires replaced and/or TPMS system
reset as soon as possible. It is recom-
mended that you visit a NISSAN
dealer for these services.
• Replacing tires with those not origi-
nally specified by NISSAN could af-
fect the proper operation of the
TPMS.
CAUTION
• The TPMS is not a substitute for the
regular tire pressure check. Be sure
to check the tire pressure regularly.
• If the vehicle is being driven at
speeds of less than 16 mph (25 km/h),
the TPMS may not operate correctly.
• Be sure to install the specified size of
tires to the four wheels correctly.
light
should turn off if no other potential emis-
sion control system malfunction exists.
If this indicator light comes on steady for 20
seconds and then blinks for 10 seconds
when the engine is not running, it indicates
that the vehicle is not ready for an emission
control system inspection/maintenance
test. For additional information, see “Readi-
ness for Inspection/Maintenance (I/M) test”
(P. 10-32).
Instruments and controls2-13
Page 110 of 508

— go back or forward
through the vehicle information menu
items or to change from one display
screen to the next (i.e. trip, TPMS, fuel
economy).
The OK and
buttons also
control audio and control panel functions
in some conditions. Most screens and
menus offer instruction prompts of the
steering switch buttons to indicate how to
control the vehicle information display. An
orange cursor is shown to indicate where
you are in the available menu items. A scroll
bar with up and down arrows will appear if
there is more than one page of menu
items. For additional information, refer to
the separate NissanConnect® Owner’s
Manual.
STARTUP DISPLAY
When the vehicle in placed in the ON or ACC
position the screens that display in the ve-
hicle information display include:
• Home
• Audio
• Navigation (if so equipped)
• Drive computer
• Fuel economy
• Driving aids (if so equipped)
• Speed Limit Sign (if so equipped)
• Tire pressure information
• Warning review
• Settings
The warnings review title screen will show
how many active warnings exist, or “No
items to review” in the event that no warn-
ings are active. For additional information
on warnings and indicators, see “Vehicle
information display warnings and indica-
tors” (P. 2-24).
To control what items display in the vehicle
information display, see “Customize Dis-
play ” (P. 2-20).
SETTINGS
The setting mode allows you to change the
information displayed in the vehicle infor-
mation display:
• Driver Assistance
• Customize Display
• Vehicle Settings
• Maintenance
• Clock
• TPMS Settings
• Unit / Language
• Key-Linked Settings
• Factory Reset
2-18Instruments and controls
Page 114 of 508

Shif t into ParkDoors will unlock when the vehicle is shif ted into P (Park).
Wipers Displays the various wipers settings.
Speed Dependent Allows the user to turn the speed dependent feature on or off.
Driving Position Displays the various driving position settings.
Exit Seat Slide Allows the user to turn the exit seat slide on or off. When turned on, the driver seat will slide back af ter ignition
is turned off for easy exit of the vehicle. For additional information, see "Memory seat" (P. 3-37).
Exit Steering Up Allows the user to turn the exit steering up on or off. When turned on, the steering wheel will rise af ter ignition
is turned off for easy exit of the vehicle. For additional information, see "Memory seat" (P. 3-37).
Remote Engine Start Allows user to turn the Remote Engine Start on or off. When turned on, the engine can be restarted remotely.
For additional information, see “Remote Engine Start” (P. 3-18).
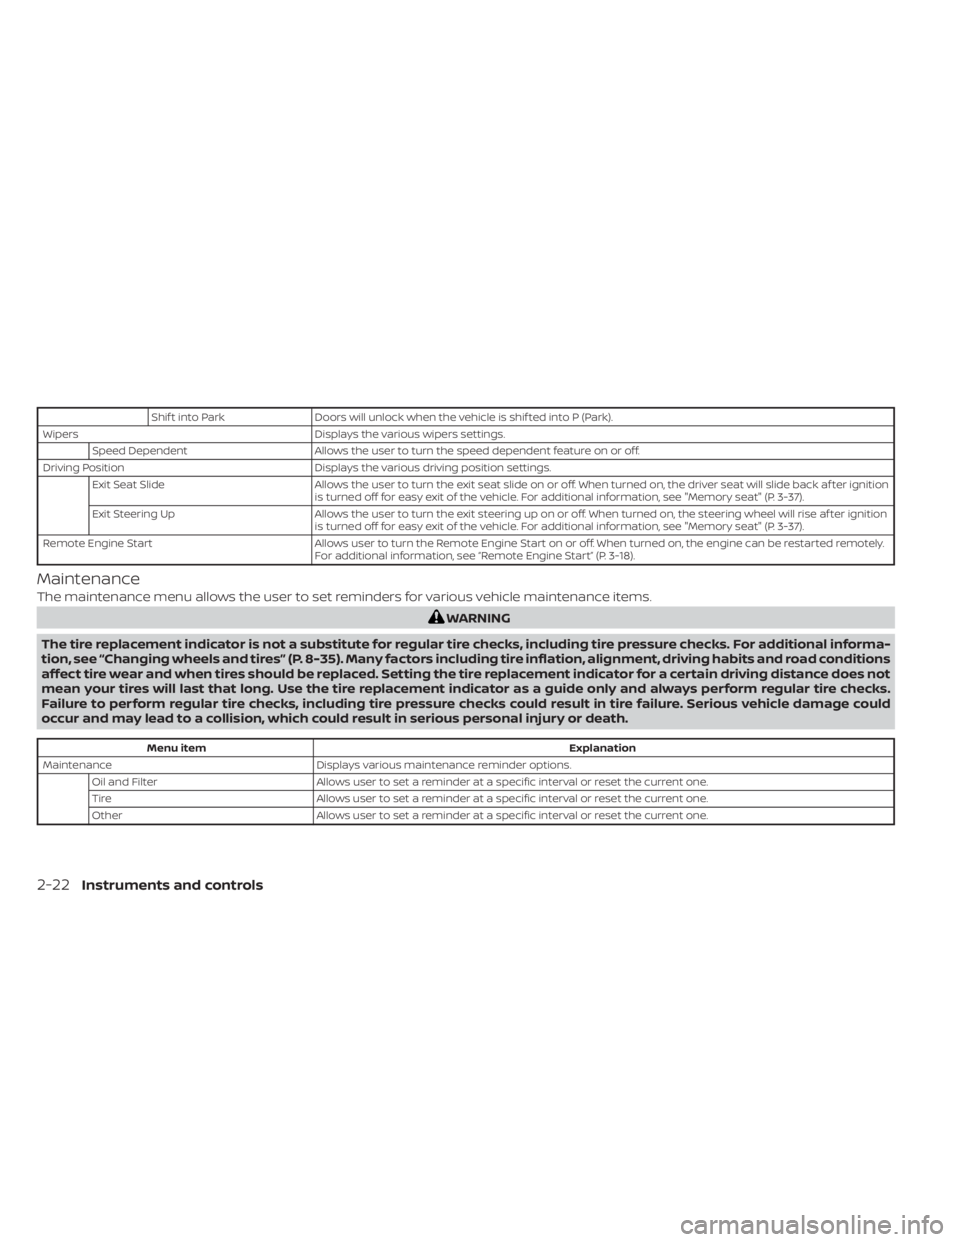
Maintenance
The maintenance menu allows the user to set reminders for various vehicle maintenance items.
Menu item Explanation
Maintenance Displays various maintenance reminder options.
Oil and Filter Allows user to set a reminder at a specific interval or reset the current one.
Tire Allows user to set a reminder at a specific interval or reset the current one.
Other Allows user to set a reminder at a specific interval or reset the current one.
2-22Instruments and controls
Page 400 of 508

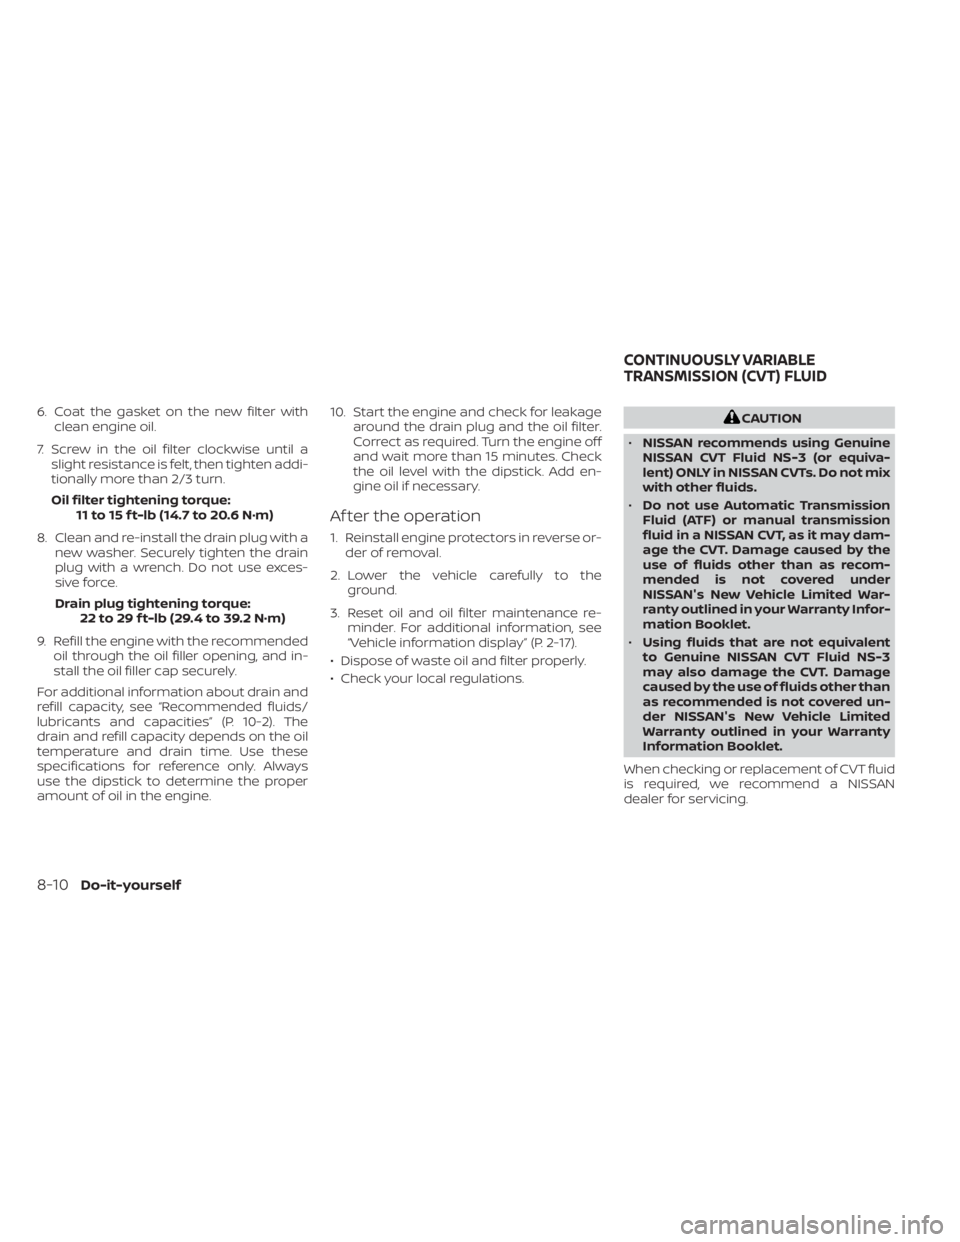
6. Coat the gasket on the new filter withclean engine oil.
7. Screw in the oil filter clockwise until a slight resistance is felt, then tighten addi-
tionally more than 2/3 turn.
Oil filter tightening torque: 11 to 15 f t-lb (14.7 to 20.6 N·m)
8. Clean and re-install the drain plug with a new washer. Securely tighten the drain
plug with a wrench. Do not use exces-
sive force.
Drain plug tightening torque: 22 to 29 f t-lb (29.4 to 39.2 N·m)
9. Refill the engine with the recommended oil through the oil filler opening, and in-
stall the oil filler cap securely.
For additional information about drain and
refill capacity, see “Recommended fluids/
lubricants and capacities” (P. 10-2). The
drain and refill capacity depends on the oil
temperature and drain time. Use these
specifications for reference only. Always
use the dipstick to determine the proper
amount of oil in the engine. 10. Start the engine and check for leakage
around the drain plug and the oil filter.
Correct as required. Turn the engine off
and wait more than 15 minutes. Check
the oil level with the dipstick. Add en-
gine oil if necessary.
Af ter the operation
1. Reinstall engine protectors in reverse or-der of removal.
2. Lower the vehicle carefully to the ground.
3. Reset oil and oil filter maintenance re- minder. For additional information, see
“Vehicle information display” (P. 2-17).
• Dispose of waste oil and filter properly.
• Check your local regulations.
Page 492 of 508

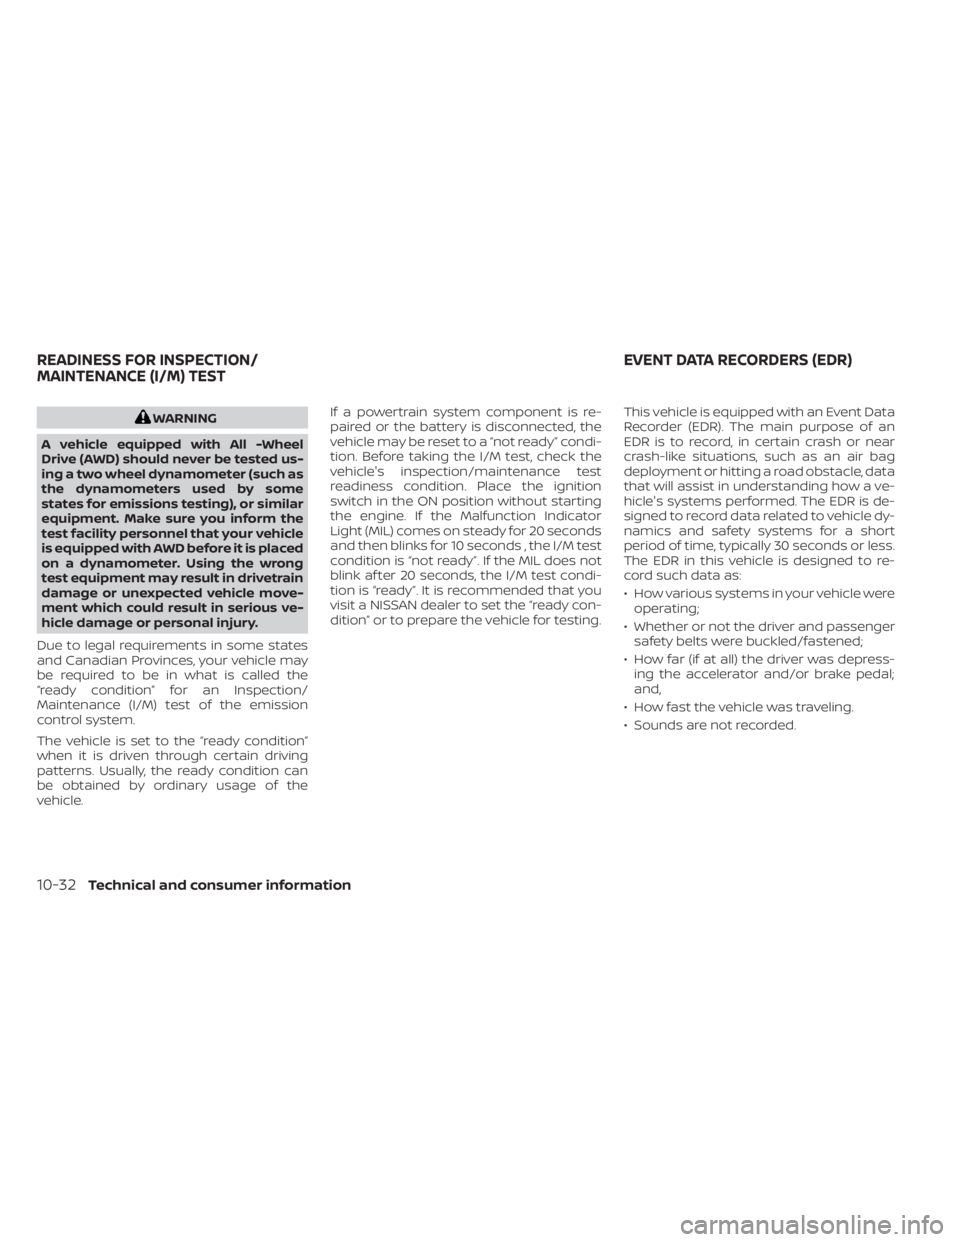
WARNING
A vehicle equipped with All -Wheel
Drive (AWD) should never be tested us-
ing a two wheel dynamometer (such as
the dynamometers used by some
states for emissions testing), or similar
equipment. Make sure you inform the
test facility personnel that your vehicle
is equipped with AWD before it is placed
on a dynamometer. Using the wrong
test equipment may result in drivetrain
damage or unexpected vehicle move-
ment which could result in serious ve-
hicle damage or personal injury.
Due to legal requirements in some states
and Canadian Provinces, your vehicle may
be required to be in what is called the
“ready condition” for an Inspection/
Maintenance (I/M) test of the emission
control system.
The vehicle is set to the “ready condition”
when it is driven through certain driving
patterns. Usually, the ready condition can
be obtained by ordinary usage of the
vehicle. If a powertrain system component is re-
paired or the battery is disconnected, the
vehicle may be reset to a “not ready ” condi-
tion. Before taking the I/M test, check the
vehicle's inspection/maintenance test
readiness condition. Place the ignition
switch in the ON position without starting
the engine. If the Malfunction Indicator
Light (MIL) comes on steady for 20 seconds
and then blinks for 10 seconds , the I/M test
condition is “not ready”. If the MIL does not
blink af ter 20 seconds, the I/M test condi-
tion is “ready ”. It is recommended that you
visit a NISSAN dealer to set the “ready con-
dition” or to prepare the vehicle for testing.
This vehicle is equipped with an Event Data
Recorder (EDR). The main purpose of an
EDR is to record, in certain crash or near
crash-like situations, such as an air bag
deployment or hitting a road obstacle, data
that will assist in understanding how a ve-
hicle's systems performed. The EDR is de-
signed to record data related to vehicle dy-
namics and safety systems for a short
period of time, typically 30 seconds or less.
The EDR in this vehicle is designed to re-
cord such data as:
• How various systems in your vehicle were
operating;
• Whether or not the driver and passenger safety belts were buckled/fastened;
• How far (if at all) the driver was depress- ing the accelerator and/or brake pedal;
and,
• How fast the vehicle was traveling.
• Sounds are not recorded.
READINESS FOR INSPECTION/
MAINTENANCE (I/M) TEST EVENT DATA RECORDERS (EDR)
10-32Technical and consumer information