2022 NISSAN KICKS oil filter
[x] Cancel search: oil filterPage 113 of 500
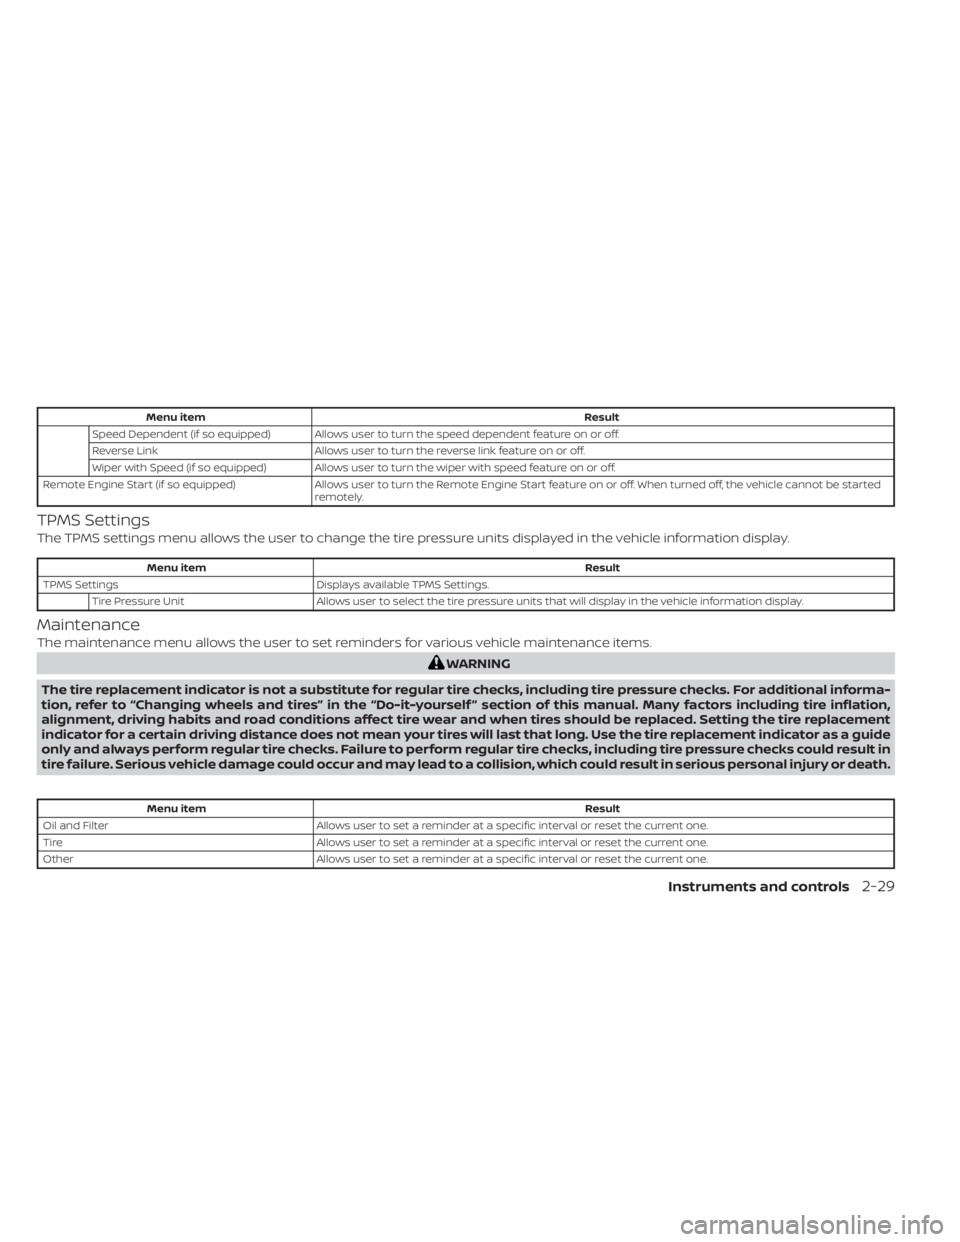
Menu itemResult
Speed Dependent (if so equipped) Allows user to turn the speed dependent feature on or off.
Reverse Link Allows user to turn the reverse link feature on or off.
Wiper with Speed (if so equipped) Allows user to turn the wiper with speed feature on or off.
Remote Engine Start (if so equipped) Allows user to turn the Remote Engine Start feature on or off. When turned off, the vehicle cannot be started
remotely.
TPMS Settings
The TPMS settings menu allows the user to change the tire pressure units displayed in the vehicle information display.
Menu item Result
Oil and Filter Allows user to set a reminder at a specific interval or reset the current one.
Tire Allows user to set a reminder at a specific interval or reset the current one.
Other Allows user to set a reminder at a specific interval or reset the current one.
Instruments and controls2-29
Page 116 of 500
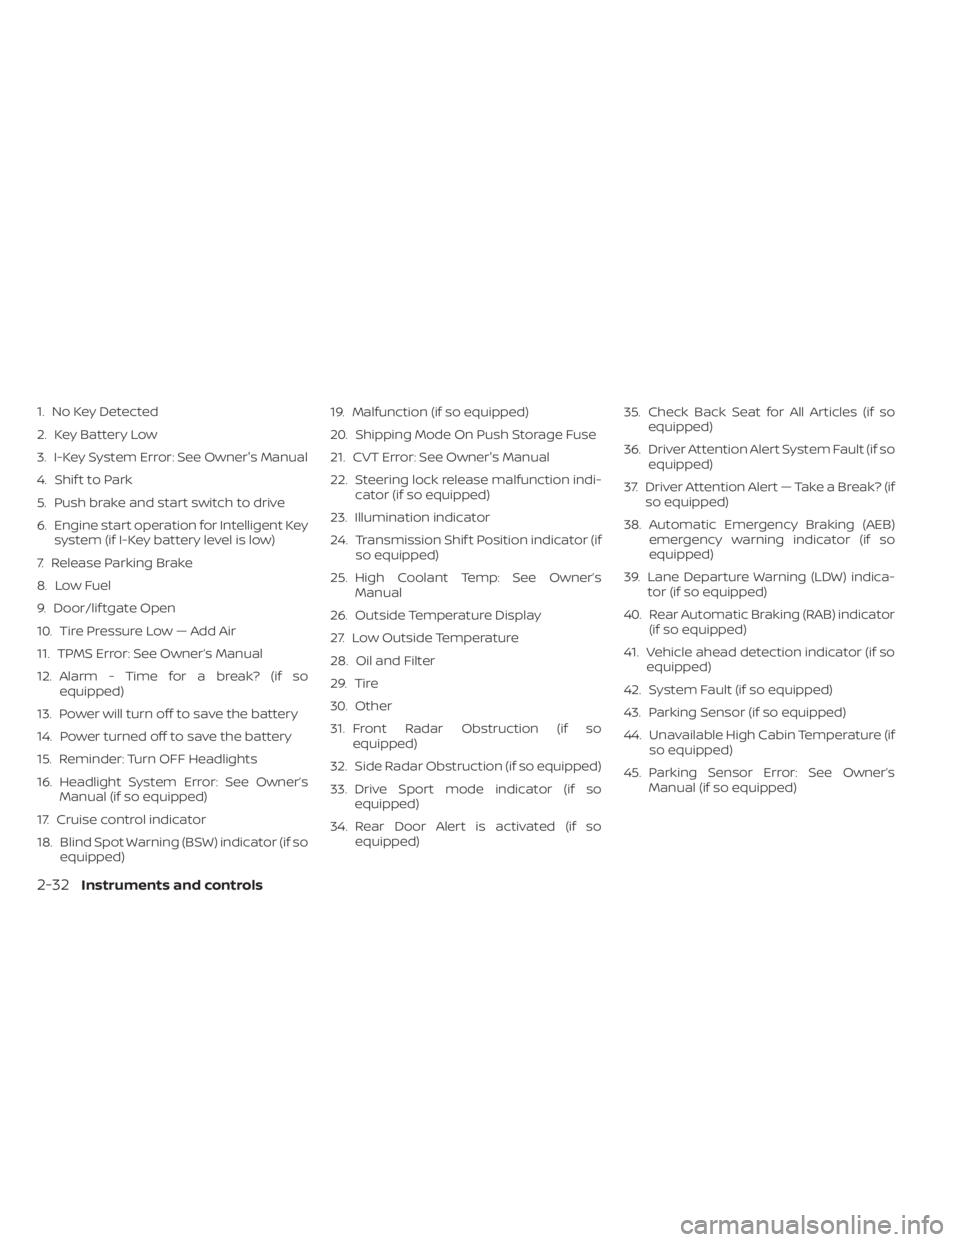
1. No Key Detected
2. Key Battery Low
3. I-Key System Error: See Owner's Manual
4. Shif t to Park
5. Push brake and start switch to drive
6. Engine start operation for Intelligent Keysystem (if I-Key battery level is low)
7. Release Parking Brake
8. Low Fuel
9. Door/lif tgate Open
10. Tire Pressure Low — Add Air
11. TPMS Error: See Owner’s Manual
12. Alarm - Time for a break? (if so equipped)
13. Power will turn off to save the battery
14. Power turned off to save the battery
15. Reminder: Turn OFF Headlights
16. Headlight System Error: See Owner’s Manual (if so equipped)
17. Cruise control indicator
18. Blind Spot Warning (BSW) indicator (if so equipped) 19. Malfunction (if so equipped)
20. Shipping Mode On Push Storage Fuse
21. CVT Error: See Owner's Manual
22. Steering lock release malfunction indi-
cator (if so equipped)
23. Illumination indicator
24. Transmission Shif t Position indicator (if so equipped)
25. High Coolant Temp: See Owner’s Manual
26. Outside Temperature Display
27. Low Outside Temperature
28. Oil and Filter
29. Tire
30. Other
31. Front Radar Obstruction (if so equipped)
32. Side Radar Obstruction (if so equipped)
33. Drive Sport mode indicator (if so equipped)
34. Rear Door Alert is activated (if so equipped) 35. Check Back Seat for All Articles (if so
equipped)
36. Driver Attention Alert System Fault (if so equipped)
37. Driver Attention Alert — Take a Break? (if so equipped)
38. Automatic Emergency Braking (AEB) emergency warning indicator (if so
equipped)
39. Lane Departure Warning (LDW) indica- tor (if so equipped)
40. Rear Automatic Braking (RAB) indicator (if so equipped)
41. Vehicle ahead detection indicator (if so equipped)
42. System Fault (if so equipped)
43. Parking Sensor (if so equipped)
44. Unavailable High Cabin Temperature (if so equipped)
45. Parking Sensor Error: See Owner’s Manual (if so equipped)
2-32Instruments and controls
Page 119 of 500
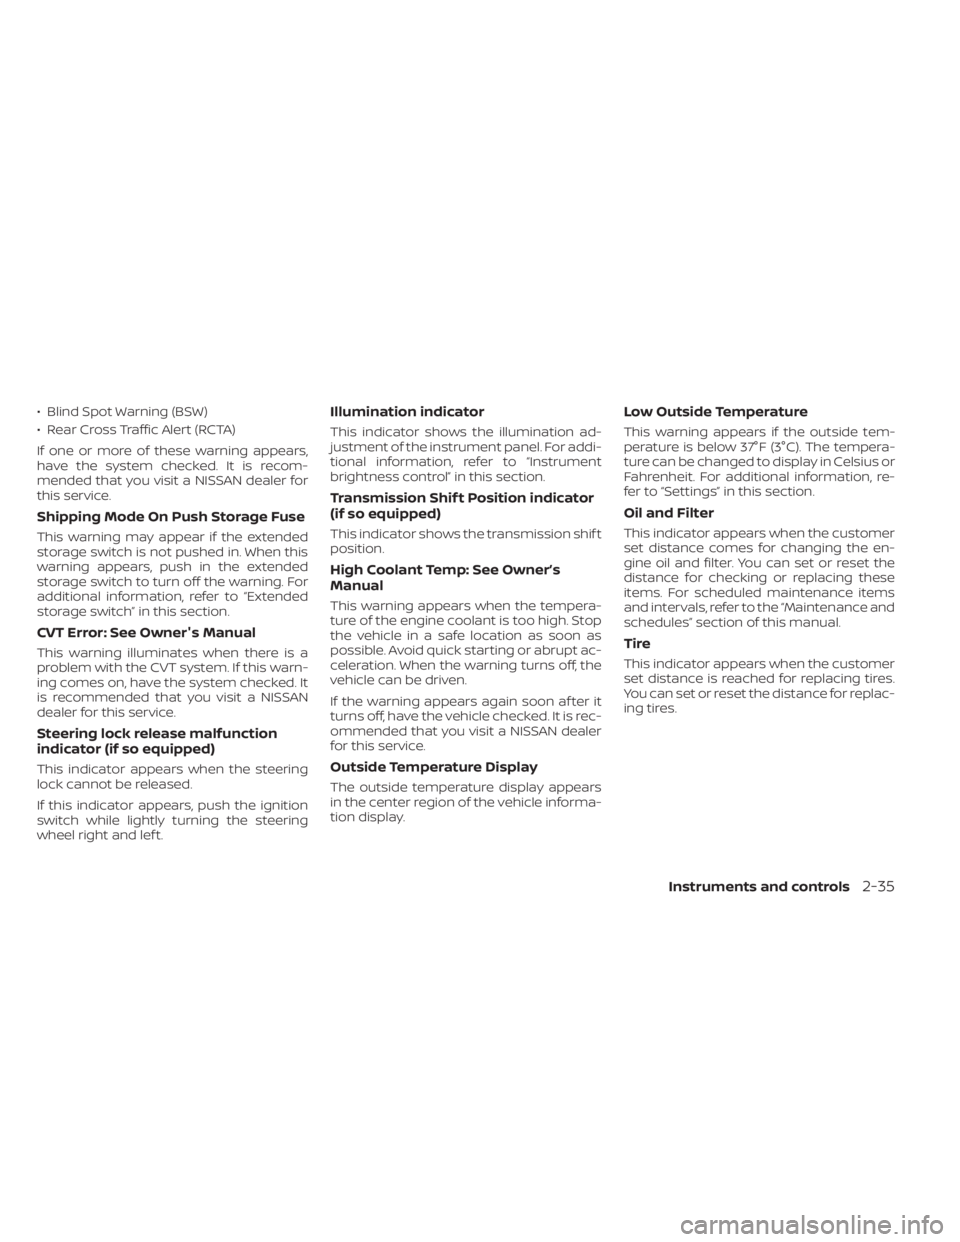
• Blind Spot Warning (BSW)
• Rear Cross Traffic Alert (RCTA)
If one or more of these warning appears,
have the system checked. It is recom-
mended that you visit a NISSAN dealer for
this service.
Shipping Mode On Push Storage Fuse
This warning may appear if the extended
storage switch is not pushed in. When this
warning appears, push in the extended
storage switch to turn off the warning. For
additional information, refer to “Extended
storage switch” in this section.
CVT Error: See Owner's Manual
This warning illuminates when there is a
problem with the CVT system. If this warn-
ing comes on, have the system checked. It
is recommended that you visit a NISSAN
dealer for this service.
Steering lock release malfunction
indicator (if so equipped)
This indicator appears when the steering
lock cannot be released.
If this indicator appears, push the ignition
switch while lightly turning the steering
wheel right and lef t.
Illumination indicator
This indicator shows the illumination ad-
justment of the instrument panel. For addi-
tional information, refer to “Instrument
brightness control” in this section.
Transmission Shif t Position indicator
(if so equipped)
This indicator shows the transmission shif t
position.
High Coolant Temp: See Owner’s
Manual
This warning appears when the tempera-
ture of the engine coolant is too high. Stop
the vehicle in a safe location as soon as
possible. Avoid quick starting or abrupt ac-
celeration. When the warning turns off, the
vehicle can be driven.
If the warning appears again soon af ter it
turns off, have the vehicle checked. It is rec-
ommended that you visit a NISSAN dealer
for this service.
Outside Temperature Display
The outside temperature display appears
in the center region of the vehicle informa-
tion display.
Low Outside Temperature
This warning appears if the outside tem-
perature is below 37°F (3°C). The tempera-
ture can be changed to display in Celsius or
Fahrenheit. For additional information, re-
fer to “Settings” in this section.
Oil and Filter
This indicator appears when the customer
set distance comes for changing the en-
gine oil and filter. You can set or reset the
distance for checking or replacing these
items. For scheduled maintenance items
and intervals, refer to the “Maintenance and
schedules” section of this manual.
Tire
This indicator appears when the customer
set distance is reached for replacing tires.
You can set or reset the distance for replac-
ing tires.
Instruments and controls2-35
Page 120 of 500
WARNING
The tire replacement indicator is not a
substitute for regular tire checks, in-
cluding tire pressure checks. For addi-
tional information, refer to “Changing
wheels and tires” in the “Do-it-yourself ”
section of this manual. Many factors in-
cluding tire inflation, alignment, driving
habits and road conditions affect tire
wear and when tires should be re-
placed. Setting the tire replacement in-
dicator for a certain driving distance
does not mean your tires will last that
long. Use the tire replacement indicator
as a guide only and always perform
regular tire checks. Failure to perform
regular tire checks, including tire pres-
sure checks could result in tire failure.
Serious vehicle damage could occur
and may lead to a collision, which could
result in serious personal injury or
death.
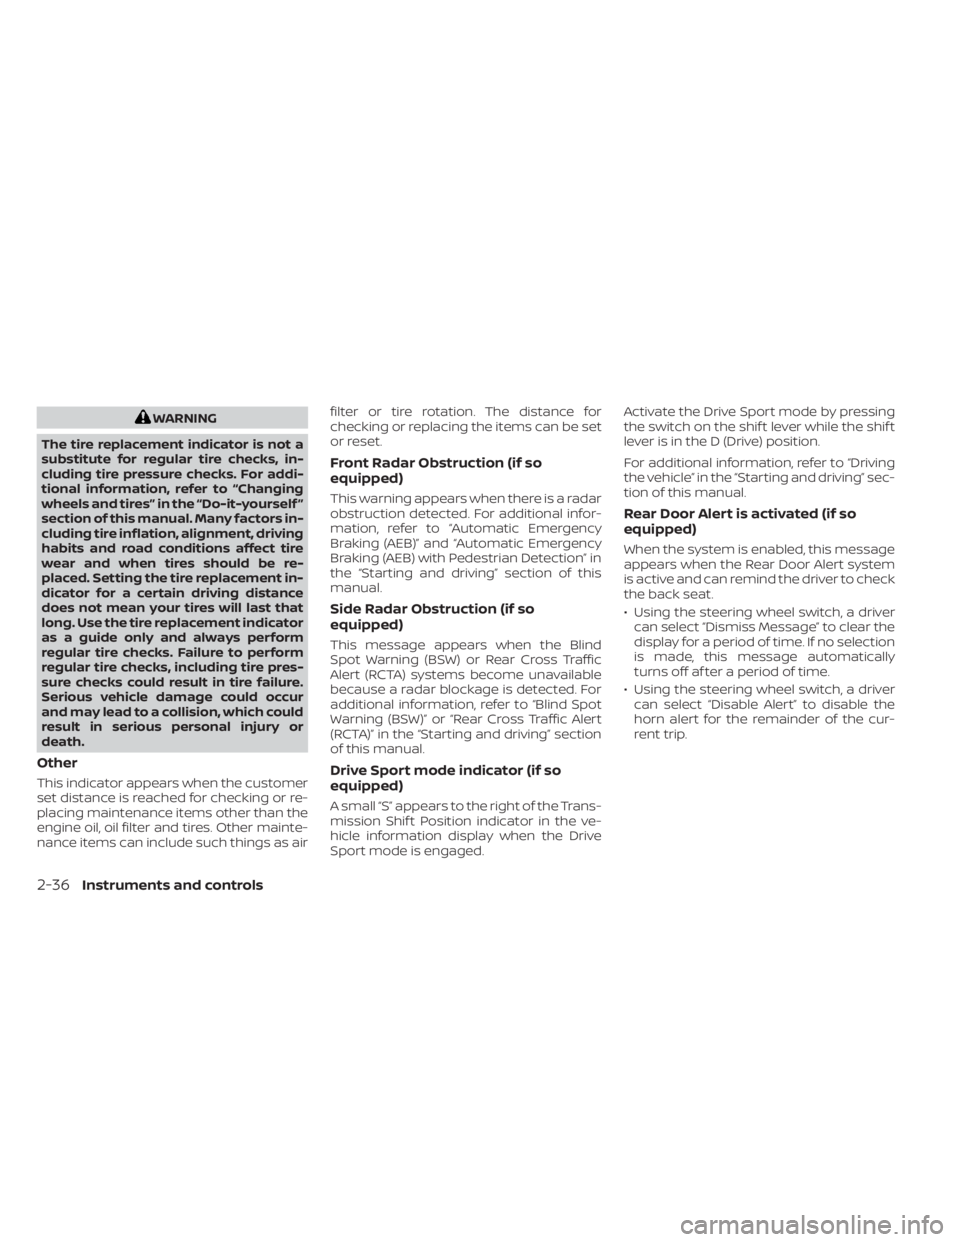
Other
This indicator appears when the customer
set distance is reached for checking or re-
placing maintenance items other than the
engine oil, oil filter and tires. Other mainte-
nance items can include such things as air filter or tire rotation. The distance for
checking or replacing the items can be set
or reset.
Front Radar Obstruction (if so
equipped)
This warning appears when there is a radar
obstruction detected. For additional infor-
mation, refer to “Automatic Emergency
Braking (AEB)” and “Automatic Emergency
Braking (AEB) with Pedestrian Detection” in
the “Starting and driving” section of this
manual.
Side Radar Obstruction (if so
equipped)
This message appears when the Blind
Spot Warning (BSW) or Rear Cross Traffic
Alert (RCTA) systems become unavailable
because a radar blockage is detected. For
additional information, refer to “Blind Spot
Warning (BSW)” or “Rear Cross Traffic Alert
(RCTA)” in the “Starting and driving” section
of this manual.
Drive Sport mode indicator (if so
equipped)
A small “S” appears to the right of the Trans-
mission Shif t Position indicator in the ve-
hicle information display when the Drive
Sport mode is engaged.Activate the Drive Sport mode by pressing
the switch on the shif t lever while the shif t
lever is in the D (Drive) position.
For additional information, refer to “Driving
the vehicle” in the “Starting and driving” sec-
tion of this manual.
Rear Door Alert is activated (if so
equipped)
When the system is enabled, this message
appears when the Rear Door Alert system
is active and can remind the driver to check
the back seat.
• Using the steering wheel switch, a driver
can select “Dismiss Message” to clear the
display for a period of time. If no selection
is made, this message automatically
turns off af ter a period of time.
• Using the steering wheel switch, a driver can select “Disable Alert” to disable the
horn alert for the remainder of the cur-
rent trip.
2-36Instruments and controls
Page 368 of 500
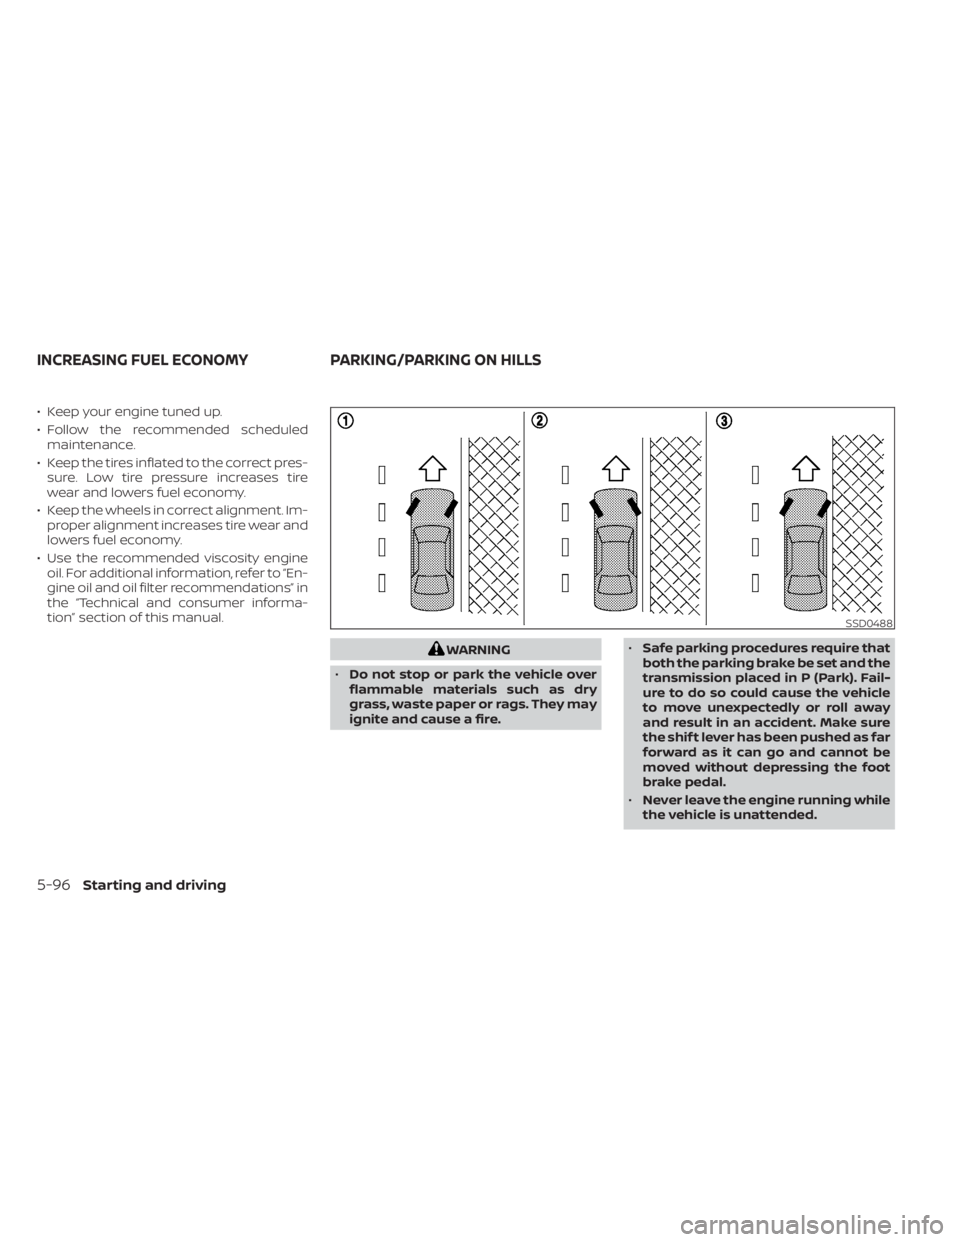
• Keep your engine tuned up.
• Follow the recommended scheduledmaintenance.
• Keep the tires inflated to the correct pres- sure. Low tire pressure increases tire
wear and lowers fuel economy.
• Keep the wheels in correct alignment. Im- proper alignment increases tire wear and
lowers fuel economy.
• Use the recommended viscosity engine oil. For additional information, refer to “En-
gine oil and oil filter recommendations” in
the “Technical and consumer informa-
tion” section of this manual.
Page 414 of 500
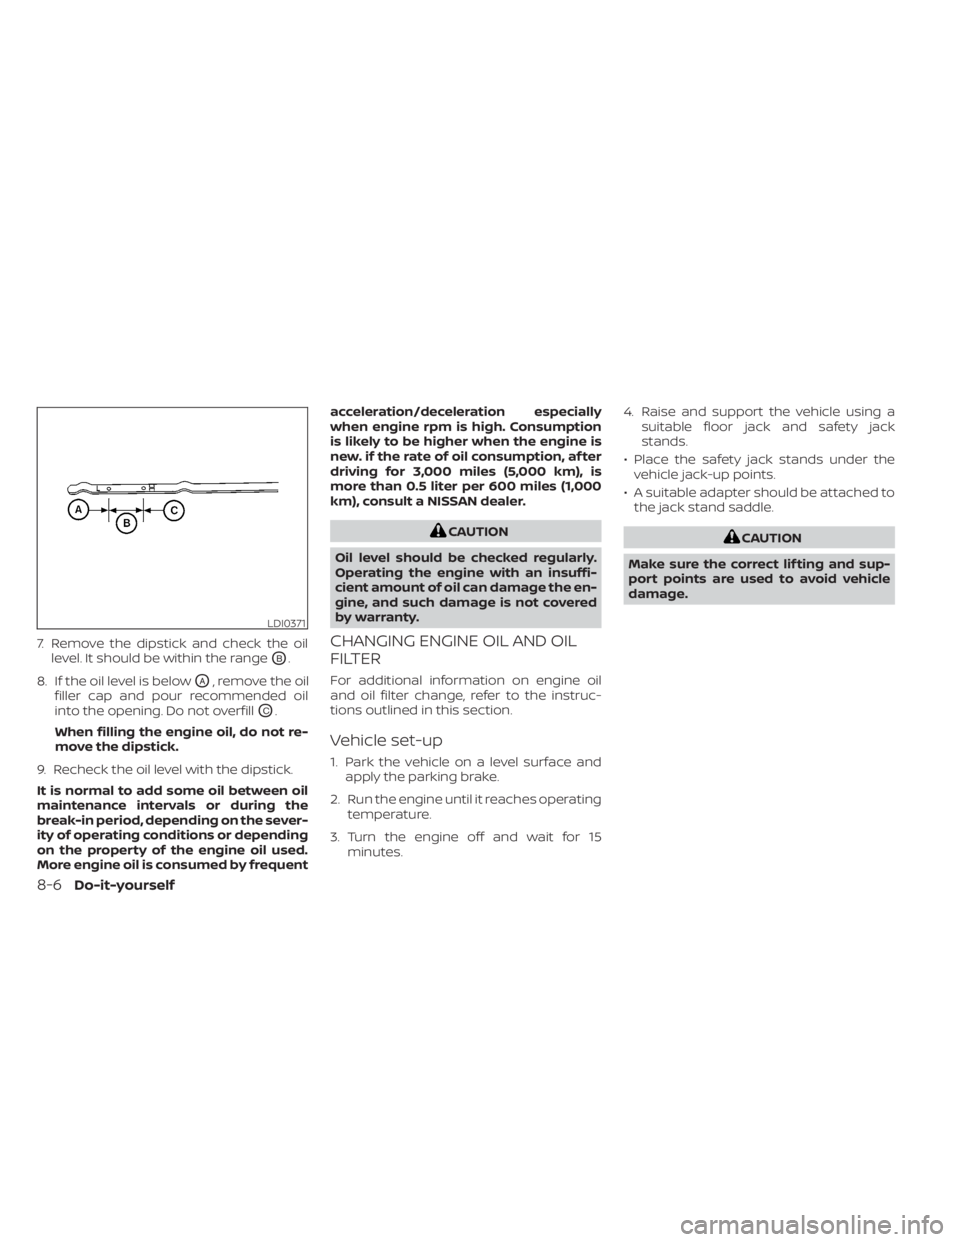
7. Remove the dipstick and check the oillevel. It should be within the range
OB.
8. If the oil level is below
OA, remove the oil
filler cap and pour recommended oil
into the opening. Do not overfill
OC.
When filling the engine oil, do not re-
move the dipstick.
9. Recheck the oil level with the dipstick.
It is normal to add some oil between oil
maintenance intervals or during the
break-in period, depending on the sever-
ity of operating conditions or depending
on the property of the engine oil used.
More engine oil is consumed by frequent acceleration/deceleration especially
when engine rpm is high. Consumption
is likely to be higher when the engine is
new. if the rate of oil consumption, af ter
driving for 3,000 miles (5,000 km), is
more than 0.5 liter per 600 miles (1,000
km), consult a NISSAN dealer.
CAUTION
Oil level should be checked regularly.
Operating the engine with an insuffi-
cient amount of oil can damage the en-
gine, and such damage is not covered
by warranty.
CHANGING ENGINE OIL AND OIL
FILTER
For additional information on engine oil
and oil filter change, refer to the instruc-
tions outlined in this section.
Vehicle set-up
1. Park the vehicle on a level surface and apply the parking brake.
2. Run the engine until it reaches operating temperature.
3. Turn the engine off and wait for 15 minutes. 4. Raise and support the vehicle using a
suitable floor jack and safety jack
stands.
• Place the safety jack stands under the vehicle jack-up points.
• A suitable adapter should be attached to the jack stand saddle.
8-6Do-it-yourself
Page 416 of 500
Engine oil and filter
1. Place a large drain pan under the drainplug and oil filter.
2. Remove the oil filler cap.
3. Remove the drain plug with a wrench by turning it counterclockwise and com-
pletely drain the oil.
WARNING
• Prolonged and repeated contact
with used engine oil may cause skin
cancer.
• Try to avoid direct skin contact with
used oil. If skin contact is made, wash
thoroughly with soap or hand
cleaner as soon as possible.
• Keep used engine oil out of reach of
children. 4. Loosen the oil filter with an oil filter
wrench by turning it counterclockwise.
Remove the oil filter by turning it by
hand.
5. Wipe the engine oil filter mounting sur- face with a clean rag.
Page 417 of 500
For additional information about drain and
refill capacity, refer to “Recommended
fluids/lubricants and capacities” in the
“Technical and consumer information” sec-
tion of this manual. The drain and refill ca-
pacity depends on the oil temperature and
drain time. Use these specifications for ref-
erence only. Always use the dipstick to de-
termine the proper amount of oil in the
engine.
10. Start the engine and check for leakagearound the drain plug and the oil filter.
Correct as required. Turn the engine off
and wait more than 15 minutes. Check
the oil level with the dipstick. Add en-
gine oil if necessary.
Af ter the operation
1. Lower the vehicle carefully to the ground.
2. Reset oil and oil filter maintenance re-minder (if so equipped). For additional
information, refer to “Vehicle information
display” in the “Instruments and con-
trols” section of this manual.
• Dispose of waste oil and filter properly.
• Check your local regulations.
LDI3459
CONTINUOUSLY VARIABLE
TRANSMISSION (CVT) FLUID BRAKE FLUID
Do-it-yourself8-9