2022 NISSAN KICKS coolant temperature
[x] Cancel search: coolant temperaturePage 116 of 500
1. No Key Detected
2. Key Battery Low
3. I-Key System Error: See Owner's Manual
4. Shif t to Park
5. Push brake and start switch to drive
6. Engine start operation for Intelligent Keysystem (if I-Key battery level is low)
7. Release Parking Brake
8. Low Fuel
9. Door/lif tgate Open
10. Tire Pressure Low — Add Air
11. TPMS Error: See Owner’s Manual
12. Alarm - Time for a break? (if so equipped)
13. Power will turn off to save the battery
14. Power turned off to save the battery
15. Reminder: Turn OFF Headlights
16. Headlight System Error: See Owner’s Manual (if so equipped)
17. Cruise control indicator
18. Blind Spot Warning (BSW) indicator (if so equipped) 19. Malfunction (if so equipped)
20. Shipping Mode On Push Storage Fuse
21. CVT Error: See Owner's Manual
22. Steering lock release malfunction indi-
cator (if so equipped)
23. Illumination indicator
24. Transmission Shif t Position indicator (if so equipped)
25. High Coolant Temp: See Owner’s Manual
26. Outside Temperature Display
27. Low Outside Temperature
28. Oil and Filter
29. Tire
30. Other
31. Front Radar Obstruction (if so equipped)
32. Side Radar Obstruction (if so equipped)
33. Drive Sport mode indicator (if so equipped)
34. Rear Door Alert is activated (if so equipped) 35. Check Back Seat for All Articles (if so
equipped)
36. Driver Attention Alert System Fault (if so equipped)
37. Driver Attention Alert — Take a Break? (if so equipped)
38. Automatic Emergency Braking (AEB) emergency warning indicator (if so
equipped)
39. Lane Departure Warning (LDW) indica- tor (if so equipped)
40. Rear Automatic Braking (RAB) indicator (if so equipped)
41. Vehicle ahead detection indicator (if so equipped)
42. System Fault (if so equipped)
43. Parking Sensor (if so equipped)
44. Unavailable High Cabin Temperature (if so equipped)
45. Parking Sensor Error: See Owner’s Manual (if so equipped)
2-32Instruments and controls
Page 119 of 500
• Blind Spot Warning (BSW)
• Rear Cross Traffic Alert (RCTA)
If one or more of these warning appears,
have the system checked. It is recom-
mended that you visit a NISSAN dealer for
this service.
Shipping Mode On Push Storage Fuse
This warning may appear if the extended
storage switch is not pushed in. When this
warning appears, push in the extended
storage switch to turn off the warning. For
additional information, refer to “Extended
storage switch” in this section.
CVT Error: See Owner's Manual
This warning illuminates when there is a
problem with the CVT system. If this warn-
ing comes on, have the system checked. It
is recommended that you visit a NISSAN
dealer for this service.
Steering lock release malfunction
indicator (if so equipped)
This indicator appears when the steering
lock cannot be released.
If this indicator appears, push the ignition
switch while lightly turning the steering
wheel right and lef t.
Illumination indicator
This indicator shows the illumination ad-
justment of the instrument panel. For addi-
tional information, refer to “Instrument
brightness control” in this section.
Transmission Shif t Position indicator
(if so equipped)
This indicator shows the transmission shif t
position.
High Coolant Temp: See Owner’s
Manual
This warning appears when the tempera-
ture of the engine coolant is too high. Stop
the vehicle in a safe location as soon as
possible. Avoid quick starting or abrupt ac-
celeration. When the warning turns off, the
vehicle can be driven.
If the warning appears again soon af ter it
turns off, have the vehicle checked. It is rec-
ommended that you visit a NISSAN dealer
for this service.
Outside Temperature Display
The outside temperature display appears
in the center region of the vehicle informa-
tion display.
Low Outside Temperature
This warning appears if the outside tem-
perature is below 37°F (3°C). The tempera-
ture can be changed to display in Celsius or
Fahrenheit. For additional information, re-
fer to “Settings” in this section.
Oil and Filter
This indicator appears when the customer
set distance comes for changing the en-
gine oil and filter. You can set or reset the
distance for checking or replacing these
items. For scheduled maintenance items
and intervals, refer to the “Maintenance and
schedules” section of this manual.
Tire
This indicator appears when the customer
set distance is reached for replacing tires.
You can set or reset the distance for replac-
ing tires.
Instruments and controls2-35
Page 225 of 500

Dehumidified defogging
This mode is used to defog the windows
and dehumidif y the air.
1. Turn the air flow control dial to the
position.
2. Turn the
fan speed control dial to
the desired position.
3. Press the
button. The indicator
light comes on.
When the
,or positions in be-
tween are selected, the air conditioner au-
tomatically turns on. The air conditioning
system will continue to operate until the
fan speed control dial is turned to OFF or
the vehicle is shut off, even if the air flow
control dial is turned to a position other
than the
position. This dehumidifies
the air which helps defog the windshield.
The
mode automatically turns off, al-
lowing outside air to be drawn into the pas-
senger compartment to further improve
the defogging performance.
4. Turn the temperature control dial to the desired position.
Operating tips
• Keep the windows closed while the airconditioner is in operation.
• Af ter parking in the sun, drive for two or three minutes with the windows open to
vent hot air from the passenger com-
partment. Then, close the windows. This
allows the air conditioner to cool the inte-
rior more quickly.
• The air conditioning system should be
operated for approximately ten min-
utes at least once a month. This helps
prevent damage to the system due to
lack of lubrication.
• A visible mist may be seen coming from the ventilators in hot, humid conditions
as the air is cooled rapidly. This does not
indicate a malfunction.
• If the high temperature warning light
illuminates in red indicating en-
gine coolant temperature is over the
normal range, turn the air conditioner
off. For additional information, refer to
“If your vehicle overheats” in the “In
case of emergency ” section of this
manual.
AIR FLOW CHARTS
The following charts show the button and
dial positions for MAXIMUM AND QUICK
heating, cooling or defrosting. The
air
recirculation button should always be in
the OFF position for heating and defrost-
ing.
Monitor, climate, audio, phone and voice recognition systems4-37
Page 231 of 500
Air recirculation
Press theair recirculation button to
recirculate interior air inside the vehicle.
A/C (air conditioner) button
Start the engine, turn thefan speed
control dial to the desired position and
press the
button to turn on the air
conditioner. To turn off the air conditioner,
press the
button again.
The air conditioner cooling function op-
erates only when the engine is running.
Air flow control
Press the MODE button to manually control
air flow and select the air outlet.
— Air flows from center and side vents.
— Air flows from center and sidevents and foot outlets.
— Air flows mainly from foot outlets.— Air flows from defroster and footoutlets.
To turn system off
To turn off the heater and air conditioner,
press the ON-OFF button. Press the ON-
OFF button again, the system will turn on in
the mode which was used immediately
before the system was turned off.
Rear window and outside mirror
(if so equipped) defroster switch
For additional information, refer to “Rear
window and/or outside mirror defroster
switch (if so equipped)” in the “Instruments
and controls” section of this manual.
Heated seat switches (if so
equipped)
For additional information, refer to “Heated
seat switches” in the “Instruments and con-
trols” section of this manual.
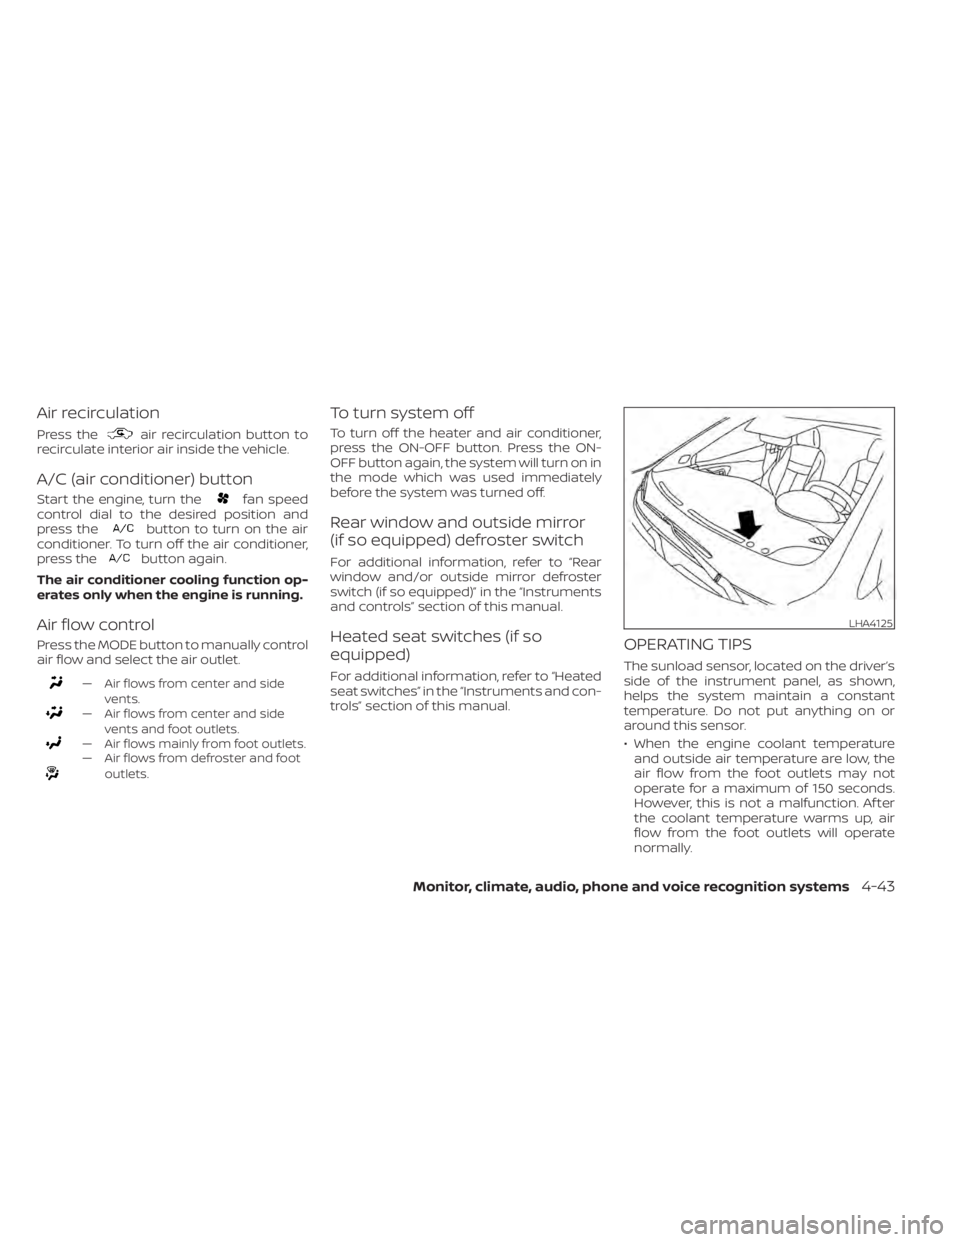
OPERATING TIPS
The sunload sensor, located on the driver’s
side of the instrument panel, as shown,
helps the system maintain a constant
temperature. Do not put anything on or
around this sensor.
• When the engine coolant temperatureand outside air temperature are low, the
air flow from the foot outlets may not
operate for a maximum of 150 seconds.
However, this is not a malfunction. Af ter
the coolant temperature warms up, air
flow from the foot outlets will operate
normally.
LHA4125
Page 383 of 500
Do not attach stickers (including transpar-
ent material), install accessories or apply
additional paint near the sonar sensors.
Do not strike or damage the area around
the sonar sensors. It is recommended that
you visit a NISSAN dealer if the area around
the sonar sensors is damaged due to a
collision.FREEING A FROZEN DOOR LOCK
To prevent a door lock from freezing, apply
de-icer through the key hole. If the lock
becomes frozen, heat the key before in-
serting it into the key hole or use the re-
mote keyless entry function on the Intelli-
gent Key.
ANTIFREEZE
In the winter when it is anticipated that the
temperature will drop below 32°F (0°C),
check the antifreeze to assure proper win-
ter protection. For additional information,
refer to “Engine cooling system” in the “Do-
it-yourself ” section of this manual.
BATTERY
If the battery is not fully charged during
extremely cold weather conditions, the
battery fluid may freeze and damage the
battery. To maintain maximum efficiency,
the battery should be checked regularly.
This vehicle is equipped with a sealed
maintenance free battery. It is recom-
mended that you visit a NISSAN dealer for
service.
DRAINING OF COOLANT WATER
If the vehicle is to be lef t outside without
antifreeze, drain the cooling system, includ-
ing the engine block. Refill before operating
the vehicle. For additional information, refer
to “Changing engine coolant” in the “Do-it-
yourself ” section of this manual.
TIRE EQUIPMENT
1. SUMMER tires have a tread designed toprovide superior performance on dry
pavement. However, the performance of
these tires will be substantially reduced
in snowy and icy conditions. If you oper-
ate your vehicle on snowy or icy roads,
NISSAN recommends the use of MUD &
SNOW or ALL SEASON TIRES on all four
wheels. It is recommended that you visit
a NISSAN dealer for the tire type, size,
speed rating and availability information.
2. For additional traction on icy roads, studded tires may be used. However,
some states, provinces and territories
prohibit their use. Check local laws be-
fore installing studded tires.
Skid and traction capabilities of studded
snow tires on wet or dry surfaces may be
poorer than that of non-studded snow
tires.
COLD WEATHER DRIVING
Starting and driving5-111
Page 385 of 500
To use the engine block heater:
1. Turn the engine off.
2. Open the hood and unwrap the engineblock heater cord.
3. Plug the engine block heater cord into a grounded 3-wire, 3-pronged extension
cord.
4. Plug the extension cord into a Ground Fault Interrupt (GFI) protected, grounded
110-volt AC (VAC) outlet.
5. The engine block heater must be plugged in for at least2-4hours, de-
pending on outside temperatures, to
properly warm the engine coolant. Use
an appropriate timer to turn the engine
block heater on.
6. Before starting the engine, unplug and properly store the cord to keep it away
from moving parts.
Starting and driving5-113
Page 413 of 500
CHECKING ENGINE COOLANT
LEVEL
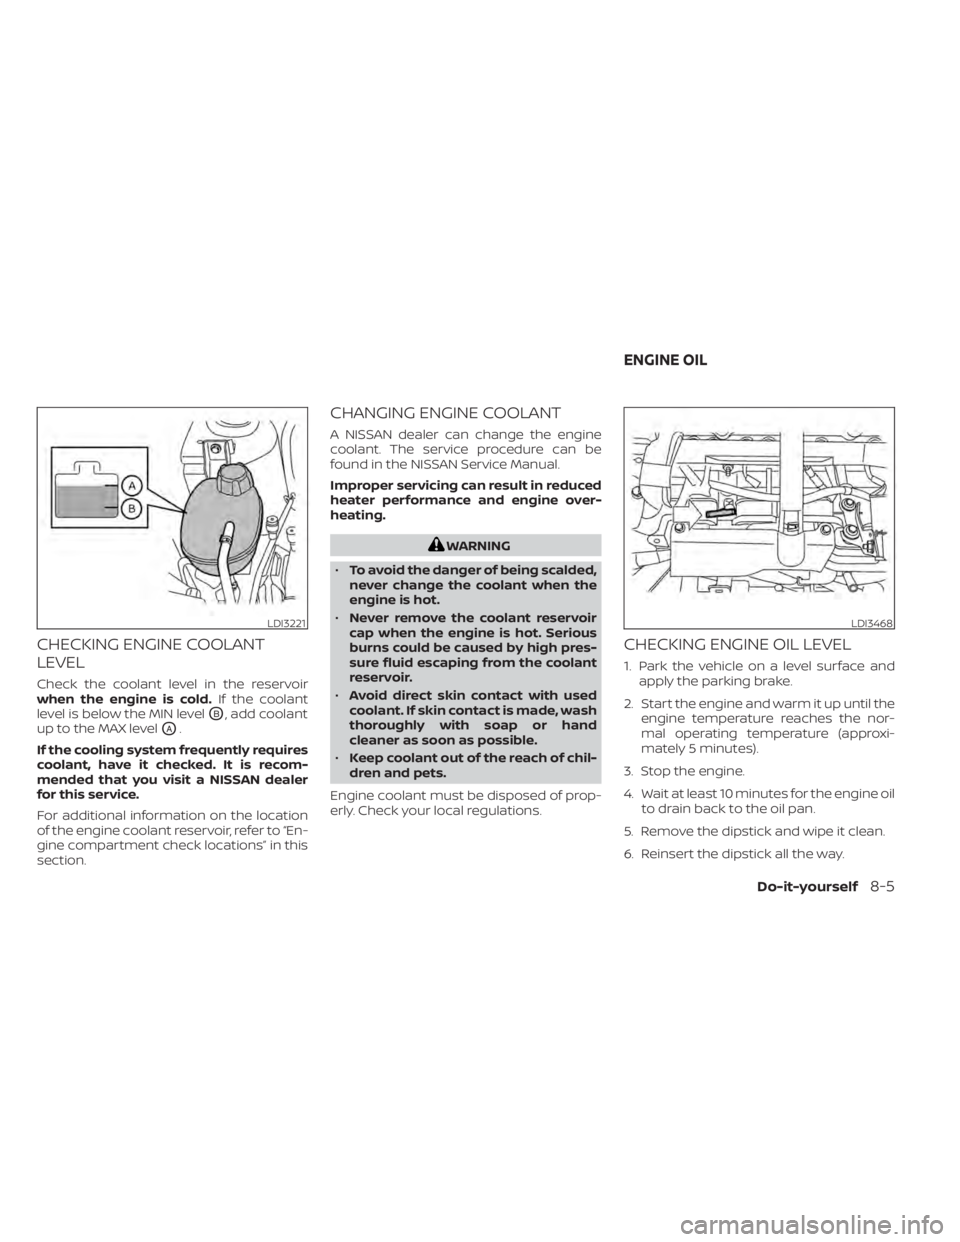
Check the coolant level in the reservoir
when the engine is cold.If the coolant
level is below the MIN level
OB, add coolant
up to the MAX level
OA.
If the cooling system frequently requires
coolant, have it checked. It is recom-
mended that you visit a NISSAN dealer
for this service.
For additional information on the location
of the engine coolant reservoir, refer to “En-
gine compartment check locations” in this
section.
CHANGING ENGINE COOLANT
A NISSAN dealer can change the engine
coolant. The service procedure can be
found in the NISSAN Service Manual.
Improper servicing can result in reduced
heater performance and engine over-
heating.
WARNING
• To avoid the danger of being scalded,
never change the coolant when the
engine is hot.
• Never remove the coolant reservoir
cap when the engine is hot. Serious
burns could be caused by high pres-
sure fluid escaping from the coolant
reservoir.
• Avoid direct skin contact with used
coolant. If skin contact is made, wash
thoroughly with soap or hand
cleaner as soon as possible.
• Keep coolant out of the reach of chil-
dren and pets.
Engine coolant must be disposed of prop-
erly. Check your local regulations.
CHECKING ENGINE OIL LEVEL
1. Park the vehicle on a level surface and apply the parking brake.
2. Start the engine and warm it up until the engine temperature reaches the nor-
mal operating temperature (approxi-
mately 5 minutes).
3. Stop the engine.
4. Wait at least 10 minutes for the engine oil to drain back to the oil pan.
5. Remove the dipstick and wipe it clean.
6. Reinsert the dipstick all the way.
LDI3221LDI3468
ENGINE OIL
Do-it-yourself8-5