2022 NISSAN ARMADA audio
[x] Cancel search: audioPage 300 of 604
4-70Monitor, heater, air conditioner, audio, phone and voice recognition systems
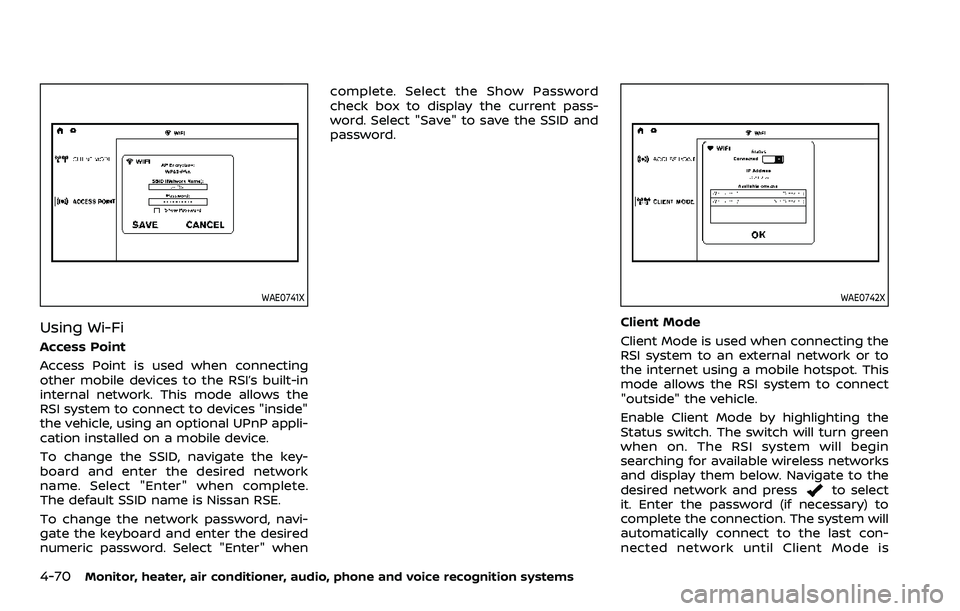
WAE0741X
Using Wi-Fi
Access Point
Access Point is used when connecting
other mobile devices to the RSI’s built-in
internal network. This mode allows the
RSI system to connect to devices "inside"
the vehicle, using an optional UPnP appli-
cation installed on a mobile device.
To change the SSID, navigate the key-
board and enter the desired network
name. Select "Enter" when complete.
The default SSID name is Nissan RSE.
To change the network password, navi-
gate the keyboard and enter the desired
numeric password. Select "Enter" whencomplete. Select the Show Password
check box to display the current pass-
word. Select "Save" to save the SSID and
password.
WAE0742X
Client Mode
Client Mode is used when connecting the
RSI system to an external network or to
the internet using a mobile hotspot. This
mode allows the RSI system to connect
"outside" the vehicle.
Enable Client Mode by highlighting the
Status switch. The switch will turn green
when on. The RSI system will begin
searching for available wireless networks
and display them below. Navigate to the
desired network and press
to select
it. Enter the password (if necessary) to
complete the connection. The system will
automatically connect to the last con-
nected network until Client Mode is
Page 301 of 604
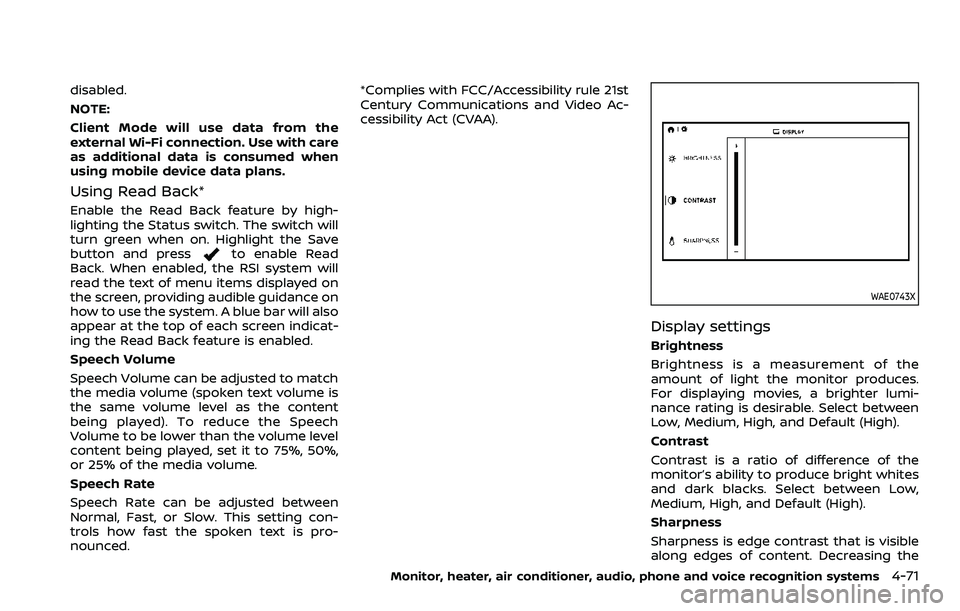
disabled.
NOTE:
Client Mode will use data from the
external Wi-Fi connection. Use with care
as additional data is consumed when
using mobile device data plans.
Using Read Back*
Enable the Read Back feature by high-
lighting the Status switch. The switch will
turn green when on. Highlight the Save
button and press
to enable Read
Back. When enabled, the RSI system will
read the text of menu items displayed on
the screen, providing audible guidance on
how to use the system. A blue bar will also
appear at the top of each screen indicat-
ing the Read Back feature is enabled.
Speech Volume
Speech Volume can be adjusted to match
the media volume (spoken text volume is
the same volume level as the content
being played). To reduce the Speech
Volume to be lower than the volume level
content being played, set it to 75%, 50%,
or 25% of the media volume.
Speech Rate
Speech Rate can be adjusted between
Normal, Fast, or Slow. This setting con-
trols how fast the spoken text is pro-
nounced. *Complies with FCC/Accessibility rule 21st
Century Communications and Video Ac-
cessibility Act (CVAA).
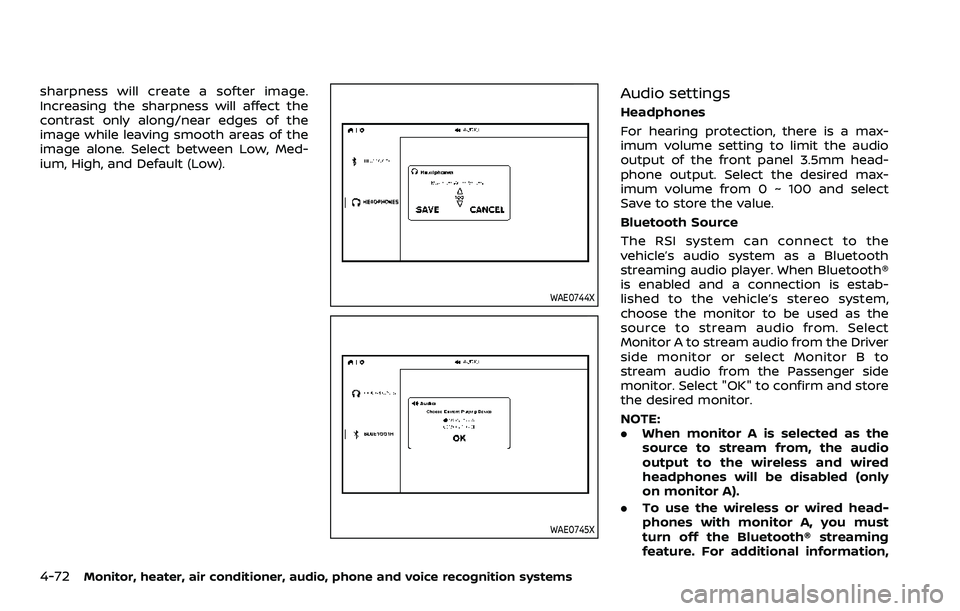
WAE0743X
Display settings
Brightness
Brightness is a measurement of the
amount of light the monitor produces.
For displaying movies, a brighter lumi-
nance rating is desirable. Select between
Low, Medium, High, and Default (High).
Contrast
Contrast is a ratio of difference of the
monitor’s ability to produce bright whites
and dark blacks. Select between Low,
Medium, High, and Default (High).
Sharpness
Sharpness is edge contrast that is visible
along edges of content. Decreasing the
Monitor, heater, air conditioner, audio, phone and voice recognition systems4-71
Page 302 of 604
4-72Monitor, heater, air conditioner, audio, phone and voice recognition systems
sharpness will create a softer image.
Increasing the sharpness will affect the
contrast only along/near edges of the
image while leaving smooth areas of the
image alone. Select between Low, Med-
ium, High, and Default (Low).
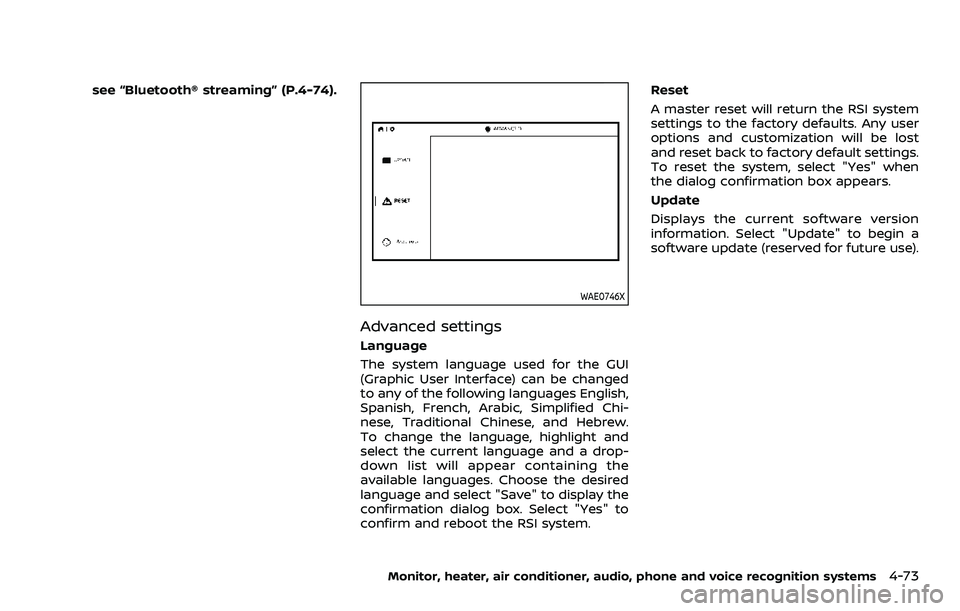
WAE0744X
WAE0745X
Audio settings
Headphones
For hearing protection, there is a max-
imum volume setting to limit the audio
output of the front panel 3.5mm head-
phone output. Select the desired max-
imum volume from 0 ~ 100 and select
Save to store the value.
Bluetooth Source
The RSI system can connect to the
vehicle’s audio system as a Bluetooth
streaming audio player. When Bluetooth®
is enabled and a connection is estab-
lished to the vehicle’s stereo system,
choose the monitor to be used as the
source to stream audio from. Select
Monitor A to stream audio from the Driver
side monitor or select Monitor B to
stream audio from the Passenger side
monitor. Select "OK" to confirm and store
the desired monitor.
NOTE:
.When monitor A is selected as the
source to stream from, the audio
output to the wireless and wired
headphones will be disabled (only
on monitor A).
. To use the wireless or wired head-
phones with monitor A, you must
turn off the Bluetooth® streaming
feature. For additional information,
Page 303 of 604
see “Bluetooth® streaming” (P.4-74).
WAE0746X
Advanced settings
Language
The system language used for the GUI
(Graphic User Interface) can be changed
to any of the following languages English,
Spanish, French, Arabic, Simplified Chi-
nese, Traditional Chinese, and Hebrew.
To change the language, highlight and
select the current language and a drop-
down list will appear containing the
available languages. Choose the desired
language and select "Save" to display the
confirmation dialog box. Select "Yes" to
confirm and reboot the RSI system.Reset
A master reset will return the RSI system
settings to the factory defaults. Any user
options and customization will be lost
and reset back to factory default settings.
To reset the system, select "Yes" when
the dialog confirmation box appears.
Update
Displays the current software version
information. Select "Update" to begin a
software update (reserved for future use).
Monitor, heater, air conditioner, audio, phone and voice recognition systems4-73
Page 304 of 604
4-74Monitor, heater, air conditioner, audio, phone and voice recognition systems
WAE0747X
Customize settings
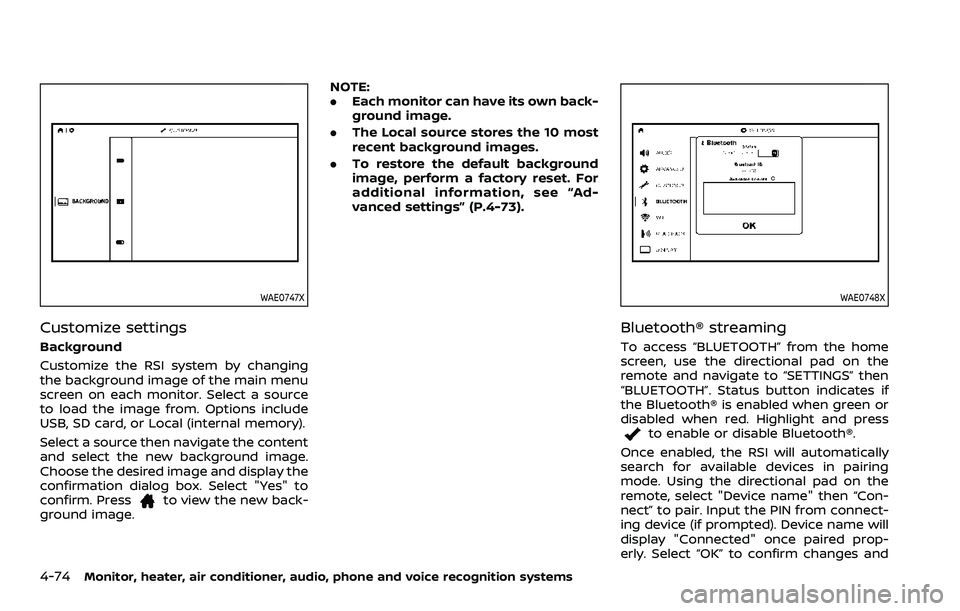
Background
Customize the RSI system by changing
the background image of the main menu
screen on each monitor. Select a source
to load the image from. Options include
USB, SD card, or Local (internal memory).
Select a source then navigate the content
and select the new background image.
Choose the desired image and display the
confirmation dialog box. Select "Yes" to
confirm. Press
to view the new back-
ground image. NOTE:
.
Each monitor can have its own back-
ground image.
. The Local source stores the 10 most
recent background images.
. To restore the default background
image, perform a factory reset. For
additional information, see “Ad-
vanced settings” (P.4-73).
WAE0748X
Bluetooth® streaming
To access “BLUETOOTH” from the home
screen, use the directional pad on the
remote and navigate to “SETTINGS” then
“BLUETOOTH”. Status button indicates if
the Bluetooth® is enabled when green or
disabled when red. Highlight and press
to enable or disable Bluetooth®.
Once enabled, the RSI will automatically
search for available devices in pairing
mode. Using the directional pad on the
remote, select "Device name" then “Con-
nect” to pair. Input the PIN from connect-
ing device (if prompted). Device name will
display "Connected" once paired prop-
erly. Select “OK” to confirm changes and
Page 305 of 604
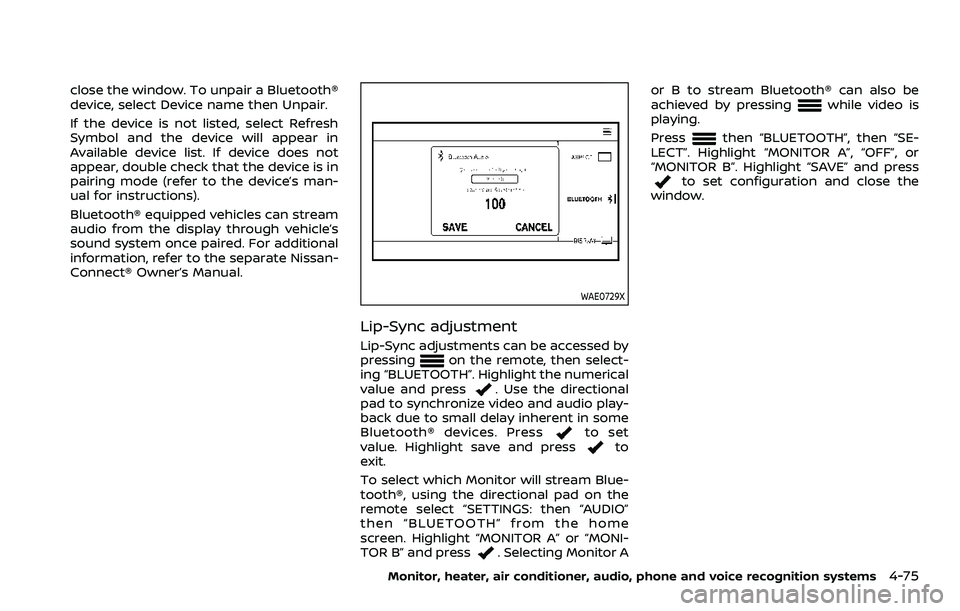
close the window. To unpair a Bluetooth®
device, select Device name then Unpair.
If the device is not listed, select Refresh
Symbol and the device will appear in
Available device list. If device does not
appear, double check that the device is in
pairing mode (refer to the device’s man-
ual for instructions).
Bluetooth® equipped vehicles can stream
audio from the display through vehicle’s
sound system once paired. For additional
information, refer to the separate Nissan-
Connect® Owner’s Manual.
WAE0729X
Lip-Sync adjustment
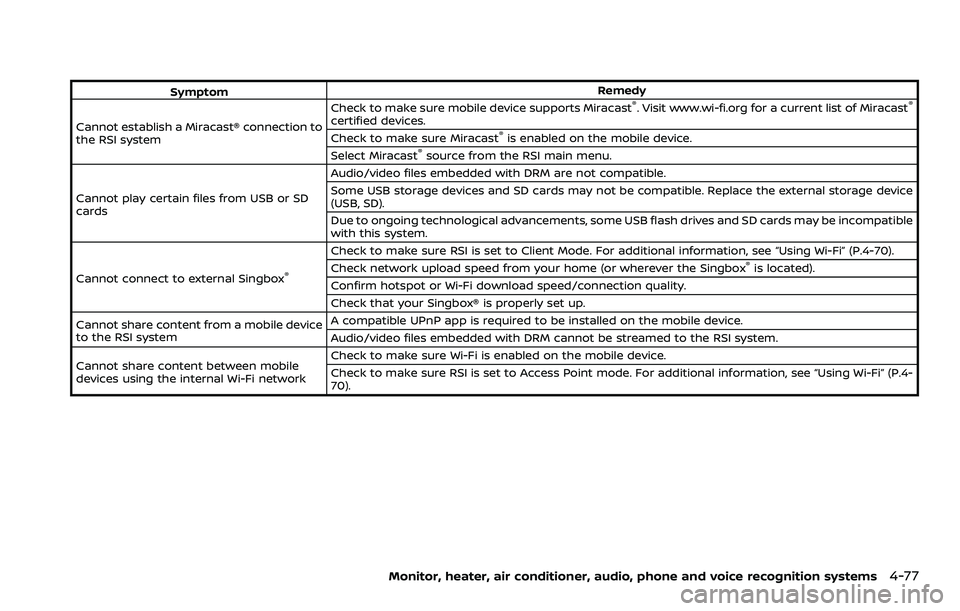
Lip-Sync adjustments can be accessed by
pressingon the remote, then select-
ing “BLUETOOTH”. Highlight the numerical
value and press
. Use the directional
pad to synchronize video and audio play-
back due to small delay inherent in some
Bluetooth® devices. Press
to set
value. Highlight save and pressto
exit.
To select which Monitor will stream Blue-
tooth®, using the directional pad on the
remote select “SETTINGS: then “AUDIO”
then “BLUETOOTH” from the home
screen. Highlight “MONITOR A” or “MONI-
TOR B” and press
. Selecting Monitor A or B to stream Bluetooth® can also be
achieved by pressing
while video is
playing.
Press
then “BLUETOOTH”, then “SE-
LECT”. Highlight “MONITOR A”, “OFF”, or
“MONITOR B”. Highlight “SAVE” and press
to set configuration and close the
window.
Monitor, heater, air conditioner, audio, phone and voice recognition systems4-75
Page 306 of 604

4-76Monitor, heater, air conditioner, audio, phone and voice recognition systems
TROUBLESHOOTING
SymptomRemedy
Monitor does not power on Verify the vehicle is in the ON or ACC position.
Verify the battery is installed correctly in the remote control.
Verify the in-line fuse protection is good. Refer to the RSI system installation instructions for vehicle-
specific fuse location.
Monitor front panel controls flash red For further diagnosis, it is recommended that you visit a NISSAN dealer.
System frozen - will not respond Soft reset the system by pressing and holding the power button on the top of the driver side monitor
for 5 seconds.
Hard reset the system by turning the ignition off, then back on.
No picture Check that the signal source is connected.
Check the menu source setting. Match your monitor mode with the source correctly.
No sound or distorted sound Make sure that the external media device is connected properly, and all cables are securely inserted
into the appropriate jacks.
Verify that the batteries in the headphones are fresh.
If you are using the wireless headphones, make sure you turn on the power and select the correct
monitor (A or B).
Verify the volume is turned up on headphones and the system.
Verify nothing is blocking the path between the monitor IR sensor and headphones.
When placing the headphones on your head, make sure to observe the Left and Right orientation. The
headphones must be oriented correctly (facing forward) to receive the audio signal.
Monitor feels warm When the monitor is in use for a long period of time, the surface will be warm. This is normal.
Cannot connect mobile device to the
internal RSI Wi-Fi network Check to make sure Wi-Fi is enabled on the mobile device.
Check to make sure RSI is set to Access Point mode.
Check to make sure the correct password is used. For additional information, see “Using Wi-Fi” (P.4-70).
Cannot connect RSI system to an external
Wi-Fi network Check to make sure RSI is set to Client Mode. Check to make sure the correct password is used. For
additional information, see “Using Wi-Fi” (P.4-70).
Cannot establish a Bluetooth
®connection Check to make sure Bluetooth®is enabled on the RSI system. For additional information, see
“Bluetooth® streaming” (P.4-74).
Page 307 of 604
SymptomRemedy
Cannot establish a Miracast® connection to
the RSI system Check to make sure mobile device supports Miracast®. Visit www.wi-fi.org for a current list of Miracast®
certified devices.
Check to make sure Miracast®is enabled on the mobile device.
Select Miracast®source from the RSI main menu.
Cannot play certain files from USB or SD
cards Audio/video files embedded with DRM are not compatible.
Some USB storage devices and SD cards may not be compatible. Replace the external storage device
(USB, SD).
Due to ongoing technological advancements, some USB flash drives and SD cards may be incompatible
with this system.
Cannot connect to external Singbox
®
Check to make sure RSI is set to Client Mode. For additional information, see “Using Wi-Fi” (P.4-70).
Check network upload speed from your home (or wherever the Singbox®is located).
Confirm hotspot or Wi-Fi download speed/connection quality.
Check that your Singbox® is properly set up.
Cannot share content from a mobile device
to the RSI system A compatible UPnP app is required to be installed on the mobile device.
Audio/video files embedded with DRM cannot be streamed to the RSI system.
Cannot share content between mobile
devices using the internal Wi-Fi network Check to make sure Wi-Fi is enabled on the mobile device.
Check to make sure RSI is set to Access Point mode. For additional information, see “Using Wi-Fi” (P.4-
70).
Monitor, heater, air conditioner, audio, phone and voice recognition systems4-77