2022 MAZDA MODEL MX-5 MIATA RF Mazda connect
[x] Cancel search: Mazda connectPage 336 of 503

CAUTION
When removing the lens or lamp unit using a flathead screwdriver, make sure that the
flathead screwdriver does not contact the int erior terminal. If the flathead screwdriver
contacts the terminal, a short circuit may occur.
NOTE
To replace the bulb, contact an Authorized Mazda Dealer.
Use the protective cover and carton for the re placement bulb to dispose of the old bulb
promptly and out of the reach of children.
▼ Replacing Exterior Light Bulbs
Headlights, Daytime running lights
(LED type), Parkin
g lights, High-mount
brake light, Brake lights, Taillights
The LED bulb cannot be replaced as a
single unit because it is an integrated unit.
The LED bulb has to be replaced with the
unit. We recommend an Authorized
Mazda Dealer when the replacement is
necessary.
Daytime running lights (Bulb type)
1. Make sure the ignition is switched off,
and the headlight switch is off.
2. Pull the center of each plastic retainer
and remove the retainers.
Removal
Installation
3. Turn the screw counterclockwise andremove it, and then partially peel back
the mudguard.
4. Turn the socket and bulb assemblycounterclockwise and remove it.
5. Disconnect the bulb from the socket.
6. Install the new bulb in the reverseorder of the removal procedure.
Maintenance and Care
Owner Maintenance
6-39
MX-5_8KH8-EA-21K_Edition3_old 2021-11-10 13:10:56
Page 344 of 503

Trunk light
1. Wrap a small flathead screwdriver witha soft cloth to prev ent damage to the
lens, and then remove the lens by
carefully prying on the edge of the lens
with the flathead screwdriver.
2. Disconnect the co nnector from the
unit.
3. Disconnect the bulb by pulling it out.
4. Install the new bulb in the reverseorder of the removal procedure.
Fuses
Your vehicle's electrical system is
protected by fuses.
If any lights, accessories, or controls do
not work, inspect the appropriate circuit
protector. If a fuse has blown, the inside
element will be melted.
If the same fuse blows again, avoid using
that system and consult an Authorized
Mazda Dealer as soon as possible.
▼Fuse Replacement
Replacing the fuses on the vehicle's left
side
If the electrical system does not work, first
inspect the fuses on the vehicle's left side.
1. Make sure the ignition is switched off,
and other switches are off.
2. Open the fuse panel cover.
Maintenance and Care
Owner Maintenance
6-47
MX-5_8KH8-EA-21K_Edition3_old 2021-11-10 13:10:56
Page 373 of 503

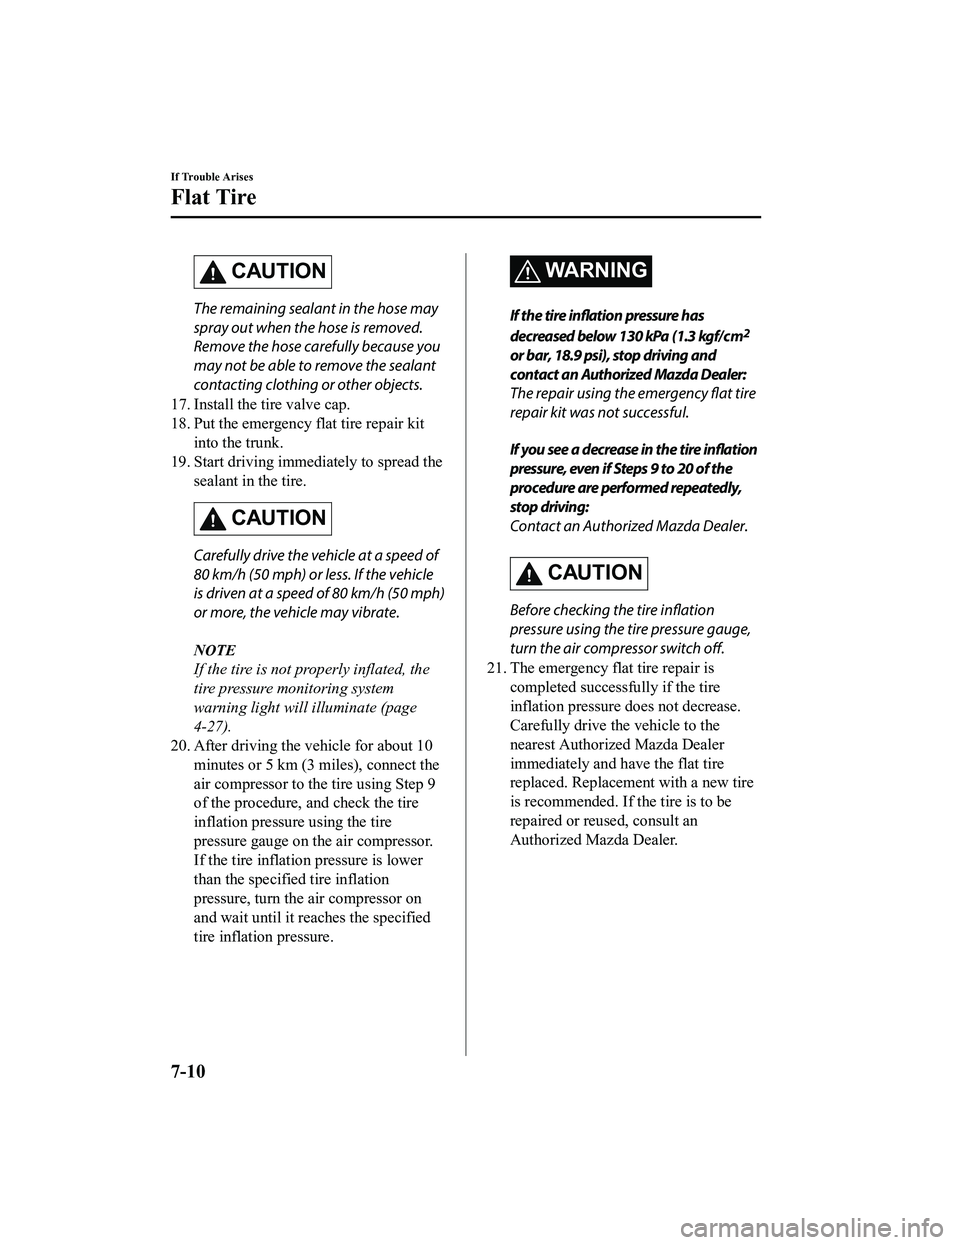
CAUTION
The remaining sealant in the hose may
spray out when the hose is removed.
Remove the hose carefully because you
may not be able to remove the sealant
contacting clothing or other objects.
17. Install the tire valve cap.
18. Put the emergency flat tire repair kit into the trunk.
19. Start driving immediately to spread the
sealant in the tire.
CAUTION
Carefully drive the vehicle at a speed of
80 km/h (50 mph) or less. If the vehicle
is driven at a speed of 80 km/h (50 mph)
or more, the vehicle may vibrate.
NOTE
If the tire is not properly inflated, the
tire pressure monitoring system
warning light will illuminate (page
4-27).
20. After driving the vehicle for about 10
minutes or 5 km (3 miles), connect the
air compressor to the tire using Step 9
of the procedure, and check the tire
inflation pressure using the tire
pressure gauge on the air compressor.
If the tire inflation pressure is lower
than the specified tire inflation
pressure, turn the air compressor on
and wait until it reaches the specified
tire inflation pressure.
WARNING
If the tire inflation pressure has
decreased below 130 kPa (1.3 kgf/cm
2
or bar, 18.9 psi), stop driving and
contact an Authorized Mazda Dealer:
The repair using the emergency flat tire
repair kit was not successful.
If you see a decrease in the tire inflation
pressure, even if Steps 9 to 20 of the
procedure are performed repeatedly,
stop driving:
Contact an Authorized Mazda Dealer.
CAUTION
Before checking the tire inflation
pressure using the tire pressure gauge,
turn the air compressor switch off.
21. The emergency flat tire repair is completed successfully if the tire
inflation pressure does not decrease.
Carefully drive the vehicle to the
nearest Authorized Mazda Dealer
immediately and have the flat tire
replaced. Replacement with a new tire
is recommended. If the tire is to be
repaired or reused, consult an
Authorized Mazda Dealer.
If Trouble Arises
Flat Tire
7-10
MX-5_8KH8-EA-21K_Edition3_old 2021-11-10 13:10:56
Page 378 of 503

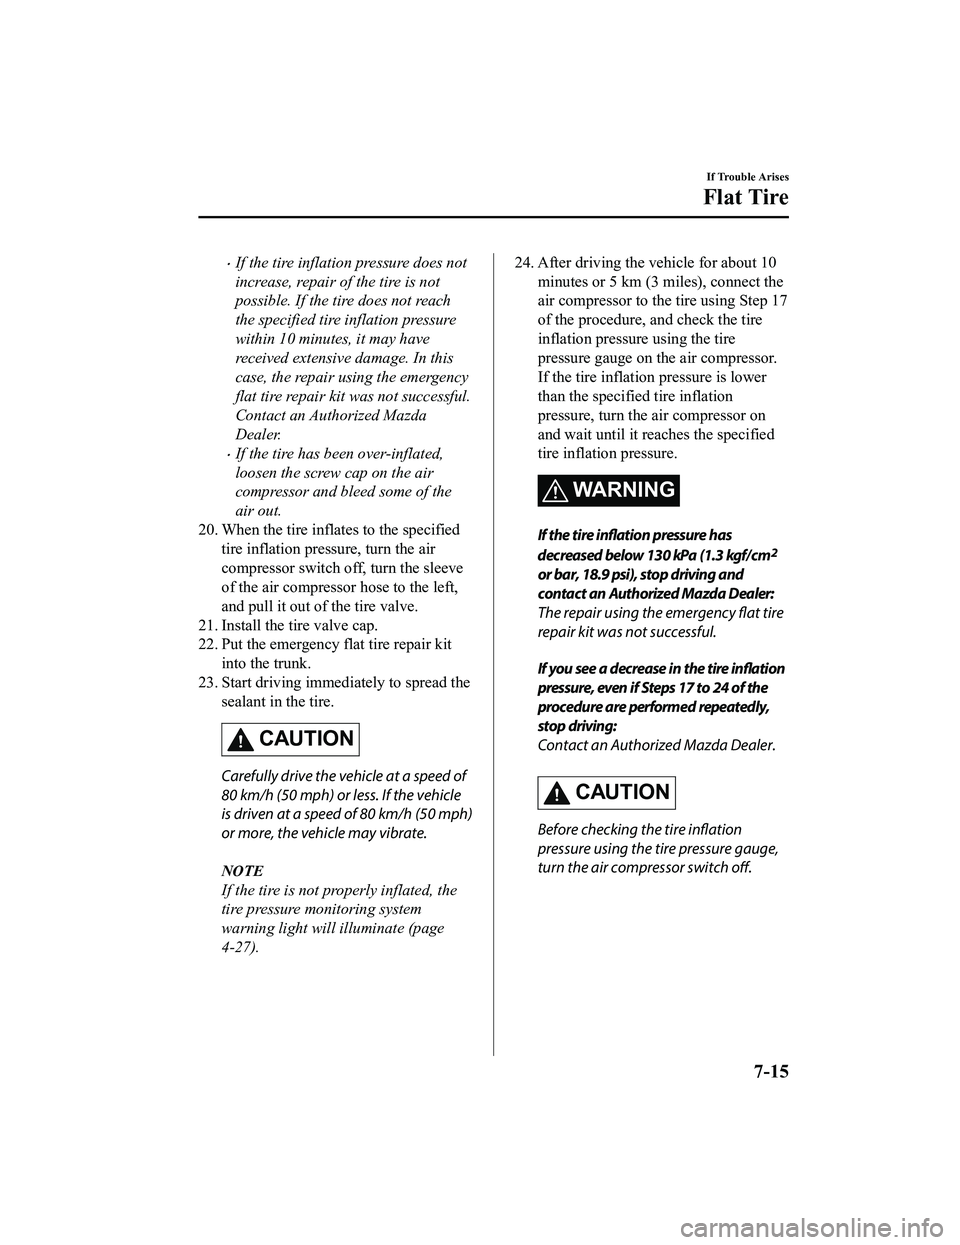
If the tire inflation pressure does not
increase, repair of the tire is not
possible. If the tire does not reach
the specified tire inflation pressure
within 10 minutes, it may have
received extensive damage. In this
case, the repair using the emergency
flat tire repair kit was not successful.
Contact an Authorized Mazda
Dealer.
If the tire has been over-inflated,
loosen the screw cap on the air
compressor and bleed some of the
air out.
20. When the tire inflates to the specified tire inflation pressure, turn the air
compressor switch off, turn the sleeve
of the air compresso r hose to the left,
and pull it out of the tire valve.
21. Install the tire valve cap.
22. Put the emergency flat tire repair kit into the trunk.
23. Start driving immedi ately to spread the
sealant in the tire.
CAUTION
Carefully drive the vehicle at a speed of
80 km/h (50 mph) or less. If the vehicle
is driven at a speed of 80 km/h (50 mph)
or more, the vehicle may vibrate.
NOTE
If the tire is not properly inflated, the
tire pressure monitoring system
warning light will illuminate (page
4-27).
24. After driving the vehicle for about 10
minutes or 5 km (3 miles), connect the
air compressor to th e tire using Step 17
of the procedure, and check the tire
inflation pressure using the tire
pressure gauge on the air compressor.
If the tire inflation pressure is lower
than the specifie d tire inflation
pressure, turn the air compressor on
and wait until it reaches the specified
tire inflation pressure.
WARNING
If the tire inflation pressure has
decreased below 130 kPa (1.3 kgf/cm
2
or bar, 18.9 psi), stop driving and
contact an Authorized Mazda Dealer:
The repair using the emergency flat tire
repair kit was not successful.
If you see a decrease in the tire inflation
pressure, even if Steps 17 to 24 of the
procedure are performed repeatedly,
stop driving:
Contact an Authorized Mazda Dealer.
CAUTION
Before checking the tire inflation
pressure using the tire pressure gauge,
turn the air compressor switch off.
If Trouble Arises
Flat Tire
7-15
MX-5_8KH8-EA-21K_Edition3_old 2021-11-10 13:10:56
Page 388 of 503

2nd lead
Negative (-) terminal on booster vehicle's battery
Location shown in the figure (do not connect to the negative (-) terminal of the
battery)
Jumper cables
Booster battery Discharged battery
5. Start the booster vehicle's engine and rev the engine.
6. Start the engine of your vehicle. Run the engines for about 3 minutes to temporarily
charge the battery of your vehicle.
7. Disconnect the jumper cables in th e reverse order of their connection.
8. Install the battery cover.
9. Have your vehicle inspected by an Authorized Mazda Dealer as soon as possible.
If Trouble Arises
Battery Runs Out
7-25
MX-5_8KH8-EA-21K_Edition3_old 2021-11-10 13:10:56
Page 411 of 503

Warning Sound isActivated
▼Lights-On Reminder
The lights-on reminder is operable when
the time setting
*1 of the auto headlight off
function is off.
If lights are on and the ignition is switched
to ACC or off, a continuous beep sound
will be heard when the driver's door is
opened.
*1 If the light switch is left on, the auto headlight off func tion automatically
turns off the lights about 30 seconds
after switching the ignition off. The
time setting can be changed.
Refer to the Settings section in the
Mazda Connect Owner's Manual.
NOTE
When the ignition is switched to ACC,
the “Ignition Not Switched Off (STOP)
Warning Beep” (page 7-49) overrides
the lights-on reminder.
A personalized function is available to
change the sound volume for the
lights-on reminder.
Refer to the Settings section in the
Mazda Connect Owner's Manual.
▼ Air Bag/Seat Belt Pretensioner
System Warning Beep
If there is a problem with the air bag/front
seat belt pretensioner systems and the
warning light illumination, a warning beep
sound will be heard for about 5 seconds
every minute.
The air bag and front seat belt pretensioner
system warning beep sound will continue
to be heard for approximately 35 minutes.
Have your vehicle inspected at an
Authorized Mazda Dealer as soon as
possible.
WA R N I N G
Do not drive the vehicle with the air bag/
front seat belt pretensioner system warning
beep sounding:
Driving the vehicle with the air bag/front
seat belt pretensioner system warning beep
sounding is dangerous. In a collision, the
air bags and the front seat belt
pretensioner system will not deploy and
this could result in death or serious injury.
Contact an Authorized Mazda Dealer to
have the vehicle inspected as soon as
possible.
▼ Seat Belt Warning Beep
Except Mexico
If the driver's seat belt is not fastened
when the ignition is switched ON, a beep
sound will be heard for about 6 seconds. If
the driver or the passenger's seat belt is not
fastened and the vehicle is driven at a
speed faster than about 20 km/h (12 mph),
a beep sound will be heard again for a
specified period of time.
Until a seat belt is fastened or a given
period of time has elapsed, the beep sound
will not stop even if the vehicle speed falls
below 20 km/h (12 mph).
If Trouble Arises
Warning/Indicator Lights and Warning Sounds
7-48
MX-5_8KH8-EA-21K_Edition3_old
2021-11-10 13:10:56
Page 414 of 503

NOTE
A personalized function is available to
change the Blind Spot Monitoring (BSM)
warning beep sound volume.
Refer to the Settings section in the Mazda
Connect Owner's Manual.
Reversing
The Blind Spot Monitoring (BSM)
warning sound is activated if there is a
possibility of collision with a vehicle
approaching from behind and from the
rear on the left and right sides of the
vehicle.
▼Lane Departure Warning Sound*
While the system is operating, if the
system determines that the vehicle may
depart from the lane, it sounds a warning
sound.
NOTE
The volume of the LDWS warning sound
can be changed.
Refer to the Settings section in the
Mazda Connect Owner's Manual.
The type of the LDWS warning sound
can be changed.
Refer to the Settings section in the
Mazda Connect Owner's Manual.
▼
Excessive Speed Warning*
If the vehicle speed exceeds the speed
limit sign displayed on the
multi-information display, the warning
sound is activated and the area around the
speed limit sign displayed on the
multi-information display flashes 3 times
in amber, and if the vehicle speed
continues to exceed the displayed speed
limit sign, the indication stops flashing
and remains on.
▼Collision warning*
If there is a possibility of a collision with a
vehicle ahead or an obstruction at the rear
of the vehicle, the warning light in the
instrument cluster flashes at the same time
as the warning indication is displayed in
the multi-information display, and a
warning sound is activated intermittently.
If Trouble Arises
Warning/Indicator Lights and Warning Sounds
*Some models.7-51
MX-5_8KH8-EA-21K_Edition3_old
2021-11-10 13:10:56
Page 481 of 503

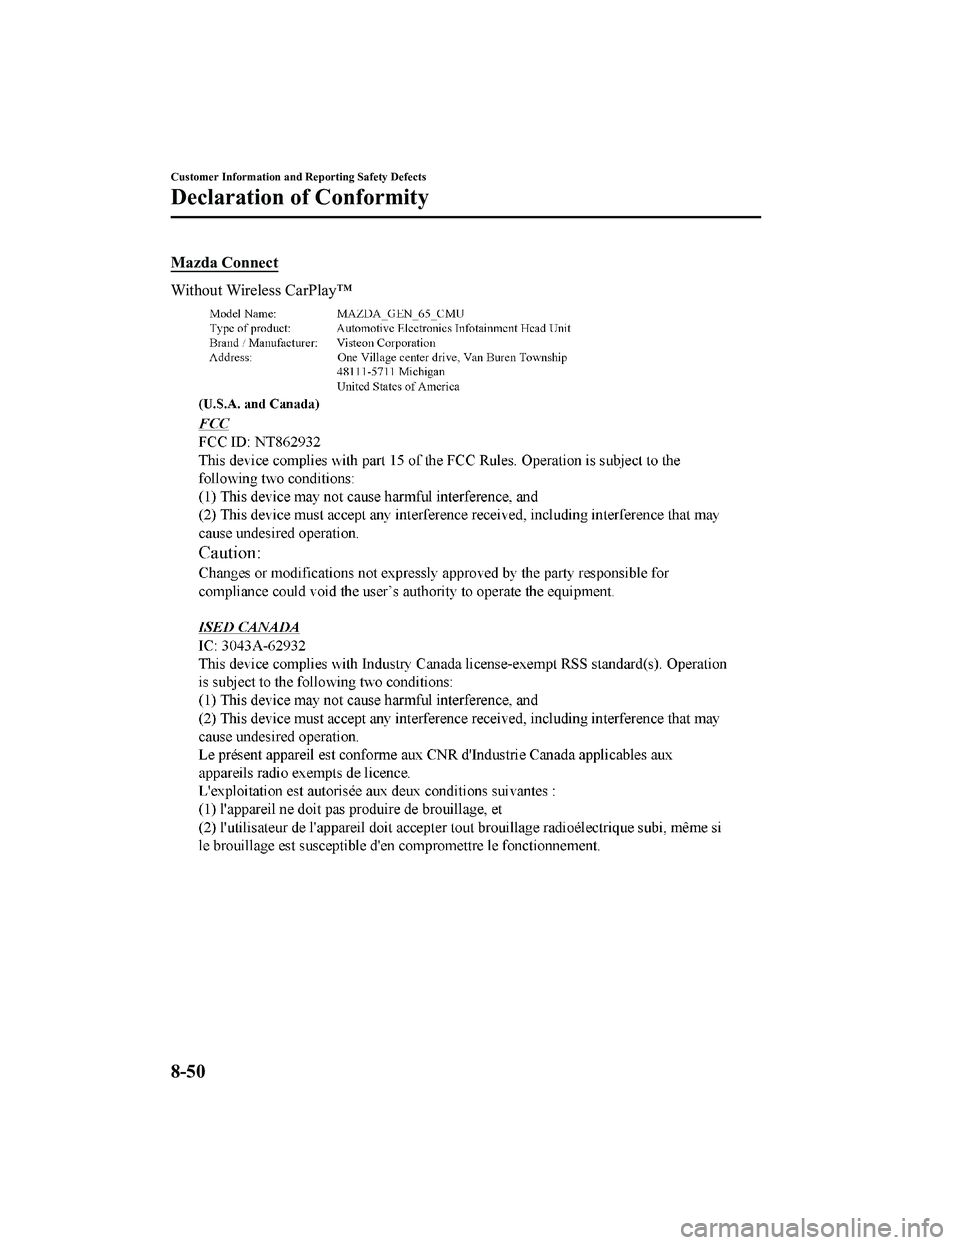
Mazda Connect
Without Wireless CarPlay™
Customer Information and Reporting Safety Defects
Declaration of Conformity
8-50
MX-5_8KH8-EA-21K_Edition3_old2021-11-10 13:10:56