Page 243 of 503

▼System Error Activation
When the warning light
flashes, there may
be a system malfunction. Consult an
Authorized Mazda Dealer.
A system error activation may occur in the
following cases:
When there is equipment or a device
near the vehicle using the same radio
frequency as that of the tire pressure
sensors.
When a metallic device such as a
non-genuine navigation system is
equipped near the center of the
dashboard, which may block radio
signals from the tire pressure sensor to
the receiver unit.
When using the following devices in the
vehicle that may cause radio
interference with the receiver unit.
A digital device such as a personal
computer.
A current converter device such as a
DC-AC converter.
When excess snow or ice adheres to the
vehicle, especially around the wheels.
When the tire pressure sensor batteries
are exhausted.
When using a wheel with no tire
pressure sensor installed.
When using tires with steel wire
reinforcement in the sidewalls.
When using tire chains.
▼Tires and Wheels
CAUTION
When inspecting or adjusting the tire air
pressures, do not apply excessive force to
the stem part of the wheel unit. The stem
part could be damaged.
Changing tires and wheels
The following procedure allows the TPMS
to recognize a tire pressure sensor's unique
ID signal code whenever tires or wheels
are changed, such as changing to and from
winter tires.
NOTE
Each tire pressure sensor has a unique ID
signal code. The signal code must be
registered with the TPMS before it can
work. The easiest way to
do it is to have
an Authorized Mazda Dealer, change your
tire and complete ID signal code
registration.
When having tires changed at an
Authorized Mazda Dealer
When an Authorized Mazda Dealer,
changes your vehicle's tires, they will
complete the tire pressure sensor ID signal
code registration.
When Driving
Tire Pressure Monitoring System
4-116
MX-5_8KH8-EA-21K_Edition3_old 2021-11-10 13:10:56
Page 244 of 503

When changing tires yourself
If you or someone else changes tires, you
or someone else can also undertake the
steps for the TPMS to complete the ID
signal code registration.
1. After tires have been changed, switch
the ignition ON, then back to ACC or
OFF.
2. Wait for about 15 minutes.
3. After about 15 minutes, drive the vehicle at a speed of at least 25 km/h
(16 mph) for 10 minutes and the tire
pressure sensor ID signal code will be
registered automatically.
NOTE
If the vehicle is driven within about 15
minutes of changing tires, the tire pressure
monitoring system warning light will flash
because the sensor ID signal code would
not have been registered. If this happens,
park the vehicle fo r about 15 minutes,
after which the sensor ID signal code will
register upon driving the vehicle for 10
minutes.
Replacing tires and wheels
CAUTION
When replacing/repairing the tires or
wheels or both, have the work done by
an Authorized Mazda Dealer, or the tire
pressure sensors may be damaged.
The wheels equipped on your Mazda are
specially designed for installation of the
tire pressure sensors. Do not use
non-genuine wheels, otherwise it may
not be possible to install the tire pressure
sensors.
Be sure to have the tire pressure sensors
installed whenever tires or wheels are
replaced.
When having a tire or wheel or both
replaced, the following types of tire
pressure sensor installations are possible.
The tire pressure sensor is removed
from the old wheel and installed to the
new one.
The same tire pressure sensor is used
with the same wheel. Only the tire is
replaced.
A new tire pressure sensor is installed to
a new wheel.
NOTE
The tire pressure sensor ID signal code
must be registered when a new tire
pressure sensor is purchased. For
purchase of a tire pressure sensor and
registration of the tire pressure sensor
ID signal code, consult an Authorized
Mazda Dealer.
When reinstalling a previously removed
tire pressure sensor to a wheel, replace
the grommet (seal between valve body/
sensor and wheel) for the tire pressure
sensor.
When Driving
Tire Pressure Monitoring System
4-117
MX-5_8KH8-EA-21K_Edition3_old 2021-11-10 13:10:56
Page 252 of 503

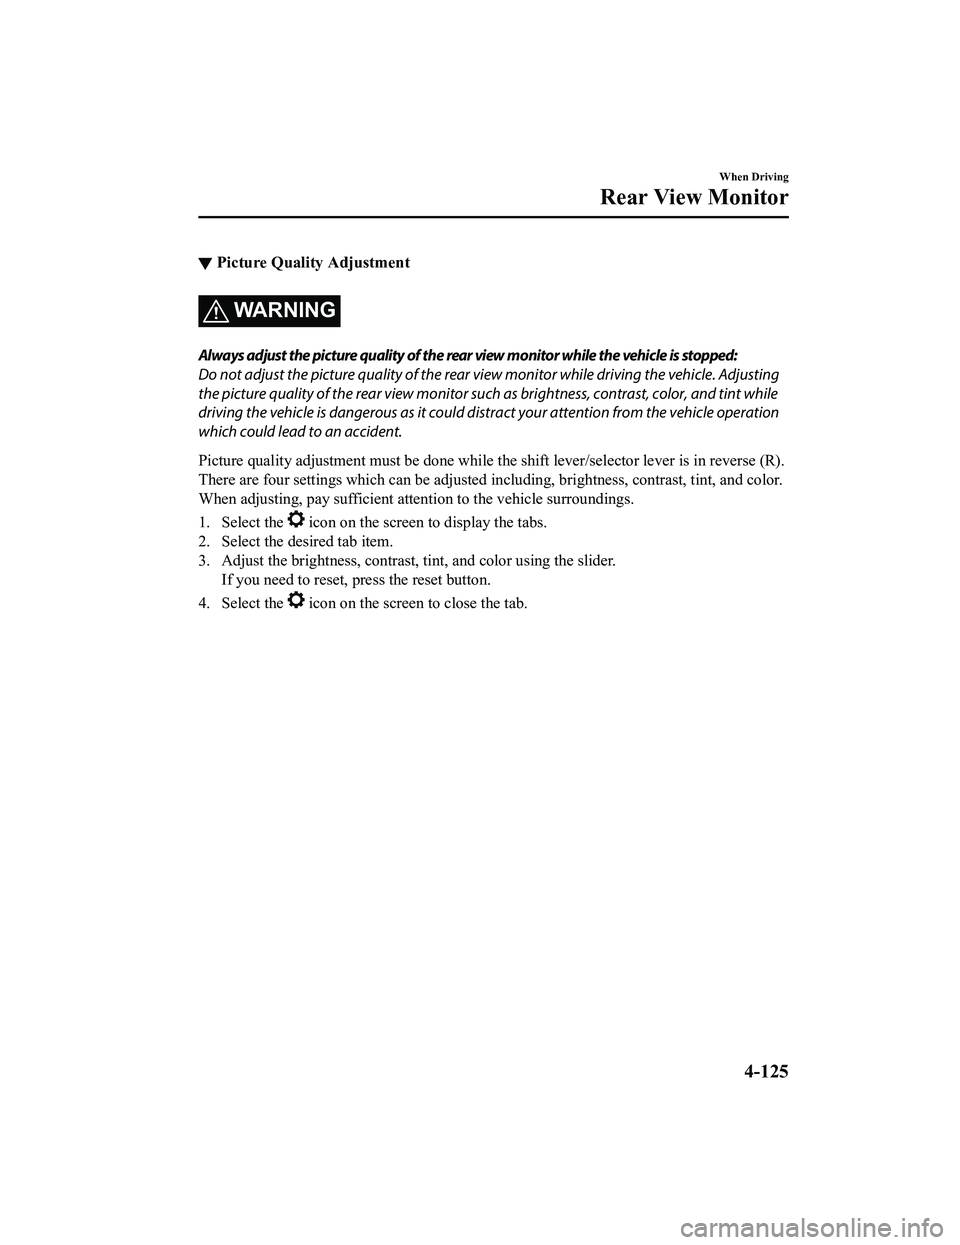
▼Picture Quality Adjustment
WARNING
Always adjust the picture quality of the rear view monitor while the vehicle is stopped:
Do not adjust the picture quality of the rear vi
ew monitor while driving the vehicle. Adjusting
the picture quality of the rear view monitor such as brightness, contrast, color, and tint while
driving the vehicle is dangerous as it could dist ract your attention from the vehicle operation
which could lead to an accident.
Picture quality adjustment must be done while th e shift lever/selector lever is in reverse (R).
There are four settings which can be adjusted including, brightness, contrast, tint, and color.
When adjusting, pay sufficient attention to the vehicle surroundings.
1. Select the
icon on the screen to display the tabs.
2. Select the desired tab item.
3. Adjust the brightness, contrast, tint, and color using the slider.
If you need to reset, press the reset button.
4. Select the
icon on the screen to close the tab.
When Driving
Rear View Monitor
4-125
MX-5_8KH8-EA-21K_Edition3_old 2021-11-10 13:10:56
Page 260 of 503

4. Set the fan control dial to the desiredspeed.
5. If dehumidified heating is desired, turn
on the air conditioner.
NOTE
If the windshield fogs up easily, set the
mode selector dial to the
position.
If cooler air is desired at face level, set
the mode selector dial at the
position
and adjust the temperature control dial
to maintain maximum comfort.
The air to the floor is warmer than air
to the face (except wh en the temperature
control dial is set at the extreme hot or
cold position).
▼ Cooling
1. Set the mode selector dial to the
position.
2. Set the temperature control dial to the
cold position.
3. Set the fan control dial to the desired speed.
4. Turn on the air conditioner by pressing the A/C switch.
5. After cooling begins, adjust the fan control dial and temperature control
dial as needed to maintain maximum
comfort.
CAUTION
If the air conditioner is used while driving
up long hills or in heavy traffic, monitor the
high engine coolant temperature warning
indication/warning light to see if it is
illuminated or flashing (page 7-33).
The air conditioner may cause engine
overheating. If the warning light is
illuminated or flashing, turn the air
conditioner off (page 7-27).
NOTE
When maximum cooling is desired, set
the temperature control dial to the
extreme cold position and set the air
intake selector to the recirculated air
position, then turn the fan control dial
fully clockwise.
If warmer air is desired at floor level,
set the mode selector dial at the
position and adjust the temperature
control dial to maintain maximum
comfort.
Interior Features
Climate Control System
5-7
MX-5_8KH8-EA-21K_Edition3_old
2021-11-10 13:10:56
Page 266 of 503
WARNING
Set the temperature control to the hot or
warm position when defogging (
position):
Using the
position with the temperature
control set to the cold position is
dangerous as it will cause the outside of the
windshield to fog up. Your vision will be
hampered, which could lead to a serious
accident.
NOTE
Use the temperature control dial to
increase the air flow temperature and
defog the windshield more quickly.
▼ Sunlight/Temperature Sensor
Sunlight sensor
Do not place objects on the sunlight
sensor. Otherwise, the interior temperature
may not adjust correctly.
Sunlight sensor
Interior temperature sensor
Do not cover the interior temperature
sensor. Otherwise, the interior temperature
may not adjust correctly.
Interior temperature sensor
Interior Features
Climate Control System
5-13
MX-5_8KH8-EA-21K_Edition3_old
2021-11-10 13:10:56
Page 268 of 503

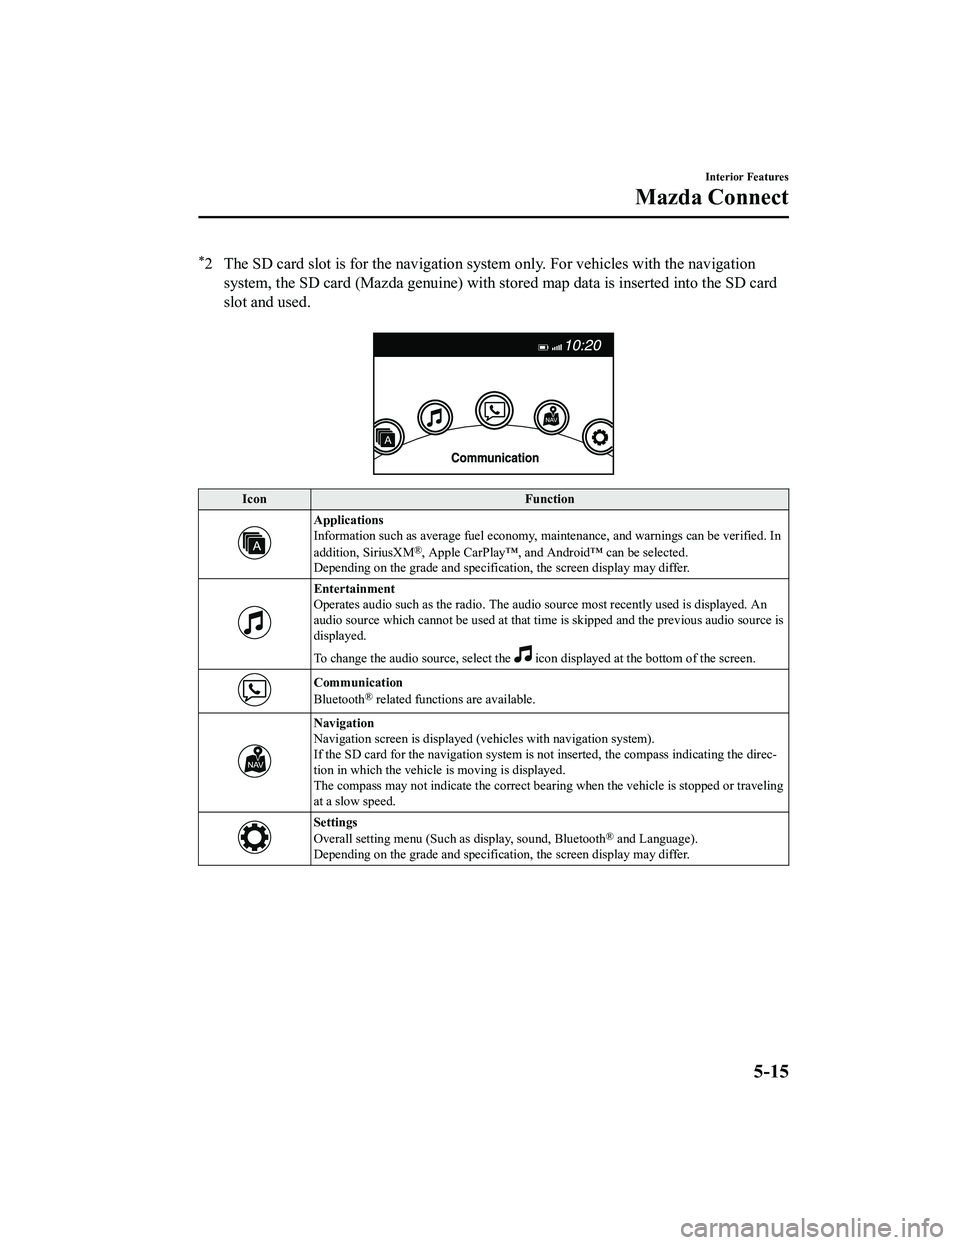
*2 The SD card slot is for the navigation system only. For vehicles with the navigationsystem, the SD card (Mazda genuine) with st ored map data is inserted into the SD card
slot and used.
Icon Function
Applications
Information such as average fuel economy, maintenance, and warnings can be verified. In
addition, SiriusXM
®, Apple CarPlay™, and Andr oid™ can be selected.
Depending on the grade and specificatio n, the screen display may differ.
Entertainment
Operates audio such as the radio. The audio source most recently used is displayed. An
audio source which cannot be used at that tim e is skipped and the previous audio source is
displayed.
To change the audio source, select the
icon displayed at the bottom of the screen.
Communication
Bluetooth® related functions are available.
Navigation
Navigation screen is displayed (v ehicles with navigation system).
If the SD card for the navigation system is no t inserted, the compass indicating the direc‐
tion in which the vehicle is moving is displayed.
The compass may not indicate the correct bearin g when the vehicle is stopped or traveling
at a slow speed.
Settings
Overall setting menu (Such as display, sound, Bluetooth® and Language).
Depending on the grade and specificatio n, the screen display may differ.
Interior Features
Mazda Connect
5-15
MX-5_8KH8-EA-21K_Edition3_old 2021-11-10 13:10:56
Page 290 of 503
Noise may occur on the audio playback
depending on the device connected to
the accessory socket.
Depending on the device connected to
the accessory socket, the vehicle's
electrical system may be affected, which
could cause the warning light to
illuminate. Disconnect the connected
device and make sure that the problem is
resolved. If the problem is resolved,
disconnect the device from the socket
and switch the ignition off. If the problem
is not resolved, consult an Authorized
Mazda Dealer.
NOTE
To prevent discharging of the battery, do
not use the socket for long periods with the
engine off or idling.
Interior Features
Interior Equipment
5-37
MX-5_8KH8-EA-21K_Edition3_old 2021-11-10 13:10:56
Page 314 of 503
Hood
WARNING
Always check that the hood is closed and
securely locked:
A hood that is not closed and securely
locked is dangerous as it could fly open
while the vehicle is moving and block the
driver's vision which could result in a
serious accident.
▼Opening the Hood
1. With the vehicle parked, pull the
release handle to unlock the hood.
Release handle
2. Insert your hand into the hood
opening, slide the latch lever to the
right, and lift up the hood.
Lever
3. Grasp the support rod in the paddedarea and secure it in the support rod
hole indicated by the arrow to hold the
hood open.
Pad
Support rod
Clip
Maintenance and Care
Owner Maintenance
6-17
MX-5_8KH8-EA-21K_Edition3_old 2021-11-10 13:10:56