2022 LINCOLN CORSAIR buttons
[x] Cancel search: buttonsPage 28 of 676

Air vents.
A
Direction indicators. See Direction Indicators (page 110).
B
Voice control.
See Using Voice Recognition (page 509).
C
Audio control.
See Audio Unit (page 498).
D
Information display.
See General Information (page 136).
E
Information display control.
See General Information (page 136).
F
Wiper lever.
See Windshield Wipers (page 102).
G
Ignition switch.
See Keyless Starting (page 202).
H
Information and entertainment display.
I
Camera button. See What Is the 360 Degree Camera (page 293). Park assist button. See What Is Active Park Assist (page 297).
Driver assistance button.
J
Audio unit.
See Audio Unit (page 498).
K
Climate control.
See Automatic Climate Control (page 169).
L
Hazard flasher switch.
See Hazard Flashers (page 363).
M
Transmission selector.
See Automatic Transmission (page 256).
N
Adaptive cruise control with lane centering buttons.
See Switching Lane Centering On and Off (page 312).
O
Horn.P
Cruise control buttons. See Setting the Cruise Control Speed (page 301). Adaptive cruise control with lane centering buttons. Se\
e
Setting the Adaptive Cruise Control Speed
(page 308).
Q
25
2022 Corsair (CTF) Canada/United States of America, enUSA, Edition date: 202106, First-Printing At a Glance
Page 81 of 676

Press and hold both the lock and unlock
buttons on the remote control for four
seconds to disable or enable two-stage
unlocking. Disabling two-stage unlocking
allows all vehicle doors to unlock with one
press of the button. The turn signals flash
twice to indicate a change to the unlocking
mode. The unlocking mode applies to the
remote control, keyless entry keypad and
intelligent access.
Intelligent access at the driver door unlocks
all doors when you disable two-stage
unlocking.
Locking the Doors
Press the button to lock all the
doors. The turn signals flash.
Press the button again within three
seconds to confirm that all the doors have
closed. The doors lock again, a tone sounds
and the turn signals flash if all the doors and
the luggage compartment have closed. Mislock
If any door or the luggage compartment is
open, or if the hood is open on vehicles with
an anti-theft alarm or remote start, a tone
sounds and the turn signals do not flash. You
can switch this feature on or off from the
touchscreen. See Settings (page 555).
Audible and Visual Locking Confirmation
If audible and visual locking confirmation is
configurable, you can turn it on or off from
the touchscreen.
See Settings (page 555).
Mechanical Key
The intelligent access key also contains a
removable key blade that you can use to lock
and unlock your vehicle.
See Remote
Control (page 65).
Turn the top of the key toward the front of
your vehicle once to lock all doors.
Turn the top of the key toward the rear of
your vehicle once to unlock the driver door
only. Locking and Unlocking the Doors with the
Key Blade
If the central locking function does not
operate, lock the doors using the key blade
in the door handle lock cylinder.
Locking with the Key Blade
Insert the key blade into the driver door
handle lock cylinder, turn the key up toward
the front of your vehicle to lock.
Unlocking with the Key Blade
Insert the key blade into the driver door
handle lock cylinder and turn the key down
toward the rear of your vehicle to unlock.
78
2022 Corsair (CTF) Canada/United States of America, enUSA, Edition date: 202106, First-Printing Doors and LocksE138623 E310901
Page 85 of 676

KEYLESS ENTRY LIMITATIONS
Make sure your remote control is within 3 ft
(1 m) from the front door handles and the
tailgate.
The system could not function if:
• The remote control remains stationary
for about a minute.
• The vehicle battery has no charge.
• The remote control battery has no
charge.
• There is interference causing issues with
the remote control frequencies.
• The remote control is too close to metal
objects or electronic devices, for example
keys or a cell phone.
KEYLESS ENTRY SETTINGS
Switching Keyless Entry On and Off
1. Switch the ignition on using an original key that has not been created as a
MyKey.
2. Press
Settings on the touchscreen. 3. Press
Vehicle Settings.
4. Press
Locks.
Reprogramming the Unlocking
Function
You can enable two-stage unlocking function
allowing you to unlock only the driver door
when you touch the unlock sensor.
Press and hold both the lock and unlock
buttons on the remote control for four
seconds to disable or enable two-stage
unlocking.
If you program the unlocking function so that
only the driver door unlocks, you can unlock
all of the other doors from inside your vehicle
using the power door lock control. You can
unlock individual doors by pulling the interior
door handles on those doors. USING KEYLESS ENTRY
Unlocking the Doors With the remote control within
3 ft (1 m) of
your vehicle, touch the unlock sensor on the
back of the door handle for a brief period
and then pull on the door handle to unlock,
being careful not to touch the lock sensor at
the same time or pull on the door handle too
quickly. The system requires a brief delay to
authenticate the remote control.
Locking the Doors 82
2022 Corsair (CTF) Canada/United States of America, enUSA, Edition date: 202106, First-Printing Keyless EntryE248553 E248554
Page 109 of 676

Push the lever away from you to
switch the high beam on.
Push the lever forward again or pull the lever
toward you to switch the high beams off.
Flashing High Beam Headlamps Pull the lever toward you and release it to
flash the high beam headlamps. AUTOLAMPS WARNING: The system does not
relieve you of your responsibility to drive
with due care and attention. You may need
to override the system if it does not turn
the headlamps on in low visibility
conditions, for example daytime fog.
Autolamps turn the headlamps on in low light
situations or when the wipers operate. Switch the lighting control to the
autolamps position.
Note: The lighting control defaults to
autolamps each time you switch your vehicle
on.
The headlamps remain on for a period of
time after you switch the ignition off. Use the
touchscreen to adjust the period of time that
the headlamps remain on.
Note: If you switch the autolamps on, you
cannot switch the high beams on until the
system turns the low beams on. Windshield Wiper Activated Headlamps
When you switch the autolamps on, the
headlamps turn on within 10 seconds of
switching the wipers on. They turn off
approximately 60 seconds after you switch
the windshield wipers off.
The headlamps do not turn on with the
wipers:
•
During a single wipe.
• When using the windshield washers.
• If the wipers are in intermittent mode.
Note: If you switch the autolamps and the
autowipers on, the headlamps turn on when
the windshield wipers continuously operate.
INSTRUMENT LIGHTING DIMMER
The instrument lighting dimmer buttons are
on the lighting control. Repeatedly press one of the
buttons to adjust the brightness.
106
2022 Corsair (CTF) Canada/United States of America, enUSA, Edition date: 202106, First-Printing Lighting E273181 E281240 E291299 E296433
Page 180 of 676

Guide sleeve adjust and unlock
button.
C
Guide sleeve unlock and remove
button.
D
Rear Seat Center Head Restraint The head restraint consists of:
An energy absorbing head
restraint.
A
Two steel stems.
B
Guide sleeve unlock and remove
button.
C Raising the Head Restraint
Pull the head restraint up.
Lowering the Head Restraint
1. Press and hold button C.
2. Push the head restraint down.
Tilting the Front Seat Head Restraint (If
Equipped)
The front head restraint tilts for extra comfort. To tilt the head restraint:
1. Adjust the seat backrest to an upright
driving or riding position.
2. Pivot the head restraint forward toward your head to the preferred position.
After the head restraint reaches the
forward-most tilt position, pivot it forward
again to release it to the rearward, un-tilted
position.
Removing the Head Restraint
Removing the Front Seat Head Restraint
1. Pull the head restraint up until it reaches
its highest position.
2. Press and hold button C.
3. Pull the head restraint up.
Removing the Rear Seat Outermost Head
Restraints
1. Pull the head restraint up until it reaches
its highest position.
2. Press and hold buttons C and D.
3. Pull the head restraint up.
177
2022 Corsair (CTF) Canada/United States of America, enUSA, Edition date: 202106, First-Printing SeatsE187325 E144727
Page 197 of 676

Note:
We recommend that upon the sale or
lease termination of your vehicle, you erase
the programmed function buttons for security
reasons. See Clearing the Garage Door
Opener (page 196).
GARAGE DOOR OPENER
LIMITATIONS
Canadian radio-frequency laws require
transmitter signals to time-out (or quit) after
several seconds – which may not be long
enough for HomeLink to pick up the signal.
U.S. gate operators time-out in the same
manner.
Note: If programming a garage door opener
or gate operator, it is advised to unplug the
device during the “cycling” process to
prevent possible overheating. PROGRAMMING THE GARAGE
DOOR OPENER TO YOUR HAND-
HELD TRANSMITTER
This process is to program your in-vehicle
HomeLink function button with your
hand-held transmitter.
Note:
The programming steps below assume
you will be programming HomeLink that was
not previously programmed. If your
HomeLink was previously programmed, you
may need to erase your HomeLink buttons.
See
Clearing the Garage Door Opener
(page 196). 1. With your vehicle parked outside of the
garage, switch your ignition to the on
position, but do not start your vehicle.
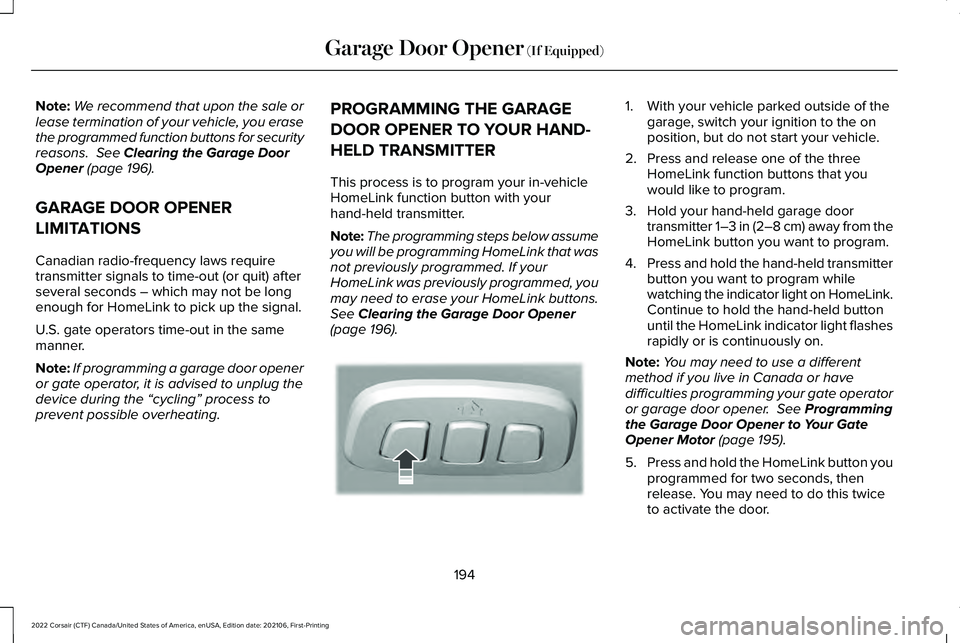
2. Press and release one of the three HomeLink function buttons that you
would like to program.
3. Hold your hand-held garage door transmitter 1–3 in (2–8 cm) away from the
HomeLink button you want to program.
4. Press and hold the hand-held transmitter
button you want to program while
watching the indicator light on HomeLink.
Continue to hold the hand-held button
until the HomeLink indicator light flashes
rapidly or is continuously on.
Note: You may need to use a different
method if you live in Canada or have
difficulties programming your gate operator
or garage door opener.
See Programming
the Garage Door Opener to Your Gate
Opener Motor
(page 195).
5. Press and hold the HomeLink button you
programmed for two seconds, then
release. You may need to do this twice
to activate the door.
194
2022 Corsair (CTF) Canada/United States of America, enUSA, Edition date: 202106, First-Printing Garage Door Opener
(If Equipped)E188212
Page 198 of 676

Note:
If the indicator light stays on, the
programming is complete.
Note: If the HomeLink indicator flashes
rapidly, repeat step 5.
Note: If your device still does not operate,
you must program your garage door. See
Programming the Garage Door Opener to
Your Garage Door Opener Motor
(page 195).
6. To program additional buttons, repeat Steps 1 – 4.
PROGRAMMING THE GARAGE
DOOR OPENER TO YOUR GARAGE
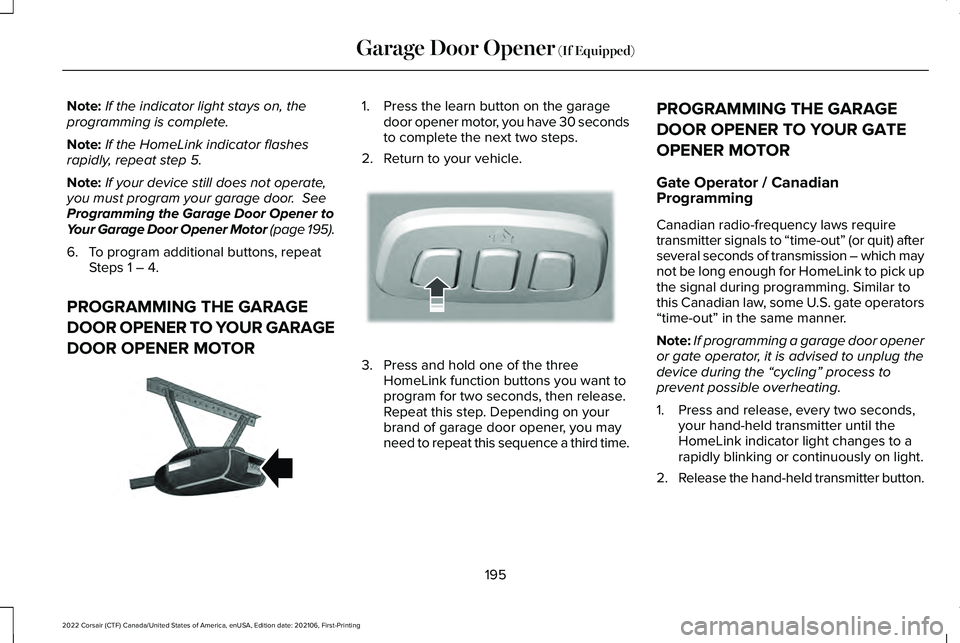
DOOR OPENER MOTOR 1. Press the learn button on the garage
door opener motor, you have 30 seconds
to complete the next two steps.
2. Return to your vehicle. 3. Press and hold one of the three
HomeLink function buttons you want to
program for two seconds, then release.
Repeat this step. Depending on your
brand of garage door opener, you may
need to repeat this sequence a third time. PROGRAMMING THE GARAGE
DOOR OPENER TO YOUR GATE
OPENER MOTOR
Gate Operator / Canadian
Programming
Canadian radio-frequency laws require
transmitter signals to “time-out” (or quit) after
several seconds of transmission – which may
not be long enough for HomeLink to pick up
the signal during programming. Similar to
this Canadian law, some U.S. gate operators
“time-out” in the same manner.
Note:
If programming a garage door opener
or gate operator, it is advised to unplug the
device during the “cycling” process to
prevent possible overheating.
1. Press and release, every two seconds, your hand-held transmitter until the
HomeLink indicator light changes to a
rapidly blinking or continuously on light.
2. Release the hand-held transmitter button.
195
2022 Corsair (CTF) Canada/United States of America, enUSA, Edition date: 202106, First-Printing Garage Door Opener
(If Equipped)E142659 E188212
Page 199 of 676

3. Press and hold the HomeLink function
button you want to program for two
seconds, then release. You may need to
do this twice to activate the door.
Note: If the indicator light stays on, the
programming is complete.
Note: If the HomeLink indicator flashes
rapidly, repeat Step 3.
Note: If your device still does not operate,
you must program your garage door. See
Programming the Garage Door Opener to
Your Garage Door Opener Motor
(page 195).
4. To program additional buttons, repeat Steps 1 – 4. CLEARING THE GARAGE DOOR
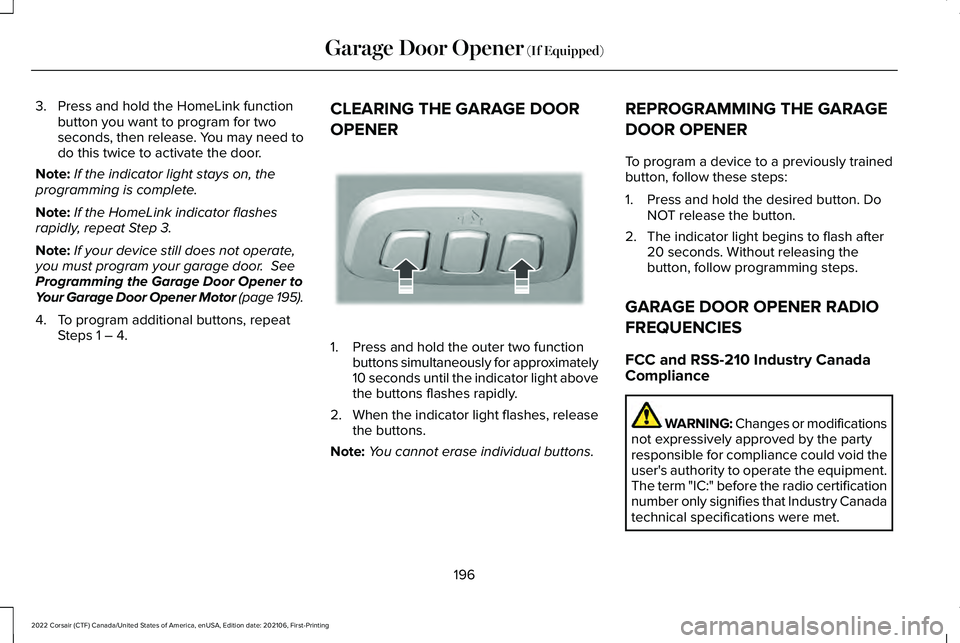
OPENER 1. Press and hold the outer two function
buttons simultaneously for approximately
10 seconds until the indicator light above
the buttons flashes rapidly.
2. When the indicator light flashes, release
the buttons.
Note: You cannot erase individual buttons. REPROGRAMMING THE GARAGE
DOOR OPENER
To program a device to a previously trained
button, follow these steps:
1. Press and hold the desired button. Do
NOT release the button.
2. The indicator light begins to flash after 20 seconds. Without releasing the
button, follow programming steps.
GARAGE DOOR OPENER RADIO
FREQUENCIES
FCC and RSS-210 Industry Canada
Compliance WARNING: Changes or modifications
not expressively approved by the party
responsible for compliance could void the
user's authority to operate the equipment.
The term "IC:" before the radio certification
number only signifies that Industry Canada
technical specifications were met.
196
2022 Corsair (CTF) Canada/United States of America, enUSA, Edition date: 202106, First-Printing Garage Door Opener
(If Equipped)E188213