Page 459 of 528
Maintenance
72
7
LIGHT BULBS
Bulb replacement precaution
Please keep extra bulbs on hand
with appropriate wattage ratings in
case of emergencies.
Refer to “Bulb Wattage” in chapter 8.
When changing lamps, first turn off
the engine at a safe place, firmly
apply the parking brake and detach
the battery’s negative (-) terminal.
Use only bulbs of the specified
wattage. Lamp part malfunction due to net-work failure
The headlamp, taillight, and fog light
may light up when the head lamp
switch is turned ON, and not light up
when the taillight or for light switch is
turned ON. This may be cause by
network failure or vehicle electrical
control system malfunction. If there is
a problem, we recommend the sys-
tem be serviced by an authorized Kia
dealer.
Lamp part malfunction due to elec- trical control system stabilization
A normally functioning lamp may
flicker momentarily. This momentary
occurrence is due to stabilization
function of the vehicle's electrical
control system. If the lamp soon
returns to normal, the vehicle does
not require service.
However, if the lamp goes out after
the momentary flickering, or the flick-
ering continues, we recommend the
system be serviced by an authorized
Kia dealer.
WARNING- Working on the lights
Prior to working on the lights,
firmly apply the parking brake,
ensure that the ignition switch
is turned to the LOCK position
and turn off the lights to avoid
sudden movement of the vehi-
cle and burning your fingers or
receiving an electric shock.
CAUTION -Light replace-
ment
Be sure to replace the burned- out bulb with one of the samewattage rating. Otherwise, itmay cause damage to the fuseor electric wiring system.
CAUTION -Headlamp
Lens
To prevent damage, do notclean the headlamp lens withchemical solvents or strongdetergents.
SC PE USA 7.qxp 9/9/2021 6:28 PM Page 72
Page 465 of 528
Maintenance
78
7
Headlamp bulbHeadlamp (Low/High beam)
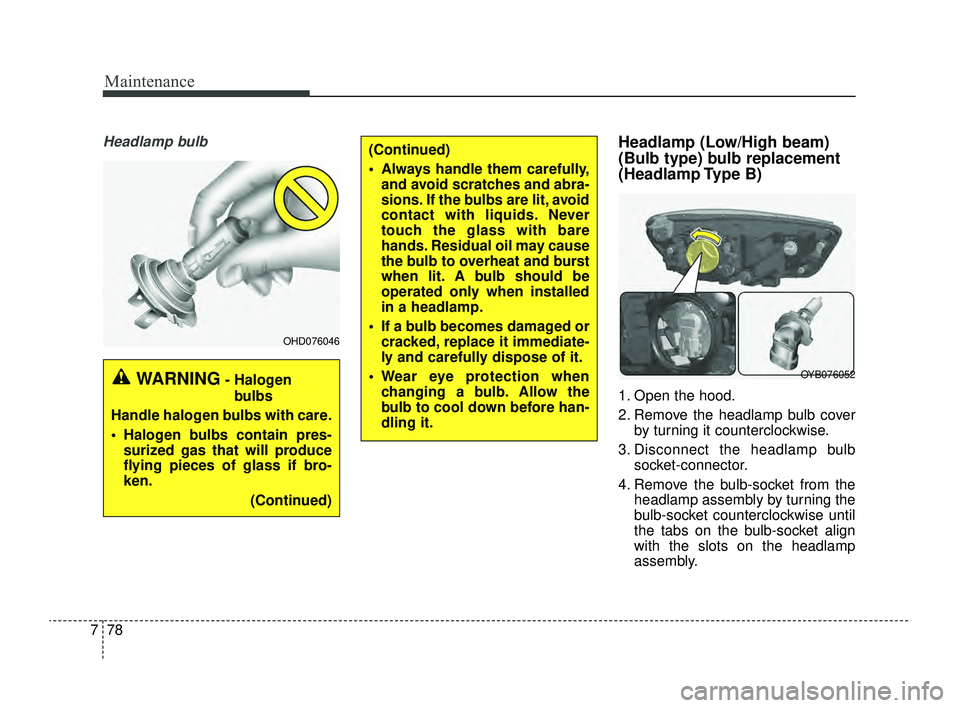
(Bulb type) bulb replacement
(Headlamp Type B)
1. Open the hood.
2. Remove the headlamp bulb cover
by turning it counterclockwise.
3. Disconnect the headlamp bulb socket-connector.
4. Remove the bulb-socket from the headlamp assembly by turning the
bulb-socket counterclockwise until
the tabs on the bulb-socket align
with the slots on the headlamp
assembly.
WARNING- Halogen
bulbs
Handle halogen bulbs with care.
Halogen bulbs contain pres- surized gas that will produce
flying pieces of glass if bro-
ken.
(Continued)
OHD076046
(Continued)
Always handle them carefully,and avoid scratches and abra-
sions. If the bulbs are lit, avoid
contact with liquids. Never
touch the glass with bare
hands. Residual oil may cause
the bulb to overheat and burst
when lit. A bulb should be
operated only when installed
in a headlamp.
If a bulb becomes damaged or cracked, replace it immediate-
ly and carefully dispose of it.
Wear eye protection when changing a bulb. Allow the
bulb to cool down before han-
dling it.
OYB076052
SC PE USA 7.qxp 9/9/2021 6:29 PM Page 78
Page 466 of 528
779
Maintenance
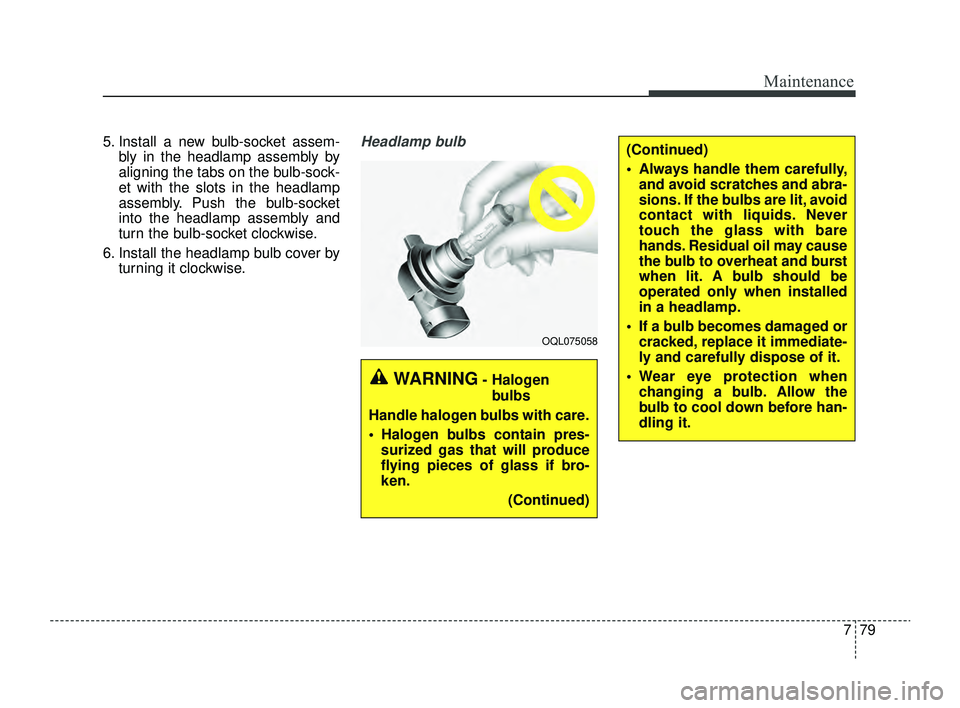
5. Install a new bulb-socket assem-bly in the headlamp assembly by
aligning the tabs on the bulb-sock-
et with the slots in the headlamp
assembly. Push the bulb-socket
into the headlamp assembly and
turn the bulb-socket clockwise.
6. Install the headlamp bulb cover by turning it clockwise.Headlamp bulb
OQL075058
WARNING- Halogen
bulbs
Handle halogen bulbs with care.
Halogen bulbs contain pres- surized gas that will produce
flying pieces of glass if bro-
ken.
(Continued)
(Continued)
Always handle them carefully,and avoid scratches and abra-
sions. If the bulbs are lit, avoid
contact with liquids. Never
touch the glass with bare
hands. Residual oil may cause
the bulb to overheat and burst
when lit. A bulb should be
operated only when installed
in a headlamp.
If a bulb becomes damaged or cracked, replace it immediate-
ly and carefully dispose of it.
Wear eye protection when changing a bulb. Allow the
bulb to cool down before han-
dling it.
SC PE USA 7.qxp 9/9/2021 6:29 PM Page 79
Page 485 of 528
Maintenance
98
7
Trunk lamp bulb replacement
(for 4 door)
1. Using a flat-blade screwdriver,
gently pry the lens cover from
lamp housing.
2. Remove the bulb by pulling it straight out.
3. Install a new bulb in the socket.
4. Align the lens cover tabs with the lamp housing notches and snap
the lens into place.
Map lamp bulb replacement
OUC076061
CAUTION
Be careful not to dirty or dam-age the lens, lens tab, and plas-tic housings.
OYB076070
WARNING- Interior lamps
Prior to working on the Interior
lamps, ensure that the “OFF”
button is depressed to avoid
burning your fingers or receiv-
ing an electric shock.
SC PE USA 7.qxp 9/9/2021 6:31 PM Page 98
Page 486 of 528
799
Maintenance
CAUTION
Be careful not to dirty or dam-age the lens, lens tab, and plas-tic housings.
OQL075067
WARNING- Interior lamps
Prior to working on the Interior
lamps, ensure that the “OFF”
button is depressed to avoid
burning your fingers or receiv-
ing an electric shock.
1. Using a flat-blade screwdriver, gently pry the lamp assembly from
interior.
2. Remove the bulb by pulling it straight out.
3. Install a new bulb in the socket.
4. Install the lamp assembly to interior.Vanity mirror lamp bulb
replacement1. Using a flat-blade screwdriver, gently pry the lamp assembly from
interior.
2. Remove the bulb by pulling it straight out.
3. Install a new bulb in the socket.
4. Install the lamp assembly to interior.
CAUTION
Be careful not to dirty or dam- age the lens, lens tab, and plas-tic housings.
SC PE USA 7.qxp 9/9/2021 6:31 PM Page 99
Page 487 of 528
Maintenance
100
7
Room lamp bulb replacement 1. Using a flat-blade screwdriver,
gently pry the lens cover from
lamp housing.
2. Remove the bulb by pulling it straight out.
3. Install a new bulb in the socket.
4. Align the lens cover tabs with the lamp housing notches and snap
the lens into place.Glove box lamp bulb
replacement
1. Using a flat-blade screwdriver,gently pry the lamp assembly from
interior.
2. Remove the bulb by pulling it straight out.
3. Install a new bulb in the socket.
4. Install the lamp assembly to interior.WARNING- Interior lamps
Prior to working on the Interior
lamps, ensure that the “OFF”
button is depressed to avoid
burning your fingers or receiv-
ing an electric shock.
OYB076071
CAUTION
Be careful not to dirty or dam- age the lens, lens tab, and plas-tic housings.
OYB076072
SC PE USA 7.qxp 9/9/2021 6:31 PM Page 100
Page 489 of 528
Maintenance
102
7
APPEARANCE CARE
Exterior care
Exterior general caution
It is very important to follow the label
directions when using any chemical
cleaner or polish. Read all warning
and caution statements that appear
on the label.
✽ ✽
NOTICE
If you park the vehicle around a
stainless signboard or building etc.,
the plastic exterior trim (bumper,
spoiler, garnish, lamp, outside mir-
ror etc.) may be damaged by reflect-
ed sunlight from the external struc-
ture. To avoid damaging the plastic
exterior trim, park the vehicle away
from the areas where the reflected
light may occur or use a vehicle
cover (Depending on the vehicle, the
type of exterior trim applied such as
spoiler may differ).
Finish maintenance
Washing
To help protect your vehicle’s finish
from rust and deterioration, wash it
thoroughly and frequently at least
once a month with lukewarm or cold
water.
If you use your vehicle for off-road
driving, you should wash it after each
off-road trip. Pay special attention to
the removal of any accumulation of
salt, dirt, mud, and other foreign mate-
rials. Make sure the drain holes in the
lower edges of the doors and rocker
panels are kept clear and clean.
Insects, tar, tree sap, bird droppings,
industrial pollution and similar
deposits can damage your vehicle’s
finish if not removed immediately.
Even prompt washing with plain water
may not completely remove all these
deposits. A mild soap, safe for use on
painted surfaces, may be used.
After washing, rinse the vehicle thor-
oughly with lukewarm or cold water.
Do not allow soap to dry on the finish.WARNING
After washing the vehicle, test
the brakes while driving slowly
to see if they have been affected
by water. If braking performance
is impaired, dry the brakes by
applying them lightly while
maintaining a slow forward
speed.
SC PE USA 7.qxp 9/9/2021 6:31 PM Page 102
Page 499 of 528
Maintenance
112
7
Canister
Fuel vapors generated inside the fuel
tank are absorbed and stored in the
onboard canister. When the engine is
running, the fuel vapors absorbed in
the canister are drawn into the surge
tank through the purge control sole-
noid valve.
Purge Control Solenoid Valve
(PCSV)
The purge control solenoid valve is
controlled by the Engine Control
Module (ECM); when the engine
coolant temperature is low during
idling, the PCSV closes so that evap-
orated fuel is not taken into the
engine. After the engine warms up
during ordinary driving, the PCSV
opens to introduce evaporated fuel to
the engine.
3. Exhaust emission control system
The Exhaust Emission Control
System is a highly effective system
which controls exhaust emissions
while maintaining good vehicle per-
formance.
Engine exhaust gas precautions
(carbon monoxide)
Carbon monoxide can be present with other exhaust fumes.
Therefore, if you smell exhaust
fumes of any kind inside your vehi-
cle, have it inspected and repaired
immediately. If you ever suspect
exhaust fumes are coming into
your vehicle, drive it only with all
the windows fully open. Have your
vehicle checked and repaired
immediately.
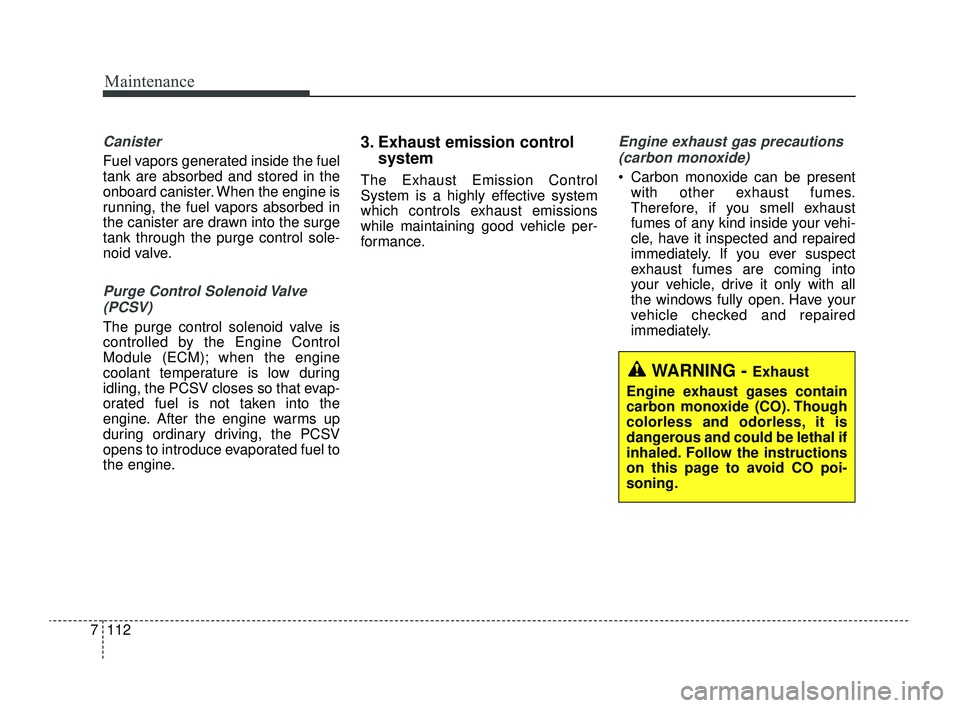
WARNING - Exhaust
Engine exhaust gases contain
carbon monoxide (CO). Though
colorless and odorless, it is
dangerous and could be lethal if
inhaled. Follow the instructions
on this page to avoid CO poi-
soning.
SC PE USA 7.qxp 9/9/2021 6:31 PM Page 112