Page 146 of 446

3-68
Convenient features of your vehicle
LIGHTING
Exterior Lights
Lighting control
To operate the lights, turn the knob at
the end of the control lever to one of
the following positions:
1. OFF position
2. AUTO headlamp position
3. Parking lamp position
4. Headlamp position
AUTO light position
The parking lamp and headlamp will
be turned ON or OFF automatically
depending on the amount of daylight
as measured by the ambient light
sensor on the center dash.
Even with the AUTO headlamp fea-
ture in operation, it is recommended
to manually turn ON the headlamps
when driving at night or in a fog, driv-
ing in the rain, or when you enter
dark areas, such as tunnels and
parking facilities.• Do not cover or spill anything on
the sensor (1) located in front of
the instrument panel.
• Do not clean the sensor using a
window cleaner, the cleanser may
leave a light film which could
interfere with sensor operation.
• If your vehicle has window tint
or other types of metallic coat-
ing on the front windshield, the
AUTO headlamp system may not
work properly.
NOTICE
OOS047404N
OJS048036
Page 159 of 446
3-81
Convenient features of your vehicle
3
• To prevent possible damage to
the washer pump, do not oper-
ate the washer when the fluid
reservoir is empty.
• To prevent possible damage to
the wipers or windshield, do not
operate the wipers when the
windshield is dry.
• To prevent damage to the wiper
arms and other components, do
not attempt to move the wipers
manually.
• To prevent possible damage to
the wipers and washer system,
use anti-freezing washer fluids
in the winter season or cold
weather.
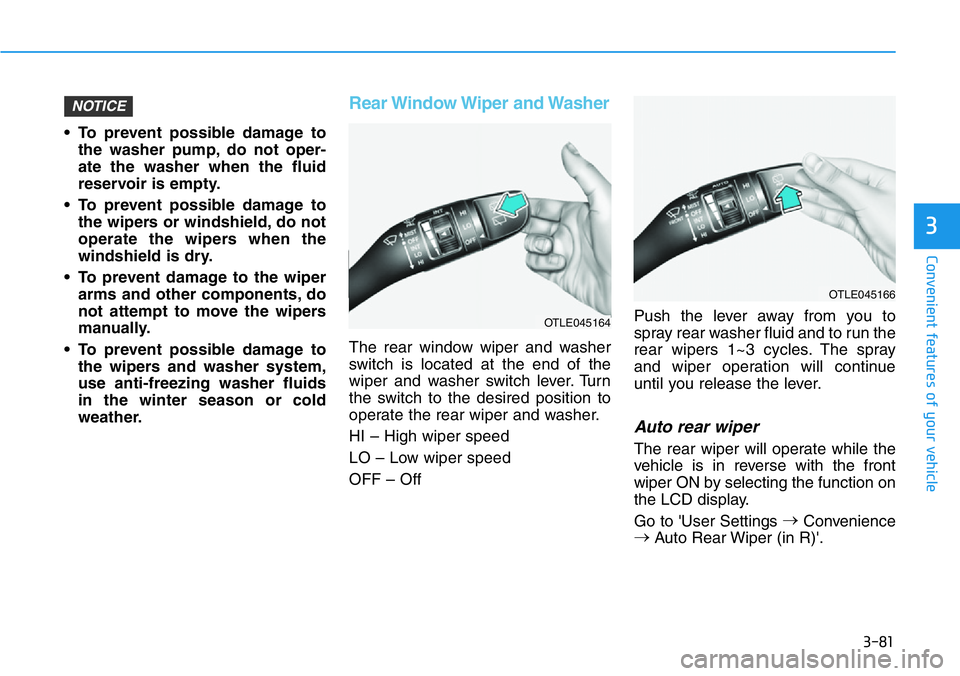
Rear Window Wiper and Washer
The rear window wiper and washer
switch is located at the end of the
wiper and washer switch lever. Turn
the switch to the desired position to
operate the rear wiper and washer.
HI – High wiper speed
LO – Low wiper speed
OFF – OffPush the lever away from you to
spray rear washer fluid and to run the
rear wipers 1~3 cycles. The spray
and wiper operation will continue
until you release the lever.
Auto rear wiper
The rear wiper will operate while the
vehicle is in reverse with the front
wiper ON by selecting the function on
the LCD display.
Go to 'User Settings →
Convenience
→
Auto Rear Wiper (in R)'.
NOTICE
OTLE045166
OTLE045164
Page 161 of 446
3-83
Convenient features of your vehicle
3
MANUAL CLIMATE CONTROL SYSTEM (IF EQUIPPED)
OJS048300N
1. Fan speed control knob
2. Temperature control knob
3. Mode selection buttons
4. Front windshield defroster button
5. Rear window defroster button
6. A/C (Air conditioning) button
7. Air intake control (recirculation) button
Page 163 of 446
3-85
Convenient features of your vehicle
3
Face-Level (B, D)
Air flow is directed toward the upper
body and face. Additionally, each
outlet can be controlled to direct the
air discharged from the outlet.
Bi-Level (B, C, D)
Air flow is directed towards the face
and the floor.
Floor-Level (A, C, D)
Most of the air flow is directed to the
floor, with a small amount of the air
being directed to the windshield and
side window defrosters.
Floor & Defrost
(A, C, D)
Most of the air flow is directed to the
floor and the windshield with a small
amount directed to the side window
defrosters.
Defrost-Level (A, D)
Most of the air flow is directed to the
windshield with a small amount of air
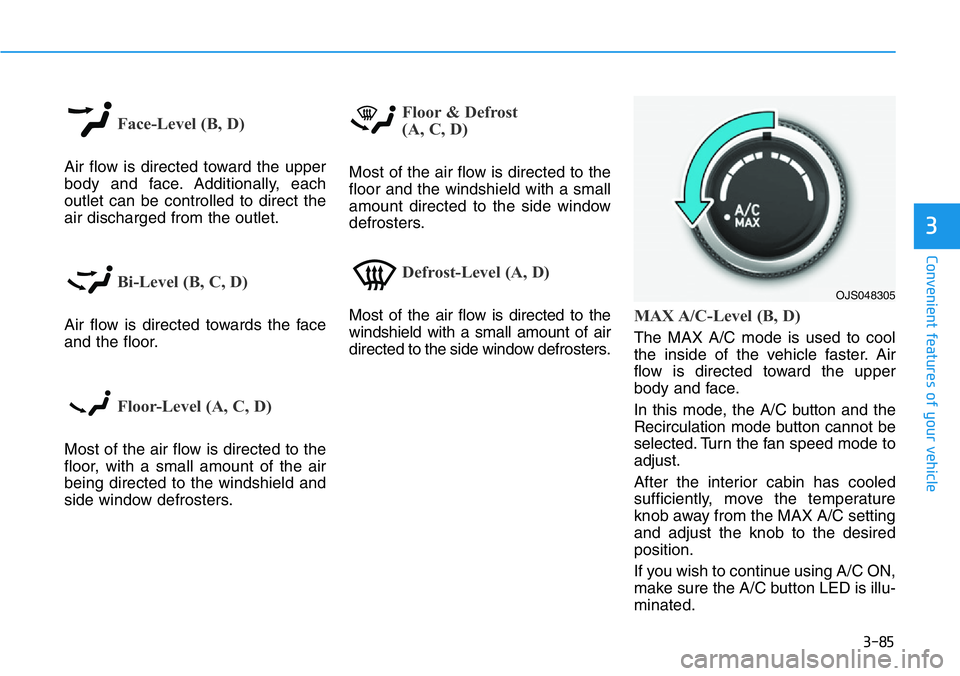
directed to the side window defrosters.MAX A/C-Level (B, D)
The MAX A/C mode is used to cool
the inside of the vehicle faster. Air
flow is directed toward the upper
body and face.
In this mode, the A/C button and the
Recirculation mode button cannot be
selected. Turn the fan speed mode to
adjust.
After the interior cabin has cooled
sufficiently, move the temperature
knob away from the MAX A/C setting
and adjust the knob to the desired
position.
If you wish to continue using A/C ON,
make sure the A/C button LED is illu-
minated.
OJS048305
Page 165 of 446
3-87
Convenient features of your vehicle
3
Fan speed control (1)
Turn the knob to the right to increase
the fan speed and airflow. Turn the
knob to the left to decrease fan
speed and airflow.
Setting the fan speed control knob to
the "0" position turns off the fan.
Operating the fan speed when the
ignition switch is in the ON posi-
tion could cause the battery to
discharge. Operate the fan speed
when the engine is running.
Air conditioning (6)
Push the A/C button to turn the sys-
tem on (indicator light will illuminate)
and off.
System Operation
Cooling / Ventilation
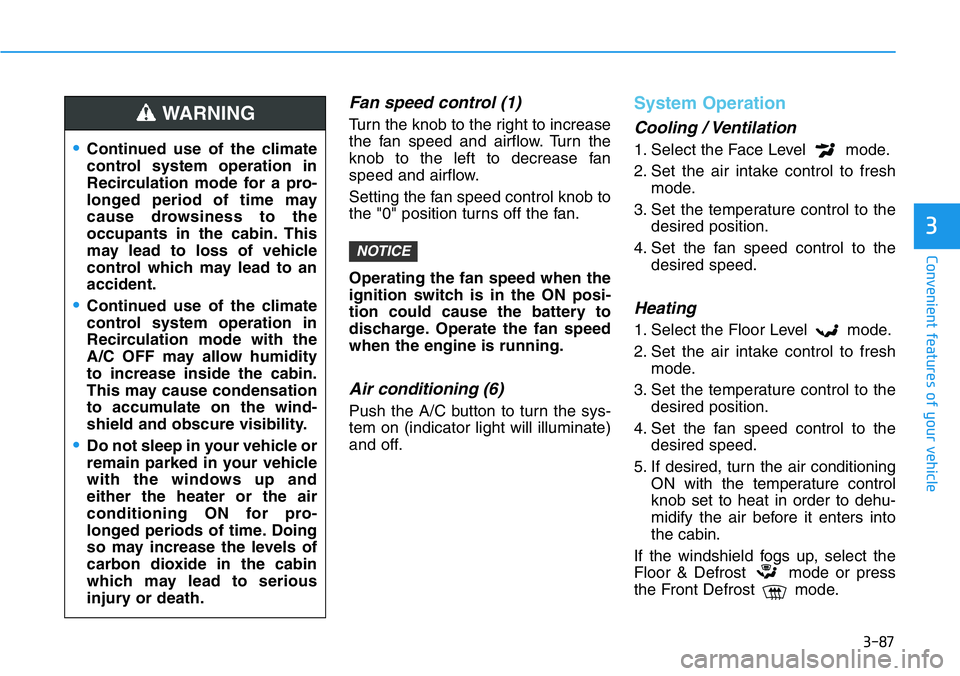
1. Select the Face Level mode.
2. Set the air intake control to fresh
mode.
3. Set the temperature control to the
desired position.
4. Set the fan speed control to the
desired speed.
Heating
1. Select the Floor Level mode.
2. Set the air intake control to fresh
mode.
3. Set the temperature control to the
desired position.
4. Set the fan speed control to the
desired speed.
5. If desired, turn the air conditioning
ON with the temperature control
knob set to heat in order to dehu-
midify the air before it enters into
the cabin.
If the windshield fogs up, select the
Floor & Defrost mode or press
the Front Defrost mode.
NOTICE
•Continued use of the climate
control system operation in
Recirculation mode for a pro-
longed period of time may
cause drowsiness to the
occupants in the cabin. This
may lead to loss of vehicle
control which may lead to an
accident.
•Continued use of the climate
control system operation in
Recirculation mode with the
A/C OFF may allow humidity
to increase inside the cabin.
This may cause condensation
to accumulate on the wind-
shield and obscure visibility.
•Do not sleep in your vehicle or
remain parked in your vehicle
with the windows up and
either the heater or the air
conditioning ON for pro-
longed periods of time. Doing
so may increase the levels of
carbon dioxide in the cabin
which may lead to serious
injury or death.
WARNING
Page 167 of 446
3-89
Convenient features of your vehicle
3
Air conditioning system operation tips
• If the vehicle has been parked in
direct sunlight during hot weather,
open the windows for a short time
to let the hot air inside the vehicle
escape.
• After sufficient cooling has been
achieved, switch back from the
recirculated air to the fresh outside
air position.
• To help reduce moisture inside of
the windows on rainy or humid
days, decrease the humidity inside
the vehicle by operating the air con-
ditioning system with the windows
closed.
• Use the air conditioning system
every month only for a few minutes
to ensure maximum system per-
formance.
• If you operate air conditioner exces-
sively, the difference between the
temperature of the outside air and
that of the windshield could cause
the outer surface of the windshield
to fog up, causing loss of visibility.
In this case, set the mode selection
knob or button to the position
and fan speed control to the lower
speed.
System Maintenance
Cabin air filter
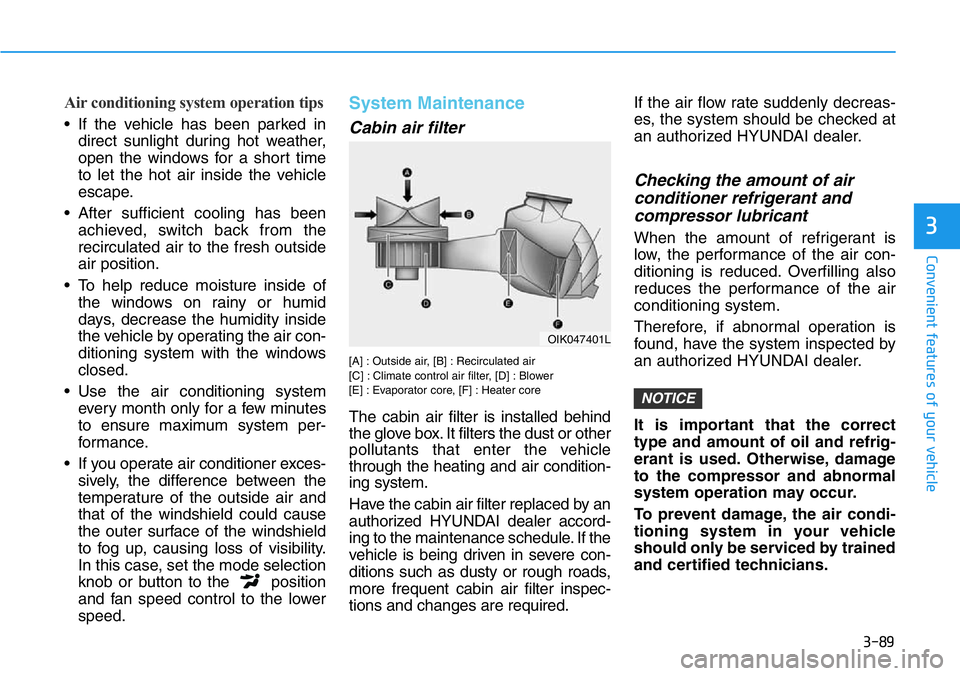
[A] : Outside air, [B] : Recirculated air
[C] : Climate control air filter, [D] : Blower
[E] : Evaporator core, [F] : Heater core
The cabin air filter is installed behind
the glove box. It filters the dust or other
pollutants that enter the vehicle
through the heating and air condition-
ing system.
Have the cabin air filter replaced by an
authorized HYUNDAI dealer accord-
ing to the maintenance schedule. If the
vehicle is being driven in severe con-
ditions such as dusty or rough roads,
more frequent cabin air filter inspec-
tions and changes are required.If the air flow rate suddenly decreas-
es, the system should be checked at
an authorized HYUNDAI dealer.
Checking the amount of air
conditioner refrigerant and
compressor lubricant
When the amount of refrigerant is
low, the performance of the air con-
ditioning is reduced. Overfilling also
reduces the performance of the air
conditioning system.
Therefore, if abnormal operation is
found, have the system inspected by
an authorized HYUNDAI dealer.
It is important that the correct
type and amount of oil and refrig-
erant is used. Otherwise, damage
to the compressor and abnormal
system operation may occur.
To prevent damage, the air condi-
tioning system in your vehicle
should only be serviced by trained
and certified technicians.
NOTICE
OIK047401L
Page 169 of 446
3-91
Convenient features of your vehicle
3
AUTOMATIC CLIMATE CONTROL SYSTEM
OJS048301L
1. Temperature control knob
2. Fan speed control knob
3. AUTO (automatic control) button
4. Air conditioning button
5. OFF button
6. Mode selection button
7. Climate control information button
8. Front windshield defroster button
9. Rear window defroster button
10. Air intake control button
Page 173 of 446
3-95
Convenient features of your vehicle
3
Floor & Defrost
(A, C, D)
Most of the air flow is directed to the
floor and the windshield with a small
amount directed to the side window
defrosters.
Floor-Level (A, C, D)
Most of the air flow is directed to the
floor, with a small amount of the air
being directed to the windshield and
side window defrosters.
Defrost-Level (A, D) (8)
Most of the air flow is directed to the
windshield with a small amount of air
directed to the side window defrosters.
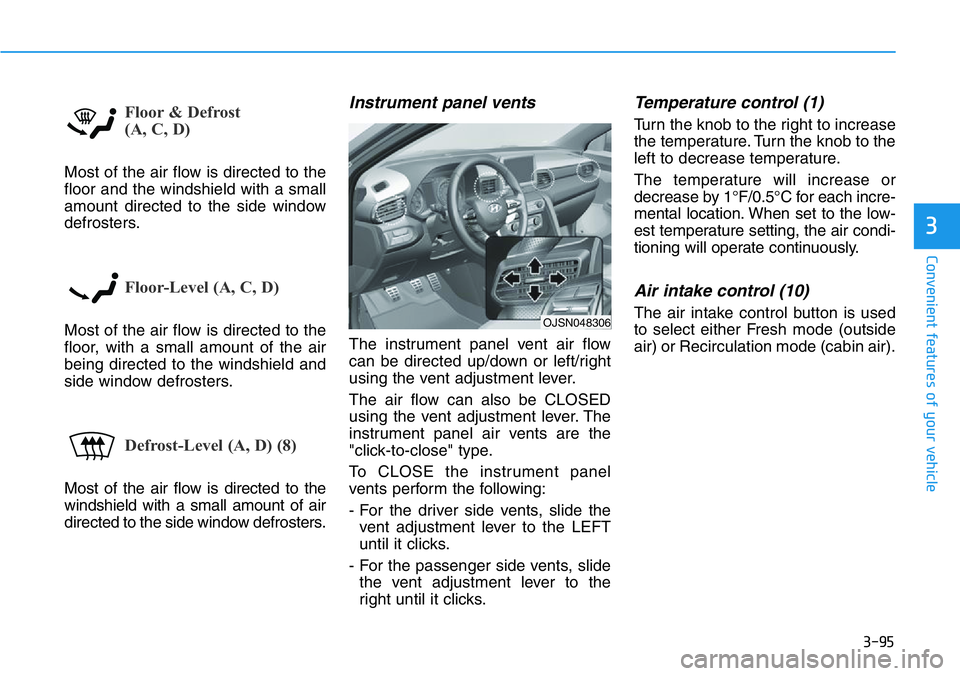
Instrument panel vents
The instrument panel vent air flow
can be directed up/down or left/right
using the vent adjustment lever.
The air flow can also be CLOSED
using the vent adjustment lever. The
instrument panel air vents are the
"click-to-close" type.
To CLOSE the instrument panel
vents perform the following:
- For the driver side vents, slide the
vent adjustment lever to the LEFT
until it clicks.
- For the passenger side vents, slide
the vent adjustment lever to the
right until it clicks.
Temperature control (1)
Turn the knob to the right to increase
the temperature. Turn the knob to the
left to decrease temperature.
The temperature will increase or
decrease by 1°F/0.5°C for each incre-
mental location. When set to the low-
est temperature setting, the air condi-
tioning will operate continuously.
Air intake control (10)
The air intake control button is used
to select either Fresh mode (outside
air) or Recirculation mode (cabin air).OJSN048306