Page 282 of 446
5-88
Driving your vehicle
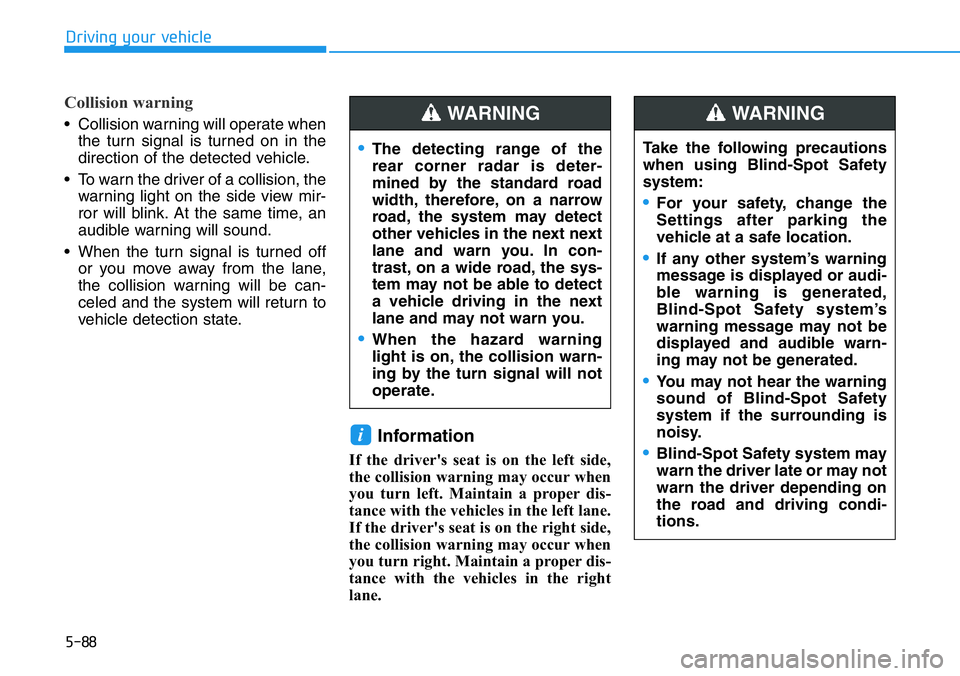
Collision warning
• Collision warning will operate when
the turn signal is turned on in the
direction of the detected vehicle.
• To warn the driver of a collision, the
warning light on the side view mir-
ror will blink. At the same time, an
audible warning will sound.
• When the turn signal is turned off
or you move away from the lane,
the collision warning will be can-
celed and the system will return to
vehicle detection state.
Information
If the driver's seat is on the left side,
the collision warning may occur when
you turn left. Maintain a proper dis-
tance with the vehicles in the left lane.
If the driver's seat is on the right side,
the collision warning may occur when
you turn right. Maintain a proper dis-
tance with the vehicles in the right
lane.
i
•The detecting range of the
rear corner radar is deter-
mined by the standard road
width, therefore, on a narrow
road, the system may detect
other vehicles in the next next
lane and warn you. In con-
trast, on a wide road, the sys-
tem may not be able to detect
a vehicle driving in the next
lane and may not warn you.
•When the hazard warning
light is on, the collision warn-
ing by the turn signal will not
operate.
WARNING
Take the following precautions
when using Blind-Spot Safety
system:
•For your safety, change the
Settings after parking the
vehicle at a safe location.
•If any other system’s warning
message is displayed or audi-
ble warning is generated,
Blind-Spot Safety system’s
warning message may not be
displayed and audible warn-
ing may not be generated.
•You may not hear the warning
sound of Blind-Spot Safety
system if the surrounding is
noisy.
•Blind-Spot Safety system may
warn the driver late or may not
warn the driver depending on
the road and driving condi-
tions.
WARNING
Page 329 of 446
6-2
The hazard warning flasher serves
as a warning to other drivers to exer-
cise extreme caution when approach-
ing, overtaking, or passing your vehi-
cle.
It should be used whenever emer-
gency repairs are being made or
when the vehicle is stopped near the
edge of a roadway.To turn the hazard warning flasher
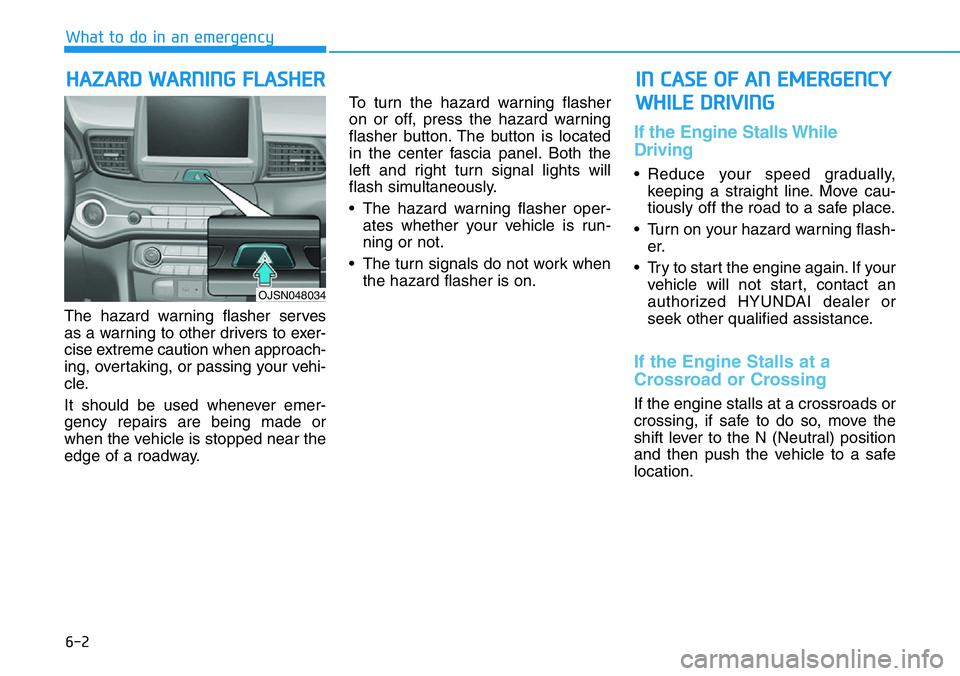
on or off, press the hazard warning
flasher button. The button is located
in the center fascia panel. Both the
left and right turn signal lights will
flash simultaneously.
• The hazard warning flasher oper-
ates whether your vehicle is run-
ning or not.
• The turn signals do not work when
the hazard flasher is on.
If the Engine Stalls While
Driving
• Reduce your speed gradually,
keeping a straight line. Move cau-
tiously off the road to a safe place.
• Turn on your hazard warning flash-
er.
• Try to start the engine again. If your
vehicle will not start, contact an
authorized HYUNDAI dealer or
seek other qualified assistance.
If the Engine Stalls at a
Crossroad or Crossing
If the engine stalls at a crossroads or
crossing, if safe to do so, move the
shift lever to the N (Neutral) position
and then push the vehicle to a safe
location.
HAZARD WARNING FLASHER
What to do in an emergency
IN CASE OF AN EMERGENCY
WHILE DRIVING
OJSN048034
Page 354 of 446
7
Tire Terminology and Definitions................................7-41
All Season Tires ...............................................................7-44
Summer Tires ...................................................................7-44
Snow Tires ........................................................................7-45
Radial-Ply Tires ...............................................................7-45
Low Aspect Ratio Tires..................................................7-45
Fuses ......................................................................7-47
Instrument Panel Fuse Replacement..........................7-48
Engine Compartment Panel Fuse Replacement.......7-49
Fuse/Relay Panel Description ......................................7-51
Light Bulbs ............................................................7-61
Headlamp, Parking lamp, Daytime Running Light,
Turn signal lamp and Side marker ..............................7-62
Side Repeater Lamp Replacement ..............................7-65
Rear Combination Light Bulb Replacement ..............7-65
High Mounted Stop Lamp Replacement ....................7-68
License Plate Light Bulb Replacement ......................7-68
Interior Light Bulb Replacement .................................7-68
Appearance Care..................................................7-70
Exterior Care ....................................................................7-70
Interior Care .....................................................................7-75
Emission Control System ....................................7-78
Crankcase Emission Control System ..........................7-78
Evaporative Emission Control System
Including Onboard Refueling Vapor Recovery
(ORVR)................................................................................7-78
Exhaust Emission Control System ..............................7-79
California Perchlorate Notice.............................7-82
Page 358 of 446
7-6
Maintenance
Owner Maintenance Schedule
When you stop for fuel:
• Check the coolant level in the
engine coolant reservoir.
• Check the windshield washer fluid
level.
• Check the for low or under-inflated
tires.
While operating your vehicle:
• Note any changes in the sound of
the exhaust or any smell of
exhaust fumes in the vehicle.
• Check for vibrations in the steering
wheel. Notice if there is any
increased steering effort or loose-
ness in the steering wheel, or
change in its straight-ahead posi-
tion.
• Notice if your vehicle constantly
turns slightly or "pulls" to one side
when traveling on smooth, level
road.
• When stopping, listen and check
for unusual sounds, pulling to one
side, increased brake pedal travel
or "hard-to-push" brake pedal.
• If any slipping or changes in the
operation of your transmission
occurs, check the transmission
fluid level.
• Check the parking brake.
• Check for fluid leaks under your
vehicle (water dripping from the air
conditioning system during or after
use is normal).
At least monthly:
• Check coolant level in the engine
coolant reservoir.
• Check the operation of all exterior
lights, including the brake lights,
turn signals and hazard warning
flashers.
• Check the inflation pressures of all
tires including the spare for tires
that are worn, show uneven wear,
or are damaged.
• Check for loose wheel lug nuts.
At least twice a year:
(i.e., every Spring and Autumn)
• Check radiator, heater and air con-
ditioning hoses for leaks or dam-
age.
• Check windshield washer spray
and wiper operation. Clean wiper
blades with a clean cloth damp-
ened with washer a fluid.
• Check headlamp alignment.
• Check muffler, exhaust pipes,
shields and clamps.
• Check the seat belts for wear and
function. Be careful when checking your
engine coolant level when the
engine is hot. This may result in
coolant being blown out of the
opening and cause serious
burns and other injuries.
WARNING
Page 414 of 446
7-62
Maintenance
Headlamp, Parking lamp,
Daytime Running Light, Turn
signal lamp and Side marker
(1) Headlamp (High)
(2) Headlamp (Low)
(3) Turn signal lamp
(4) Parking lamp &
Daytime running light (DRL)
(5) Side marker
OBU078064N
•Handle halogen bulbs with
care. Halogen bulbs contain
pressurized gas that will pro-
duce flying pieces of glass that
could cause injuries if broken.
•Wear eye protection when
changing a bulb. Allow the
bulb to cool down before han-
dling it.
WARNING
OLMB073042L
•Prior to replacing a lamp,
depress the foot brake, move
the shift lever into N (Neutral)
apply the parking brake, place
the ignition switch to the
LOCK/OFF position, and take
the key with you when leaving
the vehicle to avoid sudden
movement of the vehicle and
to prevent possible electric
shock.
•Be aware the bulbs may be
hot and may burn your fin-
gers.
WARNING
Page 416 of 446
7-64
Maintenance
6. Install a new headlamp bulb and
snap the headlamp bulb retaining
wire into position by aligning the
wire with the groove on the bulb.
7. Connect the headlamp bulb sock-
et-connector.
8. Install the headlamp bulb cover by
turning it clockwise.
Information
The headlamp aiming should be
adjusted after an accident or after the
headlamp assembly is reinstalled at an
authorized HYUNDAI dealer.
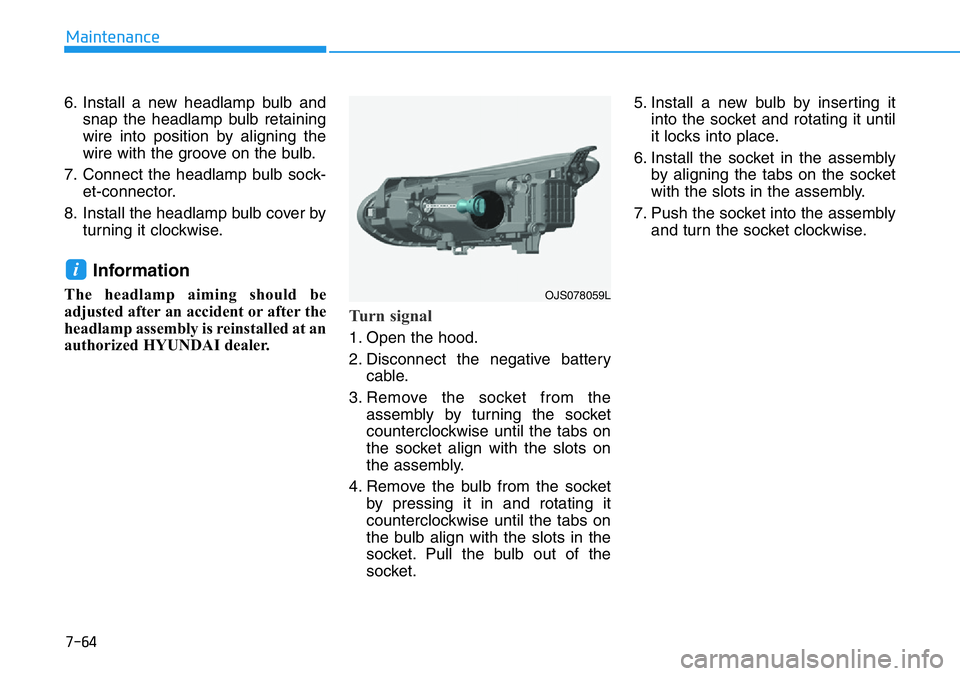
Turn signal
1. Open the hood.
2. Disconnect the negative battery
cable.
3. Remove the socket from the
assembly by turning the socket
counterclockwise until the tabs on
the socket align with the slots on
the assembly.
4. Remove the bulb from the socket
by pressing it in and rotating it
counterclockwise until the tabs on
the bulb align with the slots in the
socket. Pull the bulb out of the
socket.5. Install a new bulb by inserting it
into the socket and rotating it until
it locks into place.
6. Install the socket in the assembly
by aligning the tabs on the socket
with the slots in the assembly.
7. Push the socket into the assembly
and turn the socket clockwise.
i
OJS078059L
Page 417 of 446
7-65
7
Maintenance
Side Repeater Lamp
Replacement
If the light bulb does not operate,
have the vehicle checked by an
authorized HYUNDAI dealer.
Rear Combination Light Bulb
Replacement
(1) Stop/Tail lamp
(2) Turn signal lamp
(3) Backup lamp
(4) Side marker
Side marker and Stop/Tail lamp
light
If the LED lamp does not operate,
have the system be checked by an
authorized HYUNDAI dealer.
The LED lamps cannot be replaced
as a single unit because it is an inte-
grated unit. The LED lamps has to be
replaced with the unit.
A skilled technician should check or
repair the LED lamp, for it may dam-
age related parts of the vehicle.
OJS078030OBU078031N
Page 418 of 446
7-66
Maintenance
Turn signal lamp
1. Open the liftgate.
2. Open the lamp assembly retaining
screw covers.
3. Loosen the lamp assembly retain-
ing screws with a cross-tip screw-
driver.4. Remove the rear combination
lamp assembly from the body of
the vehicle.
5. Remove the socket from the
assembly by turning the socket
counterclockwise until the tabs on
the socket align with the slots on
the assembly.
[A] : Turn signal lamp
6. Remove the bulb from the socket
by pressing it in and rotating it
counterclockwise until the tabs on
the bulb align with the slots in the
socket. Pull the bulb out of the
socket.
7. Insert a new bulb by inserting it
into the socket and rotating it until
it locks into place.
8. Install the socket into the assem-
bly by aligning the tabs on the
socket with the slots in the assem-
bly. Push the socket into the
assembly and turn the socket
clockwise.
9. Reinstall the lamp assembly to the
body of the vehicle.
OJSN078036LOJS078033OJS078032